
Sharp handheld photos come down to four things: a two-handed grip, the camera braced against something solid, a shutter speed fast enough for your focal length, and a shutter release you press instead of jab. Get those right and softness mostly disappears, whatever camera you shoot with.
The honest truth is that most blur is not a broken camera. It is a body holding a lens at an angle it cannot hold still, at a shutter speed chosen for the light rather than for the movement. Learning how to get sharp photos handheld is mostly learning to read your own frame before you press the button, then checking the result at full size instead of trusting the small screen on the back of the camera.
This guide works for a DSLR, a mirrorless body, a bridge camera or a phone. The physical technique is the same on all of them, and every step below tells you how to tell whether it actually worked.
Table of Contents
- What You Need
- Step-by-Step: How to Get Sharp Photos Handheld
- Step 1: Use a Two-Handed Camera Grip
- Step 2: Brace the Camera Against a Stable Part of Your Body
- Step 3: Set the Shutter Speed Your Focal Length Needs
- Step 4: Turn On Stabilization and Know Its Limits
- Step 5: Breathe Out and Release the Shutter Smoothly
- Step 6: Keep a Moving Subject at a Predictable Speed
- Step 7: Review at 100% and Fix One Thing at a Time
- Common Mistakes That Ruin Handheld Sharpness
- Frequently Asked Questions
- What is the fastest safe shutter speed for sharp handheld photos?
- Why are my photos blurry when image stabilization is turned on?
- When should I use a tripod instead of handheld shooting?
- How can I take sharp photos of moving people without a tripod?
- Can I get sharp photos with a phone held in my hand?
- Is it better to focus using the viewfinder or the camera screen?
- Conclusion
What You Need
Start with whatever shoots photos in your hands. A dedicated interchangeable-lens camera gives you control, but a phone held with two hands can produce a sharp frame at daylight shutter speeds just as reliably as a bigger body.
Beyond that, the list is short:
- A camera or phone with a lens you understand. Know where the shutter button, the focus mode and the stabilization switch live before you go looking for them mid-shot.
- A wrist strap, threaded so your fingers are already through the loop, and short enough that it does not swing when you move. A dangling strap taps the body and costs you sharpness.
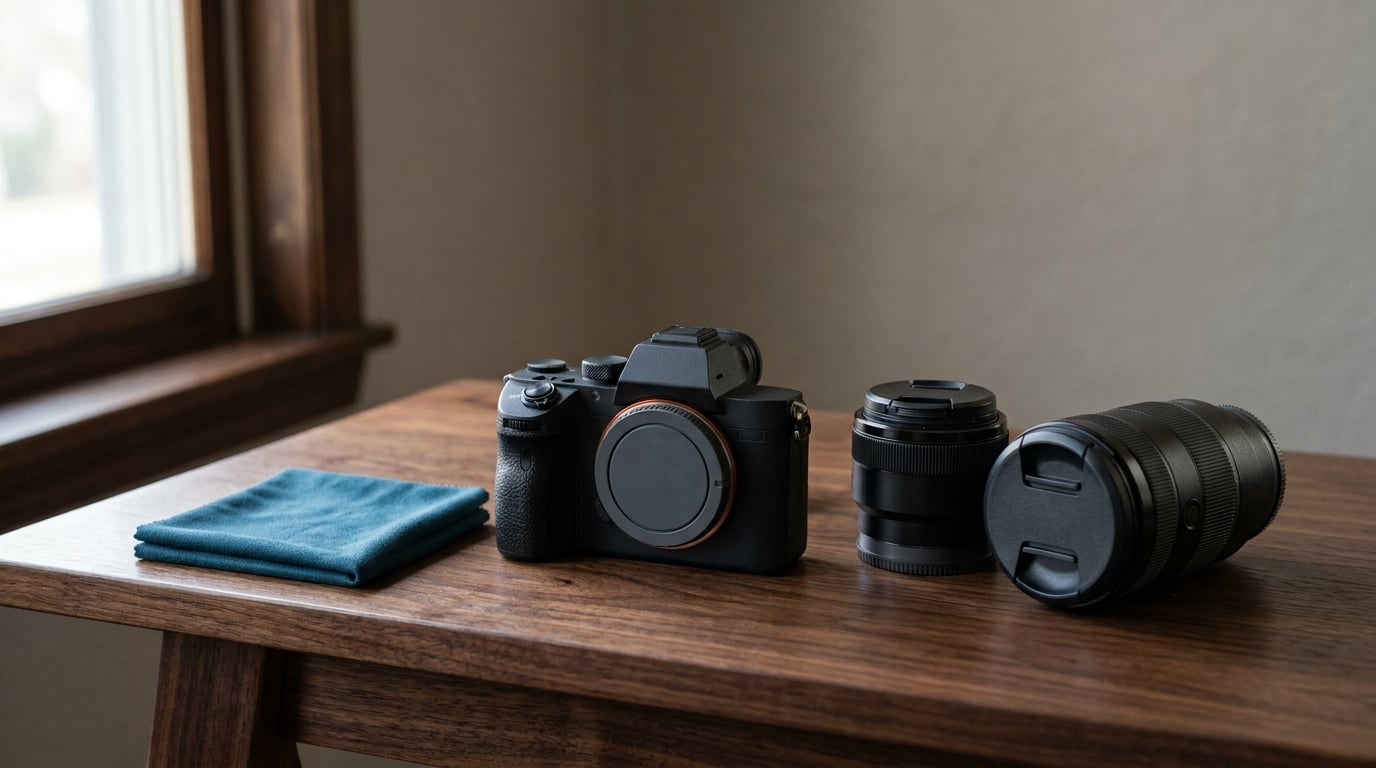
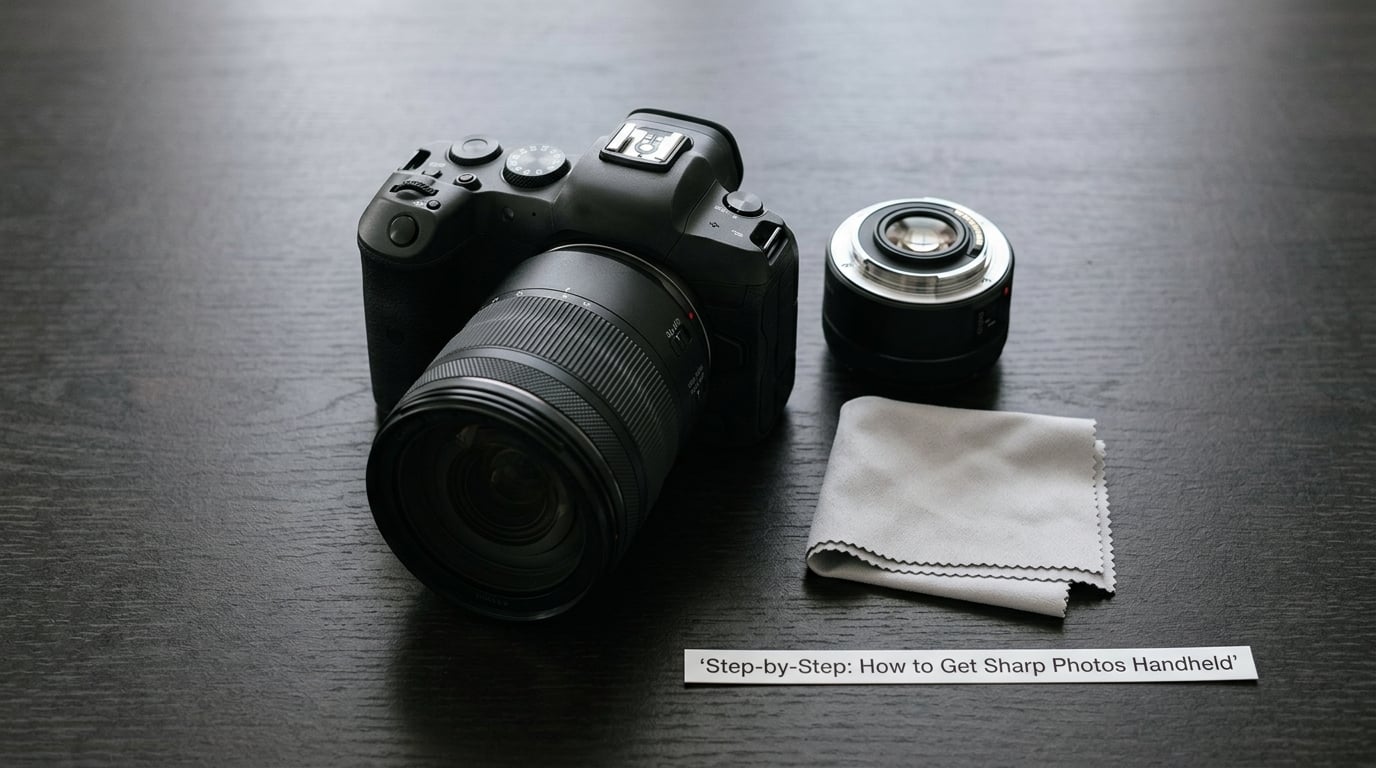
- A microfiber lens cloth. A smudged front element costs contrast and can make you chase a sharpness problem that is really a cleaning problem.
- Image stabilization, either in the lens or in the body. It is optional, and it matters far less than most marketing suggests.
Nothing else is required. A beanbag, a wall or a doorframe is a free support, and a two-second self-timer removes the biggest cause of camera shake: your own index finger. Add a cheap clip-on filter to a good lens and you may give back a noticeable amount of edge sharpness, so skip filters you do not need.
Step-by-Step: How to Get Sharp Photos Handheld
Step 1: Use a Two-Handed Camera Grip
Cradle the lens with one hand instead of pinching the barrel. Your palm under the lens hood takes the weight, and the lens ring sits in the crook of your fingers rather than being gripped at the middle of the barrel, where a long lens can torque the front element.
Keep your other hand on the camera body, with the index finger resting on the shutter button and the thumb near the control dial. Bring both elbows in tight against your ribs, not flared out. A tucked elbow is a stable elbow, and it is the single biggest change most people can make in ten seconds.
You worked, the shutter fired and the image is soft in a random direction. Grip, not gear.
Step 2: Brace the Camera Against a Stable Part of Your Body
Turn the camera slightly so the viewfinder or screen sits against your cheekbone, or lower your forehead to meet the top of the body. Your head and chest are heavy, still objects, and a lens resting against them moves far less than a lens held in mid-air.
A second option is the upper chest: flatten the lens hood gently against your sternum while keeping the viewfinder clear. Test that nothing you press gets blocked and that the lens is not touching a zipper or a pocket edge, since a hard bump transfers straight into the frame.
You raised the camera to eye level, found the same sharpness, and can repeat it in a dim room. Support is doing its job.
Step 3: Set the Shutter Speed Your Focal Length Needs
Longer lenses magnify your hand movement as well as your subject, so the minimum handheld shutter speed rises with focal length. A widely used starting point is the reciprocal of the focal length in millimetres: at 50mm try 1/50s, at 200mm try 1/200s, at 400mm try 1/400s.
Use it as a starting point, not a law. A 200mm lens at 1/200s is often still soft for many people, and 1/500s is a perfectly reasonable working speed. Steady technique buys a stop or two, and stabilization buys a few more.
| Focal length | Full frame | APS-C (1.5x) | Micro Four Thirds (2x) |
|---|---|---|---|
| 24mm | 1/25s or faster | 1/40s or faster | 1/50s or faster |
| 50mm | 1/50s | 1/80s | 1/100s |
| 85mm | 1/85s | 1/130s | 1/170s |
| 200mm | 1/200s | 1/320s | 1/400s |
| 400mm | 1/400s | 1/640s | 1/800s |
Crop cameras do not shake more because of the sensor, but you crop the frame more tightly, so what you see as softness is magnified. That is why the same lens wants a faster speed on a smaller sensor.
How do you know if the speed is fast enough? Open the image at 100% and look at the edge detail of your subject. A static object that is soft in every direction means your speed is too slow or your grip failed. That check takes three seconds and tells you more than any rule.
Step 4: Turn On Stabilization and Know Its Limits
In-body image stabilization and lens-based vibration reduction both detect movement with gyroscopes and shift the sensor or a lens element to cancel it. That buys real stops, but the number on the box is measured in ideal conditions and rarely matches your results. Treat it as a few extra stops, not a promise.
Where it helps most: static scenes in dim light, a long lens held at one spot, architectural work, scenery at dusk. Where it does nothing at all: anything where the subject itself is moving, because a stabilized frame is still a blurred face.
Two settings catch people out. On a tripod, turn stabilization off, since the system hunts for movement that is not there and softens the image instead. When panning with a moving subject, use a panning or mode 2 setting if your camera has one, so the system stabilizes the angle rather than the whole frame.
You switched it on at 1/8s on a doorway support and got a usable frame. The system is working. Now stop expecting it to freeze a running child.
Step 5: Breathe Out and Release the Shutter Smoothly
Your ribs move when you inhale, and the camera feels every bit of it. Take a normal breath, exhale slowly and steadily, and press the shutter at the end of the exhale. Do not stop breathing entirely for anything but a very long lens at a very slow speed.
Press halfway to focus, pause a beat, then press the rest of the way. That half-second pause lets autofocus settle and takes the sharp jerk out of the release. A self-timer of two seconds, or a wireless remote if you have one, removes your finger from the equation entirely and is the cheapest upgrade in photography.
You changed nothing but your breathing and the shutter went from soft to crisp. That was the whole problem.
Step 6: Keep a Moving Subject at a Predictable Speed
Once the subject moves, focal length stops being the only variable. A walking person is roughly comfortable at 1/250s, a child running or a pet turning needs 1/500s or faster, and anything on wheels or paws asks for 1/1000s. Those are working figures, not limits.
Continuous autofocus with a flexible or subject-detection area suits people and animals, single-point autofocus with a smaller zone suits landscapes and anything predictable. Tracking works far better when you start it before the subject turns, which means anticipating the movement a beat earlier than feels natural.
Panning is the other option: at around 1/30s to 1/60s, keep the subject in the same spot in the frame as you swing the camera. The subject stays sharp and the background streaks. It looks difficult and it takes a few attempts, but the keeper rate climbs fast once your footwork stops bouncing.
Your subject is sharp while the background blurs, at a speed you thought was too slow to freeze. The movement was smooth, not fast.
Step 7: Review at 100% and Fix One Thing at a Time
Look at the image full size, not on the small rear screen. The rear screen is the size of a postage stamp at arm’s length, and it lies to you about softness in a way that costs you whole sequences of shots.
Then diagnose what you are seeing, because the three types of blur need three different fixes:
- Nothing is sharp, in the subject or the background. That is camera shake. Fix it with a faster shutter speed, a tighter grip, bracing, or a self-timer.
- The background is sharp and the subject is streaked. That is subject motion. Fix it with a faster shutter speed, a better AF mode, or panning if the movement is predictable.
- One small area is sharp and it is the wrong area, such as the fence in front of the subject. That is missed focus. Fix it with a smaller focus area, single-servo autofocus, or manual focus with magnification at 100%.
Change one setting and shoot five more frames. Comparing a batch against itself is the fastest way to learn which control actually moved the result, and it beats scrolling back through a hundred near-identical shots.
You reviewed, found the background sharp and the face streaked, doubled the shutter speed, and five out of five came out clean. The review step paid for itself in a minute.
Common Mistakes That Ruin Handheld Sharpness
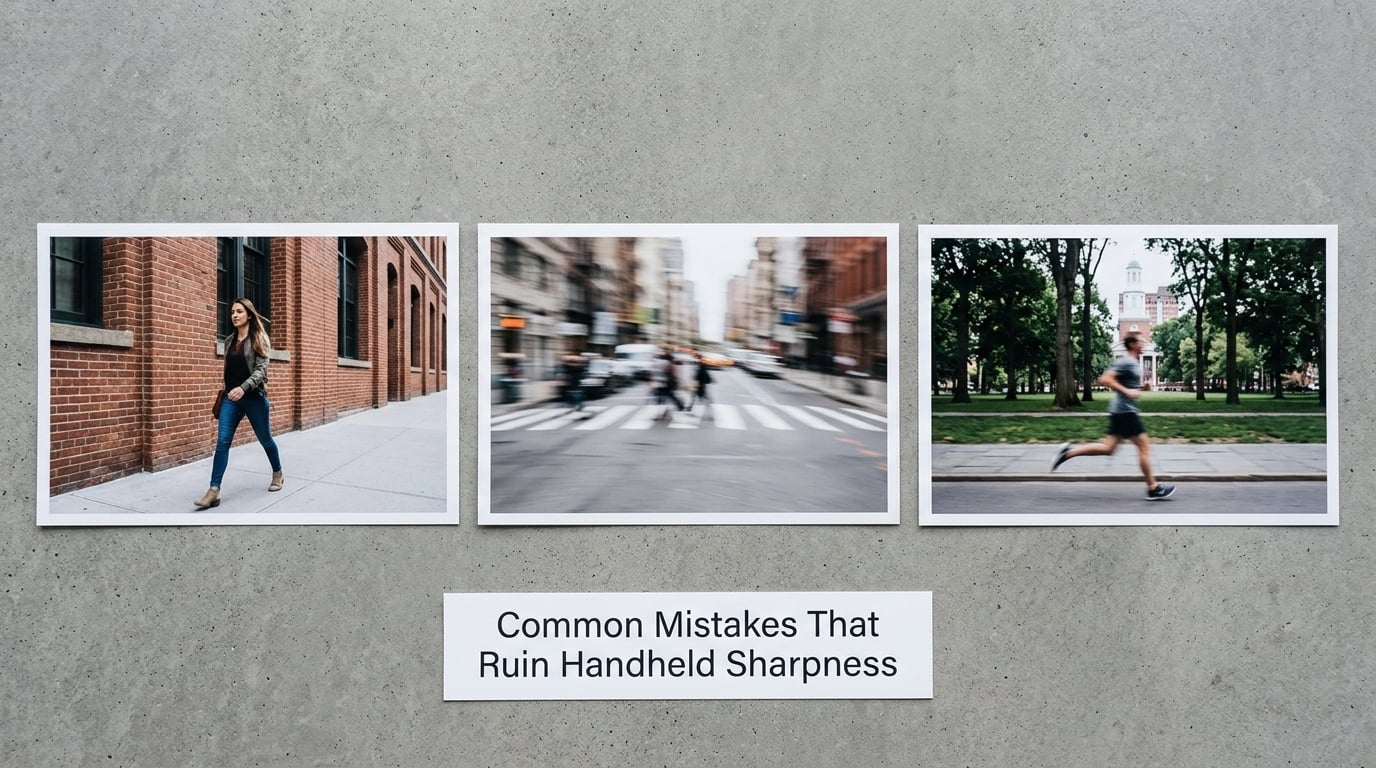
Choosing the shutter speed for the light instead of the movement. A dim room tempts you to drop to 1/15s, and the picture comes out soft even though the exposure looks right. Raise the ISO until you can hold the speed the focal length needs. Grain can be cleaned up in software later; motion blur cannot be recovered at all.
Holding the camera in mid-air. Arms held out from the body form a slow pendulum. Tuck the elbows, brace against a cheek or the chest, and use the wall or a doorframe whenever the situation allows it.
Trusting a shaky grip and adding stabilization. A stabilization system needs a reasonably still frame to work with. If the shake is severe, better technique and a faster shutter speed come first.
Leaving stabilization on on a tripod. The system hunts for movement that is not there, and the result is often softer than no stabilization at all. Check the switch before the long exposures, not after the shoot.
Judging sharpness on the rear screen. A dim image on a tiny screen looks acceptably sharp even when it is not. Zoom to 100% and look at edges, which is where blur announces itself first.
Forgetting crop factor. If you shoot APS-C or Micro Four Thirds, your effective angle of view is tighter, so the usable focal length is higher. The table above accounts for that, and it saves a lot of confused guessing.
One more habit ties it together: find your own limit. In a bright spot, pick a fixed shutter speed, shoot five frames, and check each at 100%. Drop the speed one stop and repeat. The point where your keeper rate collapses tells you the real threshold for your hands, your camera and your lens, and it is often a stop slower or faster than the textbook number. Write it on a piece of tape on the camera body.
Frequently Asked Questions
What is the fastest safe shutter speed for sharp handheld photos?
There is no single number, because the safe speed depends on your hands, your lens and how still you can stand. A good starting point is the reciprocal of the focal length in millimetres, so 1/200s at 200mm. Check the result at 100% and find your own limit, which often runs a stop or two away from that figure.
Why are my photos blurry when image stabilization is turned on?
Stabilization corrects for camera movement only. If the subject is moving, a stabilized frame still shows a moving subject, and many systems also fight the panning you are doing. Check whether the blur is in the background or on the subject before blaming the switch. On a tripod, turn stabilization off, since it hunts for movement that is not there.
When should I use a tripod instead of handheld shooting?
Use a tripod for long exposures, low-light static scenes, copy work, star scenes, self-portraits and macro close-ups, where any movement shows. Handheld is faster and more flexible for people, street scenes and events. If you are repeatedly pushing ISO to hold a fast shutter speed indoors, a tripod will produce a cleaner file than the noise reduction can repair.
How can I take sharp photos of moving people without a tripod?
Speed is the lever. Use 1/500s or faster for people who are moving quickly, continuous autofocus with subject detection, and a small burst of three to five frames to raise the odds of one clean result. Start tracking before the subject turns, and brace the camera against your cheek while your elbows stay tucked in.
Can I get sharp photos with a phone held in my hand?
Yes, in good light. Hold the phone with two hands, tuck your elbows in, tap the screen to focus and lock that focus, and check the result at full size. Phones choose their own shutter speed, so give them more light instead of holding a dim subject steady. A small tripod or a wall still beats your hand when the light drops.
Is it better to focus using the viewfinder or the camera screen?
The viewfinder is better when you have one. It is brighter in dim light, easier to judge fine detail on, and keeps the camera pressed against your face, which is a free support. The screen is better for precise manual focus and for very close work when magnification matters more than brightness.
Conclusion
On your next shoot, do four things in this order: hold the lens with one hand and the body with the other, tuck your elbows and brace the camera against your cheek, set the shutter speed your focal length needs rather than the one the light suggests, and check the frame at 100% before moving on. Diagnose whether the blur is shake, subject motion or missed focus, change one setting, and shoot five more frames. That loop is how you get sharp photos handheld consistently instead of occasionally, and it works on the camera you already own.