
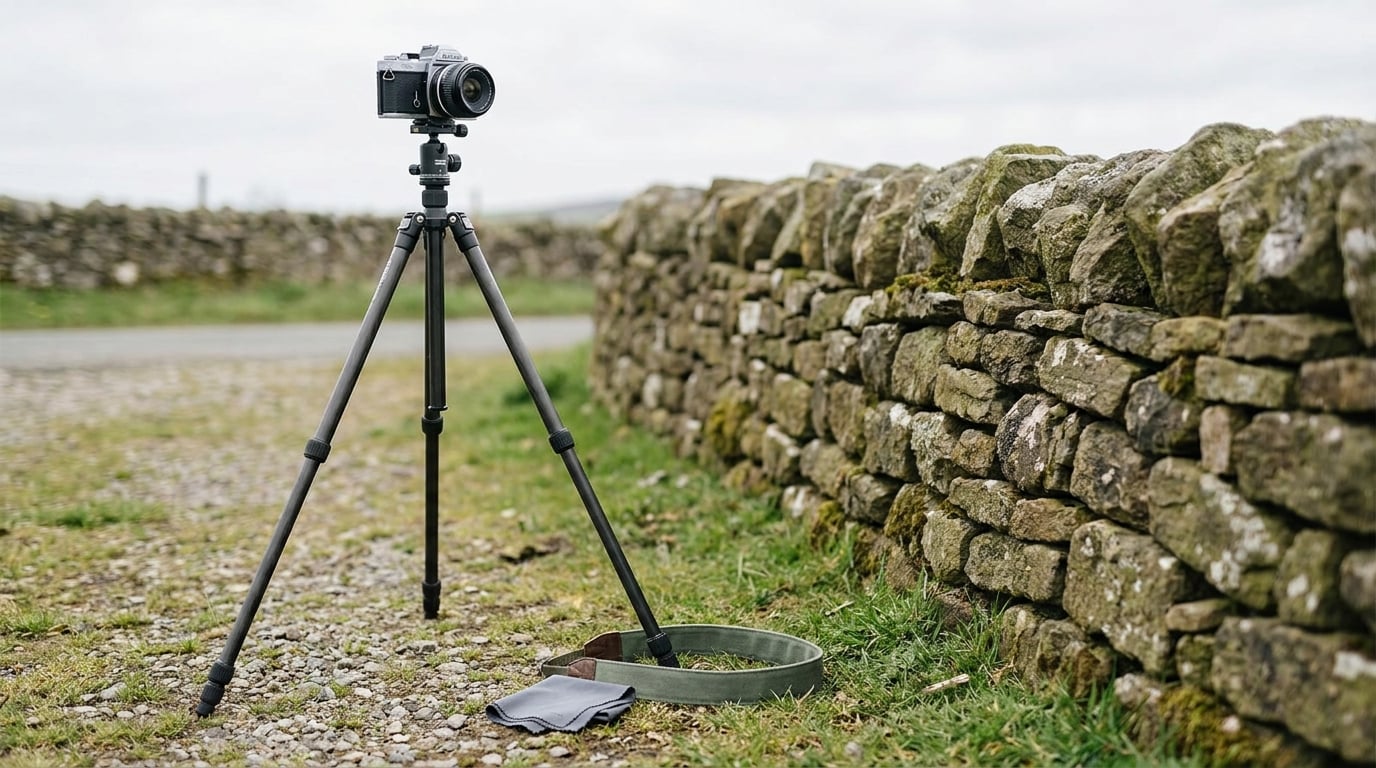
A tripod is a three-legged stand that holds a camera rock steady while the shutter is open. Using one correctly means working in a fixed order: open and lock the legs, extend the thickest leg sections first, level it on the ground you actually have, leave the center column down until you need the height, then mount and lock the camera so nothing is touching it when the shutter fires.
Most soft-looking tripod shots are not caused by a bad tripod. They are caused by a rushed setup.
The whole sequence takes a couple of minutes once you stop hurrying it. It matters most for beginners, because extending every leg section and cranking the center column to its top out of habit is the single most common habit that undoes an otherwise good setup.
Table of Contents
What You Need
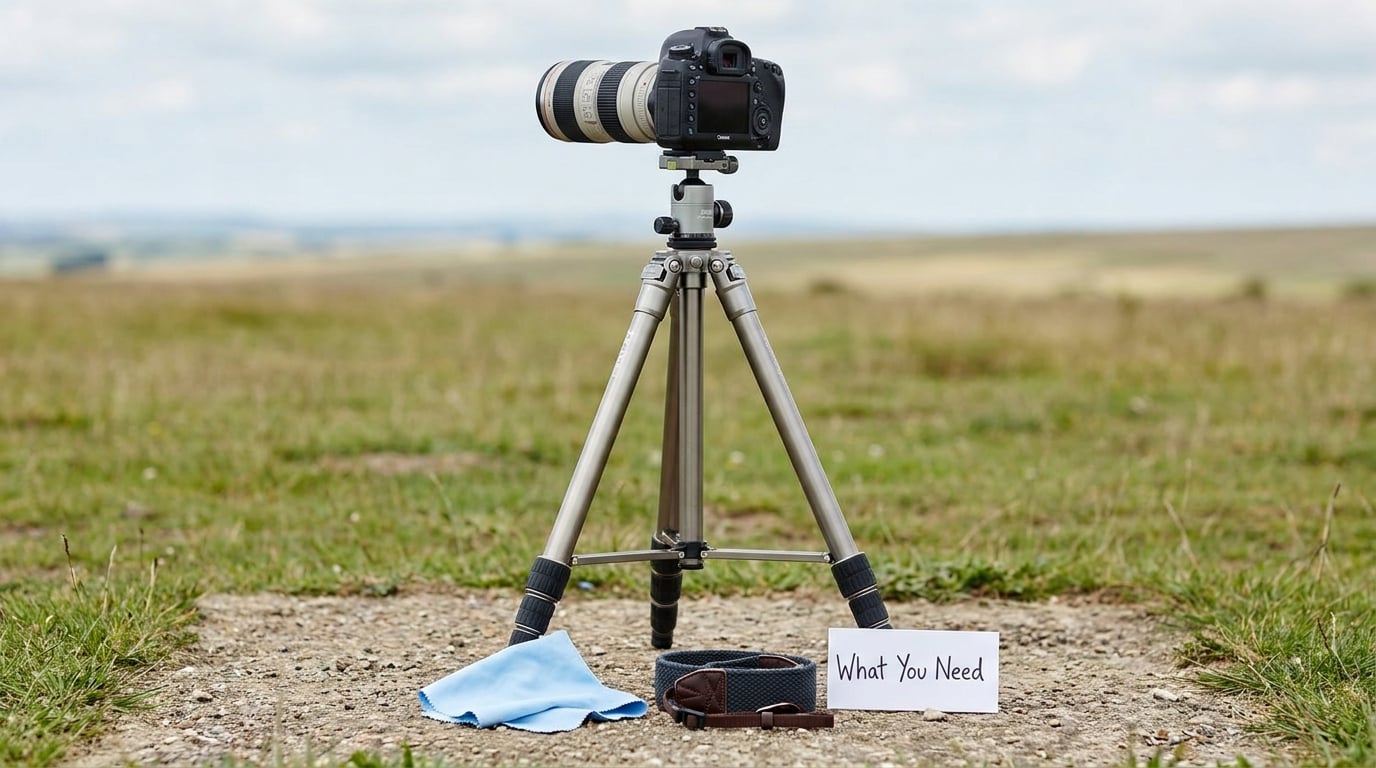
You need four things, and only one of them is the tripod itself.
- The tripod and a head that fits the shot. A ball head is fast and light. A 3-way pan-tilt head lets you level the camera without tilting the whole tripod. A geared head gives fine, damped control for long lenses and video.
- The camera, and a quick-release plate if your tripod takes one. The plate screws into the camera’s 1/4-20 mounting thread and clamps into the head, so mounting and unmounting takes a second instead of a minute of fiddling with thread and knurled knobs.
- A way to fire the shutter without touching the camera. A remote release, a two-second self-timer, or your camera app over Wi-Fi will all work. Something has to delay the exposure by a beat so your hands are off the rig.
- Optional but useful: a small bubble or spirit level, a lens cloth, and a bag or sandbag for the hook under the center column.
- Ball head. Best for travel, wildlife, street, and anything where framing changes fast. Watch out for the fact that a ball alone is not enough to level a camera on uneven ground.
- 3-way pan-tilt head. Best for landscapes, architecture, and panoramas where you want the frame to stay level. Watch out for how much slower it is to reframe, and for the handles getting in the way up close.
- Geared head. Best for long telephoto lenses, video, and careful tracking. Watch out for it being the heaviest and slowest of the three to adjust.
Before you head out, do three quick checks. Make sure every twist lock on the legs actually closes, the rubber feet are on and not chewed up, and the camera strap is not going to hang loose. That last one surprises people more than any other item on this list.
Also loosen the camera’s own strap loops and tuck the strap tail away from the rig. A strap hanging off the center column is a pendulum, and a pendulum moves every time the wind does.
Step-by-Step: How to Use a Tripod Correctly
Here is the sequence in full. Work top to bottom once and the order will feel automatic after that.
- Pick your spot and check the ground before anything else
- Open the legs wide and lock every hinge
- Extend the thickest leg sections first
- Level the tripod on the ground you have
- Set the height you need, center column last
- Mount and balance the camera, then tighten the head
- Frame the shot and lock the controls
- Set focus, exposure, and a delayed shutter release
- Push on the rig to test for movement, then review the image
Set the Tripod Legs and Feet
Spread the legs until they sit at roughly 45 to 60 degrees from the center column, then close every twist lock you can reach.
Most wobble at this stage is a hinge that was never fully tightened, not a cheap tripod. Work around the rig once, physically check each lock, and push gently on the head. If the legs rock, the feet slide, or a leg section telescopes, re-seat it before you go further.
On uneven ground, do not try to force the legs to match. Plant one foot, then a second, then adjust the third so all three share the weight. Use the leg sections to compensate for the slope instead of reaching for the center column, which is the smoothest way to make a stable setup wobble.
Extension order matters. Set the thickest leg sections first, because thick sections resist torsional twisting, and leave the thinnest sections retracted unless the framing genuinely requires the extra height. A long lens pushes this further: the heavier and longer the lens, the fewer thin sections you want extended.
On mud, wet grass, or soft ground, let the feet sink until they have something to bite into rather than resting on the surface. A tripod on a slope should sit slightly downhill of where you want the subject, so the camera can lean forward instead of you adding a tilt that is doing the same job badly.
Choose the Right Height
Set the height last, after the legs are planted, and reach for the leg sections before the center column.
Eye-level framing is a comfort choice, not a stability rule, so a tripod that stops just below your eye is fine. If yours will not get you there without raising the column, that is a sign the tripod is the wrong height for you rather than a reason to crank the column every time.
The center column is the least rigid part of almost any tripod. Extending it raises the camera and raises the center of gravity at the same time, and a column that flexes is vibration you cannot see but your files will show.
For macro and ground-level work, invert the legs on models that allow it instead of dropping the column, or use the lowest leg section down. A hanging camera is also unstable in a way people rarely expect: it wants to swing, and the swing starts the moment the exposure begins.
Mount the Camera and Balance It
With a quick-release plate, screw the plate into the camera’s 1/4-20 mounting thread, tighten the camera-side knob, slide the plate into the head until it clicks, then tighten the head’s locking knob or lever. Without a plate, you thread the camera into the 1/4-20 socket directly and tighten the knob underneath, which is the fiddliest step in the whole sequence and the reason plates exist.
Balance matters more than people expect. Push the camera forward gently with the head locked. If the head rotates freely or the camera swings past centre, the mass is ahead of the support point and the rig wants to tip. Slide the plate back until it sits over the leg apex or just inside it.
Then tighten the pan handle so the camera cannot swing, and run the safety tether or locking pin if your head has one. An unlocked lever is the one failure that can send a body and a lens to the ground.
This is also where the hook under the center column earns its place. Hanging your camera bag, a sandbag, or a filled water bottle from it adds weight low and central, which is exactly what a tall or windy setup needs, and field shooters have long used it to keep a long lens from tipping the rig forward.
Frame the Shot and Lock the Controls
Compose before you commit the head, not after. A ball head lets you tilt and pan freely while you work out the frame, then you lock it and leave it alone.
Use live view or the rear screen rather than pressing your eye to the viewfinder. Leaning in to focus is one of the most common ways people add shake to a shot taken on a perfectly good tripod, and it is completely avoidable.
Once the frame is right, tighten every control that could drift: the head lock, the pan handle, and the leg locks. If the camera will be left standing for a time-lapse or a series, a strip of tape on the leg sections is cheap insurance against a slow twist.
For straight-up or straight-down angles, keep the tripod legs as they are and adjust from the head. Tilting the whole rig to look up at a subject or straight down at the ground costs you far more stability than the angle is worth.
Set Focus, Exposure, and Timer
Tripods unlock three things at once: low ISO, narrow apertures, and long shutter speeds, and all three are worth having.
Focus first. On a tripod, one-shot autofocus is usually the right default. If you are above about 1/200 of a second or working close up, switch to manual focus and set it with a test shot before you settle into the frame. Raise the ISO rather than the shutter speed until the camera is steady enough for a focus test.
On cameras with a mechanical shutter, use mirror lock-up or electronic first-curtain or electronic shutter mode. Mirror slap is its own small shock to the rig, and electronic modes avoid it entirely.
Then fire the shutter without touching the camera. A two-second self-timer works on almost anything, a remote release works better, and for video or long series a pluggable intervalometer removes the guesswork.
Once the camera is on a tripod, the shutter speed stops being a motion problem and becomes a creative one. The rule of thumb photographers use is the reciprocal of focal length, so a 50mm lens on a full-frame body wants about 1/50 second hand-held and a 200mm lens wants roughly 1/200. Once the camera is supported, use whatever the scene needs, from several seconds for smoothing water to a few hours for star trails.
Check for Movement Before Shooting
The simplest stability test costs nothing: put a hand on the camera and push gently in a few directions. If the rig rocks, the legs shift, or you can feel a hinge flex, re-seat it.
If it feels solid, watch a delayed playback at 100 percent. Vibration shows up as a soft edge or a slight doubling of fine detail, and it is far easier to see zoomed in than at full-frame size. A three-second exposure is a genuinely useful diagnostic: if the image looks different from a 1/60 second frame of the same scene, something on the rig is moving.
Check the things people forget. Straps tucked in, no one leaning on the tripod while composing, lens hood seated fully, lens cap off, and the camera not pressing against anything it should not be touching. A tripod head resting on a windowsill is touching. A leg braced against a wall is touching. Both add motion you did not intend.
One note on long exposures: switch off any automatic review or image-stabilization setting the camera enables on its own, and let the file load fully before you touch anything.
Adjust the Setup for Different Scenes
The order stays the same everywhere, but the priorities shift with the shot.
- Wide scenic and panoramic work: level the camera with the head rather than tilting the tripod, hang your bag on the column hook, and keep the camera off the ground. Overlapping frames only line up if the horizon stayed put.
- Portraits and product shots: height at eye level, feet planted, and your subject in one place. The tripod is holding a person still, not moving, so most of the work is posing and lighting.
- Interiors and low light: a tripod earns its keep here. Use the two-second timer, turn off any stabilization the camera applies automatically, and find a way to brace the column or hang weight on the hook if you are near a shutter speed where vibration shows.
- Macro and close-to-ground work: lower the camera with the leg sections or inverted legs rather than the column, and dial in manual focus. Depth of field here is thin enough that a millimetre of movement is the whole difference between the frame and a wasted one.
- Wildlife and long lenses: keep the thick leg sections extended, leave the column down unless you need the height, and hang weight from the hook. A monopod is the better tool for a long lens when your subject is moving and you are standing still, because it is faster to set up and lighter on your legs.
- Night and astro: set up first, focus second, then leave the rig alone for the entire exposure. Shade the eyepiece if you are using optical viewfinder focusing, because a bright star bleeding into the frame is an easy and avoidable fix.
- Phones, 360 photo spheres, and video: the principle is identical. For a photo sphere, the tip that circulates in photo threads is that you move the phone and your body around the lens, not the lens around your body, and a tripod makes that repositioning possible without dragging the phone across the ground.
Common Tripod Mistakes and Quick Fixes
Every one of these produces the same symptom: an image that looks fine at full screen and soft when you zoom in. Vibration is invisible in the viewfinder and obvious in the file.
- Leg locks left half closed. Push on the head after every adjustment. A hinge that is not fully seated is the most common source of wobble.
- The camera strap is dangling. Buckle it, wrap the tail around a leg, or pull it through the loops. A hanging strap swings in any breeze.
- Too many thin leg sections extended. Keep the thickest sections down, and retract the thinnest until framing forces your hand.
- The center column cranked to the top. Use the leg sections for height and treat the column as a last resort, or hang weight on the hook instead.
- Pressing the shutter with a finger. Use the two-second timer or a remote. This one is free to fix and worth more than any tripod accessory.
- Levelling by tilting the whole tripod on level ground. Keep the legs even and level the head. Tilting everything is how you get a horizon that is nearly straight, but not straight.
- Composing through the viewfinder. Lean-in pressure and a bumped head both show up. Use live view and step back.
- Setting up on a weak surface. Dining tables, thin decking, and car roofs vibrate under shutter and even under a hand resting on them. Grass and mud are better than laminate.
- Leaving the camera loose on the head. A ball head will happily swing to the lowest point. Balance, then tighten the handle and the pan lock.
- Shooting long exposures in wind with nothing on the hook. Hang your bag or a bottle. It takes ten seconds and it is the difference between a clean frame and a smeared one.
Before you press the shutter, run this short check: three legs planted and locked, thick sections down, column down unless needed, camera balanced over the support point, head and handle tight, strap out of the way, timer or remote set, and nothing touching the rig.
And if you want a stability check that takes ten seconds instead of a long exposure, try holding a mirror or a phone screen against the camera. If the reflection is steady, the rig is steady.
Frequently Asked Questions
What is the hook under a tripod for?
The hook under the center column is for adding weight low and central. Hang your camera bag, a sandbag, or a filled water bottle from it on windy days, on soft ground, or when a long lens makes the rig front-heavy. Extra weight on that hook lowers the center of gravity, damps leg flex, and stops a heavy lens from tipping the whole tripod forward. Most tripods with a column have one, and plenty of people have never used it.
At what shutter speed should you use a tripod?
Use a tripod any time the shutter gets slow relative to your focal length, which for most full-frame bodies means anything under 1/125 of a second on a 50mm lens and 1/250 on a 200mm lens. Once the camera is supported you are no longer fighting movement, so pick the speed the scene needs instead: fractions of a second for a panning shot, several seconds to smooth water, and many seconds or more at night.
How do I know if my tripod is stable enough to shoot?
Push gently on the head in a few directions. If the legs rock, a section telescopes, or you can feel a hinge flex, re-seat the leg and retighten the lock. If it feels solid, take one test frame, zoom to 100 percent, and check the edges of fine detail. A three-second exposure compared against a 1/60 second frame of the same scene will expose any movement in seconds.
Which tripod leg section should I extend first?
Extend the thickest leg sections first and leave the thinnest ones retracted for as long as possible. Thick sections resist twisting, and the thinner the section, the more it flexes under load. Long lenses need this most, because their weight and length amplify any wobble in the legs or the center column.
Do I need to level a tripod, and should I extend the center column?
Level the camera rather than the tripod, and treat the center column as a last resort. On uneven ground, adjust the leg sections one at a time until all three feet share the weight, then use the head to level the frame. The column is the least rigid part of the assembly, so extending it raises the camera and the flex at the same time.
What is the 20-60-20 rule in photography?
It is a composition guideline rather than a tripod rule: place your main subject roughly 20 percent in from one edge, a second point of interest 60 percent in from the other, and a third element 20 percent in again. On a tripod it is easier to obey, because you can nudge the frame by millimetres without moving the camera, and the discipline is what stops tripod shots looking static.
Conclusion: Start With a Stable Foundation
Three actions fix most soft tripod shots, and all three are free. Plant the legs, check every twist lock, and push on the head until nothing moves. Balance the camera over the support point so it cannot swing, and tighten the head and the handle.
Then let the camera do the last part. A two-second timer or a remote release keeps your hands off the rig entirely, which is the single biggest difference between a sharp frame and a slightly blurred one.
Before you go shopping for a heavier tripod or a more expensive head, review a frame at 100 percent and decide whether the softness came from the setup or from the light. A stable foundation solves most of it, and it starts the moment you spread the legs.