
Shutter speed is how long your camera’s shutter stays open and lets light reach the sensor, measured in seconds or fractions of a second like 1/500. That one setting decides how bright the photo is and whether movement is frozen solid or smeared into blur.
It is also the setting beginners get wrong most often. A blurred frame gets blamed on the camera, when nine times out of ten the shutter was simply too slow. Shutter speed explained for beginners comes down to two things: how much light you let in, and how much movement you let blur. Sort those out and the other settings stop feeling random.
Table of Contents
What Is Shutter Speed?
Shutter speed is the length of time the shutter curtain stays open in front of the sensor. Fast shutter speed means the curtain opens for a fraction of a second, slow shutter speed means it stays open for a full second or several seconds.
Think of the shutter as a light-tight window cover. It lifts, light pours in for a set duration, then it drops again. The amount of light that reaches the sensor during that window decides the brightness of the image, and the movement that happens inside that window decides how sharp it looks.
How to read the fraction
The bottom number is the part that trips people up. 1/250 does not mean 250 seconds. It means the shutter is open for one two-hundred-and-fiftieth of a second, roughly four thousandths of a second.
Some camera displays show a colon or a quote mark instead of a slash when the shutter is open longer than a second. A display reading 2″ is two seconds. So 1/4 is a quarter of a second, while 4″ is four seconds, and the two are four stops apart.
How it differs from aperture and ISO
Shutter speed, aperture and ISO are the three controls that set exposure, and each one has a side job. Shutter speed governs how much light arrives and how motion appears. Aperture controls the width of the opening and therefore depth of field. ISO controls how sensitive the sensor is to the light it receives.
Only shutter speed decides whether a running dog is sharp or smeared. If you want to freeze movement, this is the setting to change, not ISO.
How Shutter Speed Controls Exposure
Double the shutter speed and you halve the light, which makes the photo one stop darker. Halve the speed and the light doubles, one stop brighter. Every step in a standard shutter speed scale is a full stop, so the brightness changes in neat, predictable jumps rather than random ones.
That predictability is why photographers talk in stops. If a shot at 1/60 comes out too bright, 1/120 fixes it. If it comes out too dark, 1/30 is the move.
| Shutter speed | Actual open time | Effect on brightness | Typical result |
|---|---|---|---|
| 1/1000 s | 1 millisecond | Two stops under 1/250 | Very fast action frozen, needs bright light |
| 1/500 s | 2 milliseconds | One stop under 1/250 | Sports, birds in flight, running pets |
| 1/250 s | 4 milliseconds | Reference speed | General action, handheld on a short lens |
| 1/125 s | 8 milliseconds | One stop brighter | Walking people, casual movement |
| 1/60 s | 17 milliseconds | Two stops brighter | Still subjects handheld, mild risk of shake |
| 1/15 s | 67 milliseconds | Four stops brighter | Handheld with stabilization, otherwise tripod |
| 1/4 s | A quarter second | Six stops brighter | Deliberate motion blur, needs a tripod |
| 2 s and longer | Seconds | Many stops brighter | Light trails, star trails, smooth water |
The practical takeaway is simple. If you are indoors or it is late in the day, you need a slower shutter speed, and you will have to open the aperture, raise ISO, or use a tripod to compensate.
Common Shutter Speeds and What They Do
Most cameras offer a set list of standard speeds, and you can usually turn off third-stop increments if you want to work between them. Here is what each band of the scale tends to produce.
1/1000 s to 1/500 s: freeze fast movement
These are the speeds for things that cross your viewfinder quickly. A cyclist at full sprint, a bird taking off, a splash of water. You get almost no motion blur, and you will need decent light or a wide open aperture to keep the exposure reasonable.
1/250 s to 1/125 s: everyday action
Most handheld action happens in this range. A child running around the yard, someone gesturing while they talk, a dog bounding through grass. 1/250 is the speed I lean on most when I do not know what I am shooting.
1/60 s to 1/30 s: still subjects and slight movement
At 1/60 a standing person is sharp as long as the camera is held still. From about 1/30 downward you are gambling on steady hands, and the frame often shows a faint double edge on anything high contrast, like a hand against the sky.
1/15 s to 1 s: intentional blur or tripod work
Below 1/15 handheld results are a coin flip for most people. On a tripod, though, these speeds become the toolkit for creative effects: waterfalls turning to silk, car headlights streaking, people dissolving into the background.
Bulb and speeds beyond one second
Bulb mode holds the shutter open for as long as you press the button, which is what you need for star trails and long exposures of 30 seconds or more. Set your camera to manual, mount it on a tripod, and use a two second timer or a remote so the act of pressing does not shake the frame.
Scenario cheat sheet
| What you are shooting | Start here | Notes |
|---|---|---|
| Static subject, bright light | 1/125 s | Safe handheld starting point |
| Group photo with people moving | 1/250 s | Holds most walking and gesturing |
| Children at a playground | 1/500 s | Sudden sprints need the extra speed |
| Pets indoors | 1/250 s | Raise ISO before dropping below this |
| Football or basketball | 1/1000 s | Needs a fast lens or bright conditions |
| Birds in flight | 1/1600 s | Wingbeats are fast and brief |
| Waterfall, silky effect | 2 s to 10 s | Tripod mandatory |
| Panning with a cyclist | 1/30 s | Subject sharp, background streaked |
| Light trails from traffic | 5 s to 30 s | Tripod, manual focus, dark location |
| Pinpoint stars | 15 s to 25 s | Wide open, high ISO, solid tripod |
Shutter Speed Settings for Beginners
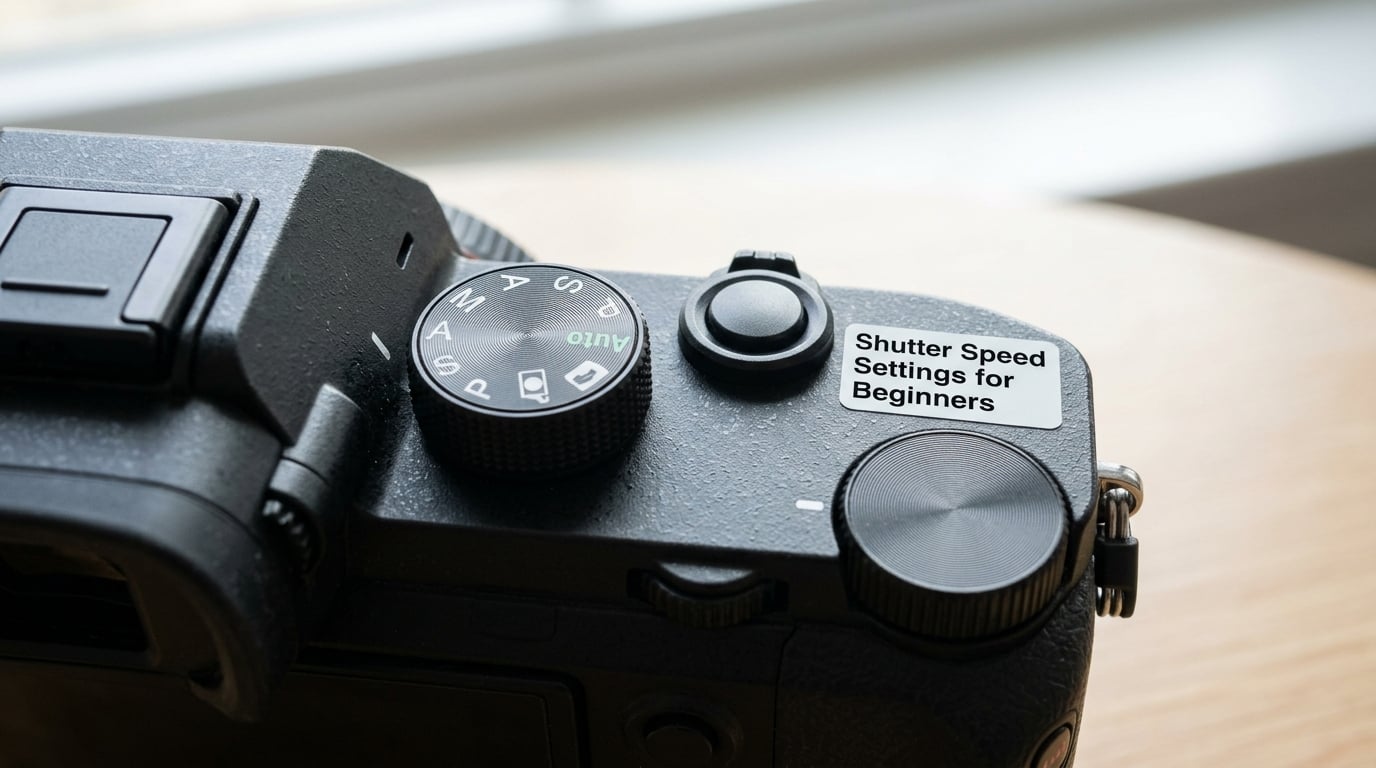
On most cameras the shutter speed has its own place on the top plate or in a menu, marked with an S for Canon, a Tv on Nikon, and sometimes a letter on Sony and Fujifilm bodies. Rotating the main dial changes the value, and the number on the screen or viewfinder updates live as you turn it.
Where the setting lives on mirrorless and DSLR bodies
On a DSLR in manual mode, look for the shutter speed near the shutter button, usually marked with an S or Tv. In shutter priority mode the camera picks the aperture for you and you set the speed. On a mirrorless camera the setting is usually on the top plate, next to ISO, and often doubles as a touch control on the screen.
Turn on shutter speed display lines or a live histogram if your camera has them. Seeing the brightness change as you spin the dial teaches the relationship faster than any diagram.
Shutter priority mode explained simply
Shutter priority, shown as Tv or S, is the friendliest mode for beginners. You choose a shutter speed, the camera selects a matching aperture, and if the picture is still too dark it raises ISO automatically. Pick a speed that matches your subject movement and the camera handles the rest.
Manual mode, marked M, gives you full control of all three settings. It is worth learning later, but shutter priority teaches you what the numbers do without making you balance everything at once.
Electronic versus mechanical shutter
Most mirrorless cameras let you switch between a mechanical shutter, an electronic first curtain, and a fully electronic shutter. Silent shooting uses the electronic option, which can bend fast-moving subjects and produce an uneven band under artificial light, a problem photographers call banding or rolling shutter.
For sports, birds, or anything with movement, stay on the mechanical setting. Use silent mode for portraits and still scenes where banding is a fair trade. On a DSLR you get the mechanical shutter and can ignore this entirely.
How to Choose the Right Shutter Speed
Work through these five steps and you will have a sensible number every time, even in a situation you have never shot before.
- Estimate how fast your subject moves. A wall does not move. A walking person moves slowly. A sprinting cyclist moves fast. Your honest answer here is the whole decision.
- Decide whether you want it frozen or blurred. Freezing needs a fast shutter speed. Blurring deliberately needs a slow one. Ask which picture you actually want.
- Pick the starting fraction. Use the cheat sheet above, then add a safety margin. Slower than you think is a good instinct for still subjects; faster than you think is a good instinct for anything that moves.
- Take a test shot and check the brightness. The histogram or the viewfinder exposure indicator tells you if you are over or under. Adjust one stop and shoot again.
- Compensate with aperture or ISO if needed. Too dark? Open the aperture or raise ISO before slowing the shutter further. Too bright? Stop down the aperture first.
The handheld rule you should memorize
The reciprocal rule states that your minimum handheld shutter speed should be roughly 1 divided by your focal length, measured in millimetres. On a 50mm lens that is 1/50 second, so most people round to 1/60. On a 200mm telephoto it is 1/200, which means you need 1/250 or faster to handhold it.
Wider lenses are more forgiving, which surprises beginners. A 24mm lens tolerates roughly 1/25 second handheld. A 200mm lens wants 1/250.
| Focal length | Minimum handheld speed | Practical setting |
|---|---|---|
| 16mm | 1/16 s | 1/30 s |
| 24mm | 1/24 s | 1/40 s |
| 35mm | 1/35 s | 1/50 s |
| 50mm | 1/50 s | 1/60 s |
| 85mm | 1/85 s | 1/125 s |
| 135mm | 1/135 s | 1/250 s |
| 200mm | 1/200 s | 1/250 s |
In-camera stabilization buys you a few stops on most modern bodies, so the rule is a floor rather than a ceiling. It does nothing at all for a moving subject, though, since it stabilizes the camera, not the subject.
Freeze Motion or Create Motion Blur?
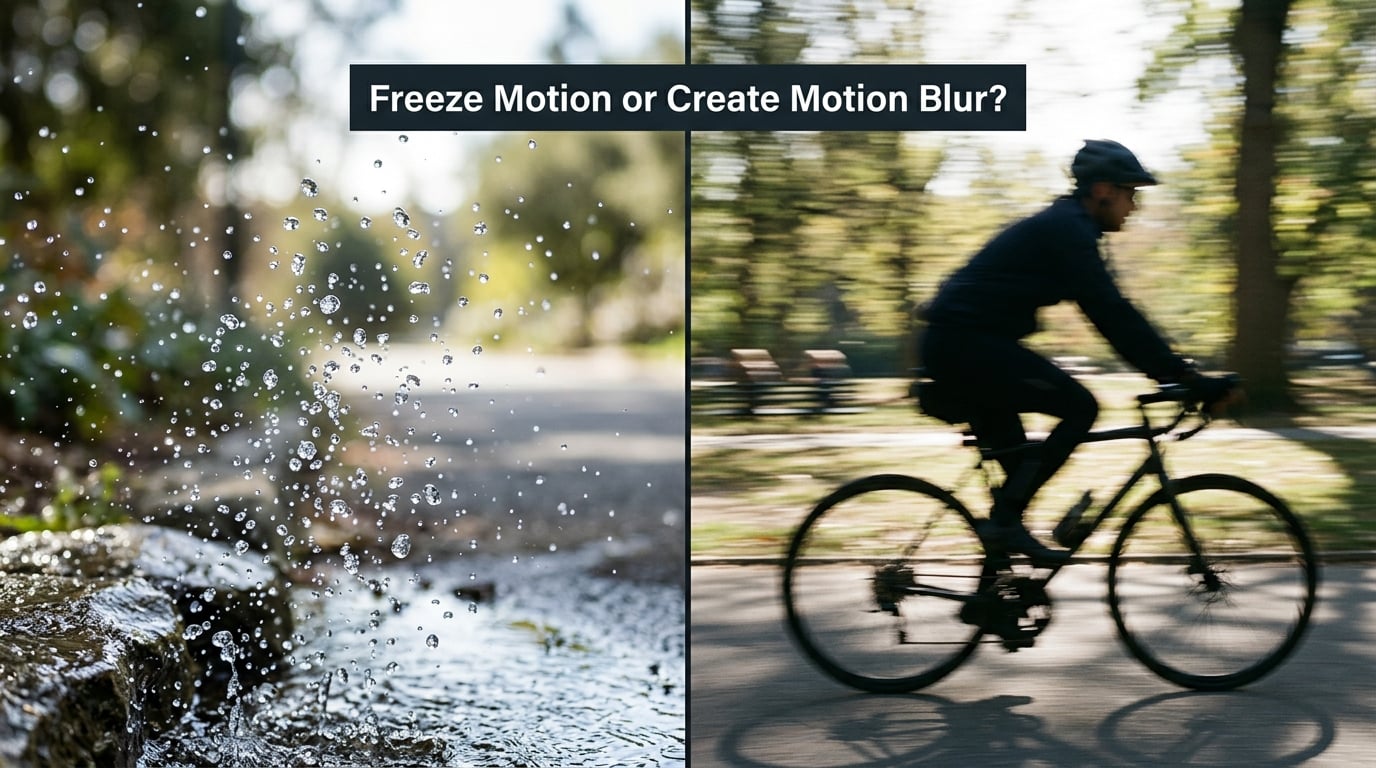
Freezing motion is the instinct for most beginners, and for good reason when you are shooting sport or wildlife. Aim for 1/500 second or faster for anything moving quickly, and watch how the edges of shoes and paws stay clean instead of streaking.
Waterfalls: choose the effect you want
At 1/500 second a waterfall looks like a frozen stack of glassy beads. At 2 to 10 seconds on a tripod the same water turns into a smooth, silky sheet, because the moving water blurs while the rocks stay sharp. Both are correct; they are different pictures.
People and pets: the middle ground works
A still person at 1/60 is fine, but a small hand gesture or a turned head will smear. That is why group shots and pet photos feel sharper at 1/250. You trade a little light for a lot of reliability, and you recover the light with ISO.
Cars and cycling: panning
Panning means tracking a moving subject with your camera as it travels, using a slow shutter speed of about 1/30 second. The subject stays relatively sharp while the background streaks sideways, which reads as speed. It takes practice, so shoot it beside some solid objects to confirm your tracking is working.
Night scenes: when blur is the point
Traffic light trails and star trails exist because of slow shutter speeds. Anything from 5 to 30 seconds turns headlights into lines and makes the earth rotate visibly across the frame. Use a tripod, manual focus, and ISO that keeps the sky from glowing orange.
Why Is My Photo Too Dark or Too Bright?
Too dark after a change usually means you halved the shutter speed for a bright scene or the light dropped. Too bright means you sped up the shutter in low light, or opened the aperture and did not correct for it. The fix is always the same arithmetic: move one setting a stop and the brightness moves one stop the other way.
If a photo is too dark, open the aperture one stop first, then raise ISO, and only then slow the shutter. Slowing the shutter last protects you from the blurry-photo problem that frustrates beginners most.
If it is too bright, stop down the aperture, drop ISO, or speed the shutter. ISO is the setting most likely to cost you image quality, so treat it as the last resort rather than the first move.
Checklist: why are my photos blurry?
- Shutter speed below the reciprocal rule for your focal length. Fix: use a faster shutter speed or a tripod.
- Subject movement you did not account for. Fix: double the speed, from 1/125 to 1/250.
- Focus landed on the background instead of the subject. Fix: switch to single-point autofocus on the subject and re-shoot.
- Image stabilization set for the wrong lens or turned on while the camera was already mounted. Fix: check the lens profile.
- You were panning and the tracking drifted. Fix: slow down slightly, from 1/30 to 1/20, and practise the follow-through.
Blurriness in the same spot every time is camera shake, which is a shutter speed problem. Blurriness that follows the subject is focus or a speed that was too slow for the movement. Telling those two apart solves half of photography’s early frustration.
Frequently Asked Questions
What is the best shutter speed for beginners?
Start at 1/125 second in daylight and 1/60 indoors, and check that it matches the reciprocal rule for your lens. Most beginners get sharper results by shooting a little faster than feels necessary, then recovering the lost light with a wider aperture or higher ISO rather than letting the shutter drift slower.
Is 1/60 second fast enough for handheld photography?
On a short lens, yes. 1/60 second is the practical minimum handheld speed for most people on lenses up to about 35mm, and 1/60 handles a person who is standing or moving slowly. On a 50mm lens treat 1/60 as the limit, and on anything longer than 85mm you want 1/250 or faster.
Does a slower shutter speed make a photo darker?
No, it makes a photo brighter. A slower shutter speed keeps the shutter open longer, so more light reaches the sensor. If your frame is too dark, slowing the shutter by one stop doubles the light, but that is the same change that causes camera shake, so open the aperture or raise ISO first when you can.
Should I use manual mode or shutter priority mode?
Beginners should start in shutter priority, shown as Tv on Nikon or S on Canon. You pick a shutter speed that matches your subject and the camera chooses the aperture, which keeps the picture correctly exposed while you learn what the numbers do. Move to manual mode once the speed no longer feels like guesswork.
What shutter speed freezes fast-moving subjects?
Use 1/1000 second for most fast action such as sport, and 1/1600 second for birds in flight, where wingbeats are both quick and brief. Anything closer to your subject, or any panning technique, needs a slower speed, and that is where blur becomes an intentional effect rather than a mistake.
Can flash change the shutter speed on my camera?
Often it does. Many cameras set a sync speed, usually 1/200 second or 1/250, as the fastest shutter allowed with flash, and a manual faster speed will be overridden. High-speed sync or a compatible flash lets you shoot well beyond that limit, but output drops and the guide number shortens.
Conclusion
Shutter speed is the setting that decides how bright a photo is and how it captures movement, and nothing else on your camera does both jobs.
Your first step is simple: look at your subject, decide how fast it moves, and pick a fraction that matches, using the cheat sheet above. Take a test shot, check the brightness, then adjust the shutter one stop at a time before you touch aperture or ISO. Do that for a week and shutter speed explained for beginners stops being a guessing game.