
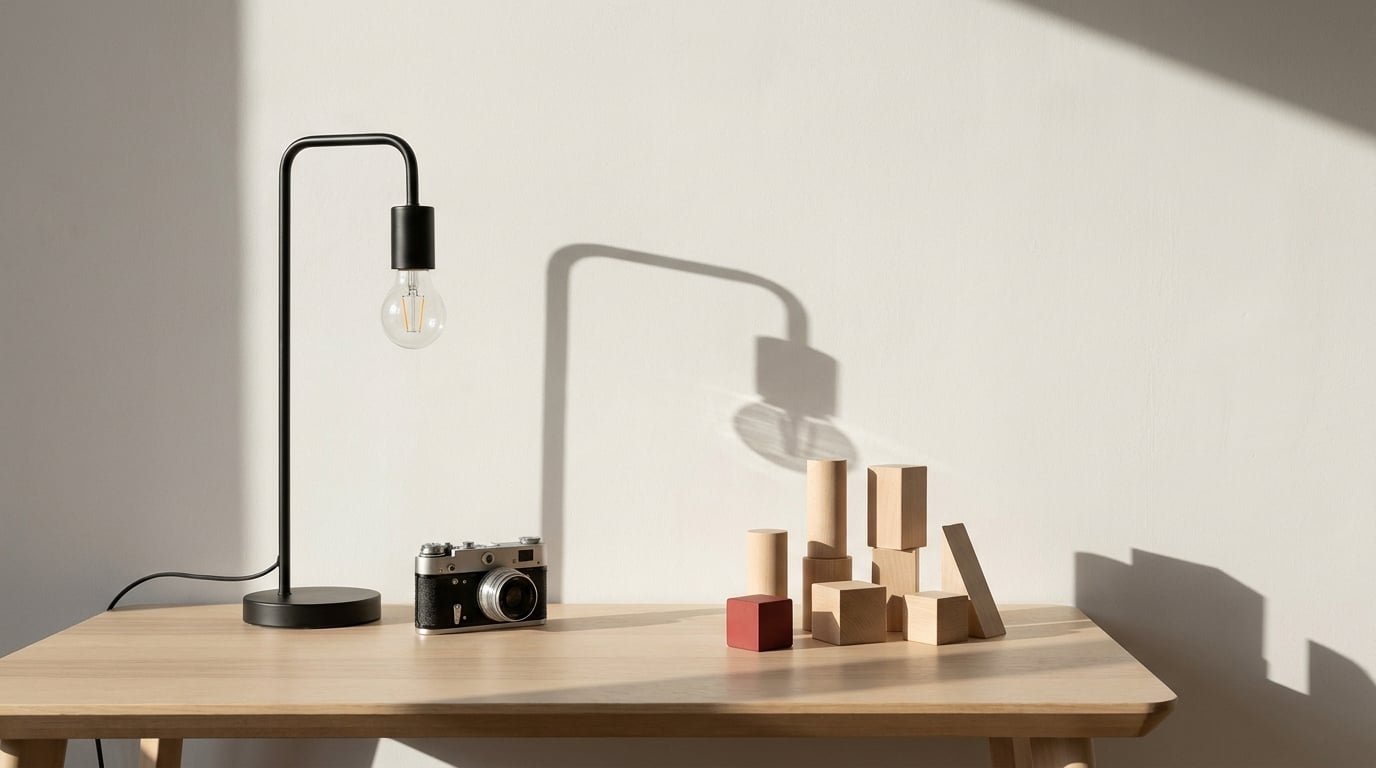
To photograph shadows well, you use one small, hard, directional light source, place it close to the subject, and expose so the lit surface stays bright while the shadow renders deep and clearly edged. Everything else is refinement. I re-checked this method for 2026, and the whole thing takes about ten minutes once you know which three variables to move.
Most disappointing shadow photos fail for the same reason: the photographer waited for good light instead of building it. A bare bulb in a dark room gives you more control than an overcast afternoon, and a desk lamp at the right angle beats any flash modifier in a pinch.
Table of Contents
- What You Need to Photograph Shadows
- Step-by-Step: How to Photograph Shadows from Setup to Edit
- Common Shadow Photography Mistakes (and the Fix for Each)
- Frequently Asked Questions
- What time of day is best for photographing shadows outdoors?
- Are shadows better in black and white or color photography?
- How can I make shadows appear sharper without increasing the ISO?
- What camera settings work best for high-contrast shadow scenes?
- How do I photograph shadows without losing detail in bright areas?
- Can I use a phone camera to create artistic shadow photographs?
What You Need to Photograph Shadows
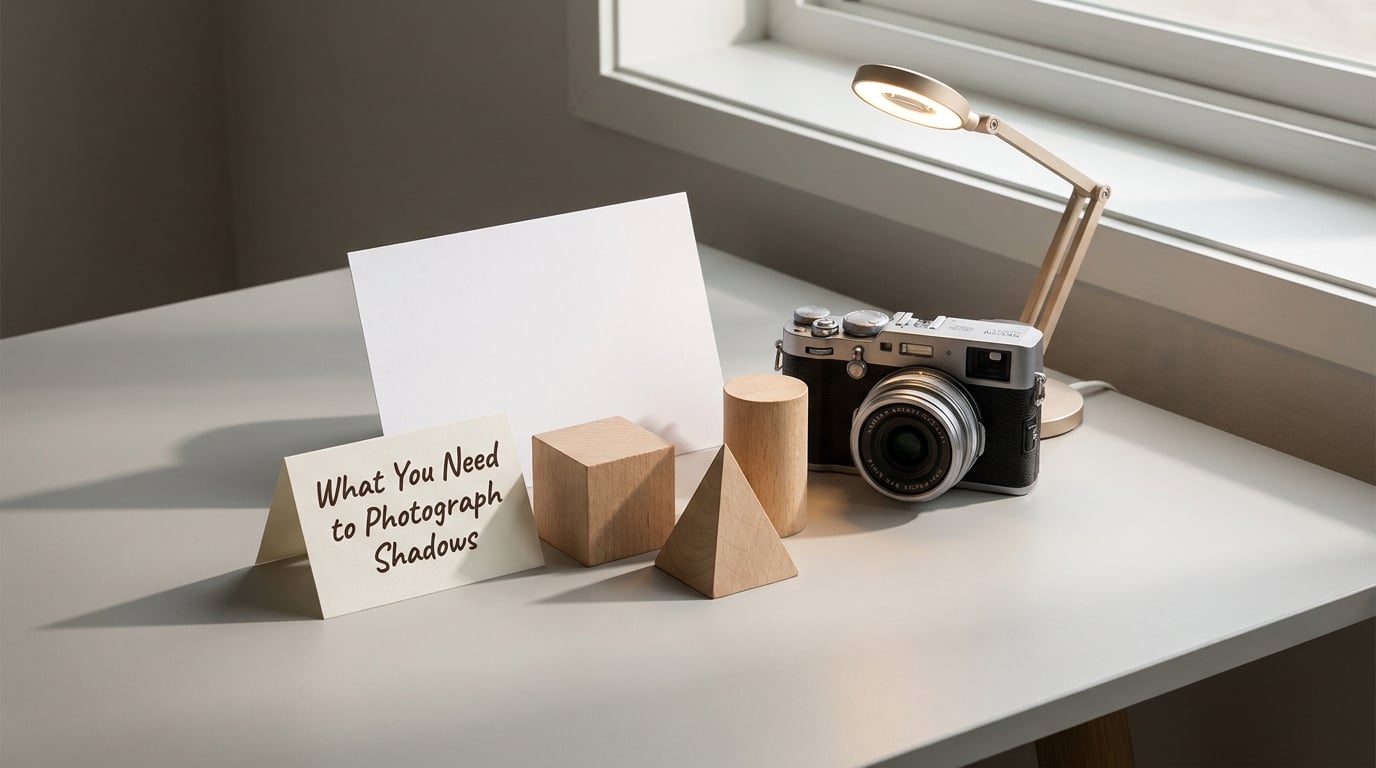
You need far less gear than shadow photography articles suggest. The useful list is short: a light that is small relative to your subject, something to block that light, a plain surface to catch the shape, and a camera that lets you lock exposure.
Light source: a bare LED desk lamp, a flashlight, a single off-camera flash, or a small monolight with a snoot or grid fitted. These are the sources that produce crisp edges. A softbox or umbrella is exactly what you do not want if you are chasing graphic shadows.
Subject: anything with a recognisable outline and a gap in it. Wire, cutlery, a rake, houseplants, a bicycle, a ladder, Venetian blind slats, a coat on a hook. Fences, railings, scaffolding and drainpipes are free shadow subjects that most people walk past daily.
Surface: a flat wall, floor, sheet of paper or canvas board. Matte finishes read better than gloss, because gloss adds a second, competing highlight that competes for attention.
Blocking control: a black card, a piece of foam board or a dark cloth to kill stray ambient light, plus a small white card if you ever want to lift a shadow slightly without flattening it.
Camera: anything with manual exposure and a lockable AE/AF. A phone covers all of it: on iPhone, tap the screen on the subject and then drag the sun icon downward to drop exposure. That single gesture is the difference between a grey smudge and a photograph.
If you have nothing but daylight, work in the last hour before sunset or the first hour after sunrise, when the sun is low and its angle to your subject is shallow.
Step-by-Step: How to Photograph Shadows from Setup to Edit
The sequence below runs in the order that saves you time. Each step tells you what to do and how you know it worked.
How to Photograph Shadows in Hard Light
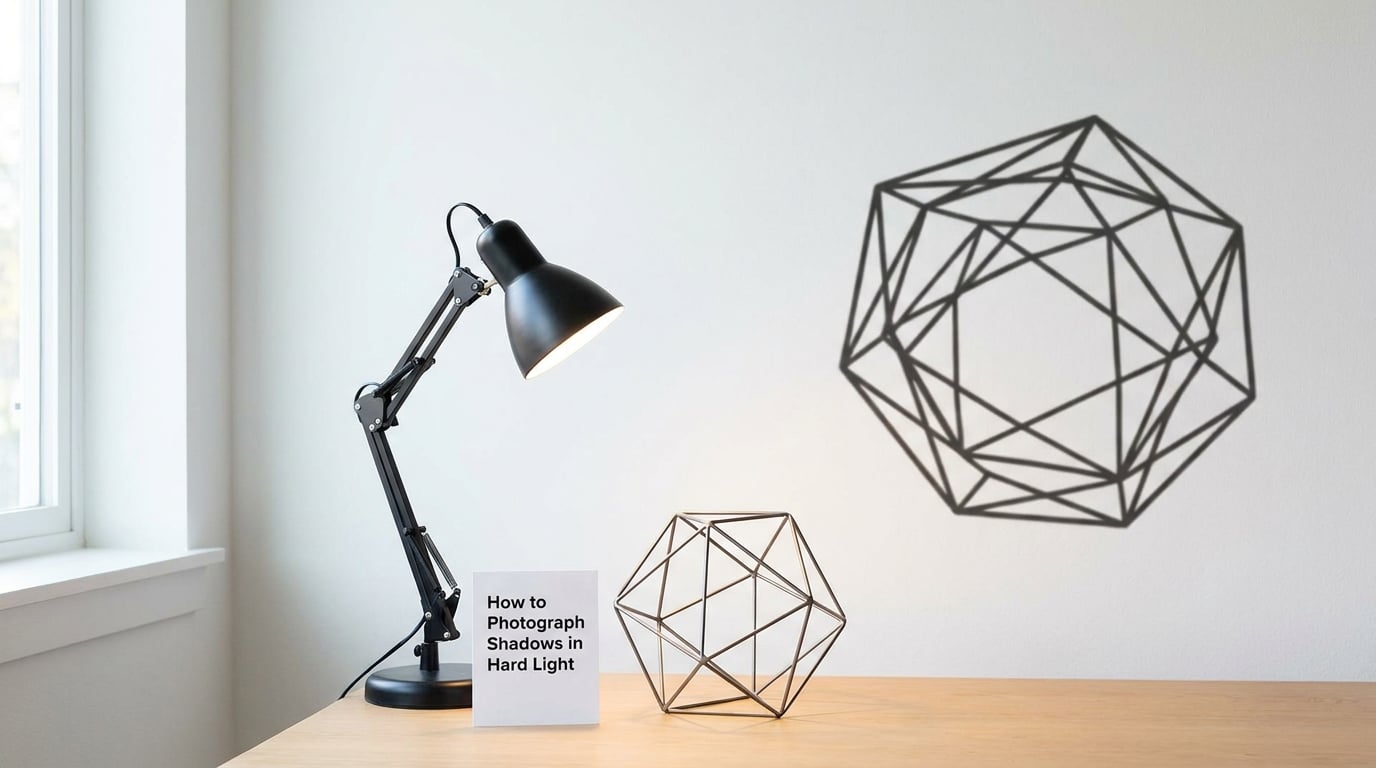
Crisp, graphic shadows come from a small, undiffused light placed close to the subject and off to one side. Distance is the switch that controls how much shadow you get. A source close to the subject throws a large, dark shadow that falls off quickly; the same source moved far away throws a smaller, harder-edged one.
That last part is the trick photographers argue about most. As a commenter on r/cinematography put it plainly: moving the key light back drops its intensity, which lets you raise exposure, which lets you control how the shadow reads. Closer means a bolder shadow. Further means a tidier one. You are not changing the light, you are changing the ratio between the lit surface and the shadow.
People on r/AskPhotography describing sharp, well-defined shadows are almost always describing a snooted or gridded source, and regulars on r/LightLurking report that a speedlight squeezed close to the subject gets them there most of the time. You will get 80 percent of that with a desk lamp and a dark room.
How you know it worked: the edge of the shadow is crisp enough to trace with a fingertip, and the shadow side is dark without being featureless.
How to Photograph Shadows in Soft Light
Soft shadows come from the opposite move: a large light source close to the subject, or a hard one bounced into a wall or sheet of white card. The edge becomes a gradient rather than a line, which is where the quieter, more atmospheric work comes from.
Bouncing is the cheapest diffusion there is. Aim a bare lamp at a white wall from behind the subject, and the wall becomes a big softbox for free. A frosted shower curtain or a bedsheet over a window works the same way for daylight.
Keep the gradient the whole way from highlight to shadow. If one end of the edge goes crisp and the other goes soft, the light is too close to the subject relative to its size, and moving it back will even it out.
Overcast days are not a write-off for this style. The whole sky becomes one enormous light source, so you get soft shadow by default. What you have lost is direction, and you get that back by adding a single small lamp or flash to impose one hard edge on top.
How you know it worked: no hard boundary anywhere in the frame, and a visible tonal shift as your eye travels from the lit area into shadow.
Choose the Shadow’s Direction and Shape
Move the light and the subject independently, and you can stretch, compress, double or destroy a shape. Put the light low behind the subject and the shadow reaches toward the camera. Put it high and the shadow tucks under the object. Put it directly overhead and the shadow collapses into a dark pool at the base.
Rotation matters as much as height. Slide a fork, a hand, or a plant a few degrees and the outline changes completely, because the gaps in the silhouette rotate out of view. A subject with many thin gaps gives you a repeating pattern; a solid mass gives you one confident shape.
Overlapping shadows make the best abstract frames. Two objects lit from slightly different positions produce intersecting lines, and the overlap is where the contrast spikes. This is also how you get around competing ambient shadows outdoors: block the sky with something dark, and the second shadow disappears.
How you know it worked: you can describe the shape in one sentence before you shoot, which means it is a shape rather than an accident.
Set Exposure for Detail in the Highlights and Shadows
High-contrast shadow scenes sit exactly where the sensor struggles, so decide what matters and meter for that. If the lit wall is the subject, meter for it and let the shadow go dense. If the shadow shape is the subject, spot meter off the shadow and accept a hotter wall that you recover later.
Switch to spot or center-weighted metering rather than the default evaluative mode, which tries to average a scene that should not be averaged. Check the histogram, not the screen. If the right edge is jammed against the limit, you are clipping highlights and the shape of the shadow edge will never fully recover.
Exposure compensation is the fastest correction. The sun goes down, the camera assumes a dark scene, brightens the exposure, and hands you a washed-out frame with a grey shadow. Dial in minus one and often minus two stops, and the shadow fills back in.
Shoot RAW, at the lowest ISO your camera will still handle cleanly, and bracket three frames when the contrast is extreme. You are buying yourself options in post, which matters more here than in almost any other kind of photograph.
Focus on the subject, not the shadow. Lock focus and exposure together with AE/AF lock so a reframe does not shift both.
How you know it worked: the histogram touches neither end, and the brightest part of the wall still shows texture rather than a flat white patch.
Compose Strong Black-and-White or Color Images
Once the shape is right, the frame is easy to get wrong. The most common error is including the whole subject and cutting the shadow, or the reverse. Decide which one is the subject and give it room.
Use negative space deliberately. A shadow raking across a mostly empty wall reads stronger than the same shadow in a cluttered frame, because there is nothing for the eye to escape to. Leading lines work too: the edge of a shadow along a wall or floorboard pulls the viewer along it.
Shoot low and long when you want the shadow to feel like it belongs to the scene, and shoot straight down when you want it to read as a shape on its own terms. Repetition pays off in tight frames, where a row of identical shadows becomes a rhythm.
Convert to black and white when the frame is mostly about edge and shape, or when a stray reflection is the only colour in it. A mix or filter control gives you more say than a straight desaturation, because it lets you push one hue bright and another dark while the shape stays where it is. Keep colour when the light itself is interesting, which it often is at the ends of the day.
How you know it worked: the shadow holds up when you squint at the thumbnail and the frame still looks deliberate with all the detail gone.
Review and Edit the Shadow Photograph
Review at actual size, not zoomed in. You are checking four things: is the edge where you meant it to be, is the contrast where you want it, is there a colour cast from the light, and is there noise in the deepest blacks.
Start with the raw file and set the black point. Then check the histogram again and lift the shadows just enough that texture appears in the dark area. A global shadow lift flattens everything, so a linear gradient mask over the shadow region is the better tool when the frame is one big gradient.
Do not go further than the frame can support. One photographer writing about shadow as storytelling makes a point I agree with: pulling every last bit of detail out of the shadows usually costs more than it returns, because the darkness was doing the work. Deep, clean blacks look intentional. Grey, rescued blacks look like an apology.
How you know it worked: the deepest part of the shadow is still dark on a decent screen, and no edge in the frame has a halo around it.
Common Shadow Photography Mistakes (and the Fix for Each)
Most of what goes wrong in shadow photography is one of six things, and each has a quick fix.
Filling the shadows until the shot goes flat. Reflector light is useful in portraits, but a card opposite your key light erases the exact contrast that made the picture worth taking. If you need a little lift, use a small white card far from the subject and move it in gradually. If the shadow disappears, you have gone too far.
Clipped highlights on the lit surface. This is the most common technical failure. Check the histogram, drop exposure by a stop or two, and if you are still clipping, the light is too hot for the surface, so move it back or flag it.
A shadow that runs out of frame. A shadow that leaves the edge feels accidental. Either widen the composition until the whole shape is inside, or commit to a crop so the exit looks like a choice.
Two or three competing shadows. Outdoor ambient light is a second light source you did not invite. Block it with a flag, a jacket, or a car, or accept the mess and work with the overlapping shapes as an abstract.
Your own shadow in the frame. Step out of the light and check the ground before every frame, or use a release and a timer. It happens to everybody once and it happens in the best shots.
A grey, lifeless result. Usually a hard source that was too far away, or a diffuser that was too close. Bring the lamp closer, or take the diffusion off entirely, and shoot one frame without changing anything else to see the difference.
If you only change one thing, change the distance between the light and the subject. It moves the shadow size, the edge hardness and the tonal ratio all at once, and it costs nothing.
Frequently Asked Questions
What time of day is best for photographing shadows outdoors?
Late afternoon and early morning give you the longest shadows and the warmest light, because the sun sits low and rakes across your subject at a shallow angle. Midday sun sits nearly overhead and produces short, dark shapes directly under the subject. If you want dramatic, stretched shadows, shoot within an hour or two of sunrise or sunset. Overcast days are ideal for soft, even shadow studies but give you very little direction.
Are shadows better in black and white or color photography?
Go monochrome when the frame is about edge and shape, or when one stray reflection is the only colour in the picture. Black and white removes that distraction and makes the graphic quality of the shadow carry the whole image. Keep colour when the light itself is interesting, which it usually is near sunrise and sunset, or when a warm wall and a cool shadow do the describing for you.
How can I make shadows appear sharper without increasing the ISO?
Sharpness has almost nothing to do with ISO. Reduce the size of your light source relative to its distance, which means using a bare lamp or a snooted flash instead of a softbox, and place it close to the subject. Then confirm your focus is on the subject rather than the surface behind it, and use a shutter speed fast enough to freeze any movement in the scene. A tripod handles the rest.
What camera settings work best for high-contrast shadow scenes?
Start in manual exposure with the lowest ISO the camera handles cleanly, around 100 to 400, and use spot or center-weighted metering instead of the default evaluative mode. Choose an aperture around f/5.6 to f/8 for enough depth of field to hold both subject and shadow, then set exposure compensation between minus one and minus two stops so the camera does not brighten the scene. Shoot RAW and check the histogram for clipping.
How do I photograph shadows without losing detail in bright areas?
Meter for the lit surface, check the histogram for clipping, and dial in negative exposure compensation so the bright wall keeps its texture. If the light is simply too hot for that surface, move it further back rather than stopping down, because stopping down will not fix a light that is over the exposure limit. Bracketing three exposures gives you the latitude to recover a bright area in post without dragging the shadow flat.
Can I use a phone camera to create artistic shadow photographs?
Yes, and a phone is enough for every technique in this guide. Use the same small, hard light source: a desk lamp, a flashlight, or the sun near a wall. Tap the subject on screen to lock focus and exposure, then drag the sun icon down to darken the image so the shadow fills in rather than going grey. Avoid digital zoom, since it crops and softens, and hold the phone low for longer, more graphic shadows.
Start with one lamp, one object and a clear wall, in a room you can block up. Move the lamp closer and further, take a frame at each position, and pick the one where the shadow shape is doing the most work. Everything else in this guide is a variation on that.