
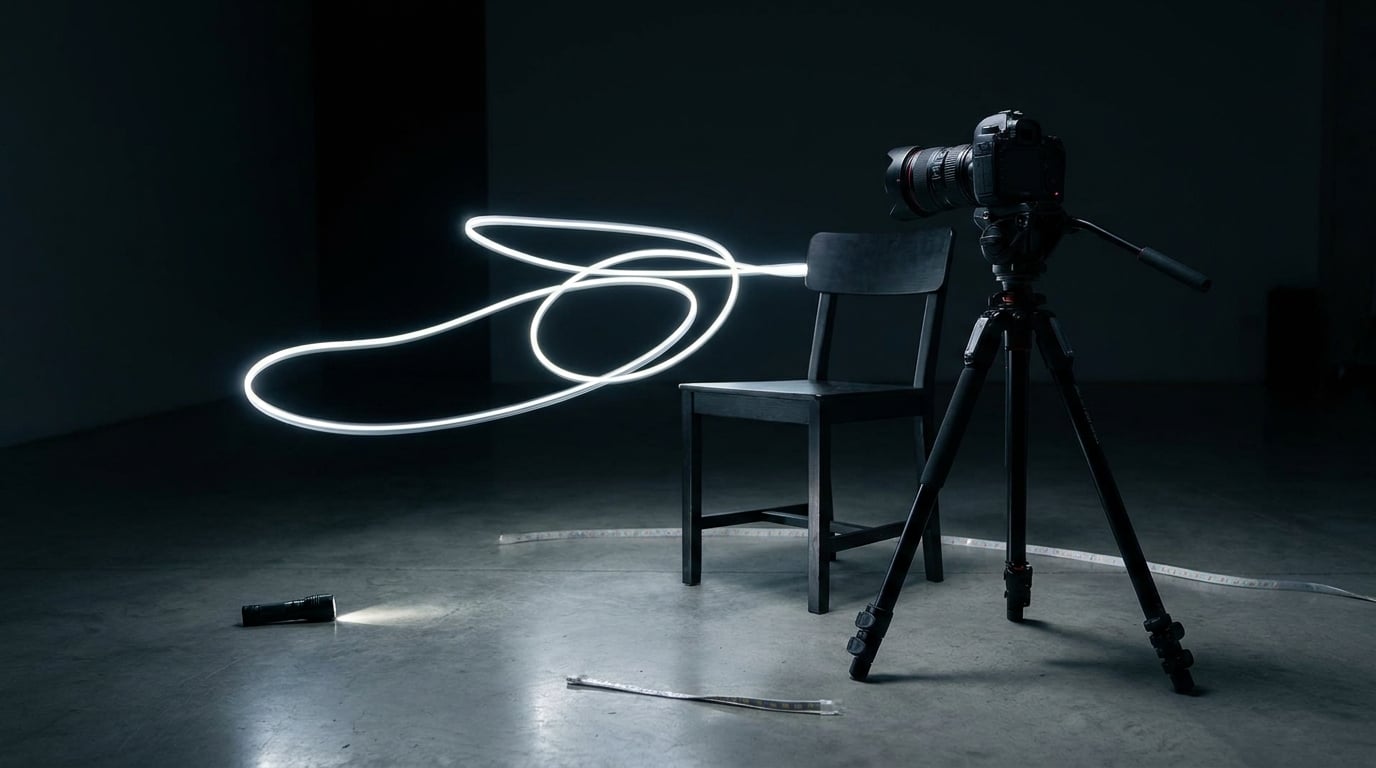
Light painting is a long exposure technique where the shutter stays open for several seconds and you move a light source through the frame, so the camera records the light’s path as a glowing shape. You need a tripod, a manual-mode camera, one light and a dark spot. That is genuinely it, which is why these light painting ideas for beginners are worth trying on your first night out rather than saving for a holiday.
A quick note on what this article is about. Some searches for this phrase turn up acrylic craft and flower painting, where people mix luminous paint on canvas. This is the photography side: a torch, a long exposure, and a dark room. The same words, a completely different hobby.
I have watched plenty of people assume light painting needs a fast lens and a mirrorless body. It does not. The most useful thing you can change before your first frame is how dim your light is, and that costs nothing. Forum photographers say it constantly: a bright torch close to the lens burns a white hole in the middle of the shape, and the same shot with a dimmer source looks like a proper photograph.
Here is the plan for the next hour of your life. Set the camera up, take a few practice frames, and work down the list below in order, because the early ideas build the hand movement the later ones need.
Table of Contents
- 12 Light Painting Ideas for Beginners at a Glance This table sorts the twelve ideas by difficulty so you can start with the ones that work on a first attempt. Difficulty here means how much hand control the shape demands, not how good your camera is. IdeaDifficultyLight sourceOpening setting Glowing light trailEasyDim torch or LED10 sec, f/11, ISO 100 SpiralMediumTorch20 sec, f/8, ISO 100 Halo around a subjectMediumTorch, two hands15 sec, f/8, ISO 200 Letters or wordsMediumSmall LED20 sec, f/11, ISO 100 StarburstEasyStationary torch4 sec, f/16, ISO 100 Light ribbonsEasyLED strip or lit fabric8 sec, f/5.6, ISO 400 Floating particlesEasyTea lights or small LEDs15 sec, f/4, ISO 800 Human figureHardTorch20 sec, f/8, ISO 200 Abstract colour streaksEasyColoured LEDs10 sec, f/8, ISO 200 Light frame around a subjectMediumTorch12 sec, f/8, ISO 200 Forest sceneMediumTorch25 sec, f/8, ISO 400 Light painting plus flashHardTorch and flash10 sec, f/11, ISO 200 1. Create a Glowing Light Trail
- 2. Draw a Spiral in the Air
- 3. Make a Halo Around a Subject
- 4. Paint Light Letters or Words
- 5. Create a Starburst Effect
- 6. Photograph Light Ribbons
- 7. Make Floating Particles
- 8. Light Paint a Human Figure
- 9. Create Abstract Color Streaks
- 10. Frame a Subject with Light
- 11. Make a Light-Painted Forest Scene
- 12. Combine Light Painting With Camera Flash
- Frequently Asked Questions
- What camera settings are best for light painting?
- Do I need a special camera or lens to try light painting?
- How dark should the location be for light painting?
- What is the easiest light-painting idea for a complete beginner?
- Can I do light painting with a smartphone?
- How do I make light painting look sharp instead of blurry?
- Conclusion
12 Light Painting Ideas for Beginners at a Glance
This table sorts the twelve ideas by difficulty so you can start with the ones that work on a first attempt. Difficulty here means how much hand control the shape demands, not how good your camera is.
| Idea | Difficulty | Light source | Opening setting |
|---|---|---|---|
| Glowing light trail | Easy | Dim torch or LED | 10 sec, f/11, ISO 100 |
| Spiral | Medium | Torch | 20 sec, f/8, ISO 100 |
| Halo around a subject | Medium | Torch, two hands | 15 sec, f/8, ISO 200 |
| Letters or words | Medium | Small LED | 20 sec, f/11, ISO 100 |
| Starburst | Easy | Stationary torch | 4 sec, f/16, ISO 100 |
| Light ribbons | Easy | LED strip or lit fabric | 8 sec, f/5.6, ISO 400 |
| Floating particles | Easy | Tea lights or small LEDs | 15 sec, f/4, ISO 800 |
| Human figure | Hard | Torch | 20 sec, f/8, ISO 200 |
| Abstract colour streaks | Easy | Coloured LEDs | 10 sec, f/8, ISO 200 |
| Light frame around a subject | Medium | Torch | 12 sec, f/8, ISO 200 |
| Forest scene | Medium | Torch | 25 sec, f/8, ISO 400 |
| Light painting plus flash | Hard | Torch and flash | 10 sec, f/11, ISO 200 |
1. Create a Glowing Light Trail
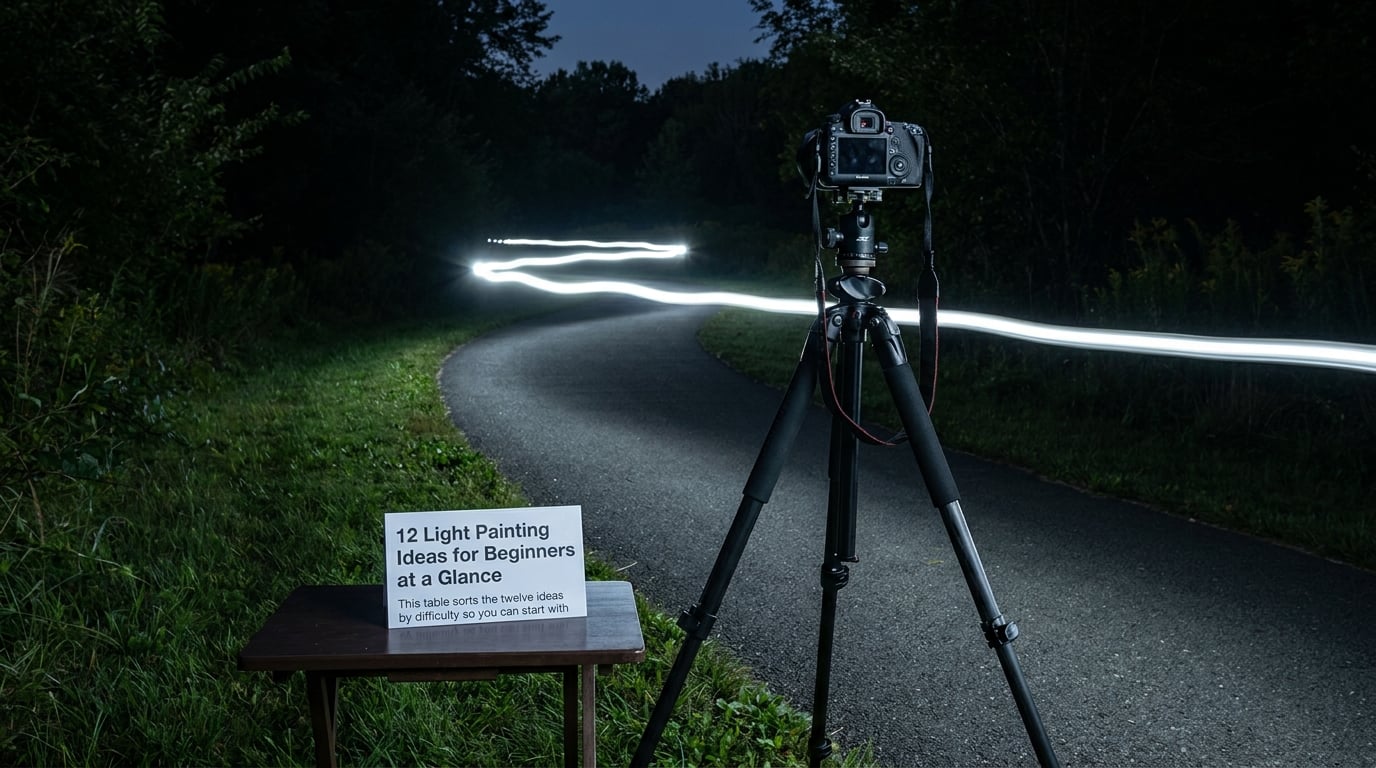
A light trail is the simplest shape to paint and the one most beginners finish on their first night. The camera does not move, you do, and the trail follows the line your hand draws.
What is the easiest light-painting idea for a complete beginner?
Wave a single dim torch from one side of the frame to the other while the shutter runs. That side-to-side sweep takes about two seconds, so a 10 second exposure leaves plenty of room to overshoot and still come back. Aim slightly below the lens and a little to one side rather than straight at it, because light aimed into the lens produces flare that no edit fully recovers.
Set Manual mode, ISO 100, f/11 and 10 seconds, switch off image stabilisation if your camera has a menu option for it, and focus manually on the middle distance. Then paint. Start and end your movement a second early and late so the frame does not end on a hard bright stop.
Where you shoot matters more than what you hold. A dark path, an unlit hallway or a bedroom with the curtains shut all work. If you are outdoors, tell someone where you are, carry a torch that can be switched on with one hand, and check the ground before you walk anywhere dark.
2. Draw a Spiral in the Air
A spiral is a hand-path problem, not an equipment problem. The trick is to start the light at the edge of the frame, trace inward for several turns, and pull your hand back to where you started instead of stopping abruptly.
Drop the aperture to f/8 and extend the exposure to 20 seconds so the faint outer turns survive. Practise the path first with the torch off, in daylight, with your arm moving and nothing in your hand. Two minutes of that saves ten wasted frames.
If your spiral looks like a scribble, the turns were probably too tight. Big loose loops with a consistent speed photograph far better than a fast tight coil, because the camera records where the light was rather than how fast you moved through it.
3. Make a Halo Around a Subject
A halo puts a person inside a ring of light and is the first idea that needs two people, or one person and a very steady chair. Your subject sits or stands about 2 metres from the camera, completely still, and does not move during the exposure.
You stand behind or beside the subject with a dim torch and draw a slow circle just outside their head and shoulders. The important detail is keeping the torch pointing away from the subject, toward the back wall, so their face stays a silhouette instead of getting lit up by every pass.
Reviewers on photography forums warn that this is the idea most often ruined by a bright core. If the ring collapses into a white blob in the middle, the light passed in front of the lens rather than around the person. Angle it away and try again at a lower brightness.
4. Paint Light Letters or Words
Writing a word in light is the best way to make a photo unmistakably yours. One word, two words, or a single initial, and the letters need to be big enough to read at the size you will post it.
Hold a small LED in one hand and write at a deliberate pace, letting each stroke take a moment. Air-writing feels much faster than it is, so over-expose to 20 seconds and start the writing about 3 seconds after the shutter opens, then stop 3 seconds before it closes.
Letters that only use straight lines, like A, E, H, I, L, T or W, are far easier to read than curves. Most people get a clean first initial and then a mess on the surname, so plan the word on paper, keep it short, and expect four or five takes.
5. Create a Starburst Effect
A starburst comes from a light that does not move. This is the odd one out in light painting: instead of moving the light, stand still and stop the aperture down.
Pick a point roughly 10 metres from the camera, focus on it manually, set f/16 and a 4 second exposure at ISO 100, and hold the torch still. Each aperture blade becomes one ray, so more blades means more spikes. Turn the light slightly as you start and stop the exposure and you get a two-tone star instead of a flat one.
This is the fastest idea on the list to set up and a good confidence builder, because almost the entire result comes from the settings rather than from your hand.
6. Photograph Light Ribbons
Ribbons come from a wide, soft light source rather than a point. A strip of battery fairy lights, a flexible LED strip, or even a torch with white tissue paper taped over the head all smear into a broad glowing band during a long exposure.
Use a shorter exposure, 6 to 8 seconds, and open up to f/5.6 with ISO 400 so the ribbon keeps its colour. Long swipes and gentle arcs produce the flowing look, and letting the ribbon pass near the bottom of the frame gives the impression of a horizon without needing a real one.
Shake and vibration are more visible with soft sources than with hard ones, so prop or hold the light with both hands and move from the shoulder rather than the wrist.
7. Make Floating Particles
Forget drawing. This idea is about placing small lights and letting the exposure describe them. Battery tea lights, small string lights, or a handful of battery LEDs scattered on a dark surface give you a field of glowing points with no drawing skill required at all.
Open up to f/4, raise ISO to around 800 and expose for 15 seconds, then walk around the lights and wave a dim torch through the frame to add movement. The still points stay sharp while the torch adds the trail between them.
On safety, keep this one to LEDs. Sparklers burn at roughly 1000 degrees Celsius and throw sparks, so they are not a back-garden beginner project. A sparkler is fine in the hands of an adult, outdoors, well away from dry grass, hair and other people, and never on a tripod-held shot where you cannot control the movement.
8. Light Paint a Human Figure
Drawing a person in light sounds harder than it is, because you are not painting detail. A stick figure, a single curved outline and a circle for a head are enough for the camera to read as a body.
Use 20 seconds at f/8 and ISO 200. Start at the feet, draw up one leg, across the torso and down the other leg, then add arms, then loop the head. If you cannot hold the whole figure in one pass, shoot the body and the head as two separate exposures and blend them in editing, which is the standard fix when one pass is not enough.
Draw the figure large in the frame, roughly two-thirds of the height. A small figure with a wide movement reads as a smudge, while a big figure moving slowly reads clearly.
9. Create Abstract Color Streaks
This is the least fussy idea on the list and the one that flatters a beginner most. Two or three coloured LEDs, a torch wrapped in coloured cellophane, or a set of fairy lights in different colours, all moved loosely for 10 seconds at f/8 and ISO 200.
Because there is nothing to recognise, nothing looks wrong. Layering two colours in one pass, or a second pass from a slightly different angle, gives a result that looks like a deliberate abstract rather than a practice frame.
Set white balance to Daylight or Cloudy rather than Auto so your colours stay where you put them. If you are editing afterwards, shoot RAW; Auto white balance on a mostly black frame often shifts the whole image towards whatever colour the brightest part of the trail had.
10. Frame a Subject with Light
Here you paint a doorway, arch or rectangle in the air around something already in the scene, a person, a chair, a tree, even a doorway in a wall that is already there. The painted frame reads as architecture and the subject sits in the middle.
Stand roughly where the camera is and draw a large rectangle with a torch, keeping the light an arm’s length from your body. Twelve seconds at f/8 and ISO 200 gives you time for three sides and a return to the start point.
Symmetry is the whole trick. Mark your start and end corner on the ground with a pebble so your hand finishes where it began, and keep the subject centred inside your rectangle rather than to one side.
11. Make a Light-Painted Forest Scene
Outdoor scenes add context that a dark room cannot, and a woodland path at night is one of the easiest places to find a genuinely dark background without arranging anything.
The problem is the exposure. Expose for the light and the trees vanish into black; expose for the trees and the trail goes white. Longer exposures of 25 seconds at f/8 and ISO 400 let you keep some of the trees if there is any ambient light at all, such as a distant street lamp or a bright sky behind the canopy.
Work in fog or mist if the forecast offers it, since the light picks up the moisture and every trail gets a soft glow around it. Watch your footing, and give the tripod something solid to stand on, because a lighter tripod plus any wind will show up as a smeared frame. A heavier tripod in a sheltered spot solves what no setting will.
12. Combine Light Painting With Camera Flash
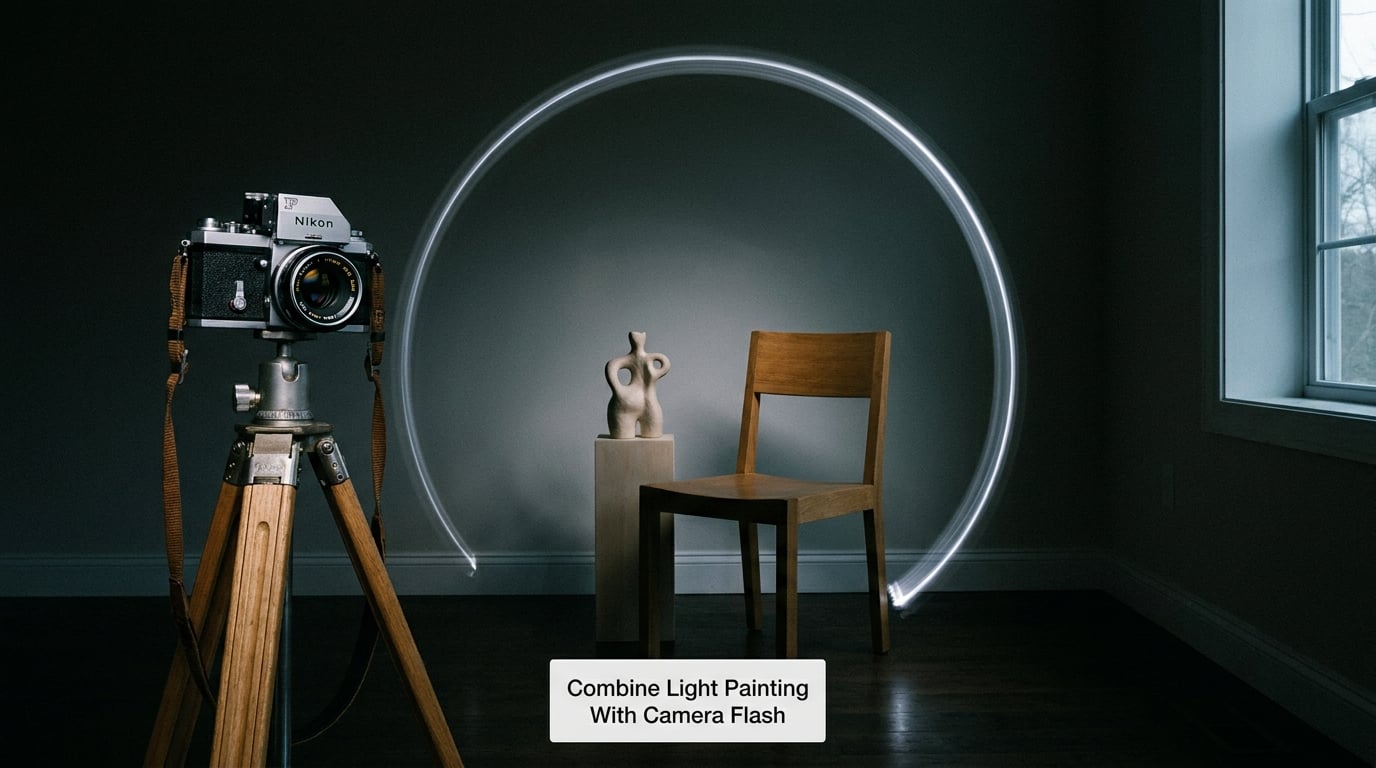
This is the idea that makes light painting look like a studio photograph, and it is the hardest of the twelve. The camera runs a long exposure while you paint, and something else fires a very short flash to record the subject properly.
Put the subject in Manual at ISO 200, f/11 and 10 seconds, with the flash set to fire at low power at the end of the exposure. You can trigger it with a remote second camera, an intervalometer, or a wireless flash on a second body. Practise the timing first with the flash only, no painting, and get the exposure right before you complicate it.
Both need to be captured in the same long exposure, so the flash duration and the trail have to be in the same frame. Expect to shoot this a lot before it works, and consider using the flash-plus-trail version as a final flourish once the simpler ideas are second nature.
Frequently Asked Questions
What camera settings are best for light painting?
Start in Manual mode at ISO 100, f/11 and a 10 second shutter speed, with focus set manually and image stabilisation switched off. Open the aperture or raise ISO for a very dark room, and stop down to f/16 for starbursts where the light stays still. A 2 second timer or remote release keeps your hand away from the camera when you start the exposure.
Do I need a special camera or lens to try light painting?
No. Any camera with a manual mode and a tripod socket will do, including an older DSLR or a bridge camera. A normal kit lens at 35mm to 50mm is plenty, because wide lenses exaggerate flare and you want the light in the frame rather than smeared across it. These light painting ideas for beginners need gear you probably already own.
How dark should the location be for light painting?
As dark as you can safely manage. A fully black background is ideal because it shows only what your light reveals, but a dim outdoor street or a room with one lamp works too, and a lit city backdrop gives the image place and context. Check the frame on Live View before you paint, and let your eyes adjust to the darkness so you can see where you are standing.
What is the easiest light-painting idea for a complete beginner?
A single side-to-side light trail with one dim torch. It takes about two seconds to perform, it needs no path planning, and a 10 second exposure gives you room to be clumsy and still get a usable frame. A written initial or a starburst sit just behind it, since both are a single continuous movement rather than a shape to trace.
Can I do light painting with a smartphone?
Yes, with limitations. Most phones offer a live long-exposure or night mode that runs up to 30 seconds or so, which is enough for a simple trail. Lock focus, set exposure to the lowest step, prop the phone against something solid, and use the phone’s own torch, a second person’s torch, or a small LED. Fine detail like words and halos are hard at that quality, so keep the shapes simple.
How do I make light painting look sharp instead of blurry?
Blur is usually tremor or tripod movement, not a bad technique. Use a 2 second timer or remote release so you never touch the camera during the exposure, switch off image stabilisation on some models, and make sure the tripod leg is not flexing under your weight. On the painter’s side, move more slowly, and hold the light in one hand and your other hand against your torso for stability.
Conclusion
Start with idea number one: Manual, ISO 100, f/11, 10 seconds, manual focus, one dim torch, and a slow side-to-side sweep in a dark room you already know well. Shoot twenty frames rather than two, because the first ten are how your hand learns the timing. Once that one works, move to a starburst, then to writing a single letter, and the rest of the list gets easier from there.