
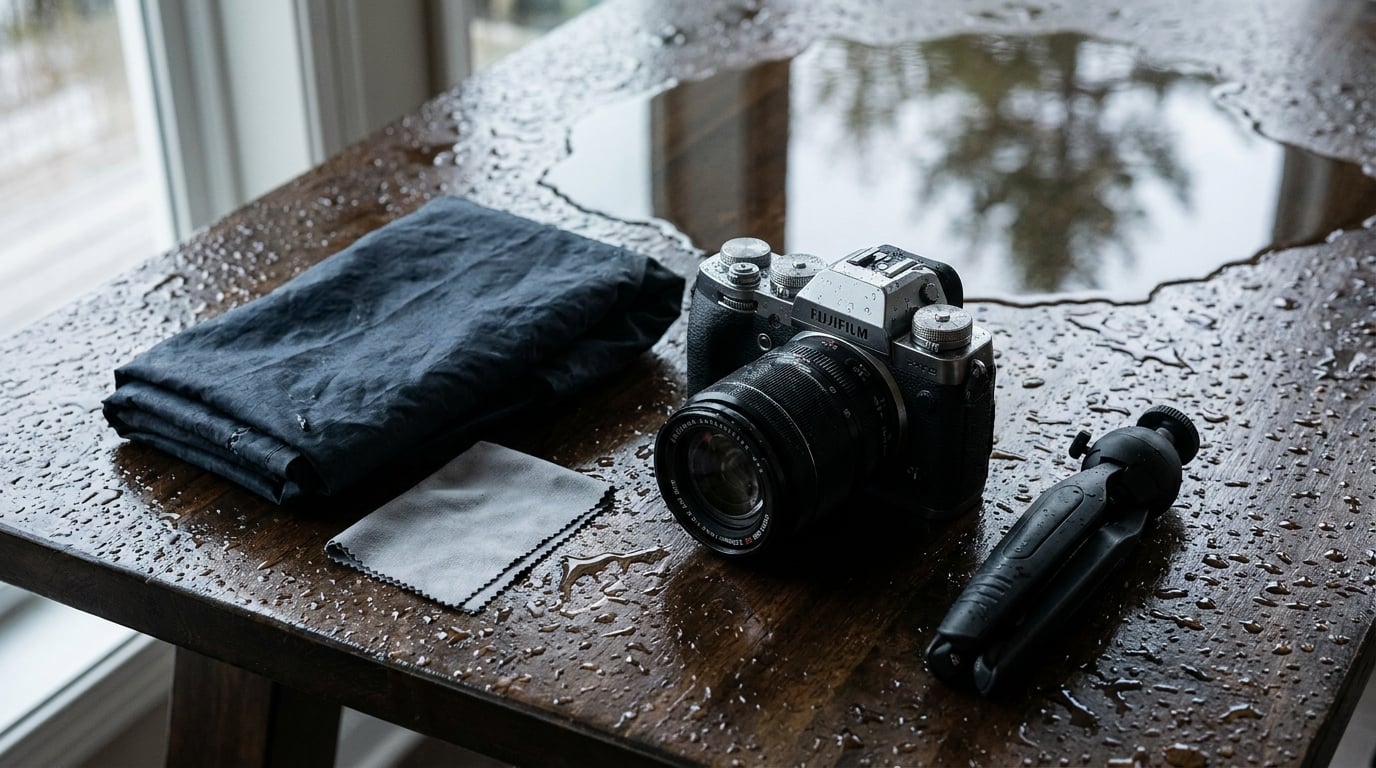
Photographing rain comes down to four things: keep water off the camera, choose a shutter speed that either freezes drops or draws them into streaks, light the rain from behind so the drops are actually visible, and use wet pavement as a second scene. Everything after that is composition.
Rain is unusually generous with photographers. It removes the sun’s hard shadows, deepens colour saturation, coats every surface in reflection, and gives you a giant softbox overhead. The frame that looks dull to the eye is often the one that surprises you in the edit.
The catch is preparation. Water gets into a camera body faster than most people expect, and most disappointing rain shots fail for boring reasons: a wet front element, an auto-exposure that crushed the scene, or a shutter speed that made the drops invisible. This guide walks through the whole process, gear to final review, so you can spend the shower on pictures instead of on damage control.
Table of Contents
- What You Need
- Step-by-Step: How to Photograph Rain
- 1. Check the Weather and Choose a Safe Location
- 2. Protect Your Camera Without Missing the Moment
- 3. Set the Exposure for Wet Surfaces
- 4. Choose a Shutter Speed for Motion
- 5. Compose Rain as a Creative Element
- 6. Use Light to Reveal the Rain
- 7. Focus on the Story, Not Just the Drop
- 8. Review, Adjust, and Create Variations
- Common Mistakes and How to Fix Them
- Frequently Asked Questions
- Conclusion
What You Need
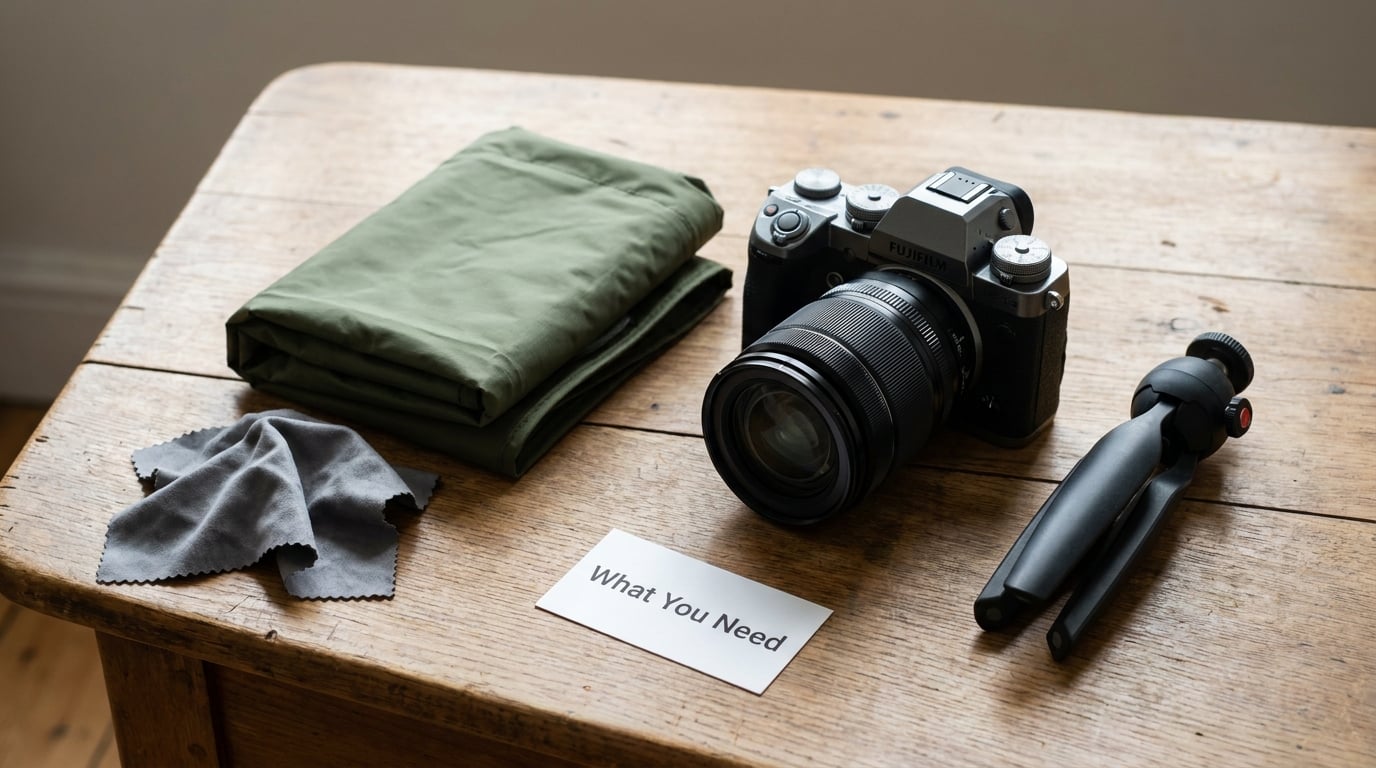
You do not need expensive gear. You need the small, boring things that people leave at home. Most photographers shooting in rain for the first time already own almost all of this.
- A camera with a weather-sealed body and lens. Sealing helps, but it is not a licence to stand in a downpour. A mid-range body with a kit lens survives drizzle fine.
- A rain cover or camera coat. A soft one is better than a hard plastic one because you can still reach the shutter and dials inside it. Many photographers improvise instead, which works.
- A large clear plastic bag and a couple of strips of tape. The free rig that covers most cameras, with the caveats explained in step 2.
- Two microfiber cloths. One to wipe the front element, one to dry your hands before you touch anything. Wiping a wet lens with grit on your fingers is how coatings get scratched.
- A lens hood. It sheds droplets and stray flare, and it gives the plastic bag something to seal against.
- A spare battery in a pocket. Cold and damp drain batteries faster, and body warmth keeps yours alive longer than a spare sitting in the bag.
- A small towel or a zipped bag for the camera bag. Your bag is not waterproof by default, and wet padded dividers stay wet for days.
Optional but useful: a compact tripod and an ND filter for long exposures of smooth rain, a silica gel pack for the bag, and a small flashlight for framing at night. If you shoot on a phone, skip all of it except the cloth and the pouch.
Step-by-Step: How to Photograph Rain
The process has eight stages. They are ordered roughly the way they happen in the field, and the two that people skip — checking the weather and protecting the camera — are the two that decide whether the shoot goes well.
1. Check the Weather and Choose a Safe Location
Open a weather radar app before you leave and watch it move, not just the icon. Radar tells you when a band arrives, how hard it will hit, and whether it is drifting. Ten minutes of moderate rain is a much better shoot than three minutes of a downpour you cannot see through.
Check wind too, since rain at an angle reads as motion rather than a grey wall. Then watch for lightning: if thunder is audible, stay indoors or inside a hard-topped vehicle. There is no photograph worth standing in an open field during a storm.
For your spot, look for shelter with a view. A doorway, an awning, a bus shelter, or a bridge overhang gives you dry ground, a place to review frames, and a chance to wait out the worst of it. Pick a foreground that holds interest when wet — textured pavement, a drain, painted kerb lines, a metal railing — and stand low enough that you can shoot across a puddle rather than down at it.
2. Protect Your Camera Without Missing the Moment
Put the cover on before you leave the car, not when the first drop lands. If you do not own a cover, the community’s default improvisation is a large clear plastic bag: cut a hole for the lens, tape the bag to the lens hood, and leave slack around the barrel. That last detail matters. One photographer on r/AnalogCommunity put it plainly — leave some bag slack so the lens can move when zooming. A taut bag flexes the hood and can creep toward the front element.
The bag method is imperfect, and people find that out the hard way. A photographer on r/sportsphotography shot a short spur with a small plastic bag with a hole in it and still got water on the screen. Water finds the seams around the rear display and the viewfinder eyecup, which is exactly where the bag has to fold. Treat the bag as protection for drizzle, not for a sustained downpour.
Bags fog from the inside for the same reason a car window does: warm moist air trapped against a cold surface. Throw the bag over the camera indoors before you go out and let it settle, and it starts much closer to body temperature. Wipe the inside of the bag, not just the lens, before each session.
Two more things protect both your gear and you. Keep spare batteries and memory cards in your pocket, and when you get back inside, seal the camera in its bag and leave it to acclimatise before opening it. A cold camera entering a warm car can grow condensation on and inside the body, and powering it on while that happens is how people cause real damage.
3. Set the Exposure for Wet Surfaces
Wet scenes break the usual exposure rules. Bright specular reflections off wet asphalt sit far above mid-grey, and dark wet areas pull the other way, so a frame can exceed the camera’s dynamic range in both directions at once.
Work in aperture priority, watch the histogram, and check for blinking highlights rather than reading numbers off the rear screen. If highlights are blinking on the road surface, take a third of a stop off. Bright puddles clip early and recover badly.
Flat rain scenes also tend to render dark. A big grey sky is a softbox, and most meters underexpose it because they expect it to be brighter than it is. Adding +0.3 to +0.7 EV is a normal starting correction for daylight rain, then adjust to taste. Meter for the rain itself when a backlit shower is the subject, not for the dark background behind it.
4. Choose a Shutter Speed for Motion
This is the decision that changes the look most. The AI summaries and forum threads agree on the same numbers, so treat these as starting points and adjust for how heavy the rain is.
- Light drizzle: 1/500s or faster at f/5.6, ISO 200-800, gives you individual drops suspended in air.
- Steady rain with visible streaks: 1/125s to 1/60s at f/4, ISO 400-1600, keeps short streaks and a readable scene.
- Heavy rain with motion blur: 1/60s to 1/30s at f/8, ISO 800-3200, gives wind-blown streaks and blur.
- Silky long exposure: 1/4s to 2s on a tripod at f/8, ISO 100, turns the rain into smooth falling lines and milky pools.
- Night rain with neon: 1/60s at f/2.8, ISO 1600-6400, lays coloured streaks over a wet street.
Freezing needs 1/500s or faster, and that is also the safest speed when you are handheld in gusts. Long exposures are the opposite: below about 1/15s, tripod or a solid brace is non-negotiable, and raindrops start merging into smooth vertical lines that look like drawn thread. Add an ND filter to hold shutter speed low and still shoot wide open.
On a phone you cannot set shutter speed directly, except in Live Photo mode, where the effective exposure lengthens and moving water turns into a soft blur. That single trick does more for iPhone rain shots than any other single setting.
5. Compose Rain as a Creative Element
Get the camera low. Most rain frames are shot standing up at eye level and lose the strongest thing in the scene, which is the mirror. Kneel beside a puddle, tilt the frame down, and include the reflection of something interesting — a shop sign, a person with a bright umbrella, a lit window.
Other reliable subjects: the leading lines of kerbs and painted road markings pulling toward a vanishing point, rain hitting a surface and throwing up a splash, drops running down a window with the street blurred behind them, and pedestrians stepping through crosswalk puddles. Umbrellas are the easiest colour accent you will ever find, because everybody else is dressed for grey.
Shooting through wet glass is worth a whole session on its own. Move the camera slightly and the drops refract the background into shapes that do not exist from any other angle.
6. Use Light to Reveal the Rain
Raindrops are visible only when light reflects off them, which is the single point people miss. One well-liked note on r/ToyPhotography says it more simply: to have rain show up on photos, light needs to be reflected by the drops. Against a bright sky with a dark subject you get a dark, empty frame full of invisible rain. Put a light behind the rain and every drop turns into a bright point.
That is backlighting, and it is the most repeated tip across r/photography, r/cinematography and r/AmateurPhotography: backlight the rain, use a fast shutter speed, and you will see far more of it. Practically, aim into a streetlight, a shop window, headlights, or a low sun breaking under a cloud. A dark background behind the lit drops doubles the effect.
Avoid direct flash. It lights the individual drops floating in front of the lens as bright distracting blobs and flattens everything behind them, and backscatter from wet air is the reason it looks so wrong. If you need fill on a portrait, get the flash off the axis to the side or above, or skip it and let the overcast sky do the work — it is already a large soft light.
At night, the same logic applies with more sources to choose from. Sodium streetlights, neon signage and shop interiors give you coloured streaks over black asphalt, and the wet road doubles each one. This is where rain photography gets its reputation for mood, and it does not need expensive glass.
7. Focus on the Story, Not Just the Drop
Rain scenes are low contrast, so contrast-detect autofocus will hunt across the frame and give up. Use a single point or a small zone, place it on a subject with edges — a shoulder, a face, a railing — and switch to manual focus once you have it.
Decide what the picture is about before you focus. If it is a person in the rain, focus on the person and let the drops blur in front. If it is a splash, pre-focus on the spot where the water lands and use the fastest speed and widest aperture you can hold. If it is the rain-lit sky, focus past infinity so the drops are the only sharp thing in the frame.
8. Review, Adjust, and Create Variations
Check the first frames immediately, in the shelter, while conditions are still live. Look at the histogram, check for water on the lens, and confirm the rain is actually visible in the shot before you assume the camera did its job.
Then move. Shoot the same scene horizontally and vertically, wide and tight. Try the version with a person crossing the frame after a static one. Change one variable at a time — shutter speed first, then position — so you know which change fixed the problem. And shoot more than you think you need; a rainy frame that looked obvious in the viewfinder is often the dull one.
Common Mistakes and How to Fix Them
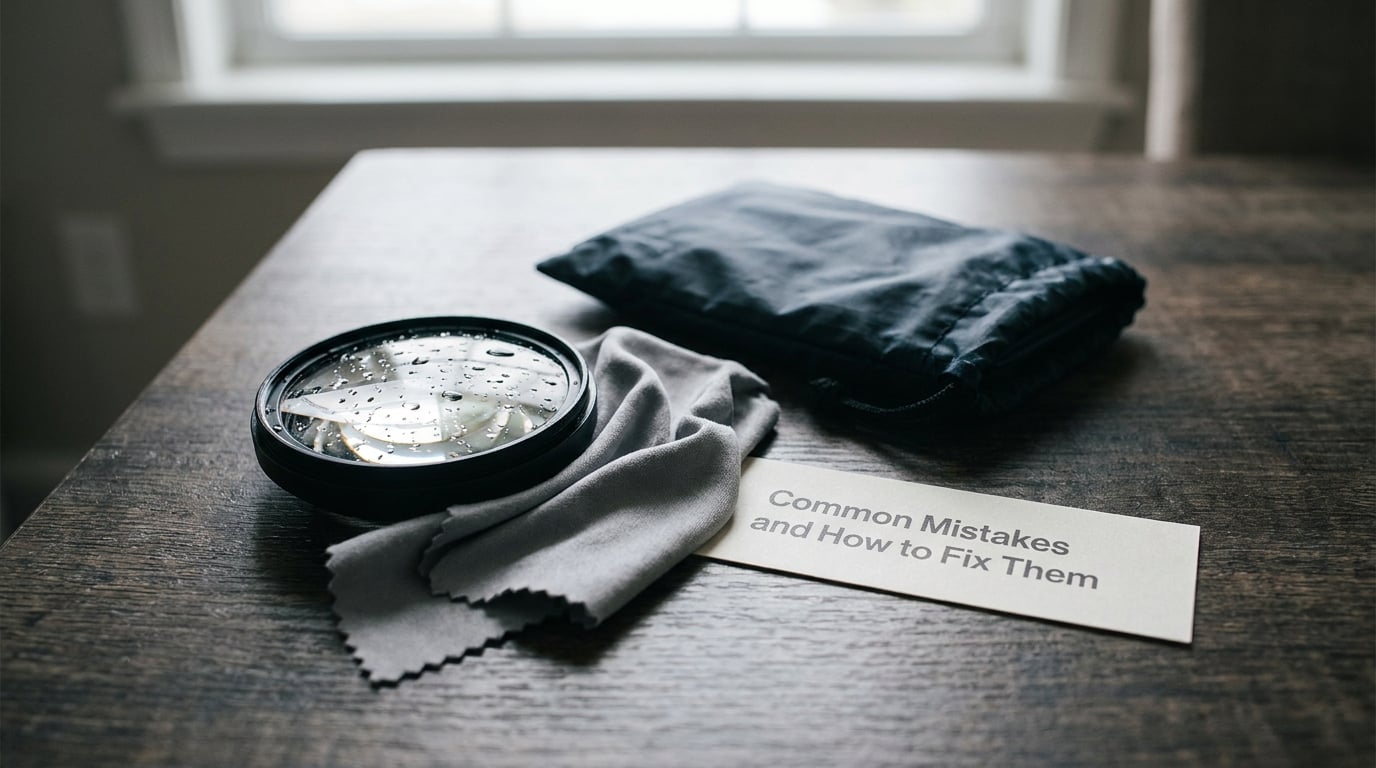
Most bad rain photos come from one of eight mistakes. Each has a quick fix you can apply while standing in the rain.
- Water on the front element. The single most common failure, and it produces soft patches and flare. Wipe with a clean microfiber cloth every few minutes, and keep a cloth on your person rather than in the bag.
- A taut plastic bag. If the bag is tight around the barrel it flexes the hood and can creep toward the lens. Leave slack and re-seat the tape after each zoom change.
- Rain invisible in the frame. The light is in front of the drops rather than behind them. Turn around and backlight, or wait for headlights or a streetlight to come into position.
- Clipped highlights on wet ground. Bright specular reflections on asphalt clip early and recover badly. Take a third to two-thirds of a stop off and check the histogram blink warnings.
- Flat grey images. Meters underexpose a big grey sky. Add +0.3 to +0.7 EV, then pull contrast, clarity and vibrance in editing to put the punch back.
- Flash used in the open. It lights the drops nearest the lens as bright blobs and kills the atmosphere. Skip it, or move it well off axis for fill only.
- Autofocus hunting. Low contrast confuses contrast-detect AF. Use a single point or manual focus on a defined edge, and check the frame before you assume the shot is out of focus.
- Waiting for perfect weather. The rain is the condition. Plan around it, scout your spot, and shoot the shower you get rather than the one you want.
Two habits cover most of these at once: check the lens before every few frames, and review frames under cover instead of at the end of the session when the gear is already wet.
Frequently Asked Questions
How do I take a photo of rain on an iPhone?
Open the stock Camera app and switch to Live Photo, which lengthens the exposure slightly and turns moving water into soft trails that read as rain. Tap and hold the shutter for burst frames and pick the sharpest. Slide the exposure sun down a few notches so bright wet highlights hold detail. Keep the flash off, it lights the drops nearest the lens as blobs, and cover the rear of the phone with your palm to keep rain off the screen.
What camera settings are best for rainy pictures?
Aperture priority works for most rain work. Start around f/5.6 for a freeze look at 1/500s or faster, or f/4 to f/8 at 1/60s to 1/30s when you want motion streaks. Keep ISO between 200 and 3200 in daylight and accept more noise at night. Watch the histogram and add +0.3 to +0.7 EV because meters underexpose flat grey skies.
How do I shoot in the rain without getting my camera wet?
Use a soft rain cover so your hands stay inside, and put it on before you leave the car. If you have no cover, a large clear plastic bag with a hole cut for the lens and taped to the lens hood works for light rain, provided you leave slack around the barrel. Keep a microfiber cloth in your pocket, change lenses only under cover, and seal the camera in its bag while it warms up before switching it on indoors.
How do you make rain visible in photos?
Light the drops from behind. Raindrops only appear in a photograph when something reflects light off them, so aim into a streetlight, shop window, headlights, or a low sun under a cloud. Pair the backlight with a darker background and a fast shutter speed around 1/500s and individual drops read clearly. Shooting into a bright sky with a dark subject leaves the rain almost invisible.
What is the best shutter speed for rain photography?
It depends on the effect you want. Use 1/500s or faster to freeze individual drops, 1/125s to 1/60s for short streaks, and 1/30s or slower for heavy rain and smooth long-exposure lines. Below about 1/15s you need a tripod, and an ND filter lets you hold a slow shutter while shooting wide open.
Is it bad to use flash when photographing rain?
Usually. A flash fires straight into the drops floating closest to the lens and renders them as bright distracting blobs, and moisture in the air scatters the light back at you in a haze. Skip it for rain scenes. If a portrait needs fill, move the flash well off axis to the side or above, or rely on the overcast sky, which is already a large soft light source.
Conclusion
Start with three things: a protected camera, a shutter speed chosen for the effect you want, and one clear idea for the frame — reflections, splashes, or backlit drops under a streetlight. Get the first one right and the rest is ordinary good photography done in interesting light.
And when the sky opens up mid-session, that is not lost time. It is the reason you came out.