
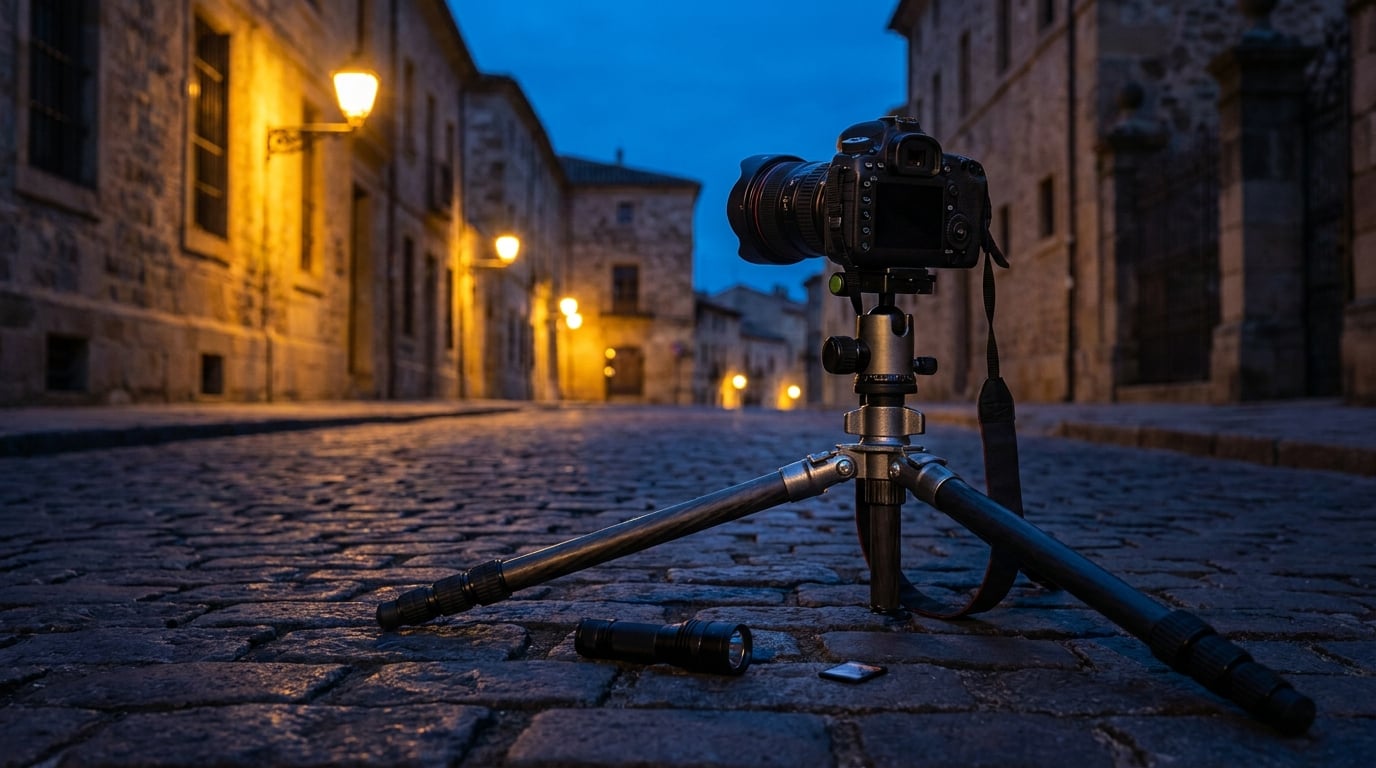
To take photos at night without blurry, noisy results, you need four things: a solid tripod, manual exposure mode, the widest aperture your lens offers, and the lowest ISO that still exposes the frame properly. Everything else in this guide is detail on those four moves. Give yourself 30 to 60 minutes for your first session, and expect the first ten of them to be spent getting comfortable in the dark.
Night shooting is not hard because of the camera. It is hard because auto mode has no idea what to do with a scene that is mostly black, so it guesses wrong on brightness, hunts for focus, and then hands you a soft, grainy file. Take the camera off auto and the whole thing gets much easier.
Table of Contents
- What You Need
- How to Take Photos at Night: Step-by-Step
- 1. Scout the location before it gets dark
- 2. Set up the camera before you think about pictures
- 3. Switch to manual mode and RAW
- 4. Set the exposure triangle as a starting point
- 5. Meter on the brightest part of the scene
- 6. Focus manually in the dark
- 7. Compose around what you can actually see
- 8. Take test frames and check the back screen properly
- 9. Change one variable at a time
- How to take photos at night with a phone
- Common Mistakes
- Blurry photos from handholding
- Autofocus hunts or focuses on the wrong thing
- Street lights and signs are blown out
- Heavy grain and colour blotches
- Accidental light streaks or ghosting from a light source
- Stars look like short dashes instead of points
- The camera dies mid-shoot
- A few more things worth knowing
- Frequently Asked Questions
- Conclusion
What You Need
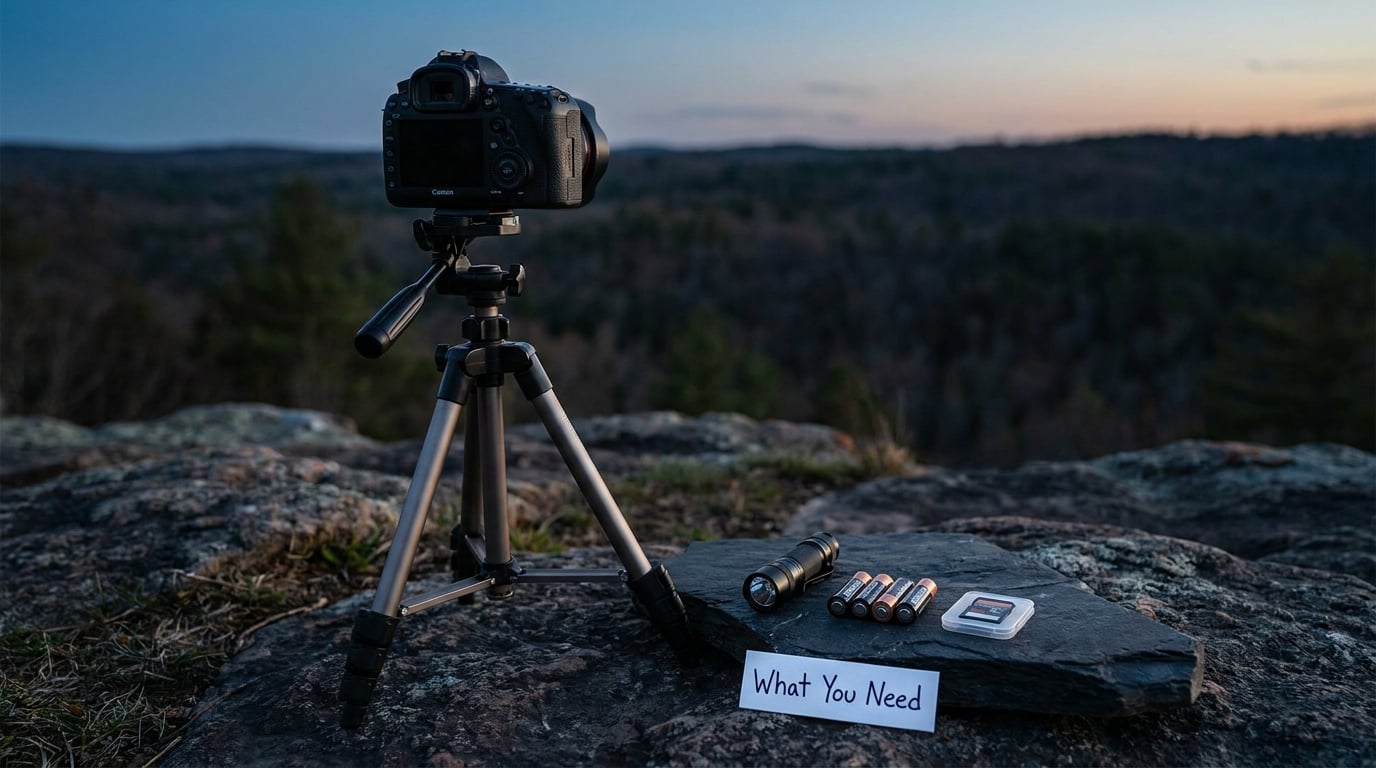
Most of this kit is boring, which is exactly why it works. You can absolutely shoot at night with a phone and nothing else, and I cover that path below.
- A camera with manual mode. Any DSLR or mirrorless body with a physical or dial-based M mode will do. Phones get their own section further down.
- The fastest lens you own. A prime at f/1.8 or f/1.4 gathers far more light than a kit zoom at f/5.6, which means lower ISO and less grain. If your only lens is slow, you will be shooting a longer exposure to compensate.
- A tripod. Rigid, tall enough to get the lens above a railing or wall, and with a head that locks under load. A lightweight travel tripod is fine as long as nothing touches it while the shutter is open.
- A remote release or the two-second self-timer. Pressing the shutter button on the camera itself adds a few tenths of a second of wobble, which is enough to ruin a 20-second frame.
- Spare batteries. Cold air and the LCD screen drain batteries faster than people expect, and you do not want a dying battery halfway through a long exposure sequence.
- Formatted memory cards, with a spare. Night work means bracket a lot. One card filling up mid-session ruins the rest of the shoot.
- A small flashlight or headlamp. Red light preserves your night vision, which matters more than photographers admit. A phone screen works in a pinch.
- Weather protection. A light drizzle at 11pm is more common than any of us would like. A rain cover or a ziplock over the body takes ninety seconds and saves the camera.
- Optional light tools. A small LED panel for fill, a diffused flashlight for light painting, or an intervalometer if your camera has one. None of this is required for your first outing.
One safety note before you head out. Tell someone where you are going, carry a real light source rather than relying on the phone, and look where you are putting your feet before you put the tripod down. Every year somebody ends a night shoot with a sprained ankle on a kerb they never saw.
Night photography without a tripod
No tripod yet? You can still get usable frames. Brace the camera against a wall, a fence post, or the ground with the lens propped on a flat surface, then open the aperture as wide as it goes, raise ISO, and use the timer to fire without touching the body. Keep the shutter at 1/60 or faster. Anything slower handheld will be soft no matter how good the photo looks on the back screen.
How to Take Photos at Night: Step-by-Step
Here is the sequence. If you follow it in order, you will usually get a usable exposure on your third or fourth frame instead of your thirtieth.
1. Scout the location before it gets dark
Walk the spot in daylight. Note where the street lights are, which direction is free of overhead cables and signs, and where a subject could stand against a dark background. Blue hour, the 20 to 30 minutes after sunset when the sky is still blue, is the easiest time to shoot because the sky gives you exposure information your meter can use.
2. Set up the camera before you think about pictures
Level the tripod, attach the camera, and only then turn it on. Keep the strap loose so it cannot swing into the frame. If the wind is picking up, hang your bag low off the centre column, since more mass on top means more shake.
3. Switch to manual mode and RAW
Auto mode will fight you. In manual, pick the aperture, shutter speed, and ISO yourself and the camera does what you told it. Shoot RAW rather than JPEG, because RAW keeps far more shadow detail and gives you a much better starting point for a noisy file.
4. Set the exposure triangle as a starting point
Open the aperture to its widest setting, then choose a shutter speed, then raise ISO until the frame looks correctly exposed. That order matters: aperture and shutter speed are creative choices, ISO is the last resort you pay for in noise.
- City skyline or static architecture: f/1.8 to f/4, 2 to 15 seconds, ISO 100 to 400. A ten-second frame smooths moving water and light trails.
- Night street with people: f/1.8, 1/60, ISO 1600 to 3200. Anything slower will blur whoever is walking past.
- Night portrait: f/1.8, 1/125, ISO 800 to 1600, with a small LED or off-camera flash to light the face.
- Milky Way: f/1.8 to f/2.8, 15 to 20 seconds, ISO 1600 to 3200. Use the 500 rule: divide 500 by your focal length in millimetres for a rough maximum shutter speed, so a 24mm lens allows about 20 seconds.
- Star trails: f/2.8, 30 seconds or several minutes, ISO 400 to 800. Long frames need low ISO and a dark sky.
- Moon: f/8, 1/250, ISO 100. The moon is bright, so the metering behaves normally here.
5. Meter on the brightest part of the scene
Switch to spot metering and aim at a light source, a sign, or a lit window, then check the histogram. At night you will almost always underexpose the background, and that is the right instinct: clipped highlights cannot be recovered in editing, but shadows can be lifted.
6. Focus manually in the dark
Autofocus hunts and fails constantly in low light, which is the single most common complaint I see from beginners. Turn autofocus off and set the lens to manual focus. Turn on Live View and magnify to 10x or 20x, then zoom in on a high-contrast edge on your subject and turn the focus ring until it is sharp. If the scene has any light, focus on a lit object at the same distance as your subject instead.
7. Compose around what you can actually see
Night compositions live or die on contrast, so find dark areas to place bright subjects against, or bright areas to place silhouettes against. A traffic light with a black sky behind it looks completely different from the same light against a lit building, and the difference is decided before you press the shutter.
8. Take test frames and check the back screen properly
Shoot one frame, then zoom in to 100 percent on the back screen and check the focus point. A dark image on the LCD is not proof of a bad exposure, since screens brighten shadows, but visible green or magenta blotches mean the ISO is too high. Check the highlight warning or histogram blinkies before you trust the frame.
9. Change one variable at a time
If the frame is too dark, raise ISO before you slow the shutter down. If it is sharp but flat, lower the ISO and extend the exposure. Changing one setting per test frame is slower than fiddling, and it is how you learn which control actually does what. When a test frame works, shoot the sequence, since a car that stopped once will not stop again.
How to take photos at night with a phone
Phone night mode is now good enough for a surprising amount of low-light work, and it works the same way in principle: it stacks several frames to build a longer exposure. To get the most from it:
- Open Night mode in the camera app and wait for it to activate. It only triggers automatically in genuinely dark scenes, so in a dim street you may need to reach for it in the extended controls.
- Tap and hold on the screen to lock exposure and focus, then drag the sun icon slightly downward. Underexposing by a small amount gives cleaner files than the default brightness.
- Brace your elbows against your body or prop the phone on something solid. Even a half-second of movement softens the stacked frames.
- Use the three or ten second timer so the phone is not touched during capture.
- If your phone has a manual or Pro mode, set the lowest ISO, a shutter speed under one second, and the widest exposure compensation the app allows.
- A cheap phone tripod or a small clamp removes the shaking, and it is the single biggest improvement you can make.
Where phones still lose is moving subjects and deep shadow detail. A walking person in night mode turns semi-transparent, and the files are much harder to recover than RAW. For anything you care about, bracket several frames and combine them later.
Common Mistakes
Blurry photos from handholding
Cause: shutter speed slower than your hands can manage. Fix: mount the tripod and use a remote release or the two-second timer. If you have no tripod, keep the shutter at 1/60 or faster and raise ISO instead, then check your technique rather than your settings.
Autofocus hunts or focuses on the wrong thing
Cause: not enough contrast for the AF system, plus a scene full of competing bright points. Fix: switch to manual focus, magnify Live View, and focus on a high-contrast edge or a lit object at the same distance as your subject.
Street lights and signs are blown out
Cause: the dynamic range of the sensor is smaller than the range between a light bulb and the sky behind it. Fix: shoot RAW, meter off the brightest highlight, and underexpose by a third of a stop. Pulling highlights down in editing recovers most of a clipped sign; pulling up a blown window recovers nothing.
Heavy grain and colour blotches
Cause: ISO pushed too far. Fix: lower the ISO and recover the exposure with a wider aperture, a longer shutter, a tripod, or a brighter subject. Some noise is normal and acceptable at ISO 3200 to 6400 on a modern body, but colour blotches in flat skies mean you have gone too far.
Accidental light streaks or ghosting from a light source
Cause: a bright light hitting the front element or the lens hood through the frame. Fix: use a lens hood, keep a hand or a dark card just out of frame to block stray light, and check for a bright frame edge before a long exposure. Move slightly so the light sits behind something in the composition.
Stars look like short dashes instead of points
Cause: the Earth rotated during the exposure. Fix: apply the 500 rule, divide 500 by focal length for the maximum shutter speed, then shorten by a few seconds for safety. On a phone, use the app’s dedicated star-trail or astrophotography mode, which handles the stacking.
The camera dies mid-shoot
Cause: cold weather and the LCD screen draining the battery, worsened by long exposures and live view. Fix: carry spare batteries, turn off live view and image stabilisation between frames, and shoot in short bursts instead of holding the shutter down.
A few more things worth knowing
Bracket exposures for anything with extreme contrast, three frames at minus one, zero, and plus one stop, then blend them with deghosting enabled so people do not appear twice. Shoot the blue hour if you want the sky to hold detail; once the sky is fully black, a single exposure cannot hold both. Give yourself an editing pass in a fixed order: pull highlights down first, then lift shadows, then set black point, then apply noise reduction, since doing it in any other order throws your work away. And turn on your long-exposure noise reduction, which darkens the final frame slightly but saves a good deal of hot-pixel colour in a dark sky.
Frequently Asked Questions
What are the best camera settings for taking nighttime photos?
Start with your widest aperture, a shutter speed that suits the subject, and the lowest ISO that exposes the frame correctly. That is f/1.8 to f/4, 2 to 15 seconds, ISO 100 to 400 for static cityscapes, and f/1.8, 1/60, ISO 1600 to 3200 for street scenes with people. Shoot RAW, use a tripod, and focus manually.
What settings should I use on an iPhone for night photography?
Use Night mode, tap and hold to lock exposure, then drag the brightness down slightly for a cleaner result. Prop the phone on something solid or use a small tripod, and set the three or ten second timer so nothing shakes the frame. If your phone has a Pro or manual mode, use the lowest ISO and the widest aperture available.
Why are my night photos blurry?
Two causes account for most of it. Either you handheld a slow shutter speed, in which case a tripod plus a remote release or two-second timer fixes it, or autofocus missed in low light, which you fix by switching to manual focus and magnifying Live View. A third cause is a subject moving during a long exposure, which no amount of gear will fix.
Do I need a tripod for night photography?
A tripod is the closest thing to essential, because without one you are limited to shutter speeds around 1/60 or faster, which pushes you to high ISO and grainy files. You can brace the camera against a wall or prop it on the ground as a stopgap, but a rigid tripod is what lets you lower ISO and shoot long exposures.
Why are my night photos noisy, and how do I reduce noise?
Noise comes from raising ISO to collect more light, and it is the tax you pay for a dark scene. Reduce it at the source: lower the ISO, open the aperture wider, and use a longer exposure on a tripod. For a photo you already took, shoot RAW, then apply noise reduction after pulling highlights down, since bright coloured speckles read as the strongest artifact.
Conclusion
Learning how to take photos at night comes down to four habits: lock the camera to a tripod, stay in manual mode, keep ISO as low as the light allows, and focus manually. The rest, metering off the brightest highlight, checking the histogram, and shooting a test frame before the real ones, just stops you wasting twenty minutes on a setting that was never going to work.
Start with one subject on your next outing. Arrive twenty minutes early, pick the spot, set the tripod, and take a single test frame at manual settings. If it is too dark, raise ISO one step and shoot again, then change only one thing at a time until the frame looks right.