
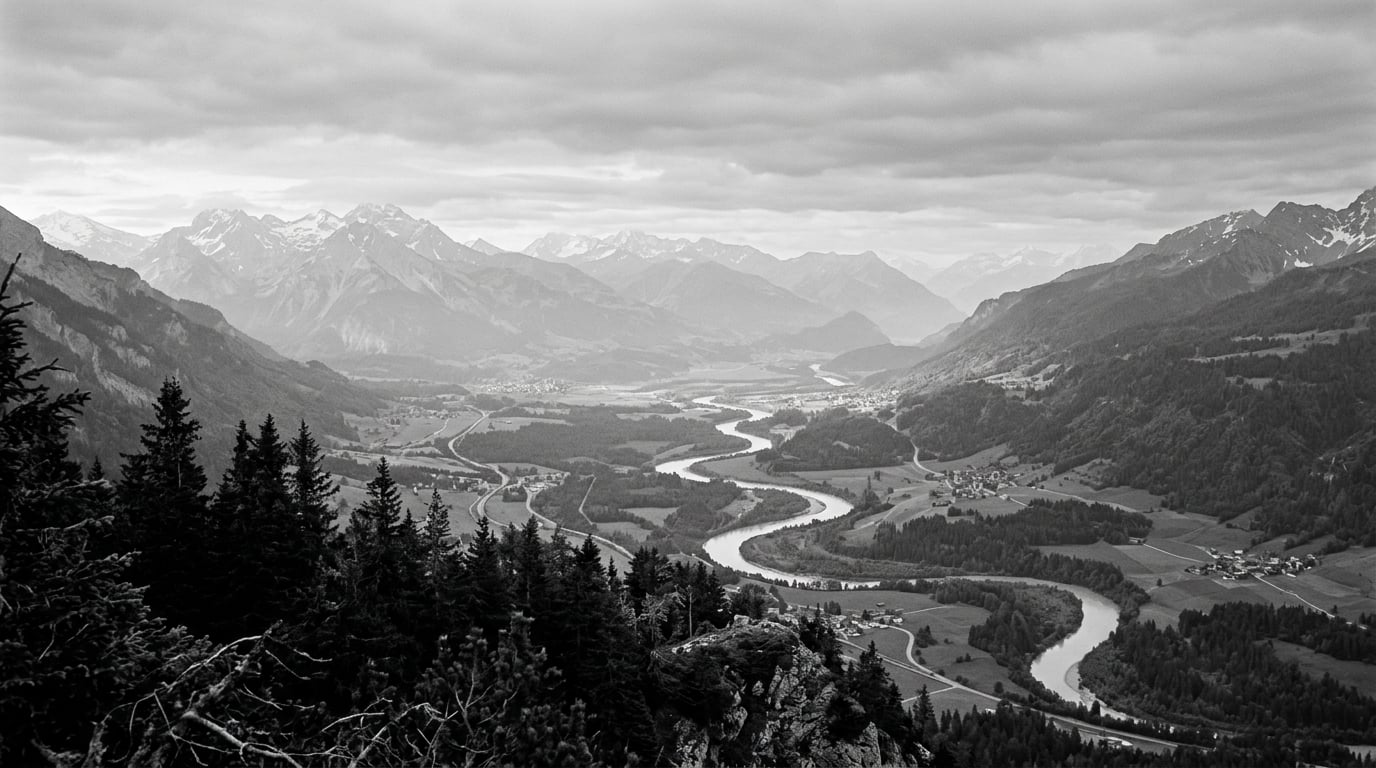
How to shoot landscapes in black and white comes down to one habit: expose for tone and commit to a single subject, instead of trying to hold everything a colour frame lets you keep. Most of the work happens before the shutter, in the ten minutes you spend reading light and shape at a spot you already know. Once that part is routine, the settings themselves are simple and repeatable.
One thing to clear up first. A monochrome image is not a colour image with the saturation turned to zero. When you shoot RAW, the file still holds all the colour data and the conversion happens later, where every tone can be moved on its own. So the field job is to protect the tonal separation, and the desk job is to decide where each grey should sit.
Table of Contents
- What You Need
- Step-by-Step: How to Shoot Landscapes in Black and White
- Step 1: Read the Landscape Before Choosing Settings
- Step 2: Compose for Lines, Layers, and Balance
- Step 3: Expose for Tonal Separation
- Step 4: Use Aperture, Shutter Speed, and ISO Deliberately
- Step 5: Add Light, Texture, and Intentional Contrast
- Step 6: Capture Details and Wider Context
- Step 7: Convert, Refine, and Print with Restraint
- Common Mistakes
- Frequently Asked Questions
- Do I need a red or orange filter for black and white landscape photography?
- What camera settings should I use for black and white landscape photography?
- Should I shoot black and white in camera or convert from colour RAW?
- Why do my black and white landscape photos look flat?
- Is a tripod necessary for black and white landscape work?
- When is black and white the wrong choice for a landscape?
- Conclusion
What You Need
The honest answer is less gear than most shops would like. You need a camera with manual exposure control and RAW capture, a tripod, one wide lens, and one filter that changes the sky. Everything past that is a convenience.
Essential first:
- A camera you can meter manually. Any interchangeable body from the last decade does the job. RAW matters more than resolution here, because it is what gives you the latitude to move tones after the fact.
- A tripod. Non-negotiable for anything below 1/60s, and it makes bracketed exposures and careful review possible.
- A wide lens and a short telephoto. Something in the 16-35mm class for foreground work, something in the 70-200mm class for pattern and compression. The second one is the lens people skip and then miss.
- A circular polarizer. Darkens blue sky, cuts haze between you and distant ridges, and adds bite to wet rock and leaves.
- Two neutral density filters. A 2 or 3 stop for a little extra light in shade, and a 6 or 10 stop for long exposures of water and moving cloud.
Optional but useful: a graduated ND for balancing a bright sky against dark land, a red filter if you shoot black and white film, and a scouting app such as PhotoPills or TPE to check where the sun will be relative to your viewpoint.
None of this is the differentiator. In the r/photography beginner thread sitting near the top of the search results for this topic, the consensus was the same short list: two lenses, a polarizer, a 2 or 3 stop ND, and a red or orange filter if you are on film. The people making the pictures are not carrying anything exotic. They are simply spending longer on one spot than beginners do.
Step-by-Step: How to Shoot Landscapes in Black and White
What follows is the field workflow in order, from arriving at the location to checking the files before you pack up. Each step tells you what to do and how you can tell it actually worked, because the failures in this genre are quiet ones.
Step 1: Read the Landscape Before Choosing Settings
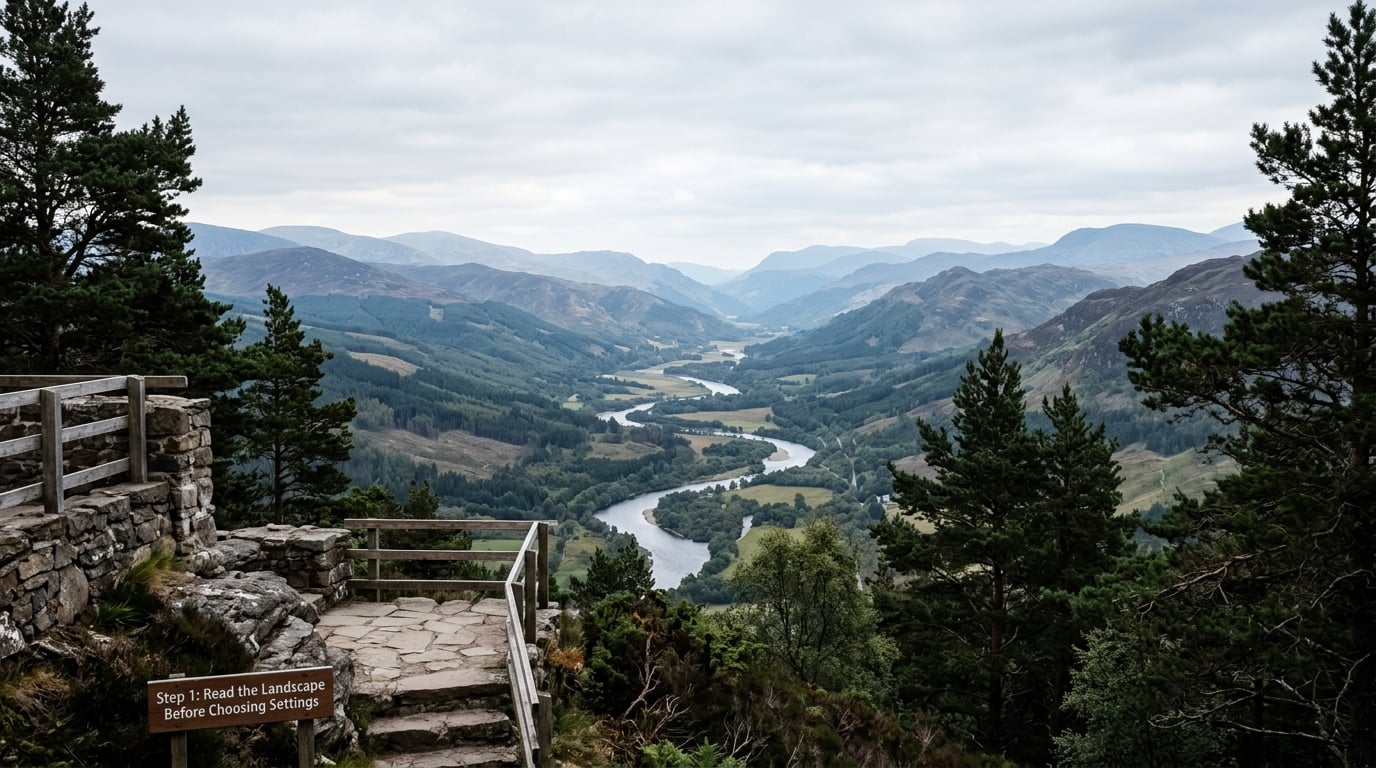
Stand still before you touch the camera. Give the scene five minutes and look for the largest dark mass, the brightest area, and how many genuinely distinct greys sit between them.
Squint. Squinting reduces your colour perception and leaves tone, which is the fastest way to see the frame you are about to make. If the whole frame reads as one flat value, walk or wait, because the light has to change before anything else will.
Then layer the scene: foreground, middle ground, background, sky. Count them out loud. A landscape with four clear tonal layers will survive a monochrome conversion. One that is a single value across a hundred metres will not, no matter how good the camera is.
You know it worked when you can say in one sentence what the picture is about, without using the word beautiful.
Step 2: Compose for Lines, Layers, and Balance
Without colour, the composition has to work through shape and placement, so put your effort into separation. Look for a foreground element that is clearly darker or clearly lighter than everything behind it, and give it enough room to read.
Use leading lines deliberately. A river, a fence, a road or a line of trees will carry the eye through the frame if you place the convergence point off centre rather than in the middle. The rule of thirds is a useful default for placing that point and a poor reason to stop looking.
Negative space is your strongest monochrome tool. A ridge line against a blank sky, or a single tree in a snowfield, gives the frame somewhere to breathe and stops the eye hunting.
Check the balance by looking at the thumbnail, not the screen. Turn the histogram on, squint at the small image, and if your eye lands on the brightest area first, that is where the picture is. If it lands nowhere in particular, recompose.
Step 3: Expose for Tonal Separation
Set your metering to spot or centre-weighted, aim at the midtone of the subject that matters, and read the histogram rather than the screen. Blacks should reach down without touching zero and highlights should stop short of 255, otherwise the detail is gone even in a RAW file.
Watch the zone the way Ansel Adams framed it. The subject you care about usually belongs around Zone 3, a middle grey, while shadows fall to Zones 1 and 2 and the brightest surfaces reach Zones 7 and 8. You are deliberately choosing what goes dark and what goes bright.
Use exposure compensation when the frame is dominated by a bright sky, water, snow or pale rock. One to two stops down is often the difference between a bright sky with texture and a white hole. If the scene has more range than the sensor can hold, bracket two or three frames two stops apart and blend them later.
You exposed correctly when the histogram forms a clean shape with breathing room at both ends, and the subject you metered still has visible texture in the file.
Step 4: Use Aperture, Shutter Speed, and ISO Deliberately
Start at your base ISO, usually 100 or 64, and pick an aperture between f/8 and f/11. That is the range where the foreground and the far ridge are both acceptably sharp. Below f/8 the near edge softens, above f/11 you gain little and lose light to diffraction.
Let the meter choose the shutter speed, then add ND stops to bring it back to where you want it. If you need faster than about 1/125s, open the aperture or raise the ISO rather than shortening the exposure.
| Situation | ISO | Aperture | Shutter | Filter |
|---|---|---|---|---|
| Overcast, soft light, static scene | 100 | f/8 | metered, tripod | Polarizer |
| Golden hour, ridges catching light | 100 | f/11 | metered, tripod | Polarizer, 2-3 stop ND |
| Water smoothing to 1 second | 100 | f/8 | 1s | 6 stop ND |
| Cloud and water movement, 10-30s | 100 | f/11 | 10-30s | 10 stop ND |
| Midday sun, hard shadows | 100 | f/11 | metered, -1 stop | Polarizer, graduated ND |
Moving water and fog are the exceptions that make this genre worth doing. A one second exposure flattens surf into a soft grey plate, and anything past ten seconds turns cloud into a brushstroke. Mount the camera, work the composition, and trigger it with a two second timer or a remote so nothing shakes.
Step 5: Add Light, Texture, and Intentional Contrast
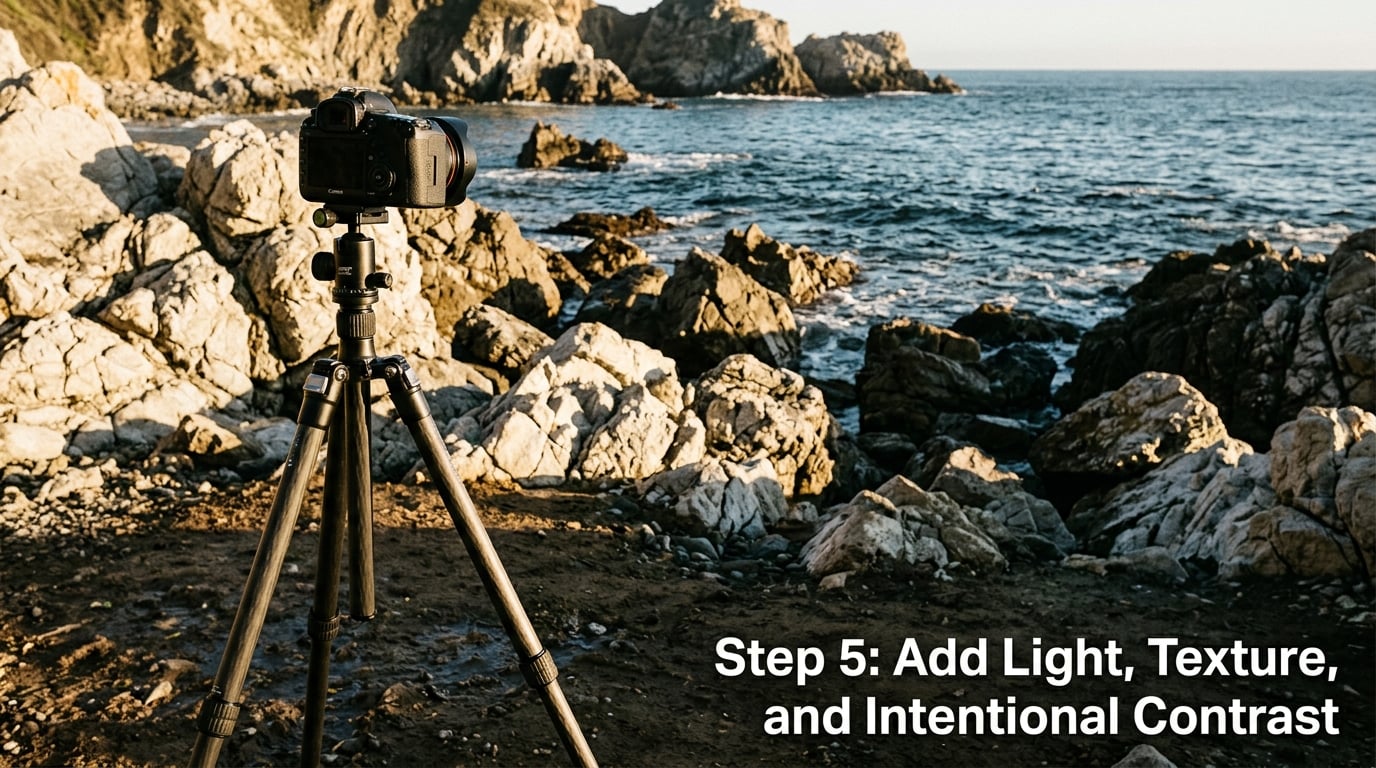
Light direction decides how much texture you get. Raking side light across sand, scree, bark or water ripples makes surface detail stand out as pattern, which is the closest monochrome gets to the sensation of colour. Straight overhead light flattens the same surfaces completely.
Monochrome also stretches the usable hours. A scene that looks blown out and lifeless in colour at midday often has plenty of separation once hue is gone, because the tonal differences survive even when the colours are crushed.
When the sky is much brighter than the land, a graduated ND darkens the top of the frame in one smooth move. Bracketing does the same job with more control and more time. Pick one, use it deliberately, and stop adding filters once the range is under control, because every extra stop costs sharpness and time.
Time of day still matters more than any filter. Mist, low cloud and the first hour after sunrise give you tonal separation for free.
Step 6: Capture Details and Wider Context
Make the wide establishing frame first, before you get absorbed in the foreground. That is the frame that tells the viewer where they are, and it is the one you will be glad you have when the close work goes nowhere.
Then move closer and work smaller. Patterns in rock, reflections in still water, repeating trunks in a stand of trees, and the texture of a single dune ridge all become subjects once colour stops carrying the frame.
Keep the variety high. If you have made twenty frames of the same ridge from slightly different heights, none of them has an edge. Change the height, the lens, the direction you are facing, or leave and come back in different light.
Before you pack up, check the LCD at full size with the histogram on. A frame you have not reviewed in the field is a frame you will not edit carefully at home.
Step 7: Convert, Refine, and Print with Restraint
Start in Lightroom or Capture One and open the RAW. Use the black and white mix panel in the HSL or colour mixer section to set how much each colour contributes to brightness, and move the red and orange channels up and the blue channel down for a landscape with sky and warm rock. Desaturating the whole file gives every colour the same weight and produces flat midtones, which is the single most common reason monochrome conversions look lifeless.
Set your black and white points next, then pull a gentle curve to set the overall contrast. Add local adjustments with masks rather than global sliders, and dodge and burn to direct attention, working on small areas and low opacity so the effect stays invisible.
In Photoshop, use a black and white adjustment layer with a mask instead of the conversion command, which gives you the same channel control plus the option to bring back a hint of colour in one small area if the scene needs it. A gradient map layer is a quick alternative when you want to remap the whole tonal range rather than nudge it.
Finish with restrained sharpening on the subject, not globally, and check the file at print size before exporting. For a print, decide whether the picture is high-key or low-key on purpose: a fog and forest frame wants the upper range, a silhouette and storm frame wants the lower one. Push the blacks down to true zero only on glossy paper, because matte surfaces render shadows much lighter and will make a harsh file look muddy.
Common Mistakes
Clipped skies. A bright sky that hits pure white has no texture left, and no editing trick brings it back. Meter off the bright area, check the highlight warning, and stop down a stop before you shoot.
Flat midtones. Everything sitting around 18 percent grey means the frame has one value instead of five. Move the shadows and highlights apart first, then judge the midtone.
Desaturating instead of converting. The grayscale command ignores the fact that a red rock and a blue sky have very different brightness. Use the black and white mix and control the channels.
Over-processing. Pushing contrast, clarity and texture until every rock has a hard edge turns a landscape into a poster. Pull back, then use dodging and burning on the two or three areas that matter.
Converting a scene where colour is the story. A rainbow, an autumn canopy or a red door against green wood is carrying meaning in hue, and removing it removes the point. Shoot it both ways and judge the colour version honestly.
Rushing the tripod. A frame with a slightly soft foreground cannot be rescued in post, and the softness is usually from a bumped leg rather than a slow shutter. Check the legs and the mount before the light changes.
Two field habits shorten everything: set the camera to a high-resolution RAW and the histogram to a permanent display, and give yourself a fifteen minute settling-in period at each location before you decide the light is not working.
Frequently Asked Questions
Do I need a red or orange filter for black and white landscape photography?
On film, yes, and it is a genuine creative tool. Red and orange filters darken a blue sky and hold detail in the haze between ridges, often by two or more stops. Digital bodies do not need one, because you can push the red and orange channels in the black and white mix afterwards. The reason film shooters still use them is habit and the honest fact that it gets them into the frame early, while the shot is still about light rather than sliders.
What camera settings should I use for black and white landscape photography?
Start at base ISO 100, set f/8 to f/11, and let the meter pick the shutter speed with the camera on a tripod. Add ND filter stops to reach the exposure you actually want, from a fast shutter for crisp water to ten or thirty seconds for smooth surf and moving cloud. Bracket two or three frames when the sky is much brighter than the land.
Should I shoot black and white in camera or convert from colour RAW?
Shoot colour RAW and convert later. The file keeps the full colour data, so you can decide the channel mix, the black and white points and the contrast at your desk instead of guessing in bad light. To see monochrome while you shoot, most cameras let you record a RAW plus a black and white JPEG preview at the same time, which gives you a composition check without touching the RAW.
Why do my black and white landscape photos look flat?
Almost always one of three things. You desaturated instead of using the black and white mix, so every colour landed on the same grey. You exposed for the average of the frame, which put the whole image in a narrow band of midtones. Or the scene simply had no tonal separation, in which case the fix is a different position, a different time of day, or waiting.
Is a tripod necessary for black and white landscape work?
For most landscape work, yes. You will be working below 1/60s, stacking bracketed exposures, and reviewing each frame at full size, and none of that is comfortable handheld. If you only want a fast shutter and a stopped-down aperture in bright light, the tripod is optional. A good one also stops you rushing, which is where the better frames come from.
When is black and white the wrong choice for a landscape?
When hue is carrying the meaning. Autumn colour, a rainbow, alpenglow on snow at sunrise, or a single red object in a green field all depend on colour to communicate. Monochrome also loses the cue that helps a viewer judge scale and distance, so in scenes where that matters you may need stronger separation cues. When in doubt, shoot both and decide at the edit.
Conclusion
Start with a location you already know, not a new one. Give it fifteen minutes, count the tonal layers, find the darkest mass and the brightest area, and make four deliberately different compositions rather than forty similar ones.
Then look at the frames as a set and ask whether the story is clear in greys alone. That single test, applied honestly, is what separates how to shoot landscapes in black and white from simply photographing in colour and desaturating afterwards. Keep the RAW, keep the channel control, and let the picture be about tone.