
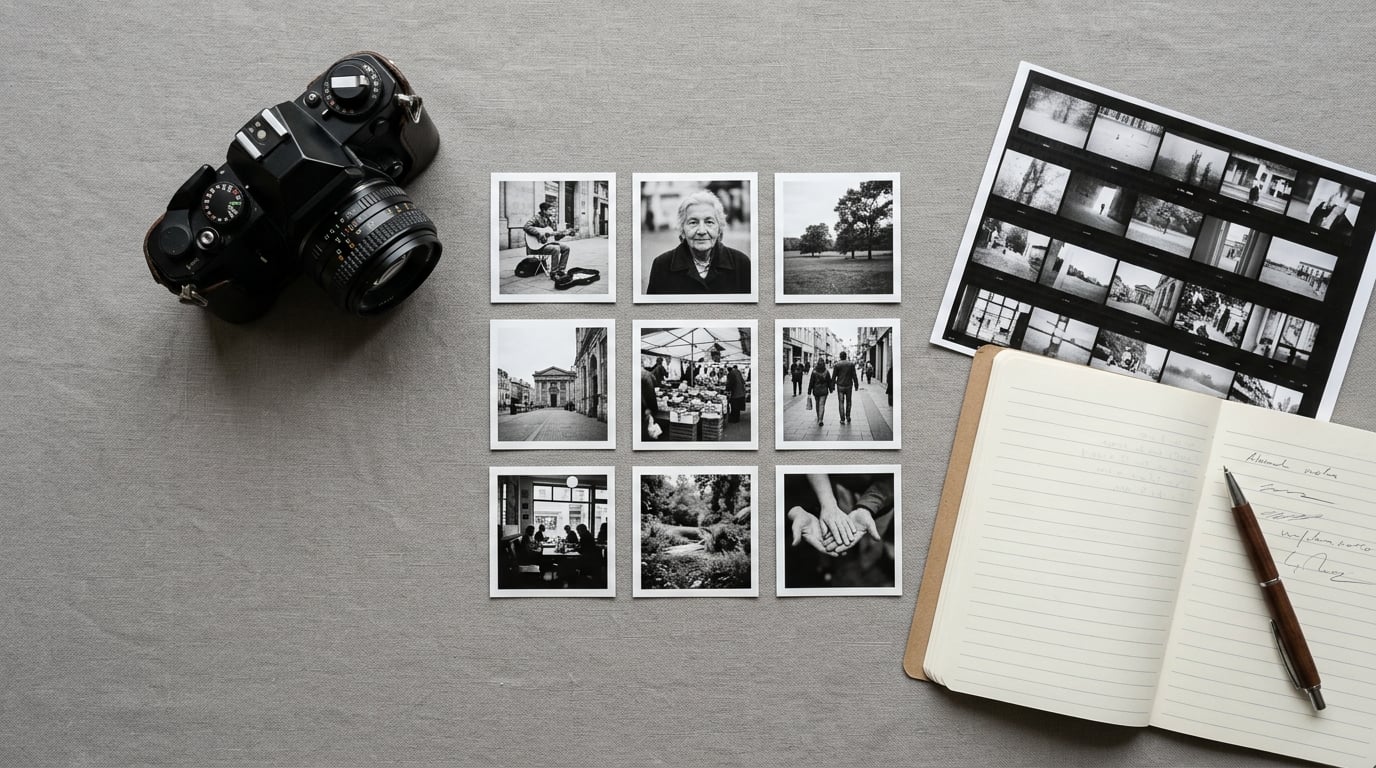
To develop a personal photography style, you audit your own strongest images for repeating choices, name those choices as three or four style words, then make them on purpose for months. Style is not a preset you buy or a look you copy. It is the residue of how you already see.
That is the useful part, and it is also the frustrating part. Most photographers who feel stuck are not stuck. They are looking for something that was never missing, which is why the question “how to develop a personal photography style” keeps circling back with no clean answer.
One photographer put it plainly on r/PhotographyAdvice: “The reality is you may already have one. It’s not something you invent, it’s the way you see the world and your influences that develop your style over time.” Another described the symptom that brings most people to the question in the first place: “They just feel like random tourist shots.”
This guide is the process I use to make those choices visible. Eight steps, roughly 20 to 30 minutes of work per step, no gear purchases required. Read it end to end once, then work through it with your own archive open.
Table of Contents
- What You Need
- Step-by-Step: The Eight-Step Process for Building a Recognizable Look
- Step 1: Identify Your Recurring Visual Interests
- Step 2: Define the Elements That Guide Your Work
- Step 3: Gather References Without Imitating Them
- Step 4: Run Small-Scale Style Experiments
- Step 5: Establish a Repeatable Shooting and Editing Process
- Step 6: Create a Cohesive Test Portfolio
- Step 7: Get Feedback and Separate Growth From Distraction
- Step 8: Revisit and Evolve Your Photography Style
- Common Mistakes When Developing a Personal Photography Style
- Frequently Asked Questions
- Is a photography style the same as a photography genre?
- How long does it take to develop a personal photography style?
- Should a photographer specialize in one genre or stay versatile?
- Does a personal photography style need to look consistent across every image?
- How can I develop a black-and-white or color photography style?
- Conclusion
What You Need
None of this needs expensive equipment. You need a camera you already own, a phone, or even a fixed-lens compact from ten years ago. Style lives in decisions, and every decision listed below can be made on any camera that takes a photograph.
Here is the honest kit list:
- A camera or phone you know well. Knowing its menu layout matters more than its sensor. Style development is slow enough that fumbling with unfamiliar controls will stall you.
- One editing application. Lightroom Classic, Lightroom, Capture One, or a phone app such as Snapseed or VSCO. One program, used for a year, beats switching tools every month.
- A folder for selected work only. Not your full shoot archive. A folder holding the 50 to 100 frames you actually like is the raw material for every step below.
- A small journal or a notes file. A text file works. Its job is to record what you tried, what you changed, and what you want to test next.
- Enough subjects to experiment with. For most people this is the local park, their own street, friends who tolerate being photographed, or a community they already belong to.
Skip anything you would need to buy to feel ready. The single most common stall in this process is waiting for a better body or a faster lens, and that stall can last years without producing a single frame.
Step-by-Step: The Eight-Step Process for Building a Recognizable Look
The order matters. Each step takes the output of the one before it, so jumping to editing before you have named your own preferences is why most edits end up borrowed.
Step 1: Identify Your Recurring Visual Interests
Open your selected-work folder and look for repeats. Not what you shoot most, but what you keep coming back to when you had free rein.
Go through roughly 50 images and mark each one that holds your attention. Then read the marks as a group and circle what they share. Look for these five things:
- Subjects. Hands, doorways, reflections, crowds, empty rooms, one particular person, the last ten minutes before sunset.
- Moods. Quiet, tense, warm, clinical, lonely, celebratory, observational.
- Perspectives. Low angles, reflections, tight crops, deliberately distant, one-point perspective, shot from behind.
- Light qualities. Hard directional shadows, overcast softness, window light, raking side light, mixed indoor color.
- Recurring motifs. A shape, a color, a gesture, a type of deterioration, a repeated framing device.
Do this before you look at anyone else’s work. Whatever patterns show up here came from you, not from a mood board you assembled last week.
Step 2: Define the Elements That Guide Your Work
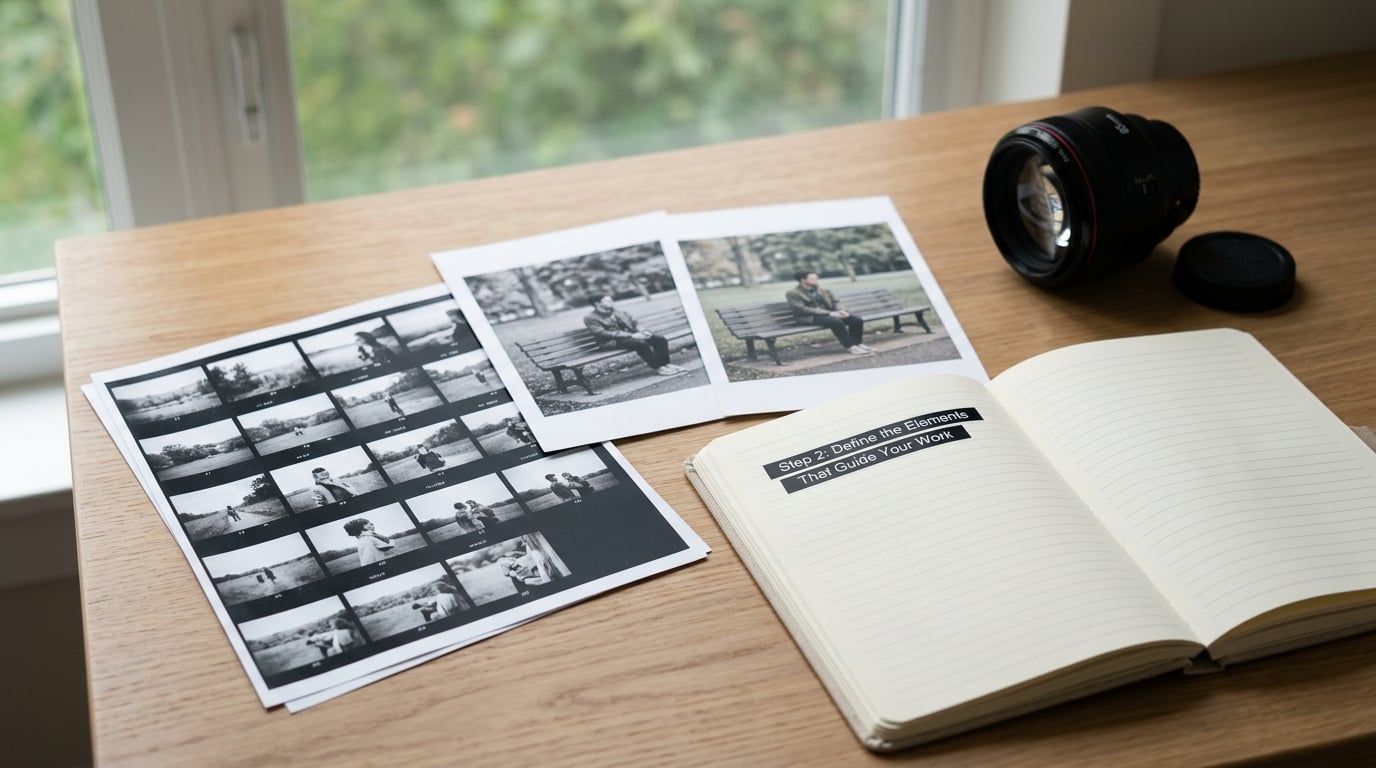
Turn those observations into a short written brief you can actually act on. Six slots is enough: subject matter, composition, light, color or monochrome, contrast and tone, emotional register.
Write three style words in each slot, chosen for how they would actually show up in a frame. “Moody” is too soft to filter anything with. “Lifted blacks with desaturated midtones” or “shadow-heavy with one deep black” tells you what to do with the tone curve.
Then treat it as a temporary brief with an expiry date, roughly 90 days. A creative brief you never revise becomes a straitjacket. Test the brief against three of your recent images: does applying it make them better? If it only makes them different, it is not yet your style.
Step 3: Gather References Without Imitating Them
Reference is how you find out what is possible. Copying is how you end up with a portfolio that belongs to someone else. The line between them is simple: take a principle, never a finished look.
Build a reference set from photographers, painters, films, magazines, album covers, and photographic movements. For each image you save, write one line about what you want to steal at the principle level:
- “Crops hard to the left edge, always.”
- “Rearms light from the side and lets the shadow fill half the frame.”
- “Two subjects, one of them turned away.”
- “Slows the sequence down with a static wide shot between moving ones.”
- “Weather and surface texture carry the picture.”
Keep the list to 10 to 20 images. A board of 300 saves is a collection, not a reference. When you shoot, you are borrowing a framing rule or a lighting habit from a named source, and you are making the subject, the light, and the timing your own.
Step 4: Run Small-Scale Style Experiments
One variable at a time. This is the step that separates a found style from a happy accident, and it is where most people quit because they change five things and cannot tell what worked.
Set up a controlled experiment: one subject, one location, one time of day, and a series of 10 to 20 frames. Change exactly one thing per batch. Underexpose by a stop. Switch to black and white with one filter. Reframe every frame to the same spot on the wall. Bump the white balance deliberately cool.
Compare the batches side by side, then write one line per batch in your journal: what changed, how it felt, whether you would shoot it again in real conditions. Over ten or twelve batches, the choices you keep reaching for are not preferences. They are your style, showing itself before you have named it.
Two or three batches a month for six months is plenty. You are looking for a pattern, not a masterpiece.
Step 5: Establish a Repeatable Shooting and Editing Process
A style that depends on remembering to adjust five things at random is not a style yet. It is a habit you will lose on a bad week.
Write the routine down. A workable version has seven parts:
- Preparation. Two or three reference images on your phone, and the experiment you are running this session.
- Setup. The light you decided to look for, and the position you plan to work from.
- Framing rule. One composition constraint applied to the whole batch, so the frames are comparable.
- Exposure decisions. Your default aperture range, shutter floor, and ISO ceiling, written as numbers.
- Culling. Your keep criteria: sharpness, expression, gesture, and whether the frame serves the experiment.
- Edit order. The same sequence every time, for example crop and straighten, then white balance, then tone, then color, then final contrast.
- File organization. A date folder, a project name, and a short note on what you tested.
Consistency here means your process is repeatable, not that every frame looks identical. A style with range still has a spine, and the spine is the sequence of decisions you refuse to make differently at random.
Step 6: Create a Cohesive Test Portfolio
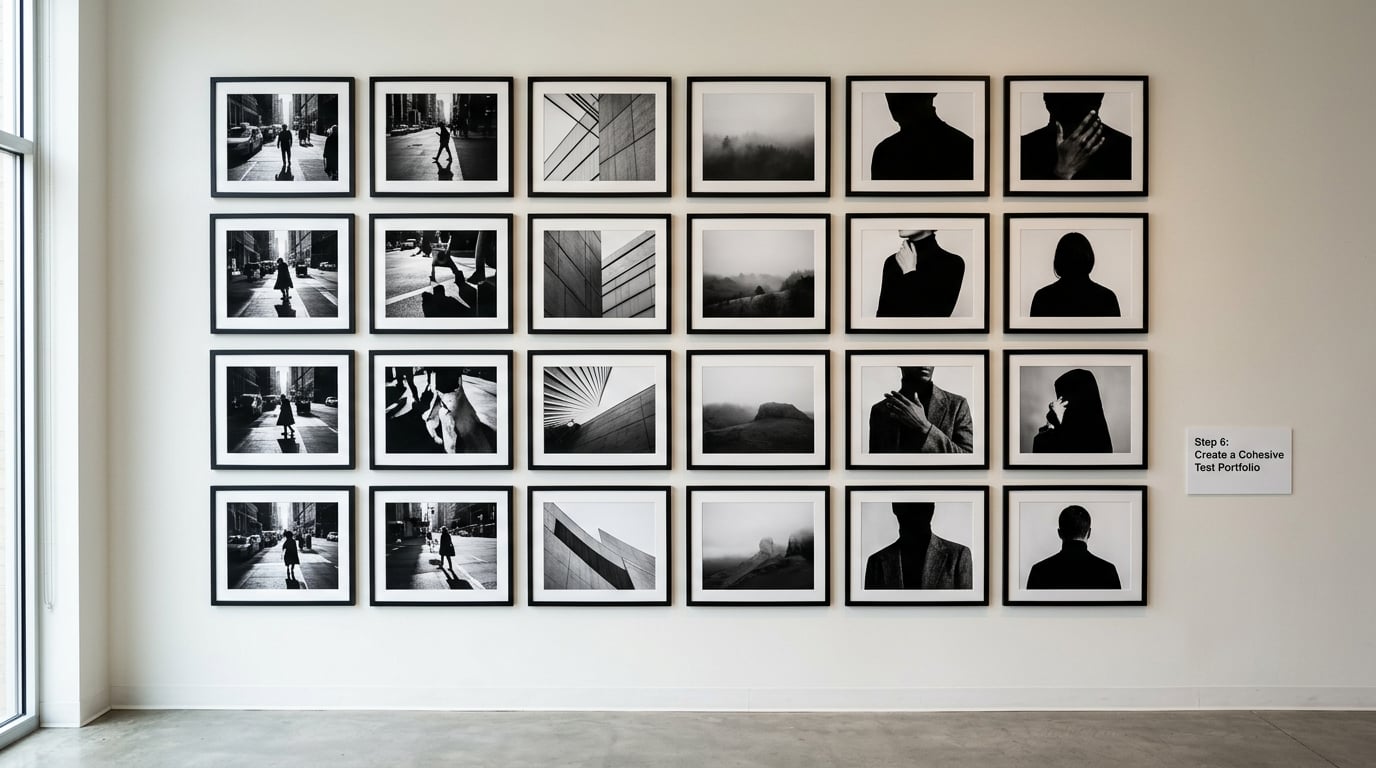
Now build a small body of work, 12 to 20 images, and hang it on a wall or drop it in a grid. This is the fastest way to see whether your choices cohere, because a grid shows mismatches that a scrolling feed hides.
Sequence it rather than dumping it in date order. Put your strongest frame first, vary the scale between similar subjects so the wall has rhythm, and end on an image that explains the whole set.
Apply one fixed decision across the whole set: either black and white with a stated conversion approach, or color with a stated palette limit. Look for three things and fix what fails:
- Does the wall read as one body of work or as a folder of unrelated frames?
- Can you describe the emotional register in a sentence?
- Which images break the rules, and are they interesting exceptions or noise?
Cut anything that does not hold the sequence together. Cohesion is not an accident of subject matter; it is the result of every frame obeying the same few rules.
Step 7: Get Feedback and Separate Growth From Distraction
Critique is useful only when it is specific. “Nice shot” tells you nothing, and “I like it” tells you which person you are standing next to.
Ask three people, and give them the same three questions so you can compare the answers:
- Describe this set in three words.
- Which single image would you keep if you could only keep one, and why?
- Where does the look break down or feel inconsistent?
Collect the three-word descriptions side by side. If two of three people use a word you did not intend, that is a strong signal about how your work actually reads, not how you think it reads. When feedback is subjective, such as a preference for a warmer tone, treat it as a question to test, not a verdict.
Pick up two or three specific observations, change them, and shoot another batch. Never adopt three rounds of notes at once, or you will lose track of what actually moved the work.
Step 8: Revisit and Evolve Your Photography Style
Style is a living thing, and the first version you name is almost always wrong. Treat it as a draft you revise on a schedule rather than an identity you defend.
Keep a dated archive with one folder per project and a two-line note on the intent. Review a quarter of your work every 90 days and answer three questions: which images still look like you, which threads keep reappearing, and what have your skills changed since the last review?
Then update the brief deliberately. Raise contrast because you learned to see it. Drop a rule that never fired. Add one you discovered last month. A useful transition, especially if you photograph for paying clients, is to keep the established look for the majority of work and try the new direction in a minority of it, then shift the ratio over a few months rather than overnight.
The camera is the least important variable in all of this. A style built on decisions survives a body change, a lens change, and a move to a different city. If your look collapses when you upgrade equipment, it was built on gear, and it is time to go back to step 2.
Common Mistakes When Developing a Personal Photography Style
Nearly every stalled photographer is making the same six errors. Each has a straightforward correction.
1. Copying a look exactly. You study someone else’s edit, match it closely, and produce beautiful images that send clients to them. The imitation is always visible because the choices were never yours. Correction: take one transferable principle from each reference and rebuild the look around your own subject matter.
2. Buying equipment before defining a vision. A new body changes nothing about what you notice. Correction: finish steps 1 and 2 using a camera you already own, and treat any purchase afterwards as a tool for a decision you have already made.
3. Changing five variables at once. You shoot a batch, change exposure and white balance and crop and filter, and cannot tell which change made the frame better. Correction: one variable per batch, and write the result down.
4. Judging style from single images. One strong frame tells you about one frame. Correction: build a 12 to 20 image set and evaluate the set.
5. Overediting until the frame looks like a preset. Heavy presets flatten faces and crush texture, and the result is instantly generic. Correction: dial the preset back until it is nearly invisible, then make your adjustments by hand.
6. Chasing a fixed identity. You decide at 24 that your style is moody landscape work, and everything else feels like a compromise. Correction: keep the brief on a 90-day cycle and allow it to change with your skills.
These eight symptoms show up most often, and each one traces back to a specific gap:
- My photos feel like random snapshots. No written brief, decisions made at random. Write the six-slot brief from step 2 and test three images against it.
- Everything I shoot looks like everyone else. Reference taken as a look rather than a principle. Rebuild from a single named principle per reference.
- My feed does not hang together. Posting in date order with no sequence or palette limit. Grid your 20 most recent picks, sequence them, and fix one color or mono decision.
- I change my look every month. Style words borrowed from whatever you saw last. Commit to a brief for 90 days and log every batch.
- My style only works in one kind of light. The experiments never varied the conditions. Repeat one experiment at midday, overcast, and at night.
- Critique says my work is inconsistent. The edit order changes from session to session. Write the edit order down and follow it for 30 days.
- I only like my work in bursts. No test portfolio, judging from the edit screen. Print or grid 12 to 20 images and evaluate the set.
- Upgrading gear changed my work. The style is tied to a body rather than to decisions. Rebuild the brief from decisions, not from output files.
Two quick tips worth more than any of the above. First, keep a rejected folder, not just a favorites folder, so you can see what you keep walking past. Second, date everything, because the fastest proof that you are developing is putting your earliest work beside your newest.
Frequently Asked Questions
Is a photography style the same as a photography genre?
No. A genre describes what you photograph, such as weddings, wildlife, or street photography. A style describes how you photograph it, including your light, framing, color or monochrome choices, and the mood of your images. A wedding photographer can work in a documentary, fine-art, or editorial style, and the genre stays the same in all three cases.
How long does it take to develop a personal photography style?
Most photographers who commit to it notice a consistent thread in three to six months of regular shooting and a fixed 90-day brief. A mature, defensible look usually takes a year or two because the skill has to grow alongside the intention. The variable is not talent but repetition: small batches, written decisions, and an archive you review on a schedule.
Should a photographer specialize in one genre or stay versatile?
Stay versatile early, specialize later. A style needs repetition to become visible, and shooting several kinds of work in the first year tells you which subjects and moods you keep returning to. Once your brief is written, going narrow helps you apply it. Many working photographers keep a main genre and a smaller practice area that stretches their look.
Does a personal photography style need to look consistent across every image?
No. Consistency means the same decision-making shows up across your work, not that every frame looks the same. Your portrait work and your landscape work can share a tone, a contrast approach, and a color limit while differing in subject and framing. If two very different images could sit on the same wall and look related, your style is doing its job.
How can I develop a black-and-white or color photography style?
For black and white, decide your conversion approach first, such as a film simulation profile, and fix contrast, black point, and grain across a whole set before you judge any frame. For color, limit your palette to two or three families and pick a fixed white balance behavior. Then apply that decision to 20 images and grid them to see if the set holds together.
Conclusion
A personal photography style is built by making the same kinds of choices deliberately, in writing, across enough frames that the choices become a habit and the habit becomes recognizable. Audit your own work, name it in a brief with a 90-day expiry, test one variable at a time, grid a small portfolio, and revise.
Start now with one task. Pull ten images you made in the last month, put them side by side, and mark every decision you can identify: light, framing, tone, color, mood. Whatever repeats on that sheet is the beginning of how to develop a personal photography style, and the next shoot should test exactly one of those repeats on purpose.