
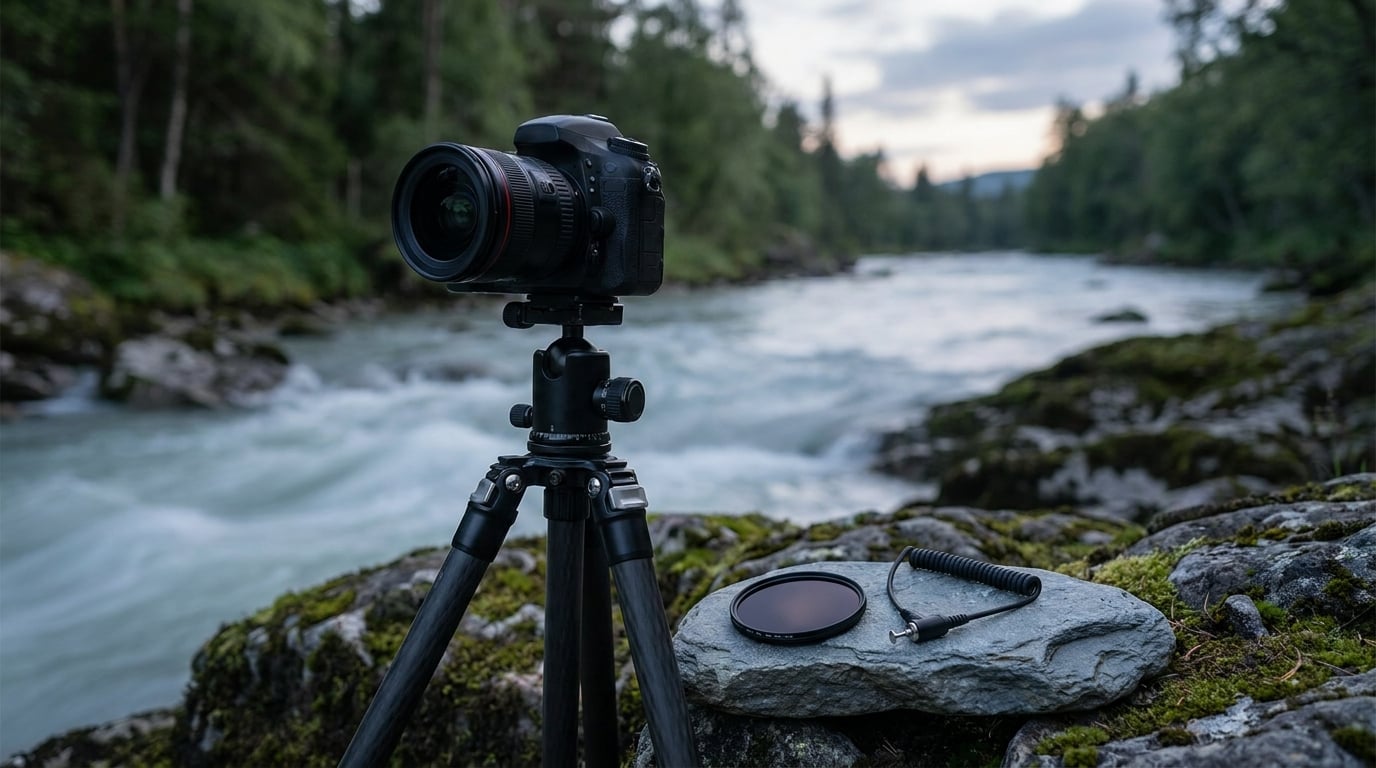
Long exposure photography is simple in theory and fiddly in practice: you leave the shutter open for a second, ten seconds or a minute, so anything that moves turns into a streak or a soft, milky sheet while the stationary parts stay sharp. The trick is that you do not guess settings. You work in a fixed order — mount the camera, compose, focus, take a test frame without any filter, note the shutter speed the meter chose, then add a neutral density filter and multiply that number. Get the order right and the maths takes ten seconds; get it wrong and you spend an hour re-composing a frame in the dark.
A tripod is the one piece of kit you cannot work around. Everything else has a workaround, and you can start tonight with no filter at all.
Table of Contents
What You Need
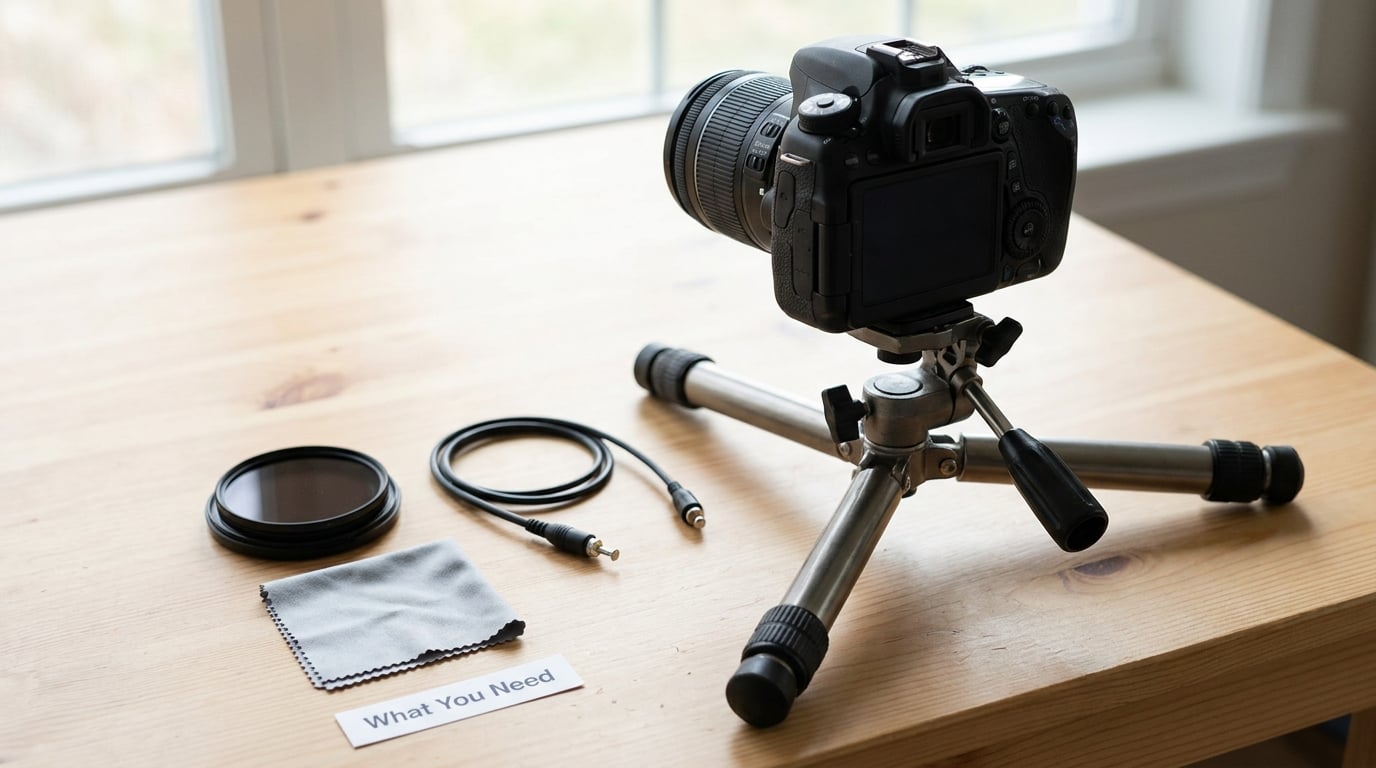
Four things are genuinely required, and everything else is a luxury you can borrow from a friend for a weekend.
- A tripod that outweighs your kit. Pick one rated comfortably above the combined weight of body and lens, with a hook on the centre column. In a real wind that hook carries your camera bag and takes most of the load off the legs. A lightweight travel tripod is fine for an evening, not for a 30-second frame on an exposed headland.
- Some way to fire the shutter without touching the body. The cheapest option is the self-timer, which almost every camera has. A two-second delay lets your hand drift away before the exposure begins; a ten-second delay gives the lens time to settle after a big filter is screwed on. A cable release with a lock button is better, because it also holds the shutter open for bulb mode.
- Manual mode and RAW capture. Auto focus will hunt the moment a strong filter darkens the viewfinder, and auto exposure will try to compensate for exactly the light reduction you asked for. RAW gives you the highlight recovery that a white sky needs later.
- A neutral density filter. Optional after dark, close to essential at midday. See the filter section below for how to pick one.
The optional list is short: gaffer tape for the viewfinder eyepiece on a DSLR, a circular polariser for side-lit water and skies, a small LED or phone flashlight for focusing in the dark, an intervalometer if you plan to shoot star trails, and an extra lens cloth for salt spray off a sea wall.
You do not need a dedicated long-exposure camera, and most lenses you already own will do it. The usual first setup is a 16-35mm or 24-70mm wide zoom, base ISO, and a mid aperture between f/8 and f/11 for the sharpest rendering.
Step-by-Step
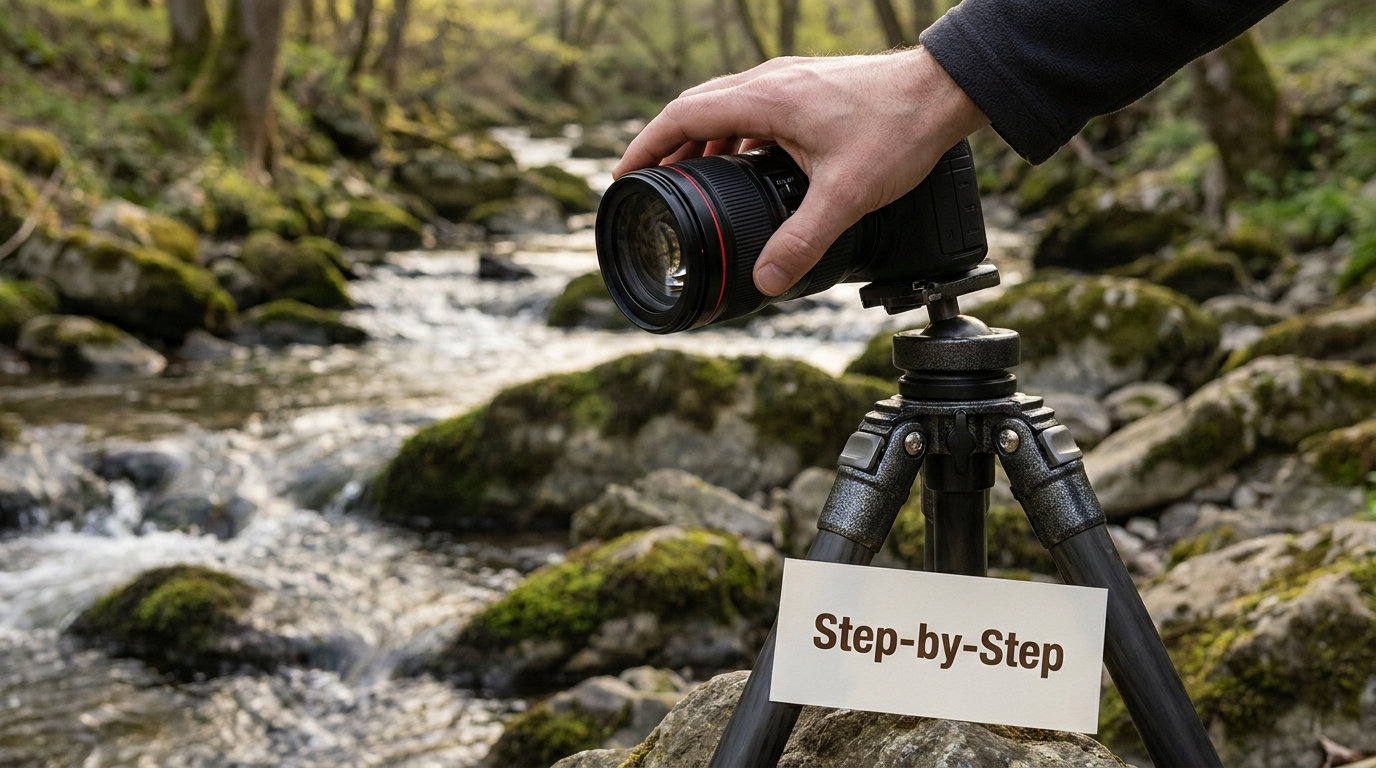
The order below matters more than the numbers. Compose and focus before the filter goes on, because a 10-stop filter makes the viewfinder so dark that reframing becomes guesswork.
Choose the Creative Effect
Decide what you are smoothing before you touch a dial. Water wants texture, not smoke, so aim for the flowing curve of a fall rather than a flat weir. Clouds want long streaks that read as wind. Cars in a city want continuous ribbons of red and white, which means framing a road that curves out of the bottom corners rather than a car park.
Water and traffic respond to quite different exposure lengths, so pick one and stay with it for the session. A bracket of a single spot taken at 1 second, 4 seconds, 15 seconds and 30 seconds costs one setup and gives you a set of finished options instead of one guess.
Set Up a Stable Camera
Spread the tripod legs wide, lock every control, and keep the centre column retracted. Extending it noticeably increases vibration, especially when it is only a small section out. Hang your camera bag on the hook if there is any wind, and turn the legs so the centre column is not pointing downwind.
Switch off image stabilisation. It is tuned to detect handheld movement, and on a locked tripod it frequently hunts back and forth, softening the frame near the end of the exposure. If your camera has a menu option for stabilisation with a tripod, choose that rather than leaving it on full. On DSLRs, put a strip of gaffer tape over the viewfinder eyepiece so no stray light leaks in during a long frame.
Choose Manual Settings
Start at base ISO — 100 on most bodies, 64 on some — and a mid aperture. f/8 is a safe opener, f/11 usually gives a little more detail, and f/16 is the point where diffraction starts softening everything. Leave exposure compensation at zero. Anything the meter does in manual is being told to undo your intent.
Shutter speed is the variable you move. It might read 1/250 in full sun, 1/30 in cloud, or 2 seconds after dark. That metered number is your base exposure, and everything from here is arithmetic on it.
Meter and Focus Carefully
Take one frame without a filter. Read the shutter speed the camera chose, and write it on your phone or a piece of tape on the tripod leg. That single number saves more time than any app.
Now focus. For daylight work, switch to manual focus and set the distance by hand, or use autofocus once and then hold it. For a foreground element, focus at the near edge. At night, open live view, magnify to 5x or 10x, and focus on the brightest thing in the frame — a streetlamp, a lit window, the moon. It is far easier to find a bright point than a dark edge.
Use Filters When Needed
A neutral density filter is a piece of dark glass that screws onto the front of the lens. It does not change the colour of the light, only the quantity, which lets you hold a long shutter speed in bright conditions. Think of it as sunglasses for your lens.
Filters are labelled three different ways, and it helps to know all three. Stops are the practical number: each stop halves the light, so a 6-stop filter is 64 times darker and a 10-stop is 1,024 times darker. The ND number is a marketing shortcut — ND8, ND64, ND1000, ND32000 are the same as roughly 3, 6, 10 and 15 stops. Optical density is the decimal figure on the same scale.
- 1 to 2 stops (ND2 to ND4): barely worth carrying. Useful for a little extra margin at blue hour.
- 3 stops (ND8): the lightest real filter, a good partner for a polariser on overcast or low sun.
- 6 stops (ND64): the workhorse. Covers most daylight water, blue hour and mild cloud work, and is the one to buy first.
- 10 stops (ND1000): for genuinely bright light and for 15 to 60 second exposures. It makes the viewfinder nearly black, which is why focusing happens before it goes on.
- 15 stops (ND32000): for full daylight sun, multi-minute star trail sessions and bright sunrises.
The conversion is simple. Take the base exposure, and multiply by two for every stop. A 1/30s base with a 10-stop becomes roughly 17 seconds; a 1/30s base with a 6-stop becomes about 2 seconds; a 1/125s base with a 6-stop becomes about 4 seconds. Past about 30 seconds you switch the camera to bulb mode and hold the shutter with the cable release, or use an intervalometer to time it.
Two practical warnings. A variable ND is convenient up to about 6 stops and unreliable past that, where its internal layers produce a visible cross-shaped pattern across the frame. And cheap resin filters soften detail, shift colour toward magenta and, past around 6 stops, can band badly. One good filter beats three bad ones, and it is a false economy.
Make the First Test Exposure
Fire a short frame at the same aperture before committing to the long one. Two seconds is enough to confirm that focus landed on the right thing and that the camera is not drifting. Then check the histogram: the data should sit just left of the right-hand edge, with no pile-up at the far right, which means clipped highlights.
If the frame is white, you have too little filter for the light, or the exposure went longer than you calculated. If it is flat and grey rather than dark, the water may simply need more movement in the frame rather than more time.
Capture Motion Creatively
Long exposures reward variation. Change the length of the frame rather than moving the camera, because moving the tripod means starting the whole setup again. A narrower slit of road gives sharper individual trails; a wide road junction gives a solid ribbon of light.
Where the light is coming from matters as much as the timing. Side light across moving water shows texture; flat overhead light at midday gives you an evenly smoothed, slightly lifeless surface. For clouds, check a forecast service such as MeteoEarth or yr.no first and pick a viewpoint where the wind pushes them toward or away from the camera rather than across the frame.
Review and Edit the Result
Work on the RAW file. Pull the highlights down first, because a white sky is the hardest thing to recover later. Then drop the dehaze slider slightly to give the smoothed water its depth back, add a little contrast, and apply noise reduction to the shadows where the long exposure has lifted the grain.
Sharpen selectively rather than globally, and resist over-sharpening the water. A frame that is slightly soft in the moving parts and crisp in the rock reads as intentional; a frame sharpened edge to edge reads as digital noise. A black and white conversion suits a lot of long exposure work, and it hides any colour cast from a cheap filter.
Common Mistakes
Almost every disappointing long exposure is one of five things, and each has a quick fix.
- The frame is soft all over. Usually a bumped tripod, a pressing hand, wind on an extended centre column, or stabilisation left on. Check all four, then fire a two-second test and inspect it at full size before spending another minute on the clock.
- The frame is white or the sky is blank. Not enough filter for the light, a miscalculated base exposure, or a scene that changed brightness mid-frame at sunrise. The histogram after a two-second test is the fastest diagnosis.
- Focus landed on the wrong thing. Autofocus cannot see through a heavy filter. Switch to manual, and focus before fitting the filter rather than after.
- The water looks like grey fog. You went past roughly 15 to 30 seconds. Past that point the texture that makes water read as water disappears, and the result looks like a rendering error. Halve the exposure time and shoot the bracket again.
- A dark band or a bright streak crosses the frame. Light leaking through the viewfinder, or uneven vignetting from stacking two filters without an adapter ring. Cover the eyepiece with tape and stop stacking.
One more that catches beginners out: a strong filter screws onto the front element and lifts the whole lens, which can bend it enough to soften the corners after you have focused. Take the focusing step as close to the moment of shooting as you reasonably can.
Tips for Stronger Long-Exposure Images
A few habits separate a first attempt from a frame you keep. Scout the location in person first if you can, and note where the wind is coming from; a viewpoint with a building behind you will be calmer than an exposed one.
Shoot the same scene at several lengths in one setup, because comparing 4, 15 and 30 seconds afterwards teaches your eye faster than any rule. Then choose the effect first and the settings second, rather than picking a number and hoping the subject cooperates.
Keep the camera dry, watch your battery, and pack something to sit on for a long one. Long exposure photography asks you to stand still in one spot longer than most people expect, and comfort decides how many frames you actually take.
Frequently Asked Questions
How long should the shutter speed be for long exposure photography?
Half a second to two seconds smooths a fast river and blurs passing people. Waterfalls usually look best between two and ten seconds, because past about fifteen seconds the texture flattens into grey fog. Clouds need longer: fifteen to sixty seconds starts to streak them. For traffic light trails, anything under a second captures the shape, and longer exposures make the trails brighter and more continuous.
Do I need an ND filter to shoot long exposure photos?
Not at night. After sunset the sky is dim enough to hold a one to thirty second exposure at base ISO with the aperture wide open and no filter at all. In daylight you need one. A 6-stop filter turns a 1/125s base exposure into about four seconds, and a 10-stop turns 1/30s into roughly seventeen. Buy the one labelled in stops so the arithmetic stays simple.
Should I use image stabilization for a long exposure on a tripod?
No. Stabilisation is tuned to correct handheld movement, and on a locked tripod it often hunts for vibration that is not there, softening the frame at the end of a long exposure. If your camera has a specific menu setting for stabilisation with a tripod, use it. Otherwise turn stabilisation off entirely before you mount the camera, not after.
How do I keep the camera sharp during a long exposure?
Weight the tripod legs, keep the centre column retracted, hang your camera bag on the hook in wind, and never touch the body or lens while the shutter is open. Cover the viewfinder eyepiece with tape on DSLRs to block stray light. Finish a two-second test at the same aperture and check the RAW at full size before committing to a multi-minute frame.
Can I take long exposure photos with a smartphone?
Partly. Night mode on modern phones stacks several short frames into something close to a long exposure, which is useful for testing an idea. You still need a small tripod, and the result will not match a dedicated camera on a waterfall or a city light trail. Treat a phone as a way to check a location and a composition, then switch to the camera for the real frame.
Conclusion
Four things, in this order, and your first long exposure will probably work. Pick the effect you want — silky water, light trails, streaked clouds. Mount the camera, switch off stabilisation, and compose and focus before any filter goes on. Take one frame without a filter and write down the shutter speed. Then multiply that number by two for every stop of your filter, check the histogram, and change one variable at a time from there.