
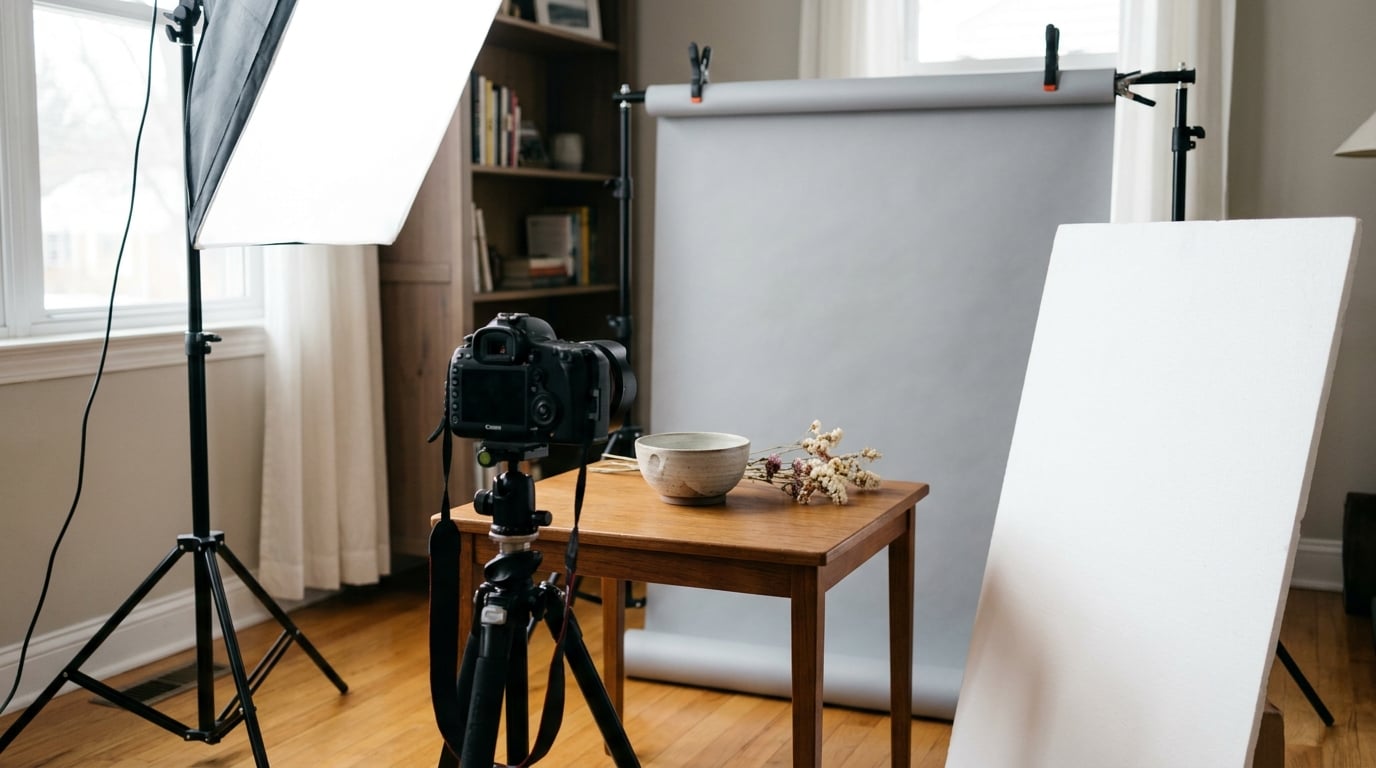
Building a home photo studio on a budget takes one afternoon and far less gear than most people expect. A usable setup is four things: one controllable light, one reflector to fill the shadows, one plain background, and a tripod. Everything else is a preference, and you can add it later once you know which part of the setup is limiting your photos.
I have shot portraits, food and small products in spare rooms, a rented flat and a corner of a garage that technically was not a garage. What worked every time was never the expensive light. It was turning off the lights I was not using, moving the subject away from the wall, and keeping the setup the same every time so the pictures matched each other.
Below is the order I would build it in, including the mistakes that cost me the most wasted evenings.
Table of Contents
- What You Need to Build a Home Photo Studio on a Budget
- Step-by-Step
- Tips
- Frequently Asked Questions
- How much does it cost to build a home photo studio?
- Can I build a home photography studio in a small room?
- What is the cheapest way to light a home photo studio?
- Do I need a special camera to create studio-quality photos?
- What can I use instead of a photography backdrop?
- Is it possible to take professional photos at home?
What You Need to Build a Home Photo Studio on a Budget
The honest answer is that you already own most of a home photo studio. You have a room, a camera or a phone, a wall, and probably some light. What you are missing is control.
The four things that actually matter
- One light you can position and dim. A speedlight, a continuous LED panel, or a desk lamp with a shade. It has to be movable and, ideally, dimmable.
- A reflector. A piece of white foam board, a white sheet on a chair, or a collapsible reflector. This fills the shadow side without adding a second light.
- A background. A plain wall, a sheet, a roll of backdrop paper, or a painted board. Plain and matte beats patterned every time.
- A tripod. Any stable tripod, including a phone tripod for phones. This is the item people skip and regret.
A light stand, a remote shutter release and a set of props are the next tier. They are not where you start.
What you can skip for now
Skip the three-light kit in a box. Skip backdrops with patterns printed on them. Skip anything advertised with a long list of lens attachments. Skip brand-new light stands with thin plastic feet that wobble the moment you tighten the head, because a wobbly stand changes your framing every time you touch it.
Also skip buying a camera. If you have one, or a phone with a decent camera, the lighting is doing 90 percent of the work at this stage.
Choosing the space
Pick the corner of a room that gives you three things: enough floor space to walk around your subject, an outlet within reach of where the light will sit, and a wall or surface far enough from your subject that the light does not throw a hard shadow onto it.
The shadow problem is the one beginners hit hardest. If your subject stands close to the backdrop, every light you add throws a second shadow of the subject onto the background, and the picture looks dirty no matter how good the light is. Roughly a metre and a half of separation is a reasonable starting point, and more is better in a big room.
Watch what is behind your light source too. A floor lamp pointed at a white wall is really a lamp pointed at a bounce card, which is useful but softer and less predictable than you think.
Light, and how to pick one
Three types cover almost everything a beginner needs.
- Speedlight — a flash unit with a manual power dial. Cheap, portable, and it also works as an on-camera flash outdoors. Its limit is the camera’s flash sync speed, which is why fast-moving subjects can start to look dark below a certain shutter speed.
- Continuous LED panel — light you can see before you take the picture. That preview ability is worth a lot while you are learning, because you can see the shadow forming. Its limit is that it runs warm and draws power continuously.
- Studio strobe — a separate flash unit with its own modelling light, sold as a pair. Strong and cheap for portraits, but noisy, and it only makes sense once you know you will shoot regularly.
If you are undecided, the honest ranking for a first home photo studio is speedlight first, LED panel second, strobe third. Plenty of working photographers have shot for years on a single speedlight and a white board.
Step-by-Step
The build order matters. Lighting first, background second, camera support third, and testing last, because testing before the room is set up only tells you the room is wrong.
How to build a home photo studio on a budget: set up the lighting first
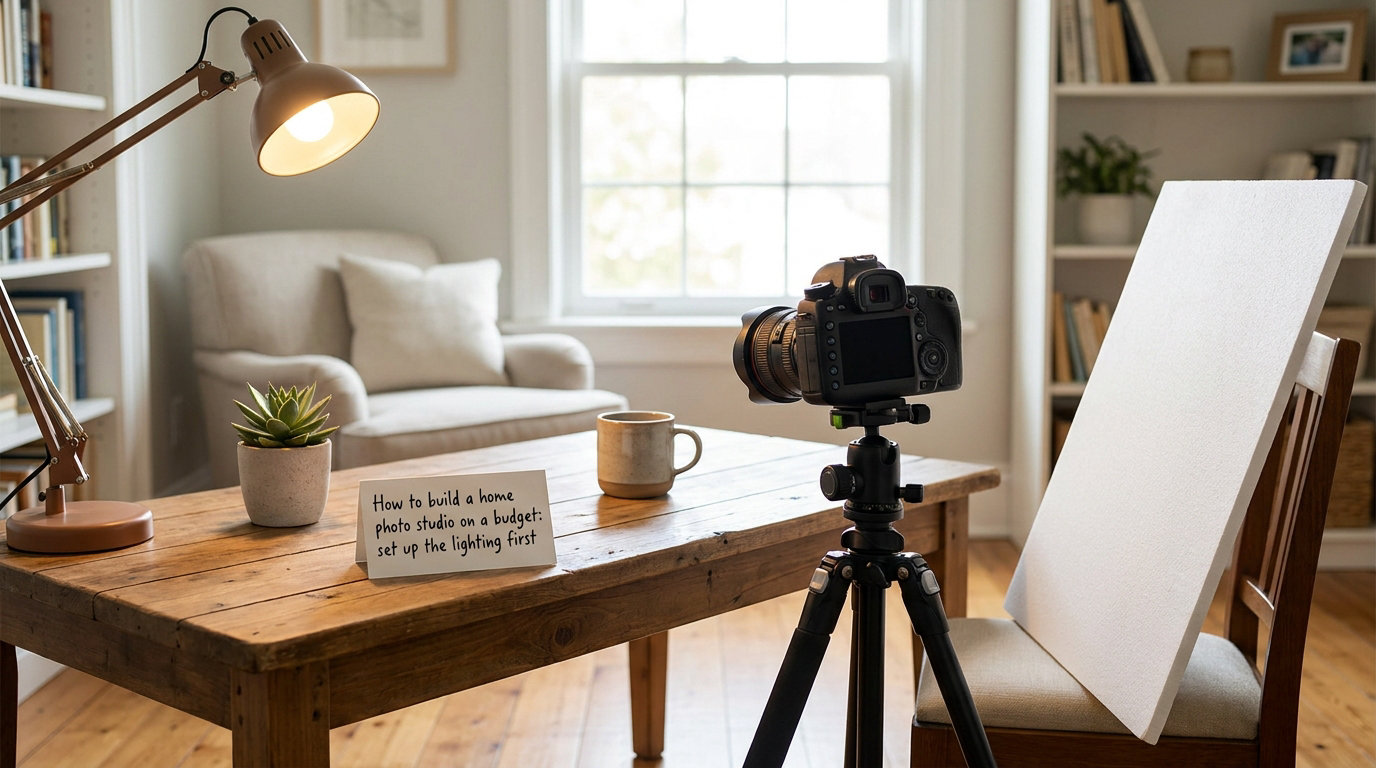
Start by switching off every light you are not using. Ceiling fixtures, TV backlight, hallway lamps, the light in the next room if the door is open. This single step fixes more bad photos than any purchase you can make, because mixed light sources of different colours are the reason skin looks grey or splotchy.
Then place your one light about 45 degrees to the side of the subject and a little above eye level. Not to the side, not overhead. The 45-degree angle is the default for a reason: it gives shape to a face without hiding the far side of it.
Distance matters more than wattage. Move the light twice as far away and you get roughly four times the light on the subject, so a light far enough away can be dimmed down where a close one cannot. Working at a distance also softens the light, because a bigger apparent source makes softer shadows.
A simple arrangement, from above:
- Backdrop and wall behind the subject
- Subject roughly 1.5 m in front of the backdrop
- Key light 45 degrees to one side, about a metre above the subject’s head, 1.5 to 2 m away
- White reflector opposite the key, angled back toward the subject
- Camera on a tripod, slightly above the subject’s eye level
To test it, take one frame and look for three things. The shadows on the shadow side should be present but readable, not black. The background should be a few stops darker than the subject, or the same brightness, but not brighter. And the shadow from the subject should not land on the background.
If the shadow side is too dark, move the reflector closer. If there is a hard shadow on the backdrop, move the subject further from the wall. If the whole frame looks flat, take the reflector away and see the difference — sometimes the shadow is what makes the picture.
Add a second light only when a specific problem asks for it. A plain white background that is going too dark, or a face that reads flat from below, are good reasons. A vague feeling that photos should have more lights is not.
Build a backdrop without buying a studio package
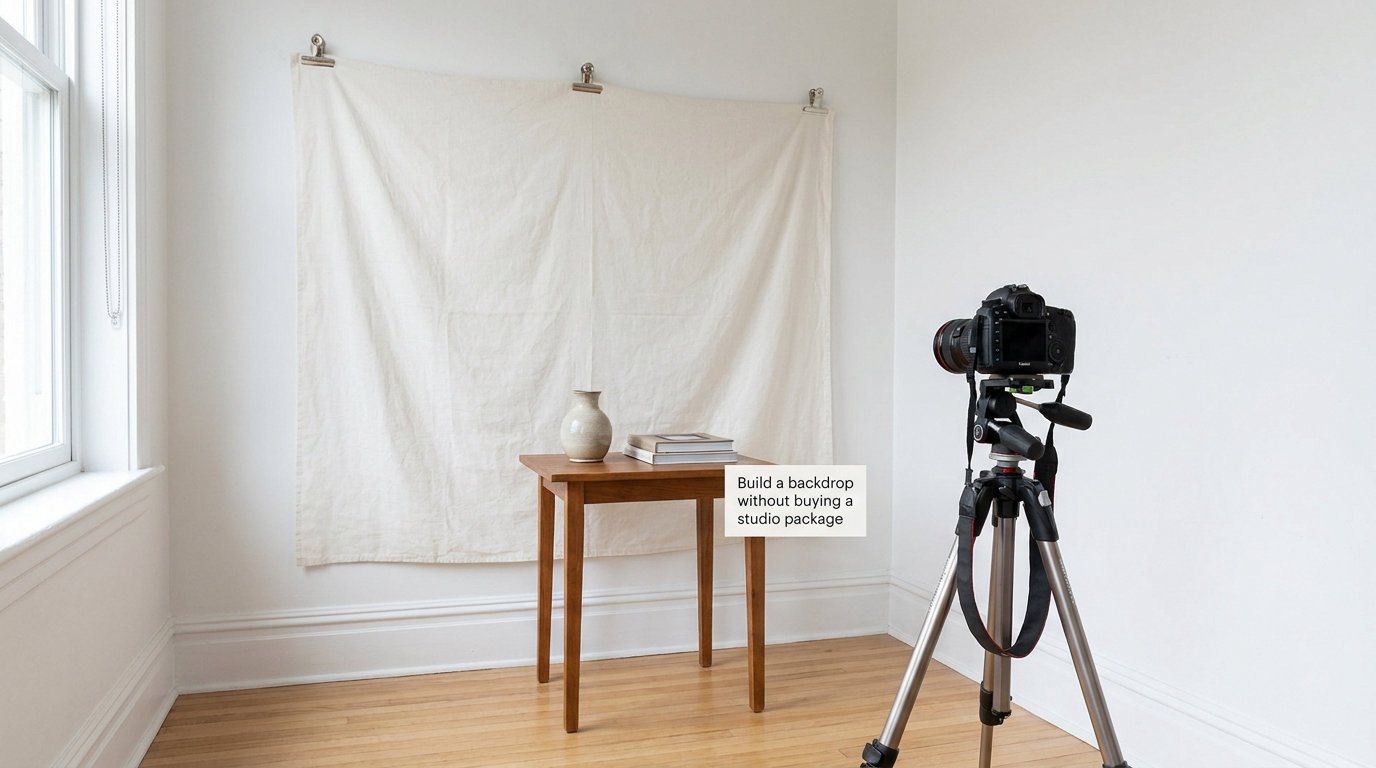
The background is the easiest part of a home photo studio on a budget to do for nothing, and the part where most people overpay.
A plain wall. Paint colour aside, a smooth wall lit correctly beats a cheap backdrop. Move the subject away from it and light only the subject, and the wall drops into shadow on its own.
Paper or fabric on the wall. A roll of backdrop paper taped at the top is the cheapest clean option and comes in widths wide enough for a head and shoulders or a small product. Fabric such as muslin is more forgiving, drapes better, and shows fewer creases, but it absorbs more light and needs distance from the subject to look smooth.
A painted board. Two foam core sheets taped edge to edge, painted in one colour, is a solid surface for small products and flat lays. It is also easy to change between projects because you can stack a few and pick one.
A bedsheet. Works, with two caveats. Iron it first, and clip it high and tight at the corners so it hangs straight. A wrinkled sheet reads as a wrinkled sheet, and it pulls attention from your subject.
A collapsible backdrop stand. Worth it if you move between locations, unhelpful if your setup lives in one corner. The frame is usually fine; the fabric that comes with it is usually thin.
Whatever you choose, secure it so it hangs flat and cannot be blown by a door. Painter’s tape on a painted wall is the least fussy option, and tension rods fitted inside a doorway work if you have no drilling budget and a sheet that reaches the floor.
Match the background to the work rather than to your taste. Matte surfaces eat highlights. Glossy or very dark surfaces create a reflection you will spend time hiding. A mid-grey or off-white background is the safest default for products and portrait work, and it is easy to colour-match later.
Choose camera, tripod, and computer options
A camera you already own is enough to build this studio. Most phones have a fixed lens and a fixed aperture, which actually makes life easier for still life work, because there is one exposure to learn. A mirrorless or DSLR body gives you aperture control, which matters for portraits and shallow depth of field. Neither needs to be new.
The tripod is the accessory that changes results fastest. Hand-holding works when the light is bright and the subject stays still. It fails the moment you dim the light to soften it, which is exactly the change you will want to make. A stiff tripod also stops your frame drifting between shots, which matters enormously when you are photographing a set of products that need to look identical.
Spend more on a tripod than on a light stand. Light stands are often thin metal, and a heavy tripod with a decent head is where beginners report the biggest improvement.
A remote shutter release is a small addition that saves real time. It removes your hand from the camera, so you stop nudging the frame every time you press the button. Many cameras and phones work with a small wireless remote or with a timer, which does the same job for nothing.
Tethered shooting, where the camera sends images straight to a laptop, is worth setting up when you are shooting a large batch of products or working with a client who wants to review as you go. Otherwise it is optional. Editing on a phone is genuinely fine for basic work; the machine does not need to be a workstation.
Storage does matter more than people expect. A full card halfway through a batch is a wasted afternoon, so check the card before you start rather than after.
Test the studio and refine your settings
Now shoot. The point of the test is not to make a good picture, it is to find the one setting that works so you can stop thinking and start shooting.
- Set the camera position first and leave it there. Pick a framing you like, then mark it with a piece of tape on the floor.
- Set white balance to match your light, do not leave it on auto. A fixed white balance is what keeps a whole set of images looking like one session.
- Set ISO to the lowest value the light allows. Start at 100 and raise it only when the image is too dark.
- Choose an aperture that keeps your subject sharp. Between f/4 and f/5.6 suits most small product and portrait work. Wide open is for a specific effect, not a default.
- Set a shutter speed fast enough to freeze movement — 1/125 second or faster if a person is involved.
- Focus manually, or single-autofocus on the subject. Continuous autofocus hunts in low light and wastes frames.
- Check the histogram and the highlight warnings. Blinking reds mean clipped highlights that no edit will bring back.
- Take a test frame, then change one thing and shoot again. This is the habit that makes the setup repeatable.
Settings that suit a typical budget home setup:
- Small product, still: f/8, 1/125 s, ISO 100, white balance fixed to the light.
- Flat lay: f/8, 1/60 s, ISO 100, white balance fixed to the light.
- Seated or standing portrait: f/4, 1/160 s, ISO 200 to 400, white balance fixed to the light.
- Window light portrait: f/2.8 to f/4, 1/250 s, ISO 200 to 800, daylight white balance.
Fix common problems like this. A colour cast on skin usually means the room light is still on or the white balance is set to auto. Clipped highlights usually mean the light is too close, so step it back and dim it. Light that changes between frames means the subject or the lamp is moving, or a window is letting shifting daylight in — close the curtain and use lamps only. A shadow on the background means the subject is too close to it. A flat image usually means the reflector is too close, or pointed at the wrong spot.
Write down the working combination once you find it: light position, distance, camera settings. That note is worth more than any piece of gear.
Common Mistakes
- Leaving the ceiling light on. It adds a second colour and a second shadow direction. Fix: switch it off and every other light in the room, every single time, before you unpack anything.
- Subject too close to the background. Every light spills onto the wall and the subject’s shadow lands on it. Fix: move the subject a metre and a half forward if the room allows it, or light the subject more narrowly so less reaches the wall.
- Mixing warm bulbs with daylight. One side of the face goes orange and the other goes blue. Fix: use one type of light for the whole session, or set a fixed white balance and accept a slight tint.
- Buying accessories before lights. People own stands with no light on them. Fix: buy the light first, the tripod second, and stands only when you have a second light to put on one.
- Overhead room lights as the main source. Ceiling fixtures point down, so they light the top of the head and put shadows in the eyes. Fix: move the key light up and to the side, not above.
- Leaving clutter in frame. The edge of a sofa, a bag, a cable, a radiators. Fix: clear the room completely, then bring back only what belongs in the picture.
- Changing five things between two frames. You learn nothing. Fix: one change per test frame and write down what you changed.
- Overbuying. The most common regret in home studio threads is gear bought early and never used. Fix: leave a purchase alone for two months. If you have not reached for it, it was not the problem.
Tips
A few habits stretch a small budget much further than shopping does.
- Repurpose before you buy. Foam core board makes a reflector, a white shower curtain over a window makes a diffuser, aluminium foil on cardboard bounces light, and a bedsheet makes a backdrop. Most of these work better than people expect.
- Build one setup and repeat it. Working in batches from a single position is the difference between a series of related images and a folder of unrelated ones.
- Label your gear. Masking tape and a marker on each modifier takes two minutes and ends the hunt at 9pm when you want to pack up.
- Set up in the morning, tear down in the evening. In a small flat this is what makes a home photo studio sustainable. Keep everything in one bin, and you can rebuild it in ten minutes.
- Upgrade against a specific limitation. When shadows are too hard, buy a bigger modifier. When the camera shake gets you, buy a tripod. When colours shift between shots, buy a light with adjustable colour temperature. Anything else is a want, not a fix.
- Borrow and rent for paid work. If a shoot is earning money, renting the light is usually the correct financial decision. A rental cost is a fraction of the fee.
- Keep the safety basics normal. Do not drape fabric over a hot lamp, and keep stands out of walkways in a shared home.
Frequently Asked Questions
How much does it cost to build a home photo studio?
A usable home photo studio can be built for the cost of a reflector and a tripod if you already own a camera. Spending in the low hundreds buys a speedlight, a light stand, a collapsible reflector and a backdrop that covers portraits and small products for years. The variable that drives cost is not the camera, it is how much light control and how much background you want. Start with the light, add a backdrop second, and skip anything else until a specific limitation shows up.
Can I build a home photography studio in a small room?
Yes, and most people do. You need about a metre and a half between your subject and the wall behind them, plus room to walk around the subject with a light in your hand. If that distance is impossible, light the subject more narrowly so the wall stays dark, or use a backdrop close behind them and accept a controlled shadow. A corner of a living room works; a room you can close off from household light works better.
What is the cheapest way to light a home photo studio?
A north-facing window with a sheer curtain across it. The curtain diffuses the light into something close to a large softbox, it costs nothing, and it stays put. Put your subject about a metre from the window, angled so the window is behind and to one side of the camera. Set white balance to daylight and shoot between mid-morning and mid-afternoon. The one thing to manage is stray light from lamps in the room, which must be off.
Do I need a special camera to create studio-quality photos?
No. Studio-quality images come from control of light and a repeatable setup, not from a particular camera. A phone with a locked exposure and a fixed lens handles small products and flat lays very well, because there is only one exposure to learn. An interchangeable-lens camera helps with portraits, where aperture control changes how much of the background is sharp. Use whatever you own, and spend your first money on light control instead.
What can I use instead of a photography backdrop?
A plain wall, a bedsheet or muslin hung flat, a painted foam core board, or a roll of paper taped along the top of the wall. A painted board is the most stable for small products; a sheet is the cheapest large option; paper gives the cleanest unbroken surface. Whichever you choose, iron or smooth it first, secure it high and tight so it hangs straight, and keep the subject far enough in front of it that the light does not throw a shadow onto it.
Is it possible to take professional photos at home?
Yes, for product shots, headshots, food, flat lays and family portraits, a home setup matches a rented studio once the light is controlled and the position is repeated. The gap is usually in background removal and colour consistency, both of which are easier to handle when every image comes from the same setup with a fixed white balance. If a client needs something very specific, rent the space for that job and shoot everything else at home.
The first thing to do tonight costs nothing. Pick a corner, turn off every light except one, put your subject a metre and a half from the wall, hang a white sheet, and take one frame. Whatever that single frame tells you is exactly what to buy next — and it will never be the thing you were about to order.