
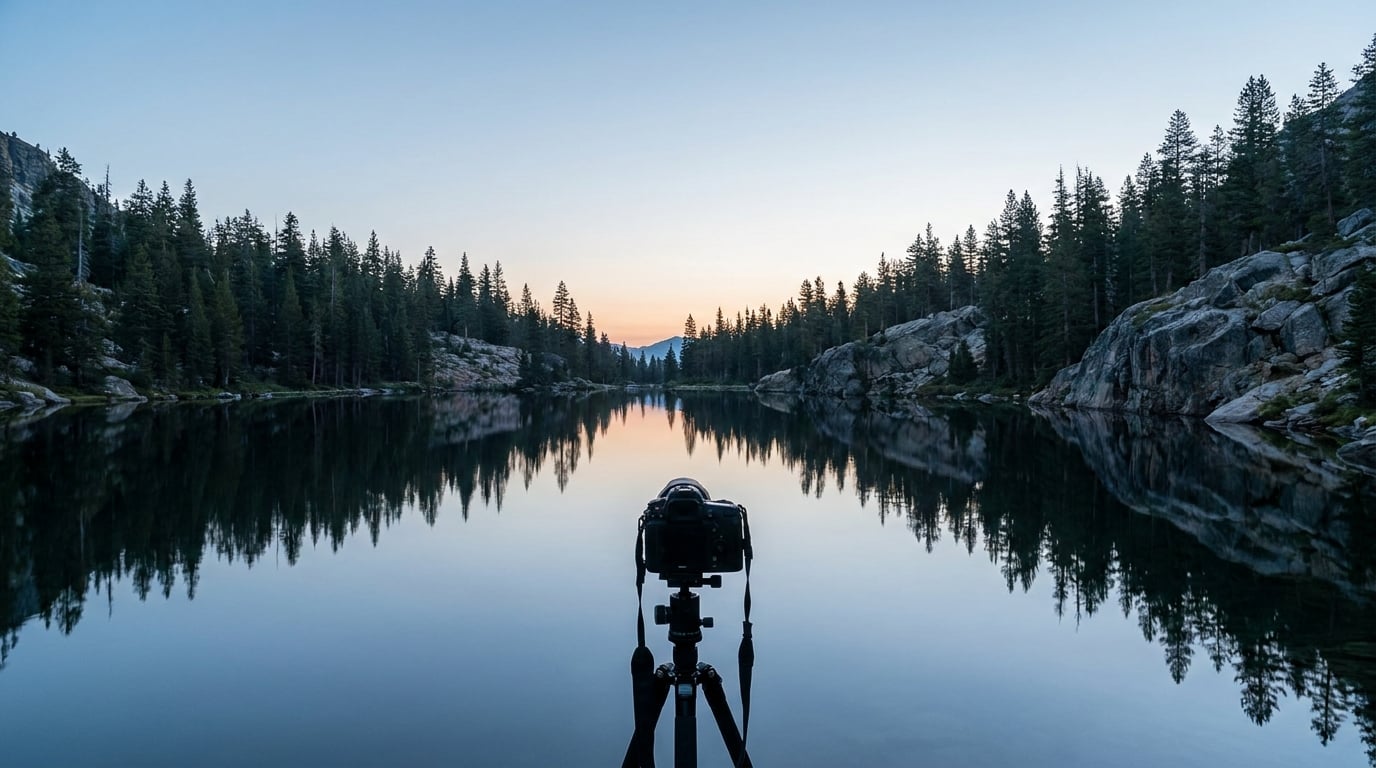
To photograph reflections well, get your camera low and close to a reflective surface — water, glass, wet pavement, polished metal — so the mirrored scene fills the frame, then control the angle of incidence, the light and the focus so the reflection stays sharp instead of washed out. Most weak reflection shots fail for one of two reasons: you stood too far back, or you metered for the subject and lost the reflection. Fix those two things and the rest is technique.
This guide works for a DSLR, a mirrorless body, or a phone. I shoot reflections on a walk around the block as often as I do on a mountain lake, and the process barely changes: find the surface, get low, dial in the settings, then work the angle until the reflection looks the way you want it.
Allow 20 to 40 minutes for a puddle or a storefront. A lake at dawn takes longer, mostly because of the waiting.
Table of Contents
- What You Need
- Step-by-Step: How to Photograph Reflections in 7 Steps
- Common Mistakes and How to Fix Them
- Frequently Asked Questions
- Do I need a polarizing filter to photograph reflections?
- How do I take sharp photos of reflections in water?
- Can I photograph reflections with a smartphone?
- Why is my reflection too dark or too bright?
- How do I make a reflection look symmetrical?
- Are black-and-white photos good for reflection photography?
What You Need
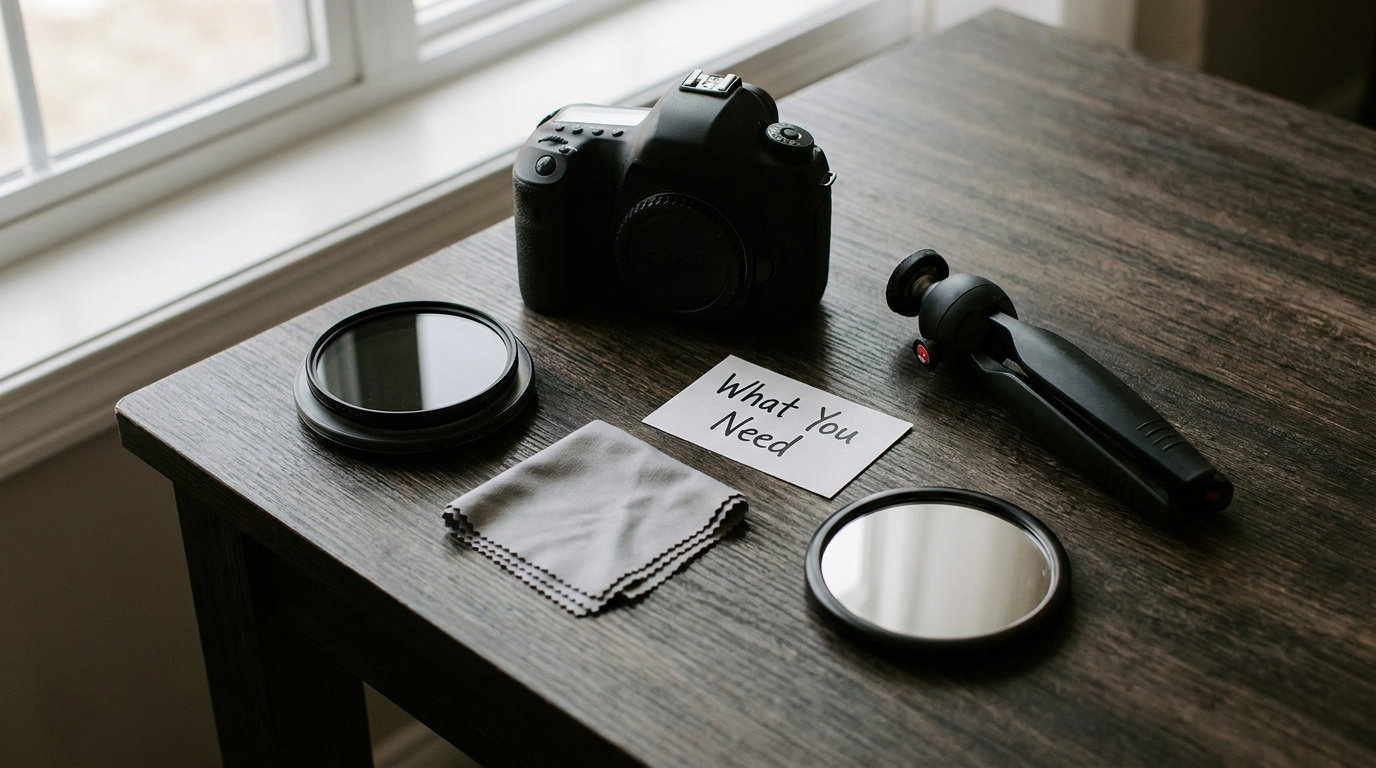
A mirrorless or DSLR body with any lens you already own will do. Focal length matters more than people expect: a wide 16-35mm lens lets you get low and still include the whole scene, while a 70-200mm compresses the reflection against its subject and hides distracting edges.
A tripod is the one piece of gear that quietly solves the most problems. It lets you use a narrow aperture for depth of field, a slow shutter for smoothing moving water, and self-timer or two-second delay instead of a shaky handheld frame. A small tabletop or travel tripod is enough for puddle work — you will not need a full-height tripod to sit on a kerb.
A circular polarizing filter is optional, and it is the piece of kit most often used wrongly. It cuts glare off water and glass and can deepen blue skies, but at full strength it also removes much of the reflection itself. I keep one clipped to my bag and decide at the scene rather than in advance. The step on polarization below explains when to turn it and when to take it off.
Also worth carrying: a microfiber lens cloth (fog and spray ruin more reflection shots than bad settings do), a lens hood for shooting into low sun, and a small step stool or folding stool so you can get the lens to water level without lying in the mud.
You do not need a subject or a special surface to start. A puddle, a shop window, a car roof, a stainless kettle, a polished floor in a lobby — the reflective world is everywhere once you start looking for it. A phone can produce genuinely strong reflection images too, and the phone workflow is covered in the steps below.
Step-by-Step: How to Photograph Reflections in 7 Steps
1. Choose a Reflective Subject and Surface
Start with the surface, then find the subject. A reflective surface is only interesting if what it mirrors is worth mirroring, so look for a shape with a clear outline — a tower, a bridge span, a lone tree, a person in a bright coat — and a surface smooth enough to hold it.
Look for a mirror-like surface with some texture in it: a puddle with a faint ripple, a wet road with painted lines, glass with a slight curve at the edge. Perfectly still water gives a hard mirror image, which is dramatic but sometimes flat. A little movement breaks the mirror into painterly bands, which suits fine-art and abstract work.
Give yourself enough subject detail to anchor the frame. If the mirrored object is small and far away, crop in with a longer lens or step closer to the water. If you cannot get close, the reflection becomes a texture rather than an image, and that only works if you commit to the abstract reading of the scene.
2. Find the Best Light
Position matters as much as time of day. The reflected scene sits behind the reflective surface from your point of view, so put the subject where the surface can see it — the sun should be behind you or off to one side, not directly behind the object you are reflecting.
Overcast light is the friendliest starting point. Cloud cover acts like a giant softbox, giving even light with no harsh specular hotspots on the water, and the reflections come out with detail in both the subject and its mirror image. Wind is the bigger problem on overcast days, so check a lake or pond surface before you commit.
Low sun gives the strongest colour and the longest shadows, which is why golden hour and blue hour are the two windows most reflection photographers plan around. At golden hour, warm light hits vertical surfaces and the reflection picks it up. At blue hour, city lights and sky have similar brightness, so lit windows and lamps reflect cleanly against a deep blue.
A simple test before you raise the camera: look at the surface from where you plan to stand. If the reflection is completely blown out into white, or lost in black shadow, move or wait. Turn on the live view histogram, take a test frame, and check that the brightest part of the reflection is not clipping. If it is, dial exposure compensation down by a third of a stop at a time.
3. Control the Angle and Polarization
This is the step that decides the image. A reflective surface bounces light back toward your lens at an angle equal to the angle it arrived at, which is the angle of incidence and angle of reflection working together. Stand lower and you see more mirrored scene; stand more upright and you start to see through the surface to whatever is underneath.
So move. Crouch, then lie flat, then stand on a step. Watch the reflection change shape each time. For a symmetrical mirror shot, get the camera as close to the surface plane as you can, ideally with the lens a few centimetres above the water or pavement. For a water shot where you also want some transparency, raise yourself and accept a compressed, less perfect reflection.
Now the polarizer. A circular polarizer has two effects at once: it reduces the light reflected from the surface, and it saturates what is left. On water at a wide angle, that is exactly what you want — the sky deepens, the glare goes, and the reflection gains contrast. On glass photographed from close range, it can kill the reflection completely and leave you with a clear shot of whatever is behind the glass.
The rule I use: if you want to see the reflected scene, keep the filter but rotate it only partway. If you want the mirror effect, take it off entirely or shoot with it already out. The filter also costs you roughly one to two stops of light, so on its own it slows your shutter and forces a higher ISO.
One more trick worth knowing, and it is the one that fixes most failed shop-window shots: press the front element of the lens or the phone camera right up against the glass. The gap between glass and lens is where your own reflection comes from, and closing it removes it. Shoot through the glass for the reflection, and away from the glass for whatever is inside.
4. Compose the Reflection
Decide what role the reflection plays before you frame. It can fill the frame as an abstract subject, split the frame and balance the real object against its mirror image, or sit below the subject as a symmetrical base. Trying to do all three at once usually gives a busy frame.
For the symmetrical version, put the horizon or the waterline in the exact middle and accept that the two halves will not match perfectly. Real scenes have texture on one side and smoothness on the other, and that mismatch is what stops a mirror shot from looking like a mistake. If the line wanders, step left or right a step — do not crop the tilt out later, because that changes your focal length and the proportions of both halves.
Leave negative space on purpose. A mirrored skyscraper with clean sky above and below reads as designed. The same building filling edge to edge reads as a snapshot.
Use the reflection as a lead-in line. A wet road, a canal edge, or a row of shop windows can carry the eye from the bottom corner into the subject. A frame within a frame — a bridge arch, a window, a doorway — is another way to make a plain reflection feel deliberate, because it gives the composition a deliberate edge.
5. Set Focus and Exposure for a Sharp Reflection
Focus on the subject, not on the surface. Autofocus will happily lock onto the water or glass in front of your scene and give you a sharp puddle and a soft tower. Use single-point autofocus on the subject, or a manual focus ring set by hand once you have framed the shot.
Start in aperture priority or manual mode. For still water and glass, f/8 to f/11 is the useful range: narrow enough that the subject and its reflection both sit in focus, wide enough that you are not fighting diffraction. For a mirror shot where the water is a few metres from the subject, f/5.6 is plenty. Shutter speed of 1/60 to 1/250 keeps handheld work steady, and ISO 100 to 400 gives the cleanest files.
Move water is a different problem, and it is about the shutter, not the aperture. Hold anything from 1/4 to 2 seconds and the ripples turn into a smooth, blurred band that reads as a soft abstract reflection — one of the best-looking results in this whole genre. That is where the tripod earns its place. Anything under 1 second and you will need a very steady surface or a very still photographer.
Metering is where reflection photos usually go wrong. If the camera meters for a bright sky, the reflection goes black. If it meters for a dark reflection, the sky clips. Spot meter the subject and add exposure compensation around -0.7 EV as a starting point, then check the histogram and adjust. When the contrast between sky and reflection exceeds what one frame can hold, bracket two or three exposures two-thirds of a stop apart and blend them later.
| Surface | Aperture | Shutter | ISO | Filter |
|---|---|---|---|---|
| Still lake or pond | f/8 to f/11 | 1/60 to 1/250 | 100 to 400 | Polarizer, partly rotated |
| River or moving water | f/8 to f/16 | 1/4 to 2 seconds | 100 to 200 | Polarizer or graduated ND |
| Puddle or wet pavement | f/5.6 to f/8 | 1/125 or faster | 100 to 800 | No filter |
| Glass or window | f/5.6 to f/8 | 1/60 to 1/250 | 100 to 400 | Remove the polarizer |
| Mirror or polished metal | f/4 to f/8 | 1/60 to 1/250 | 100 to 400 | No filter |
On a phone, tap the subject on screen to lock focus and exposure, then slide the exposure control down slightly to protect the reflection. The same tap stops autofocus hunting on the water, which is the phone equivalent of the autofocus problem above. Shoot in portrait or RAW if your phone offers RAW, because a RAW file gives you the extra latitude to recover a dark reflection.
6. Use Reflections Creatively
Once the technical version works, decide what kind of picture you are making. The long exposure on moving water is one path: half a second and the surface becomes a single flowing sheet, the reflection abstract and the only sharp thing being the object above it.
Partial reflections are a different idea. Let something interrupt the mirror — a reed, a railing, a passing pedestrian’s shadow, a strip of foam — so the reflection exists in fragments. That contrast between a complete object and a broken reflection gives an image more tension than a perfect mirror.
Repeated patterns come from doubling the same shape, which is what happens when you photograph a row of identical windows, a set of bollards, or a lamp post and its reflection with a long lens compressing the gap between them. Black and white is a strong choice here because a mirror image is a formal idea, and removing colour keeps the eye on shape, tone and symmetry rather than on the contrast between sky and tree.
Photomanipulation has a place too, but keep it honest. Compositing two different reflections, or extending a reflection with generative fill, can rescue a shot where the wind got up halfway through the exposure. Fine-art reflection work often lives or dies on whether the manipulation stays invisible, and if you go that route, keep the original file and work on a copy.
7. Capture Variations and Refine the Image
One setup gives you many pictures. Change your height by a few centimetres, step closer, switch from wide to long, rotate the polarizer a quarter turn, wait for a car to pass and shoot again. Each of those changes the reflection differently, and the variation you did not plan is often the keeper.
Then refine it. Start by checking the histogram: if the sky is clipping with a flat white block, pull the highlights down before anything else. Next, match the brightness of the reflection to the subject. A reflection that is noticeably darker than the object it mirrors looks like an error even when it is physically correct, so a small local adjustment on the reflection half of the frame is legitimate, not cheating.
A restrained pass of contrast, clarity on the reflection area only, and vibrance to bring back the colour the polarizer removed will finish most images. For an abstract treatment, flip the frame vertically so the reflection sits on top — a two-second change that turns a landscape into a symmetrical composition. Convert to black and white last, after you have decided the tones, and use the orange and yellow luminance masks so skies stay bright instead of going flat grey.
Keep the raw file even when you think the JPEG is finished. Reflections invite a second pass months later, and a little headroom in the file is what makes that possible.
Common Mistakes and How to Fix Them
The reflection is invisible. You are standing too upright, so the surface is showing you through instead of back. Drop to lens level, get within a few centimetres of the water or glass, and the mirror image returns. If it is still missing, the surface may be too rough — try a different puddle or a calmer stretch of the same pond.
The reflection is there but distracting. Usually that is your own reflection in a shop window, or a messy background mirrored behind your subject. Change your angle until your own image leaves the glass, shoot with the lens pressed to the surface to shrink the gap, or step back and use a longer lens so the background falls outside the frame. Dark clothing helps a little; angle does most of the work.
Highlights are clipped white. The camera metered for the dark subject and the sky or a bright reflection ran out of room. Switch to spot metering on the subject, set exposure compensation to about -0.7 EV, and check the histogram on live view. If one frame still cannot hold both ends, bracket and blend.
The reflection is dark and muddy. This is the most common complaint, and it has three usual causes: a high camera angle, an exposure set for the subject rather than the reflection, or a polarizer at full strength. Get low, meter the reflection, and back the filter off or remove it. Raising the shadows in editing helps, but it will not invent detail that was never recorded.
The composition is cluttered. Reflections attract extra lines — railings, masts, cracks, other people — so simplify deliberately. Pick one mirrored object, exclude the rest, and let there be empty water or plain wall. If a horizon or edge is tilted, move your feet instead of straightening it in software.
The subject is sharp but the reflection is soft. You focused on the nearest point, which is the surface, not the scene. Autofocus is doing what you told it to. Switch to single-point AF on the subject, stop down slightly for more depth of field, and use a faster shutter or a tripod so the narrow aperture does not cost you sharpness elsewhere.
Two habits fix more of this than any setting. Compose the shot first and set the camera second, and check live view before each frame instead of trusting the back screen. Reflections fail in ways you can see instantly on the display, so give it a glance.
Frequently Asked Questions
Do I need a polarizing filter to photograph reflections?
No, and for some surfaces it works against you. A polarizer cuts glare and boosts colour, which suits water and wide-angle landscapes, but it also removes light from the reflection itself, and on shop windows it can erase the mirror effect entirely. For puddles, glass and polished metal, shoot without it and save the filter for open water at a wide angle.
How do I take sharp photos of reflections in water?
Focus on the subject rather than the water, using single-point autofocus or manual focus, and stop down to f/8 or f/11 so both the subject and its reflection sit in depth of field. Use a tripod and a timer release when the light drops, keep the lens close to the surface for a mirror image, and check the live view histogram before firing.
Can I photograph reflections with a smartphone?
Yes, and phones handle reflections well once you stop the autofocus from hunting on the surface. Tap the subject on screen to lock focus and exposure, then slide exposure down slightly to protect the reflection. Press the lens flat against a window or storefront to cut glare and remove your own reflection, and shoot in RAW or portrait mode if your phone offers it.
Why is my reflection too dark or too bright?
A dark reflection usually means the camera metered for a bright sky, you shot from too high an angle, or a polarizer is cutting light. Meter the subject with spot metering, drop exposure compensation to about -0.7 EV, get the lens near the surface and back the filter off. A reflection that is too bright means the opposite: you protected the reflection and clipped the subject.
How do I make a reflection look symmetrical?
Put the waterline or horizon in the middle of the frame and get the camera as close to the surface plane as you can, ideally with the lens a few centimetres above it. Perfect halves rarely happen in the real world, so accept the texture difference between the two sides. A small vertical flip in editing can also make an ordinary frame read as a designed symmetrical composition.
Are black-and-white photos good for reflection photography?
They are often the strongest option. A mirror image is a formal idea built on shape, tone and balance, and removing colour stops the eye comparing the blue of a sky against the brown of a tree. Convert after you have set your tones, and use the orange and yellow luminance masks so skies stay bright rather than collapsing into flat grey.
On your next shoot, find one puddle and work only that. Get the lens within a few centimetres of the water, focus on something with a clear shape, set f/8, and take ten frames as you move slowly left and right. That single exercise fixes more than any list of settings, because it teaches you how the surface answers to your position.