

To grow a photography account on social media, pick one niche, post on a schedule you can actually keep, and use short video and captions to show how you made the frame, not just the finished image. Most photographers stall because they optimise for follower counts instead of the people who save, share, and message.
That is the whole shift. Growth is not a number on a profile, it is a steady stream of qualified people arriving because of your work. A street photographer and a wedding photographer grow in completely different ways, so the specific tactics below move between a phone and a desktop with a colour-managed screen. Most of this applies to any platform, though the examples lean Instagram because that is where photography portfolios still live.
Budget about an hour a day for the first three months. Not for shooting, for writing and replying. That is usually the part nobody plans for, and it is where the return is.
Table of Contents
- What You Need
- Step-by-Step: How to Grow a Photography Account on Social Media
- 1. Define Your Photography Niche and Audience
- 2. Choose One Primary Platform and Repurpose the Rest
- 3. Create a Recognizable Visual Identity
- 4. Build a Posting Schedule You Can Sustain
- 5. Turn Photography Posts Into Conversation Starters
- 6. Use Reels and Short Video to Demonstrate Your Process
- 7. Engage and Build Community
- 8. Track the Metrics That Lead to Growth
- 9. Improve and Republish Your Best Ideas
- Common Mistakes
- Frequently Asked Questions
- How long does it take to grow 1,000 followers on Instagram as a photographer?
- Do Instagram photographers actually make money?
- How many hashtags should a photographer use on Instagram?
- Should I run separate Instagram accounts for different photography niches?
- How often should I post if I only shoot every few weeks?
- Conclusion
What You Need
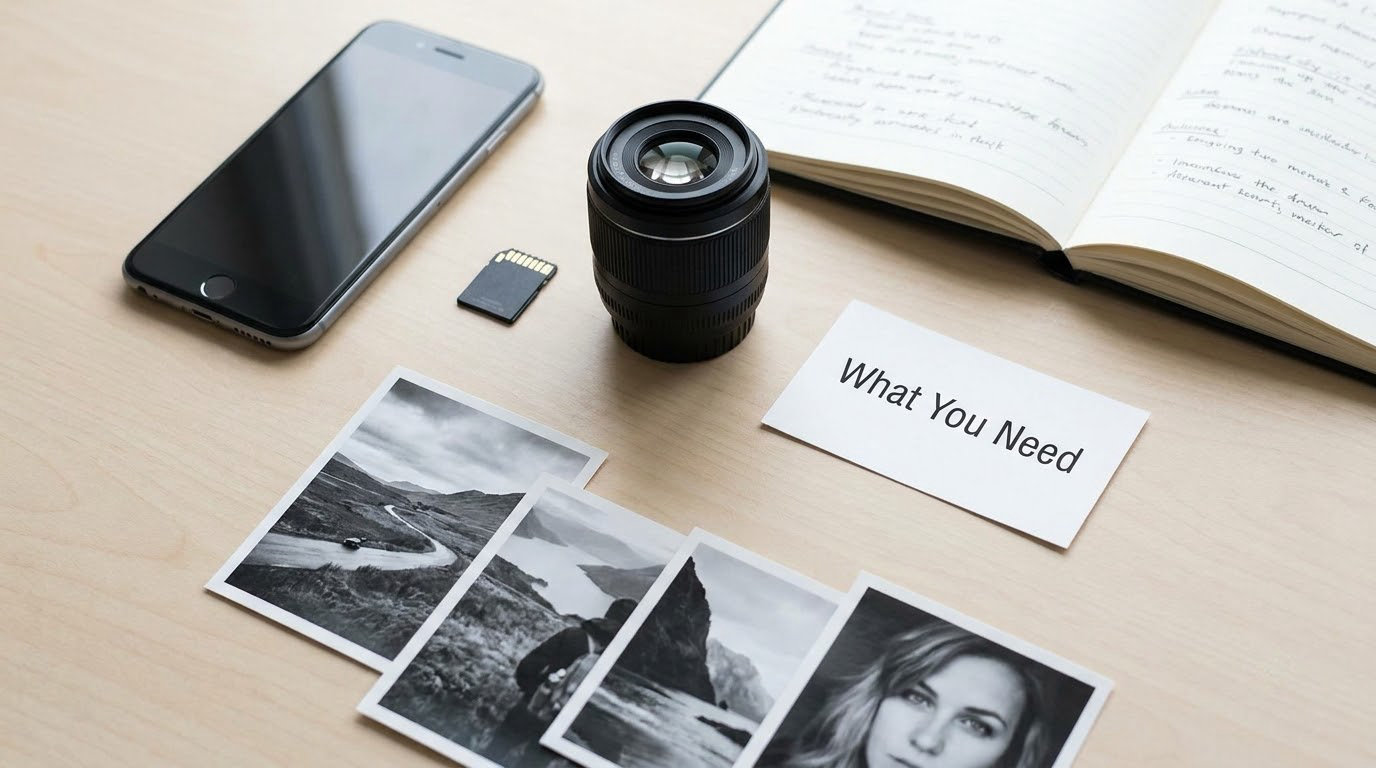
The list is shorter than most people assume. Before you buy anything, define who you are photographing for. A portrait photographer and a concert photographer are running two different businesses that happen to share a camera.
You need four things to start:
- A defined niche. One subject, one mood, one recurring look. If you can describe your account in a single sentence, you have one.
- A recognisable visual identity. Two or three fixed choices about colour, contrast, framing, and type. Enough that a stranger can tell your post from anyone else’s in a fast scroll.
- A simple capture setup. A phone with a good main camera handles most of this for years. If you already own a mirrorless or DSLR, use it. Nothing about the workflow below needs a new body.
- An editing and scheduling routine. A photo editor you know well, plus a scheduler if you post at consistent times. Meta’s own Creator Studio, Preview, and Later all handle scheduled posts and grid previews.
Add a realistic publishing rhythm. Three posts a week that you never miss beats a daily plan that collapses in week three. If you are unsure how much time your editing actually takes, time yourself for one week before committing to a cadence.
One thing worth having is somewhere for the people who already like your work to go. A simple page with your services, prints, or a contact form is enough. The point is that a profile visitor has one obvious next step.
Step-by-Step: How to Grow a Photography Account on Social Media
1. Define Your Photography Niche and Audience
Narrow the account to a specific subject and a specific viewer, because growth stalls when every visitor sees something different. Fine-art black and white, surreal photo manipulation, conceptual portraits, and architectural photography each attract a different audience that expects a different thing from your feed.
Decide who is likely to follow, save, comment, and share the work. Then write one sentence that names both the subject and the person. “Moody black and white street photography from rainy European cities” is a position. “Photography lover sharing my work” is not.
Choosing the niche also tells you where your next idea comes from. If you land on manipulation, work through 12 surreal photography ideas for beginners and you will have a month of subjects already decided.
On whether to split into several accounts: start with one. A second account splits your attention and your early momentum, and it is very hard to move an audience later. Split only when one niche genuinely earns most of your enquiries and the other work is diluting the feed.
Checkpoint: a stranger can read your bio and your last nine posts and name your subject in one sentence.
2. Choose One Primary Platform and Repurpose the Rest
Pick the one platform where your actual audience already spends time, then stop worrying about the others. Maintaining five unrelated accounts is the fastest route to posting nothing well anywhere.
Know what each format is for, because most photographers use the wrong one:
- Single image for one finished frame with a strong idea behind it.
- Carousel for a sequence, a before and after, or a set of related frames.
- Short-form video for reach beyond your existing followers, and for showing process.
- Stories for daily presence, questions, and quick proof of work.
- Community posts for polls and questions that invite replies from people who already follow you.
Repurposing means the same shoot becomes a carousel on Monday, a short clip on Wednesday, and two Stories on Friday. Different formats, same material.
Checkpoint: your last four weeks of posts contain at least three formats, and you can name which one brought the most new profile visits.
3. Create a Recognizable Visual Identity
A consistent look does not mean editing every frame until the colour matches. It means choosing a few rules and repeating them: a fixed contrast level, a predictable crop, one caption structure, and one typeface if you use type at all.
Run the three-second test on your own profile. Open it on your phone, look at the nine most recent tiles, and ask whether the subject reads instantly. If the grid looks like three unrelated photographers, the problem is the set, not the individual frames.
Plan the grid two weeks ahead in a preview tool. You do not need a moodboard, just a rough order so you are not posting three heavy black and white frames in a row. If a technique becomes part of your signature, 10 stunning double exposure photography ideas are worth working through for reference.
Checkpoint: someone who has never seen your account can describe your style after looking at nine tiles for three seconds.
4. Build a Posting Schedule You Can Sustain
Consistency matters more than volume, because the algorithm and your own creative energy both reward rhythm. Three posts a week held for six months will outperform daily posting held for three weeks.
Batch the work. Pick one day to shoot or edit a block of frames, one day to write captions, and one day to schedule the week. Schedule tools handle the timing so you are not refreshing the app every evening.
Also protect yourself from the empty-pipeline panic. Most photographers shoot occasionally and then worry they have gone quiet. Decide in advance what fills the gaps: edits of older frames, details nobody sees, a short breakdown of a decision you made, or a series built around one location.
Checkpoint: your last eight weeks show the same weekly rhythm with no long unexplained gaps.
5. Turn Photography Posts Into Conversation Starters
A caption should explain the idea, not describe the pixels. “Shot at 5am in the fog” tells a viewer nothing they could not guess. A line about why 5am was the only hour the fog held, or what you were afraid of losing, gives them something to reply to.
Use the first two lines as the hook. Most platforms truncate there, so put the interesting part before the fold and let the rest continue below.
End with one specific question. “Which frame should I print at two metres?” gets a reply. “What do you think?” gets a fire emoji. Keep it to one call to action, because two reads as neither.
Reply in full sentences too. A three-word answer gets no reply back, and the conversation dies where it could have continued.
Checkpoint: your last five posts each have at least two comments longer than a single word.
6. Use Reels and Short Video to Demonstrate Your Process
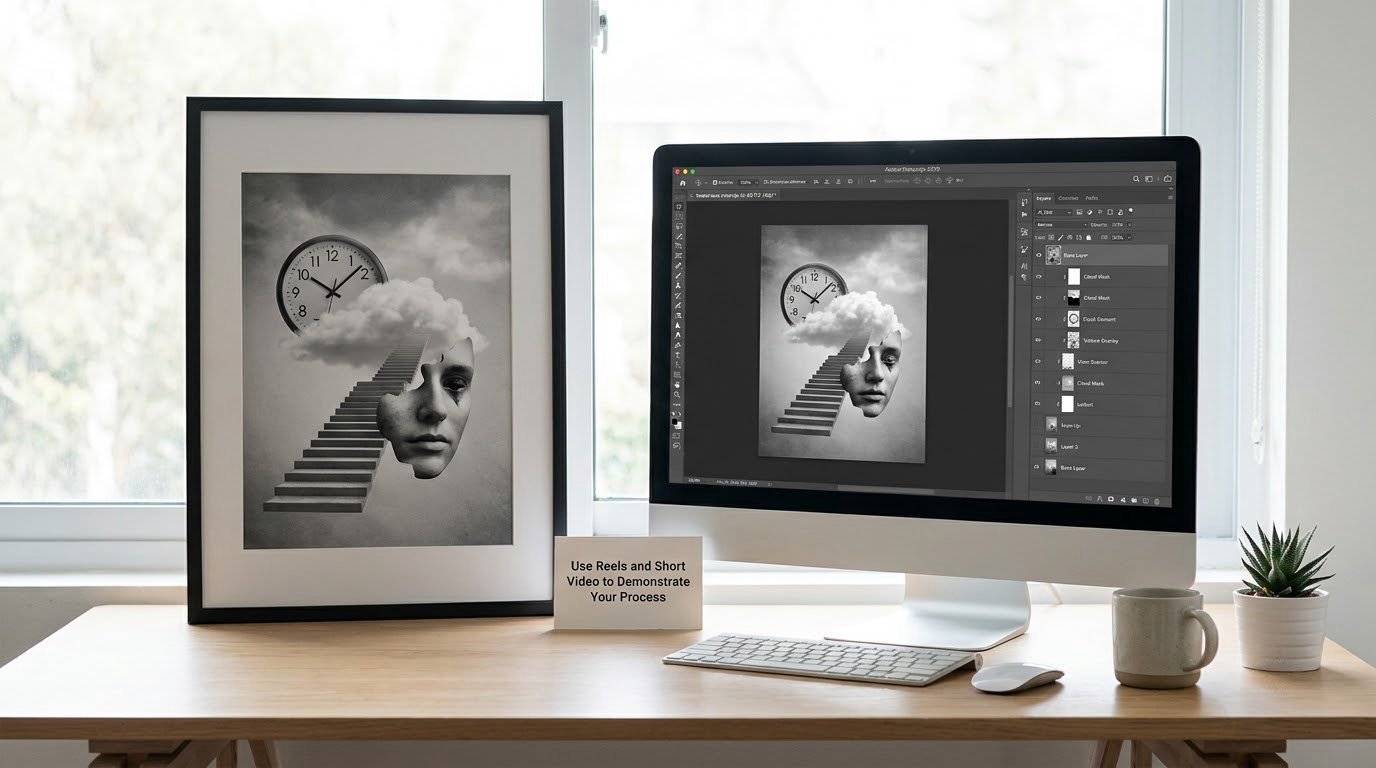
Short video is the fastest way to reach people who do not follow you yet, because platforms push video to a wider test audience than they do a static feed post. For photographers, the useful clips are not dramatic timelapses, they are process.
Five formats work repeatedly:
- The finished frame, then how it was made, in one clip.
- A lighting change from one setup to another in a single scene.
- A raw file becoming an edited image, screen by screen.
- The reason you chose a location, with the frame that proved it.
- A short breakdown of a technique, narrated in a few lines.
Capture it natively in the app rather than re-uploading from another platform, since a watermark from a different app suppresses reach. Add on-screen text so it works with sound off, keep the opening second strong, and shoot vertical.
If the technique is the content rather than the result, you can pair it with a simpler shooting style. How to shoot minimalist photography is a good example of a method that is easy to demonstrate in fifteen seconds of video.
Checkpoint: your best-performing clip this month brought more new profile visits than your posts did.
7. Engage and Build Community
Reply to every comment on your own posts within a few hours. Comment on other photographers’ work properly, with something specific about the frame, not a generic compliment. Follow the conversations instead of posting into silence.
Collaborate with photographers in adjacent niches. A portrait photographer and a florist, or a street photographer and a type designer, can each reach an audience the other cannot. The collaboration post appears for both audiences, which is the cheapest reach available to you.
Take part in photography communities without turning every reply into an advert. Answer questions, share process, credit other people’s work. Communities notice who is useful long before they notice who is selling.
And ask permission to distribute. Send clients, models, venues, and musicians your finished frames and ask them to share the ones they like. Sports photographers report this is their highest-yield tactic by some margin, and it costs nothing.
Checkpoint: three of your last five posts include another person’s work, a collaborator, or a shared subject.
8. Track the Metrics That Lead to Growth
Likes are the least useful number on the screen. Four numbers matter more: reach, saves, shares, and profile visits. Add watch time for video and, if you sell anything, enquiries from the profile.
- Reach and impressions show whether the distribution is widening.
- Saves and shares show whether the frame is worth keeping. These are the signals that push a post further.
- Profile visits show whether the post made people curious about you rather than just the image.
- Follows and enquiries show whether curiosity converted.
Set aside thirty minutes a week. Compare the last seven posts, note which subject, format, and caption length produced the most shares, and write down the one thing you will change next week. Change one variable at a time, or you will learn nothing.
Checkpoint: you can name your best-performing subject and format from the last month, with numbers behind both.
9. Improve and Republish Your Best Ideas
Take any post that overperformed and build a series around it. A single strong frame about fog becomes five frames about fog, each with a different location and a different time of day.
Rewrite weak captions on posts you would otherwise leave. Captions are the cheapest improvement available, and old posts can perform again when the words change.
Run six to eight week cycles. Test one thing at a time: caption length, posting time, subject, or format. Every three months, audit the whole account. Is the niche still the one you want? Does the bio explain what you do? Are the enquiries coming from people you want to work with?
Checkpoint: you have tested one variable per month for the last three months and can say which one moved the number.
Common Mistakes
Most stalled accounts share a small set of problems, and each has a direct fix.
Posting work with no relationship between posts
An account that mixes landscapes, product shots, family portraits, and food in one week gives a visitor no reason to follow. Fix: pick one subject for the next eight weeks and let the feed prove it.
Buying followers or engagement
Purchased followers do not save, share, or enquire, and they drag the engagement rate down so the platform shows your work to fewer real people. Fix: delete nothing, just stop buying, and spend the money on one properly targeted boost of a post that already performs organically.
Changing your visual style every few weeks
Every new look resets recognition. Fix: hold one treatment for three months before you judge it, then change one element at a time.
Describing the image instead of explaining the idea
“Sunset at the beach” is a label. What you were doing there and why it mattered is the reason someone replies. Fix: write the context first and the description second.
Using too many hashtags
Old guides push thirty hashtags per post. The current advice is narrower: a handful of genuinely relevant tags, weighted toward ones under roughly 200,000 posts, plus location tags where they apply. Fix: use fewer tags and write them like the words a client would search for.
Replying only with emojis
Emoji replies close conversations. Fix: answer the actual question in a full sentence and add something the other person did not ask.
Optimising for likes instead of saves and shares
A like is nearly free and rarely leads anywhere. A save means someone wants the image again, and a share means someone vouched for you. Fix: judge every post by shares and saves first.
Two habits fix most of the rest. Keep a genuine cadence you can hold, and change one thing at a time so you know what actually worked. Growth on a photography account is slow for the first few months and then compounds, mostly because the people who follow you are the right people.
Frequently Asked Questions
How long does it take to grow 1,000 followers on Instagram as a photographer?
For most photographers posting three times a week, one thousand real followers takes six to twelve months. Reels-heavy accounts reach it faster, often three to six months, because video reaches beyond existing followers. Accounts in crowded commercial niches such as weddings usually take longer than fine-art or street accounts with strong repeat viewers. Judge progress by shares, saves, and profile visits in the first months. Follower count alone tells you very little at this stage.
Do Instagram photographers actually make money?
Yes, but rarely from follower count alone. Wedding and portrait photographers in most markets pick up a share of their bookings through Instagram enquiries, and fine-art photographers sell prints from a link in bio. The accounts that get paid work are the ones where the bio states the subject and the service, the feed looks like the work they want hired for, and the enquiry path is one tap away. You do not need a large audience, you need the right people following you.
How many hashtags should a photographer use on Instagram?
Use fewer than most guides claim. Around five to fifteen relevant tags works well, weighted toward ones with fewer than roughly 200,000 posts so your post is not buried in a huge feed. Mix a few niche tags with location tags for the place you shot. Write them as the words a client would actually search for, such as city plus subject plus mood, rather than as decoration. After a few weeks, check which tags brought profile visits and drop the rest.
Should I run separate Instagram accounts for different photography niches?
Start with one account even if you shoot several kinds of work. Two accounts divide your attention and your early momentum, and moving an audience later is close to impossible. Split only when one niche reliably produces most of your enquiries and the other work is making the feed confusing. When you do split, pick a clear primary niche for each account, and use highlights or a link in bio to point people to the other one rather than running both feeds in parallel.
How often should I post if I only shoot every few weeks?
Post less often but keep a rhythm. Three posts a week from an archive of frames, edits, location notes, and short process clips is more sustainable than a daily plan that stops in week three. Fill the gaps with work that does not need new shooting: detail crops, edit breakdowns, the story behind an old frame, or a series built around one place. Holding the same schedule through a quiet month protects your reach more than posting twice after a long silence.
Conclusion
Growing a photography account on social media comes down to four repeatable decisions: one niche, one primary platform, a schedule you can hold without resenting it, and content that shows the thinking behind the frame. Everything else is refinement.
Start this week with the four actions that matter most. Pick one platform and one audience, then publish three posts that are genuinely useful to that audience, and give it a rhythm you can keep for six weeks. After two weeks, look at saves, shares, comments, and follows rather than likes, and change one thing before you add a fifth post.