
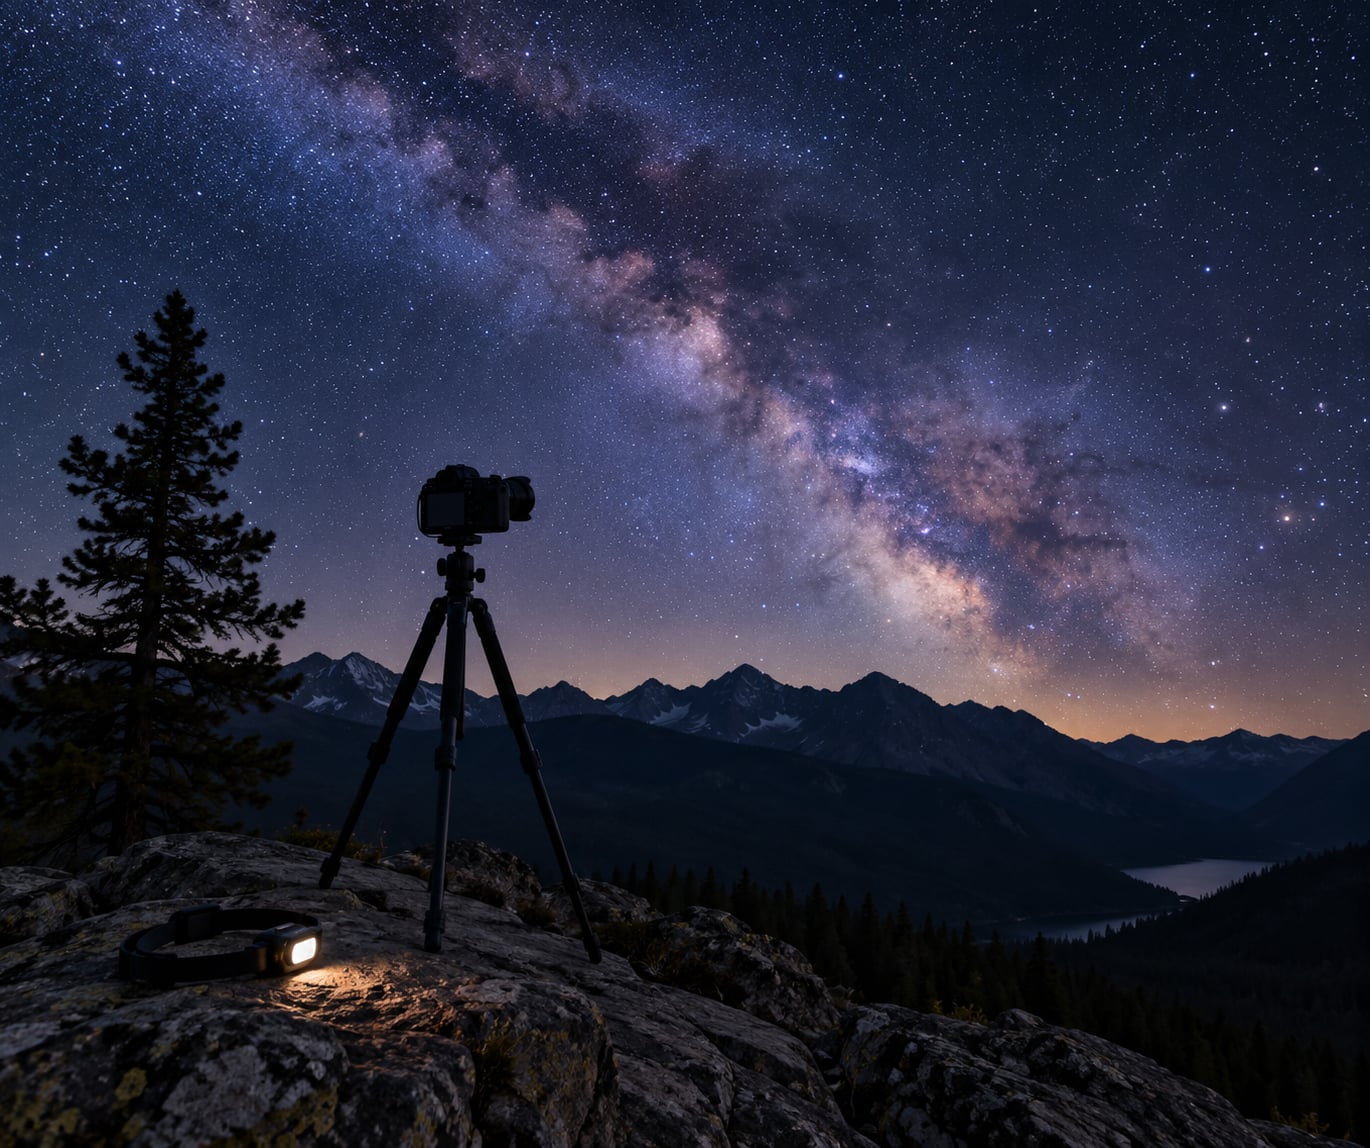
Photographing the Milky Way comes down to four things: a dark site, a moonless night, a camera in manual mode on a tripod, and a shutter speed short enough that stars stay as points instead of trails. This guide walks through the whole field workflow — where to stand, how to focus by hand at night, which settings to start from, and how to check each shot before you commit to a full session. Budget about two hours on site, plus travel. Most beginners shoot a first usable frame in one night.
One warning before we start: how to photograph the Milky Way is mostly a planning problem, not a gear problem. A borrowed DSLR with an old kit lens will beat an expensive body in the wrong location under a full moon every single time.
Table of Contents
- What You Need
- Step-by-Step: How to Photograph the Milky Way
- 1. Find a Dark Location with a Clear View
- 2. Check the Moon Phase and Milky Way Position
- 3. Prepare the Camera and Protect the Tripod
- 4. Set the Camera for Night-Sky Exposure
- 5. Focus Accurately on a Distant Star
- 6. Compose the Foreground and Milky Way
- 7. Take Test Exposures and Refine the Settings
- 8. Capture the Final Milky Way Photograph
- 9. Stay Safe, Warm and Finished in Time
- Common Mistakes
- Frequently Asked Questions
- What camera settings are best for photographing the Milky Way?
- Can I photograph the Milky Way with a kit lens?
- How do I focus sharply when photographing the Milky Way?
- Do I need a dark sky to capture the Milky Way?
- How long should I expose for the Milky Way?
- Can I photograph the Milky Way with a smartphone?
- Conclusion
What You Need
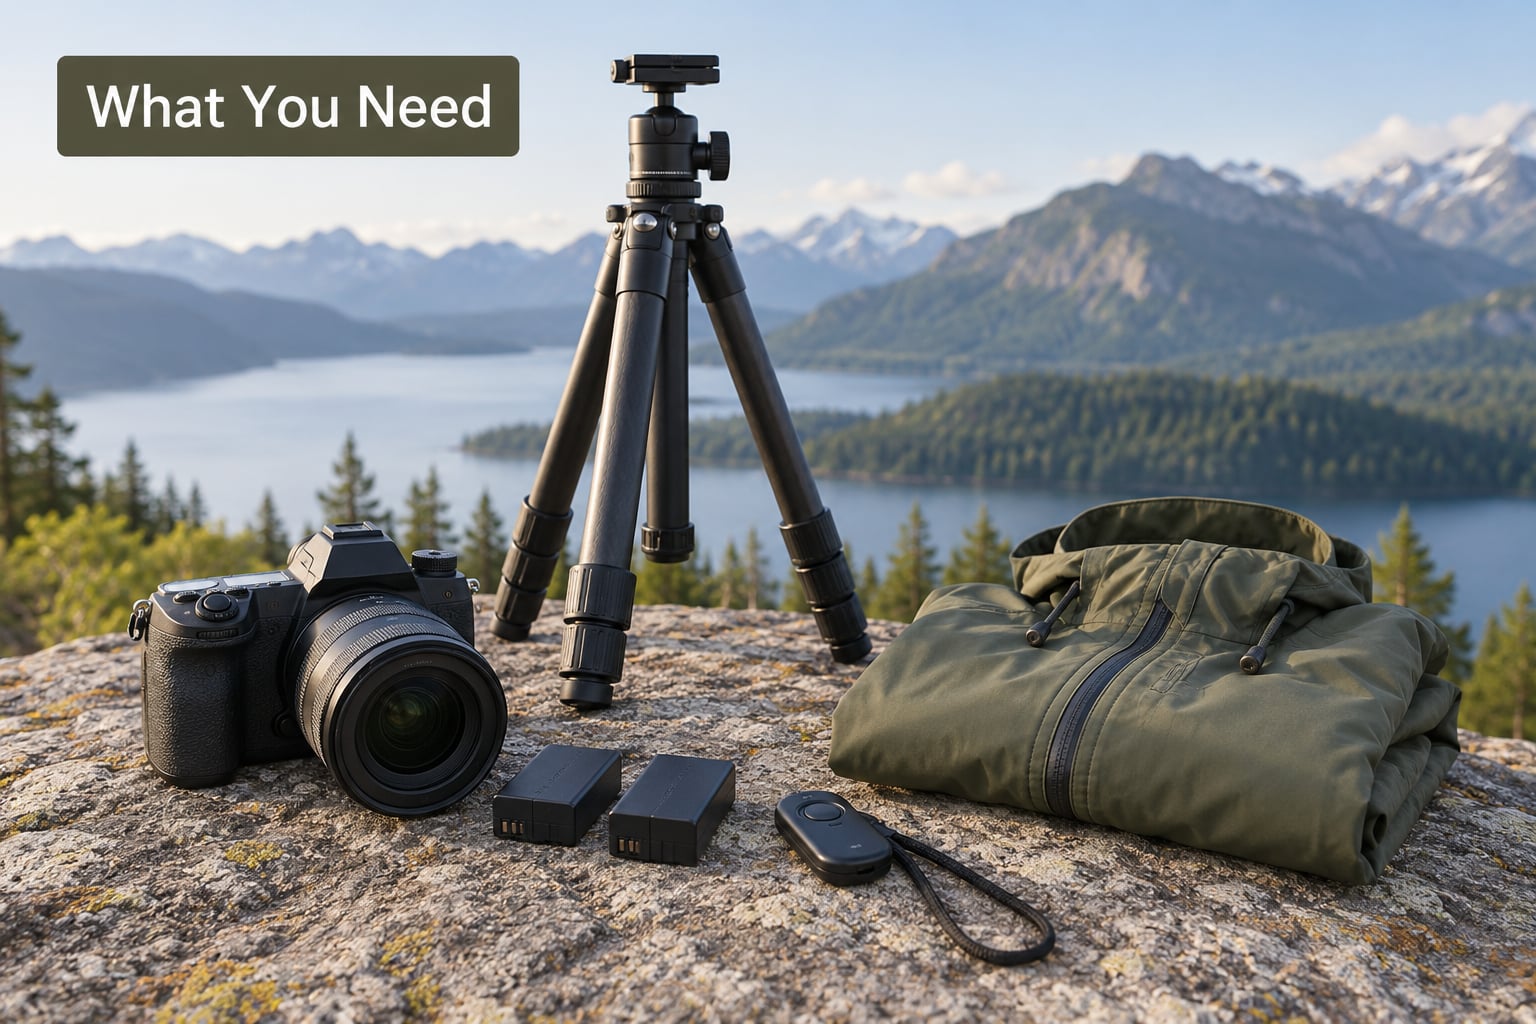
You need a camera with manual focus and manual exposure, a lens wide enough and fast enough to gather a decent amount of starlight in one frame, and something to hold it rock steady. That is the whole shopping list. Everything beyond it is refinement.
- Camera: any interchangeable-lens camera or a DSLR with a manual mode. Manual mode is the only non-negotiable feature. Built-in interval timers are a bonus, not a requirement.
- Lens: a fast wide-angle prime between 14mm and 24mm, ideally f/1.4 to f/2.8. That focal range covers both the galactic core and the wider arch with a single body.
- Tripod: sturdy, with a geared or pan-and-tilt head. Sandbags or your camera bag hung from the centre column stop vibration in a breeze. Legs spread fully, never half-extended.
- Remote release or self-timer: touching the shutter button shakes the camera. Use a two-second self-timer if you have nothing else.
- Spare batteries: cold halves battery life, and nobody wants a dead body at 1am. Charge every battery you own.
- Headtorch with a red mode: white light destroys your dark adaptation. Red preserves most of it.
- Weather protection: a simple rain cover for the body, a lens cloth, and a hand to spare. Dew management matters more than you would think, and if you shoot in bad weather often, our guide on how to photograph rain covers the gear side of staying dry.
- Planning tools: a light-pollution map, a moon-phase calendar, and a sky-viewing app that shows the galactic core position for your date and location.
If you own none of the ideal gear, use what you have. A crop-sensor body with an 18-55mm kit lens set to 18mm, f/3.5, ISO 3200 and 13 seconds will record the Milky Way. It will be noisier and tighter than a fast prime, and it will still be a real photograph of the galaxy rather than a grey smudge.
Worth adding later, in order of usefulness: a wider fast prime, an intervalometer, then a star tracker. A tracker lets you push exposures to minutes instead of seconds, but the ground blurs when you use one, so it moves you from simple landscape work to compositing. Get single shots right first.
Step-by-Step: How to Photograph the Milky Way
1. Find a Dark Location with a Clear View
Light pollution kills faint detail before anything else does. Search a light-pollution map for a site rated Bortle 3 or better, then check what sits on the horizon there — a ridge with a town glowing behind it will cost you the whole frame.
Look for three things at the site: an unobstructed view in the direction the core will sit, safe access in the dark, and a foreground worth silhouetting. Water, ridgelines, a lone tree and rock arches all work. A car park with a chain-link fence in front of you does not.
How to tell it worked: stand where you plan to shoot, turn off your headtorch, and let your eyes adjust for two full minutes. If you can read a car number plate without a torch, the sky will probably show the Milky Way. If orange glow climbs above one horizon, rotate your composition away from it or move.
2. Check the Moon Phase and Milky Way Position
Check the moon before you check anything else. A bright moon washes out the faint outer galaxy and leaves you photographing a grey background with a few bright stars. New moon windows, and the nights either side of them, are the ones you want.
Then find where the core actually is. Open a sky-viewing app, drop in your location and date, and look for the galactic core marker. It behaves like the sun: it rises, it crosses, it sets. In the Northern Hemisphere it becomes visible in the southeast around March, climbs through spring, sits highest in summer, and drops toward the southwest by autumn. The Southern Hemisphere sees it higher and for a longer stretch of the year.
Some nights you may be waiting for an arch rather than a core. Apps show both — the Milky Way band arcs across the sky on winter nights, while the bright core needs core season.
How to tell it worked: the app should give you an azimuth and a time window. Note the clock time the core rises and the time it reaches the height you want in frame. Those two numbers drive everything else.
3. Prepare the Camera and Protect the Tripod
Arrive while you can still see where you are walking. Unpack, spread the tripod legs fully, mount the camera, and turn on the intervalometer or self-timer now rather than in the dark. Hang your bag from the centre column and check for wobble with a long exposure test.
Switch the lens to manual focus. Switch the camera to RAW capture with the highest quality setting and no compression. Turn off long-exposure noise reduction — it doubles the wait between frames and the stacking software throws the dark frames away anyway.
Clean the front element. A fingerprint at f/1.8 costs you more light than most camera upgrades will add back, and in a dry night the lens may fog the moment it reaches dew point.
How to tell it worked: one 10-second test frame at high ISO should show a clean, unclipped histogram and a level tripod. Anything else now is cheap to fix.
4. Set the Camera for Night-Sky Exposure
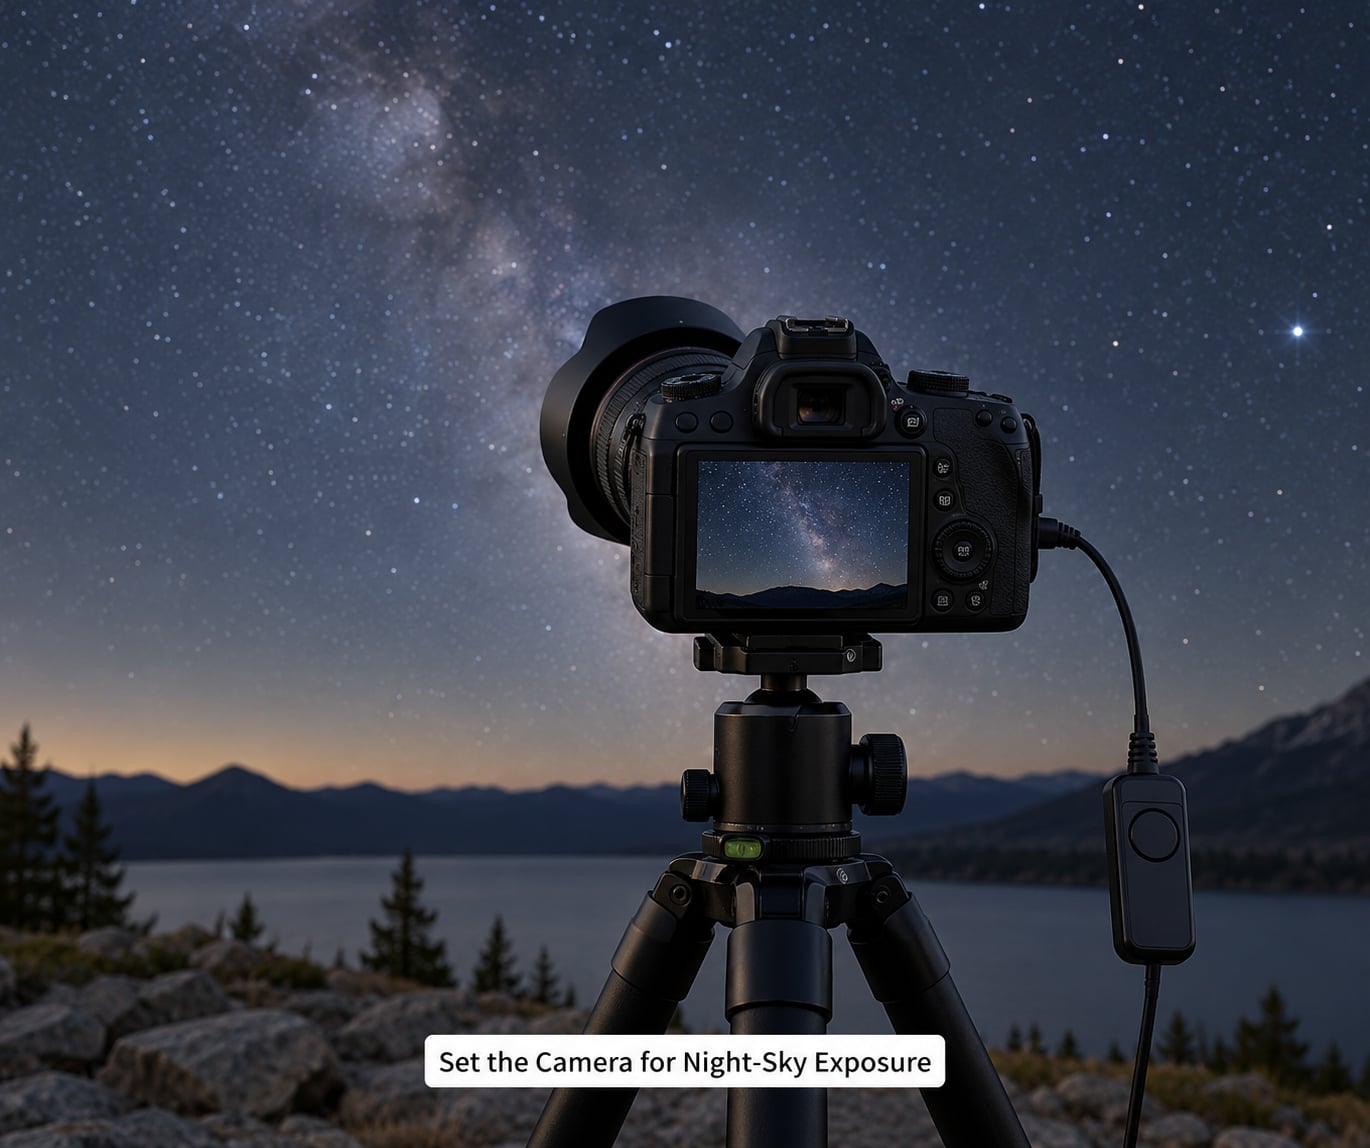
Start in manual exposure with the widest aperture the lens offers, a shutter speed inside the NPF limit for your focal length, and the lowest ISO that still puts stars above the noise floor. Shoot RAW. Set white balance to daylight or a fixed value around 3900K to 4500K so every frame in a sequence matches.
| Lens | Aperture | Shutter speed | Starting ISO |
|---|---|---|---|
| 14mm f/2.8 | f/2.8 | 20 seconds | 1600-3200 |
| 20mm f/1.8 | f/1.8 | 15 seconds | 1600-3200 |
| 24mm f/1.4 | f/1.4 | 13 seconds | 1600-3200 |
| 50mm f/1.8 | f/1.8 | 10 seconds | 3200-6400 |
| Crop-sensor 18-55mm at 18mm | f/3.5 | 13 seconds | 3200 |
Rather than argue with a table, compute your limit. The NPF rule accounts for pixel pitch, aperture and focal length, and most planning apps calculate it for your exact camera. The old 500 rule overestimates by a wide margin on modern high-resolution bodies, so treat it as a ceiling rather than a target.
One trade-off governs everything: less exposure time means less light on the sensor, which means a higher ISO, which means more noise. Stars that trail cannot be fixed in post. Noise can, partly.
How to tell it worked: a frame at these settings should show a dark grey background rather than black, with the brightest stars clear and unbunched. If the sky reads pure black, you underexposed.
5. Focus Accurately on a Distant Star
This is where most night photos fail, and it is the step beginners rush. Do not use the infinity marker — lenses focus well past it and will miss by enough to soften every star.
Use live view magnification. Set the camera to manual focus, turn live view on, magnify to 5x then 10x, and point the lens at a reasonably bright star away from the frame edge. Focus until that star shrinks into the smallest, steadiest point you can get. Zoom in further and refine once more.
Set focus to manual lock after that. Turning off live view can shift the focus ring slightly on some bodies, so re-check the magnified view after any change. Never refocus between sky and ground frames unless you are deliberately focus-stacking the foreground.
How to tell it worked: take one 10-second test frame, zoom to 100% on the rear screen, and look. Stars should be round and hard-edged. Short dashes or ovals mean you are too slow for that focal length, so shorten the shutter by a few seconds and shoot again.
6. Compose the Foreground and Milky Way
Work out where the core will sit before you attach the camera. Frame the foreground first, place the bottom third of the tripod on your subject, then tilt the camera until the core lands where you planned. Building the frame in the dark by trial and error is how nights get wasted.
Keep the horizon straight and check for anything that will clip. A stray light on the horizon — a distant sign, a security lamp, another photographer’s headtorch — ruins more frames than bad settings do. Cover it, crop it, or move. Cover your own lens with your hand between shots if nearby lights are moving.
Decide the foreground treatment now. Silhouettes need nothing extra. A lit foreground needs a second exposure during blue hour, roughly 40 minutes after sunset, at around f/11, ISO 100, underexposed by about one stop, to blend in later. If the foreground is water, it is doing the work for you — our tips on how to photograph reflections cover that side of the frame.
Light and shadow work counts here too. Everything you point a light at at night is also casting shadow, and how to photograph shadows is worth a read before you add a headtorch to the frame.
How to tell it worked: shoot one frame and check the edges of the frame for bright intrusions before you start the sequence.
7. Take Test Exposures and Refine the Settings
Run a short test frame at your starting settings and judge it on the histogram, not on the rear screen. Night images always look brighter on an LCD than they do on a monitor, and that gap is where people underexpose.
Keep the histogram off the left wall and off the right clip point. Bright stars should touch the right edge in small numbers without large flat areas, which is what clipping looks like. Bring exposure up in small steps, no more than a third of a stop at a time, and re-check.
If stars trail, shorten the shutter rather than opening up further. If the sky is noisy at your ISO, adding exposure time usually cleans it up. At some point the frame rate slows and the core moves out of position, and that is your cue to stop and shoot.
How to tell it worked: stars round at full zoom, histogram weighted to the left but not pinned, noise visible at 100% but not overwhelming.
8. Capture the Final Milky Way Photograph
Shoot a sequence of identical frames once the test looks right. Ten to twenty frames at the same settings gives you the raw material for stacking, which averages out noise without touching star positions. Let the intervalometer run and stay away from the tripod while it does.
Re-check one frame every few minutes. Cloud moving in, a change in ISO, or someone walking into the light ends a session. Keep the RAW files, and grab a second composition while you wait — the core rises through the night and the same foreground looks different forty minutes later.
Review the histogram and the focus indicators one last time, then pack down. Do not start editing in the field unless you have to.
How to tell it worked: at least a handful of frames where stars are sharp, the sky is not clipped, and no light pollution streaks run through the foreground.
9. Stay Safe, Warm and Finished in Time
Tell someone where you are going and when you expect to be back. Take the batteries out of the camera between long gaps, and keep them warm in a pocket rather than in a cold bag. Watch your footing — a tripod head is awkward to carry across uneven ground at night.
Allow time to pack before astronomical twilight ends. Walking a tripod back down a rocky path with a headtorch is exactly how people damage gear they cannot replace, and if you are combining sessions, the blue hour exposure needs doing on the way out rather than on the way home.
Common Mistakes
Almost every disappointing night-sky photo traces back to one of these. Work down the list rather than guessing.
| Symptom | Cause | Fix |
|---|---|---|
| Stars are soft dashes or ovals | Shutter too long for the focal length | Shorten the shutter 3-5 seconds and raise ISO to compensate |
| Everything is blurred | Focus missed, or shot through the infinity mark | Re-focus with 10x live view on a bright star |
| Image looks too dark | Judged on the LCD instead of the histogram | Add a third of a stop at a time until the histogram sits off the left wall |
| Grainy, blotchy sky | Undershooting to avoid noise | Add exposure time, then stack 10-20 frames in post |
| Foreground is black | Single short exposure cannot hold sky and ground | Shoot a blue hour frame and blend it in |
| Orange glow over the sky | Light pollution | Move, or raise white balance and apply a graduated mask |
| Lens fogged after 20 minutes | Dew point reached | Keep the lens capped between shots or use a dew heater band |
| Streaks through the frame | Headtorch or nearby light hitting the lens | Red light only, hand over the lens between shots |
| No galaxy visible at all | Bright moon, wrong season, or core below the horizon | Check moon phase and the app’s core position for that date |
| Sky looks unnaturally blue | Cool white balance plus boosted blues in post | Shoot at daylight white balance and pull the blues back |
That last row matters more than it sounds. The Milky Way is not blue, and fewer than one percent of its stars are. If your night sky looks like a poster, the cause is white balance set too cool plus a heavy blue slider in the edit — not the camera.
Two more worth naming: light painting the foreground is easy to overdo and usually looks artificial, and forgetting to re-focus between sky and ground frames is the single most expensive beginner error, because it costs the whole session.
Frequently Asked Questions
What camera settings are best for photographing the Milky Way?
Start wide open at f/1.4 to f/2.8, in manual exposure, shooting RAW. Choose a shutter speed inside the NPF limit for your focal length — roughly 20 seconds at 14mm, 15 at 20mm, 13 at 24mm — then raise ISO until the stars sit clearly above the noise. 1600 to 3200 is a normal starting range. Judge brightness on the histogram, not the rear screen, and shoot 10 to 20 identical frames so you can stack them.
Can I photograph the Milky Way with a kit lens?
Yes. Set the kit zoom to its widest focal length, around 18mm on an 18-55mm, and use the widest aperture it holds at that end. Expect about 13 seconds before trailing, ISO 3200, and more noise than a fast prime produces. Shoot RAW, stack your frames, and avoid raising ISO past 6400 if the sky starts breaking up. A kit lens will get you a recognisable Milky Way.
How do I focus sharply when photographing the Milky Way?
Switch to manual focus, turn on live view, magnify to 10x, and aim at a bright star away from the frame edge. Adjust until that star shrinks to the smallest, steadiest point, then zoom in again for a final refinement. Never rely on the infinity symbol, because most lenses focus well past it. Test with one short frame zoomed to 100% and look for round stars rather than dashes.
Do I need a dark sky to capture the Milky Way?
A dark sky makes a large difference but is not strictly required. A Bortle 5 site works, especially with stacking and a slightly longer exposure, though the contrast between galaxy and background drops. Bright moon is a harder limit than light pollution: during a full moon the outer galaxy is effectively invisible. Plan for a moonless night near new moon and a site rated Bortle 3 or 4 if you can.
How long should I expose for the Milky Way?
Long enough to gather light, short enough that Earth’s rotation does not drag the stars. Use the NPF rule, which accounts for your camera’s pixel pitch, aperture and focal length — most planning apps compute it. As rough anchors, 20 seconds at 14mm f/2.8, 15 at 20mm f/1.8, 13 at 24mm f/1.4. With a star tracker you can go to several minutes, but the ground will blur.
Can I photograph the Milky Way with a smartphone?
Yes, with limits. Use the native night or astro mode, set a 2 to 15 second timer so the phone is not touched during the exposure, and tap to lock exposure and focus on the brightest star. Pro or manual mode lets you control ISO yourself, and a third-party app that shoots RAW or stacks frames will beat the built-in mode on most phones. Expect softer, noisier results than a tripod-mounted camera.
Conclusion
Pick a dark site on a moonless night, find when the galactic core sits where you want it, arrive an hour before dark, and focus with 10x live view on a bright star. Shoot one test frame, check the histogram, and only start the sequence when the stars look round at full zoom.
Everything past that — stacking, blue hour foregrounds, star trackers — is worth adding once those first frames land. Get a plain sharp shot of the galaxy in the bag tonight, then go and make it better.