
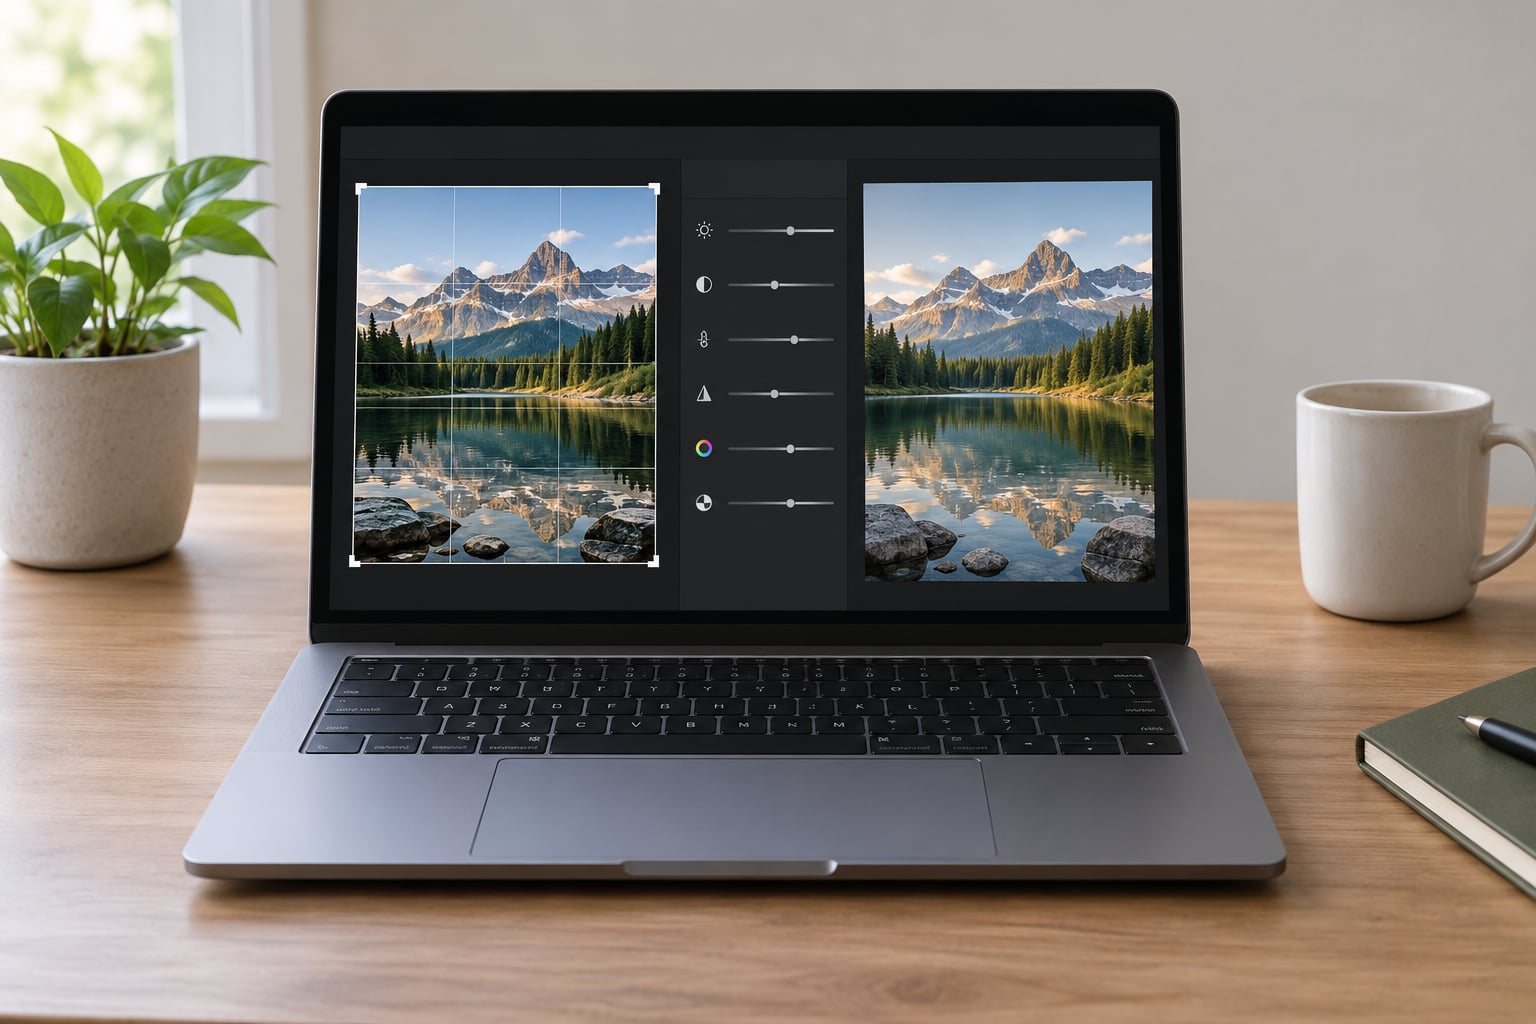
You can edit photos in Canva without ever building a full design. Upload the image, work through the Adjust panel for brightness, contrast and color, clean up small distractions, then download it as a JPG or PNG. Most people finish the basics in about ten minutes on a laptop.
There are two editing screens in Canva and they are not the same thing. The photo editor works on a single image, and the in-design editor works on an image sitting inside a layout. Knowing which one you are in saves most of the confusion beginners run into, so that is where this guide starts.
Table of Contents
- What You Need Before You Edit Photos in Canva
- Step-by-Step
- How to Import and Prepare Your Photo in Canva
- How to Adjust Brightness, Contrast, and Color in Canva
- How to Retouch Small Flaws With Canva’s Editing Tools
- How to Apply Filters and Visual Effects in Canva
- How to Add Text, Frames, and Creative Finishing Details
- How to Export a High-Quality Edited Photo From Canva
- How to Edit Photos on the Canva Mobile App
- Common Mistakes
- Frequently Asked Questions
What You Need Before You Edit Photos in Canva
A few things make the difference between an edit that looks intentional and one that looks like a filter was thrown at it.
- The photo itself. Work from the largest original file you have, not a compressed copy sent over a messaging app. Canva stretches small files and the softness shows as soon as you zoom in.
- A Canva account. The free tier covers cropping, adjustments, filters and export. Some AI tools are locked behind Pro, which I cover further down.
- A current browser or the mobile app. The web editor at canva.com is the fuller version, and the toolbar labels match what most help articles describe.
- A duplicate of the original. Before any change, press Ctrl+D on Windows or Cmd+D on Mac to duplicate the image, or duplicate the page from the Page menu. One keystroke saves the original when an adjustment goes too far.
- A decision about the final format. Knowing whether the photo ends up in a feed, a story, a printed page or a PDF changes the aspect ratio, the pixel size and the file type you pick at the export step.
If you already have a full photo editing habit, you may prefer a dedicated tool. Our guide to how to edit photos in GIMP covers deeper tonal work, and it pairs well with Canva for the finishing layout.
Step-by-Step
The workflow below runs in seven stages: import and prepare, adjust, retouch, filter, finish, export, and the same job on a phone. You can stop after stage three and still have a usable photo, since the first three stages do the heavy lifting.
Whichever route you take, duplicate before you touch anything. Adjustments in Canva are non-destructive while the page is open, but they stack, and a second pass on top of a bad first pass is harder to undo than starting from a copy.
How to Import and Prepare Your Photo in Canva
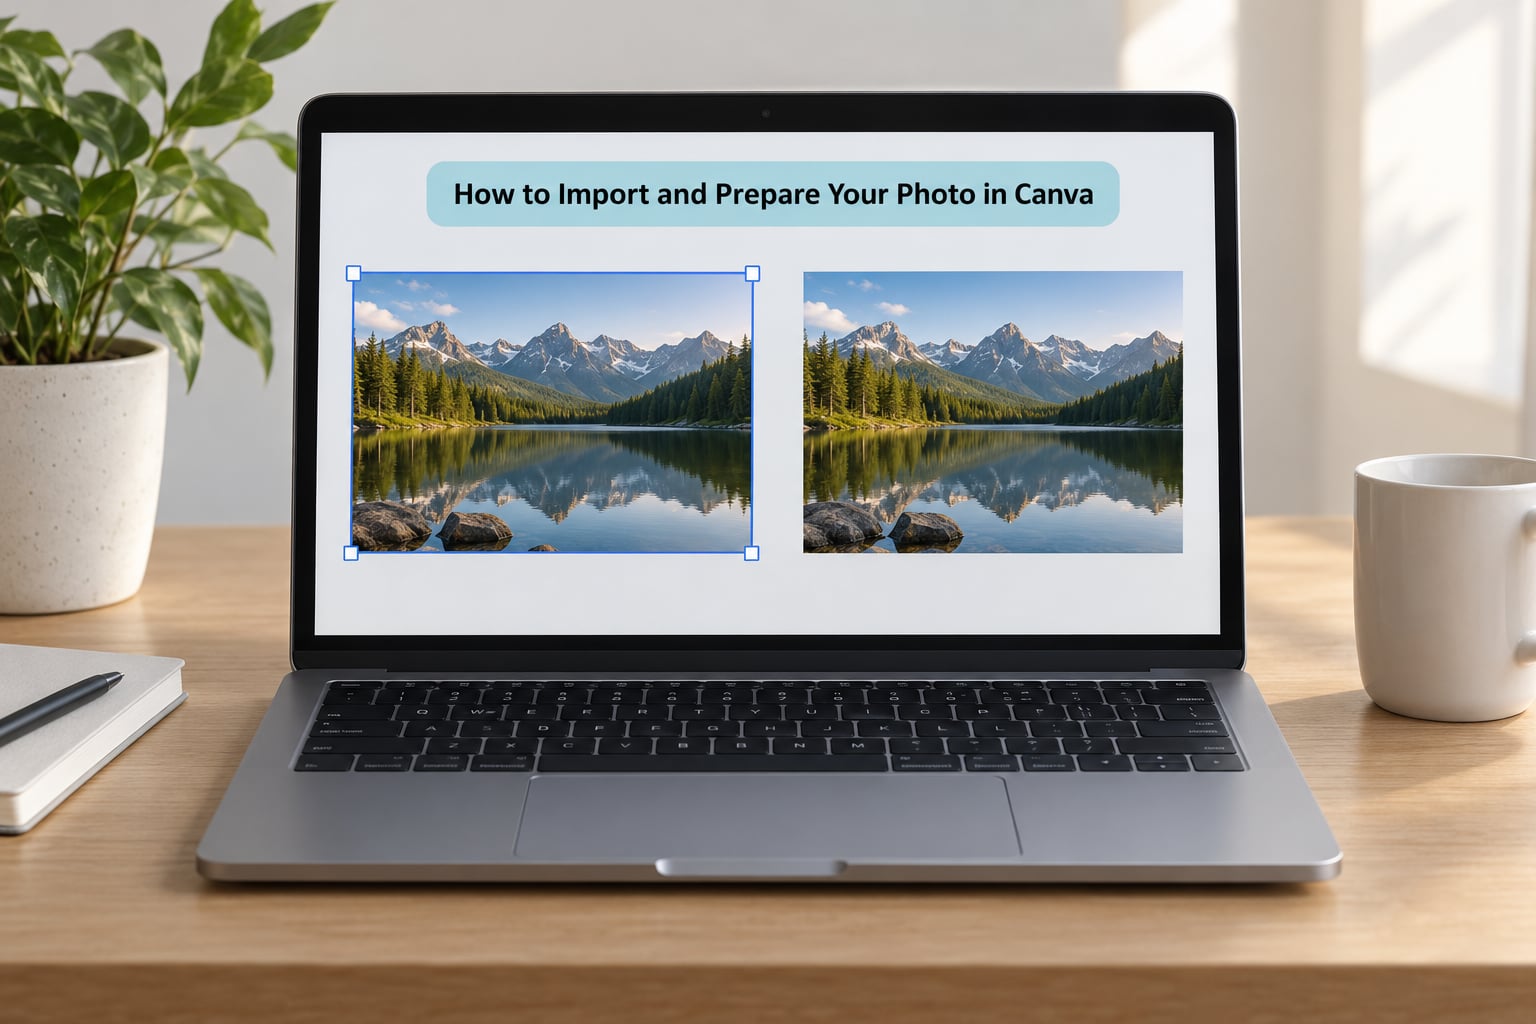
There are three ways to get a photo into Canva, and picking the right one depends on whether you want a finished graphic or just a cleaned-up file.
- Open the standalone photo editor. On the Canva home page choose Create, then Photo editor, then Upload. This gives you a full-screen workspace with no template elements in the way.
- Upload into a design. Click Upload files, pick your image, and drop it onto a blank page. This is the right choice when the photo ends up in a post, a card or a slide.
- Start from a template. Search a template first and replace the sample photo with your own. The layout is already solved, so your edit only needs to fit the frame.
Once the image is on the canvas, click it and use the toolbar above the design to crop, rotate or flip. Drag a corner handle rather than a side handle to keep the proportions, and hold the crop box close to the subject instead of filling the frame edge to edge.
Zoom to 100 percent with the percentage control under the canvas and look at the edges. If you see stair-stepping or mushy detail, the uploaded file is too small for the frame you chose, and it is better to shrink the image on the page than to try and repair it with sharpening later.
Rotation matters more than people expect. A horizon that sits two degrees off looks sloppy in a way viewers notice but cannot name, so use the straighten control and nudge until the line is level.
How to Adjust Brightness, Contrast, and Color in Canva
To adjust brightness, contrast and color in Canva, select the image and click Adjust in the toolbar above the canvas. The panel opens with Auto adjust at the top and the manual sliders below it.
Start with Auto adjust. It reads the image and sets light, color and contrast in one pass, and it is a decent baseline that you can still pull back in either direction.
After that, work in small moves. Dragging a slider changes the whole image, so a 10-point nudge is often enough where a 40-point drag looks like a different photo.
- Brightness raises or drops overall exposure. If a photo looks flat and grey, nudge brightness up before touching anything else.
- Contrast separates the tones. Too much and skin turns grey and skies break into hard edges.
- Saturation controls color intensity. A small lift helps a flat shot; a large one pushes skin tones orange.
- Warmth and tint stand in for white balance. Slide warmth toward yellow for indoor shots lit by household bulbs, toward blue for shade, and use tint for the green cast that fluorescent light leaves behind.
- Vignette darkens the corners and pulls attention to the middle. A light touch works; anything stronger reads as a filter.
Check the histogram habit early. Zoom in on a face and on the darkest area, because clipping in the shadows or blown highlights in a sky will not survive the next compression step.
How to Retouch Small Flaws With Canva’s Editing Tools
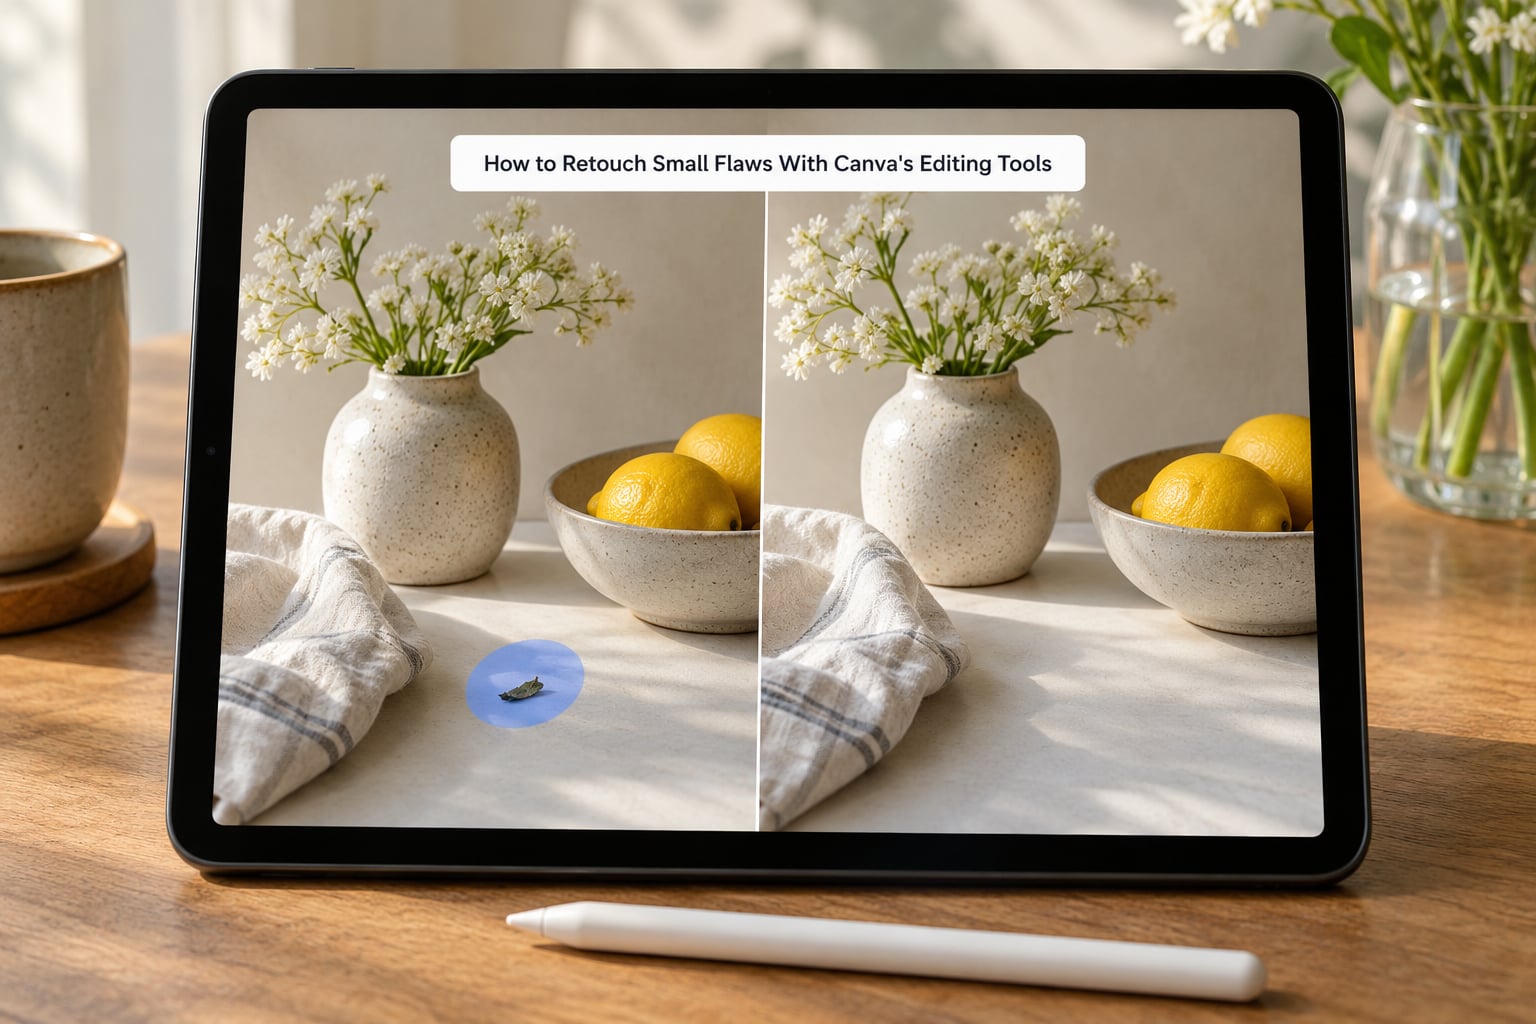
To remove an object, select the image, click Edit image in the toolbar and choose Magic Eraser. Brush over the thing you want gone, adjust the brush size so it covers the edges, and press Generate. Canva fills the gap using the surrounding pixels.
You can also erase by hand with the eraser tool inside the Effects and adjustments panel, which works best on flat backgrounds such as a studio sweep. It is slower than Magic Eraser but gives you control over the exact pixels removed.
Not everything needs erasing. A power line, a stray shoe or a hotspot in the sky can often be dealt with more convincingly by cropping tighter, since a tighter frame is a decision while an erased patch is a repair.
Keep retouching restrained. If you remove every shadow under a product, the object floats and the result looks assembled. Small distractions are worth fixing; the lighting and edges are worth leaving alone.
How to Apply Filters and Visual Effects in Canva
Filters in Canva apply a preset look in a single click. Select the image, open Filters, and you will see thumbnails of the same photo with different treatments. Click one to apply it, then use the intensity slider to dial it back.
Compare at a small size rather than full screen. Most filters are tuned to look good in a thumbnail, and the strength that reads well at phone size often feels heavy on a monitor. Setting intensity to 50 or 60 is a reasonable starting point.
Effects go further than a look. The Effects menu adds shadow, glow, depth, duotone, pixelate and bokeh, each with its own controls. Duotone maps the image onto two colors and is the fastest way to recolor an element you cannot otherwise change, and pixelate is a decent way to obscure a face or a screen before posting.
Canva’s Magic Studio tools sit alongside these. Magic Edit takes a typed instruction and adds or replaces what you describe, and Magic Layers separates a flattened picture into stacked layers so you can move one part. Both are Pro features and both are worth a trial run before you rely on them for a deadline.
Apply filters before you add type. Text and a filter pull at the same attention, and doing them one at a time keeps the type readable.
How to Add Text, Frames, and Creative Finishing Details
To add text to a photo in Canva, click Text in the toolbar, choose a heading or subheading, and type. Pick a font with a plain weight, then set the line height and letter spacing so the words sit comfortably over the image.
Contrast is the deciding factor. A line of light text over a bright sky will disappear on a phone in daylight, so either place the caption over the darker part of the frame or add a semi-transparent background behind the text box.
Frames come from Elements. Drop a frame onto the page, send it behind the photo, and the image takes the shape of the opening. A thin white border around a cutout is the same idea and it is the standard look for sticker-style posts.
To build that sticker, remove the background with the background remover tool, then open Effects and add an outline or a glow in a single flat color. The cutout now reads as an object rather than a photo, and the flat color is a fast way to match it to a design.
For anything that has to look consistent across a set of posts, add your colors and fonts to the Brand Kit. They then appear in the color and font pickers every time you edit, which removes most of the fiddling.
How to Export a High-Quality Edited Photo From Canva
To export, click Share in the top corner and then Download. Canva offers JPG, PNG, PDF, WebP and video formats, and the right one depends on where the file is going.
- JPG for photographs. Small files, no transparency.
- PNG when you need a transparent background, such as a cutout or a logo placed over a colored shape. Files are much larger.
- PDF for anything headed to a printer or a client.
- WebP when a site needs a lighter image than JPG can deliver.
Choose the size that matches the destination rather than the biggest option available. A square Instagram post sits around 1080 by 1080 pixels, a portrait post 1080 by 1350, a story or reel cover 1080 by 1920, and a LinkedIn post roughly 1200 by 627. Exporting larger simply adds weight that no one sees.
The free plan limits how large you can export and which formats you can choose, so a print-ready file generally needs Pro. If your work ends up on paper rather than a screen, our guide to how to resize photos for printing without losing quality covers the resolution rules.
After downloading, open the file and zoom to 100 percent. Soft edges or a visible shift in color mean the source image was too small or the export size too low, and both are cheaper to catch now than after posting.
How to Edit Photos on the Canva Mobile App
To edit images in Canva on a phone, open the app, tap Create and choose Photo editor, then upload from your camera roll. Tap the image and choose Edit image to reach the same Adjust, Filters and Effects panels you get on a laptop.
The gap is in the AI tools. Background remover and Magic Eraser are available on the web for free accounts, and the mobile versions of them sit behind Pro. Several filters and stock elements are limited as well, and the app handles some effects differently on iOS and Android.
The practical split is simple. Do color and crop work on your phone while you are out, then finish retouching and layout on a desktop. For a set of photos rather than one, our batch editing workflow is faster than repeating the same adjustments one file at a time.
Common Mistakes
Over-editing. Piling Auto adjust, a filter, extra contrast and a heavy vignette onto one photo produces the flat, oversaturated look people associate with quick editing. Pick one adjustment pass and one filter, then stop.
Using the wrong editor. Editing inside the photo editor flattens what you were working on into an image, and then every element tool is gone. Users on the Canva community forum hit this often: if a template looks like an editable design but has turned into a flat picture, the photo editor is why. Duplicate the page and edit the copy in the design instead.
Uploading a compressed file. A photo shared through a chat app is often a fraction of the original. Upload the raw file from the camera roll or card, and let Canva scale it down.
Wrong aspect ratio. Cropping for a square post and then stretching it into a story is the most common export mistake. Set the canvas size before you crop, not after.
Text that fights the photo. A caption over a busy area needs a background, a shadow or a plainer area of the frame. If it is unreadable at phone size, it is not finished.
Wrong file type. Exporting a cutout as JPG drops the background to black or white, and exporting a photograph as PNG makes it heavy for no reason. Match the format to the job.
Frequently Asked Questions
Is Canva good for photo editing?
Canva is good for quick photo edits: cropping, brightness, contrast, color, filters, background removal and export, all without installing anything. It is not a replacement for a raw converter or a full editor like Lightroom or GIMP, because it works on images you upload rather than camera files with full control over tone. For social posts, product images and blog graphics, most photographers I know finish in Canva.
Can I edit something out of a picture on Canva?
Yes. Select the image, click Edit image in the toolbar and choose Magic Eraser, then brush over the object and press Generate. Canva fills the gap with surrounding pixels. For flat backgrounds you can also use the eraser brush inside the Effects and adjustments panel, which is slower but far more precise. Magic Eraser is free on the web and included with Pro in the mobile app.
How do I make photos look good in Canva?
Start with Auto adjust, then make small manual changes. Lift brightness if the photo looks flat, add a little contrast, correct a color cast with Warmth and Tint, and stop there. Apply one filter at roughly half strength rather than full. A tighter crop does more for a photo than any filter, and removing a distracting object usually helps more than adding an effect.
Can you edit photos on the Canva mobile app?
Yes. Open the app, tap Create, choose Photo editor and upload from your camera roll, then tap the image and select Edit image for the Adjust, Filters and Effects panels. The main differences are the AI tools: background remover and Magic Eraser are free on the web but sit behind Pro in the app. For heavy retouching, the desktop version is quicker and easier to undo.
What is the difference between Edit photo and Edit image in Canva?
Edit photo opens the standalone photo editor, which works on one image with no design around it and flattens anything you bring in. Edit image opens the in-design controls, where the photo stays inside your layout and keeps its relationship with text and elements. Choose Edit photo for a clean file to download, and Edit image when the photo is part of a design you are building.
Start with one photo and three stages only: duplicate, Auto adjust, then one small contrast move. Download it and look at the result on the screen you actually post to. Add filters, type and effects once that base looks right, and your edits will hold together instead of fighting each other.