
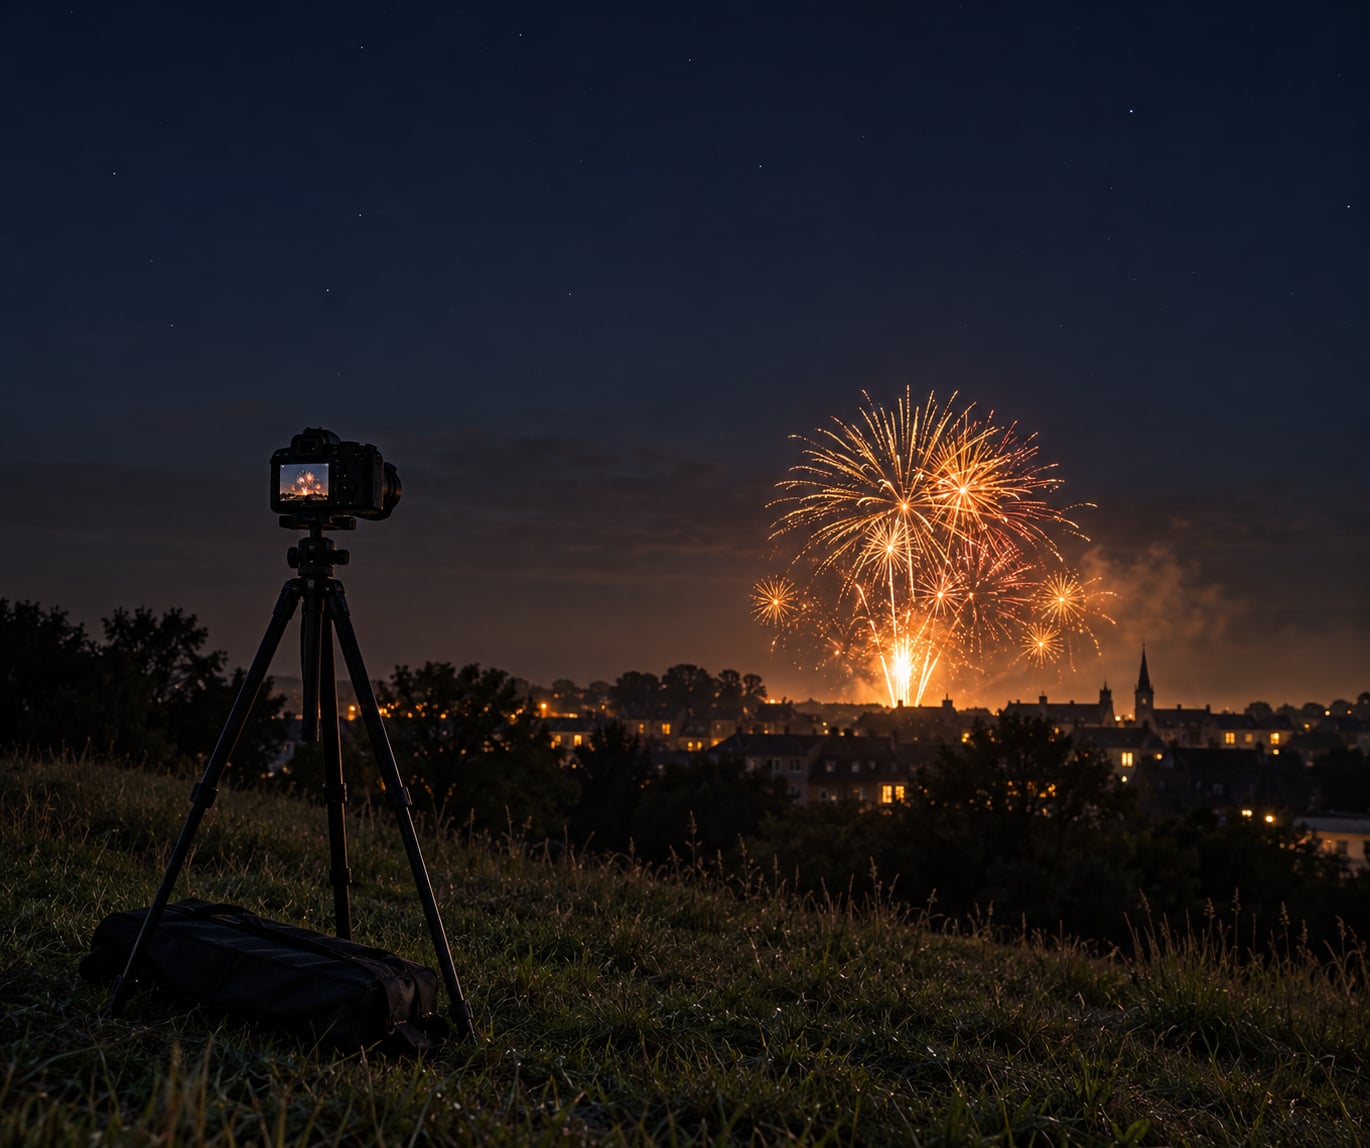
Learning how to photograph fireworks comes down to three things: a tripod so the camera stays still, manual mode so nothing changes mid-burst, and patience while you time the explosion. Set up about an hour early, dial in ISO 100-200 at f/8, open the shutter as a shell leaves the tube, and hold it open for a few seconds. That is the whole method. The rest is fixing the problems that show up in the first ten frames.
The reason fireworks photography feels hard is that the subject is invisible until it explodes, and the explosion lasts less than a second. Autofocus hunts in the dark, the meter blows out the brightest part of every burst, and any hand on the camera ruins a four-second exposure. Nearly every technique below is a way of removing one of those variables before the show starts.
If you shoot handheld or only have a phone, the same field ideas still apply — with a few settings changes. Get further down first.
Table of Contents
What You Need
Three items are non-negotiable for how to photograph fireworks well: a tripod, a remote shutter release, and manual exposure control on your camera. Everything else is a comfort or a backup.
- A sturdy tripod. Any tripod rated for your camera and lens works, including a travel tripod, but taller is better since you will want the lens above the heads of the crowd. Take the photo op off the ball head for the setup so nothing nudges it.
- A remote release or cable. A two-dollar wired remote with a lockable button is ideal because you can hold the shutter down without touching the camera. A phone app over Wi-Fi works too, but a wired remote never fails and never adds delay.
- Manual mode. Aperture, shutter speed, ISO, and focus all on manual. Automatic modes will hunt for focus and re-meter between bursts.
- Spare batteries. Cold air and a screen running live view both drain charge fast. Bulb mode with the screen on can eat a battery in an evening of shooting.
- Memory cards. At least two, formatted in advance. A full card during the finale is the one failure you cannot fix.
- A flashlight with a red filter or a piece of tape over the lens. You need to see your tripod legs in the dark without blowing out the frame with white light.
- Lens choice. A wide lens (16-35mm) captures the whole display plus a skyline or crowd. A short telephoto (70-200mm) isolates a single burst against clean sky. Zoom lenses let you do both in one setup.
- A cloth or microfiber towel. Dew and smoke haze will land on the front element faster than you expect.
- Time and layers. Arrive 60-90 minutes early, and bring a warm layer plus something to sit on. You will be standing still for an hour.
Step-by-Step: How to Photograph Fireworks
Scout a Safe, Clear Shooting Position
Arrive early and pick a spot with an unobstructed view of the launch area, clear of crowds, roads, and power lines. Stand upwind of the display when the wind is moving, because smoke drifts with the breeze and a downwind position means every later shot is shot through haze. Keep the fireworks in the open part of the frame — look for a composition with space above the horizon line so the trails have room to open.
Walk your shot before it gets dark. Note where the nearest structures are, find your foreground (water, a rooftop rail, silhouetted trees), and check that no lamp post sits directly behind where the bursts will happen. Many public displays publish viewing areas and times in advance; check those and any local restrictions on tripods before you set up.
Set Manual Exposure for Bright Bursts
Start at ISO 100, f/8, and a shutter speed somewhere between two and five seconds, then adjust from there. Fireworks are bright enough that you rarely need a high ISO or a wide aperture, and keeping the ISO low is what stops the sky from turning grainy grey. Shoot in RAW so you have room to recover blown highlights later.
- Too dark in the sky? Open the aperture one stop to f/5.6, or lengthen the exposure.
- Bursts are blown out white with no colour? Stop down to f/11 or f/16, or shorten the exposure.
- Noise in the shadows? Drop the ISO to 100 and lengthen the shutter instead of raising sensitivity.
- Two seconds records too much overlapping mess? Drop to one second or use a black card to block the gap between bursts.
On most bodies, turn long-exposure noise reduction off. It shoots a dark frame after each exposure and doubles your wait between bursts, which means missing shells. Turn image stabilization and vibration reduction off too once the camera is on the tripod — those systems hunt for movement that is not there and can soften the image.
Focus on the Launch Area
Focus manually at infinity, or on a distant light 20 to 30 meters away, and never touch the lens again. Switch the camera to manual focus before the light fades, use live view with magnification to confirm, and then set autofocus or AF/MF to MF so nothing can pull focus mid-show. Autofocus hunting in the dark is the single most common reason beginners come home with soft frames.
Set focus for the burst, not the launcher tube. A lens focused right on the tube gives sharp smoke and soft stars. If your camera has an electronic level, turn it on now, because levelling a horizon in the dark is miserable.
Time the Burst and Capture Multiple Frames
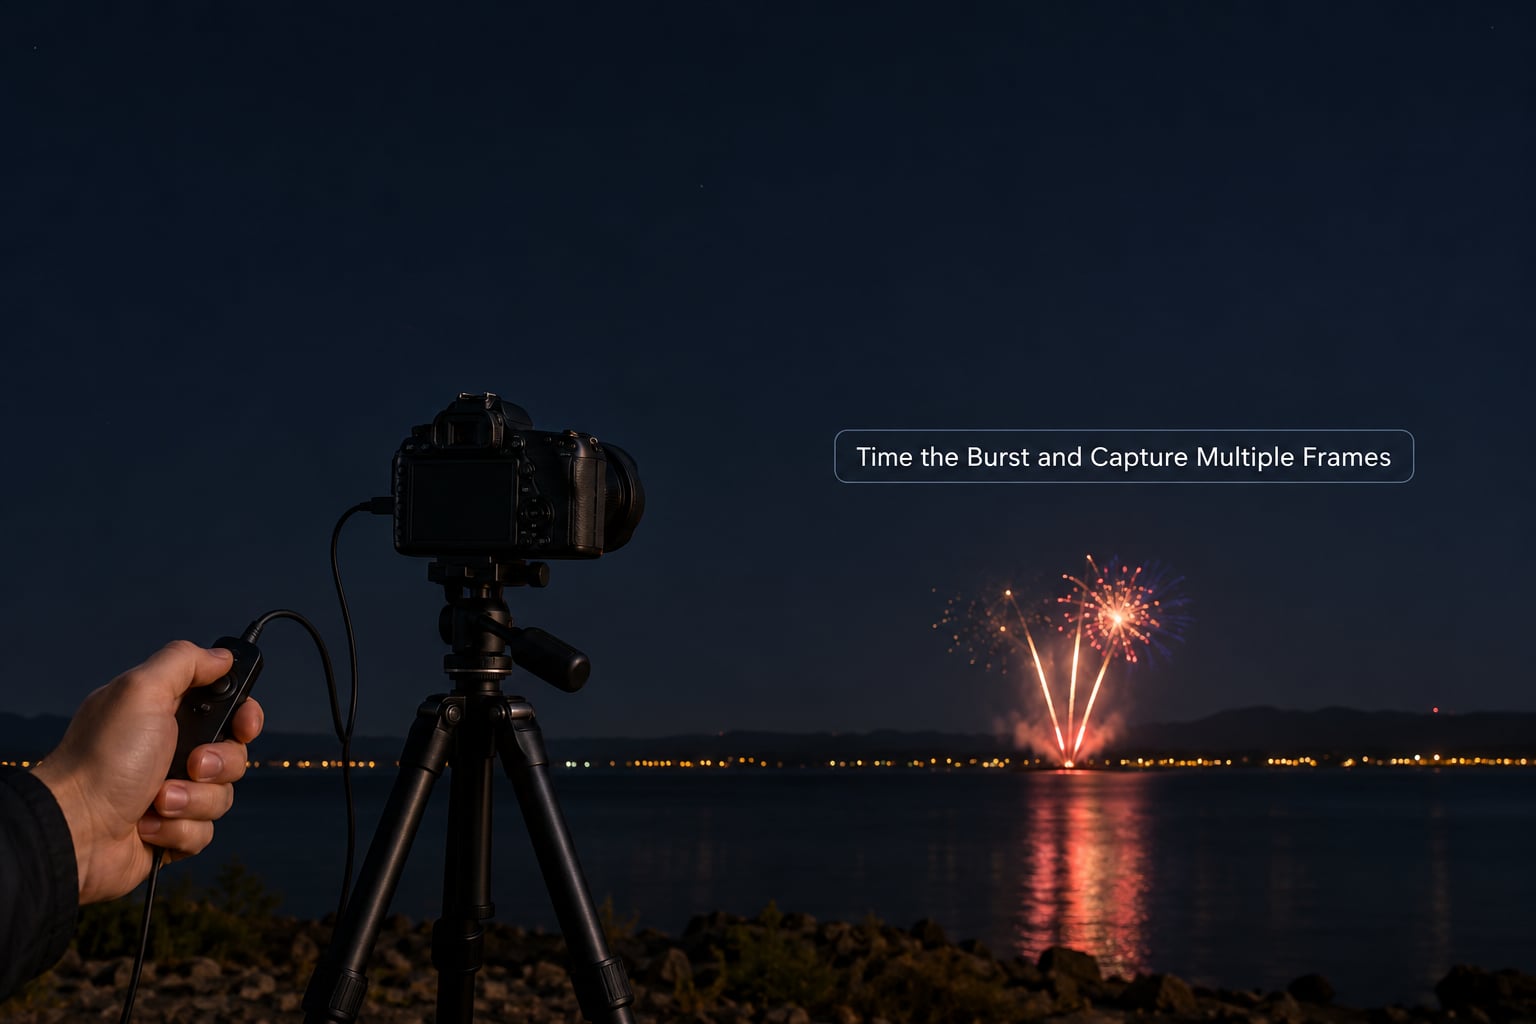
Watch the trail, not the explosion. Listen for the launch hiss, then start the exposure as the comet rises — the tail is what makes the image read as motion. Put the camera in single-shot drive mode with the remote held down, or use a two or three second timer for the first shell to learn the timing, then move to continuous shooting once you have a rhythm.
Shoot a lot. The best frame from any display might be the fortieth one, and a burst that would have been the shot of the night can also be an overexposed white blob on the next try. Turn off the auto screen review between frames, which slows things down, and keep the settings unchanged so you are not chasing exposure during the finale.
Adjust for Different Fireworks Styles
Different shells need different framing and timing. Single-color shells look best with a longer exposure (three to five seconds) because the color persists through the trail. Multi-break and chrysanthemum shells record best at one to two seconds, where the individual breaks stay separated. Willows and long trails want five to ten seconds so the tail hangs in the frame.
Fountains on the ground need a wider frame, or you will lose the light entirely at the edges. Thick smoke from a busy display means backing off the exposure a stop or choosing a wider lens so you are not shooting into the brightest part of a cloud. If the display includes a finale, save your card space and your batteries for it — that is where the good frames come from.
Protect the Camera and Finish the Shot
Check the front lens element every few minutes for haze and wipe it gently with a microfiber cloth. Wipe smoke off between bursts rather than at the end, because smoke gets tacky fast in humid air. Keep the camera bagged or sheltered if you are anywhere near spray or drizzle, and bring a lens cloth for your own hands, which get cold and clumsy and cause most of the mistakes after the halfway point. If the weather turns properly wet, the techniques in our guide to how to photograph rain apply to the foreground and the lens as well.
Do not pack up until the crowd does and the last shell settles. Then, before you leave, pull one image onto the camera screen at full size and look at it — if the burst is solid white, you now know to stop down before the next display. Reviewing highlights in the field is worth far more than reviewing at home.
Common Mistakes
Most bad fireworks photos come from the same handful of mistakes, and each has a direct fix:
- Blurry frames. Camera moved, or focus was left on auto. Fix: tripod, remote release, manual focus set before dark, stabilization off.
- Blows clipped to pure white. The meter saw the sky, not the burst. Fix: shorter exposure or a narrower aperture, shoot RAW, recover highlights in editing.
- Focus hunting or soft stars. Autofocus could not find a subject. Fix: manual focus at infinity, confirmed in magnified live view.
- Missed bursts. Started the exposure too late. Fix: shoot on the launch, not the bang, and record far more frames than you think you need.
- Cluttered overlapping trails. The shutter was open through more than one shell. Fix: one second, or use a black card to shade the lens between bursts.
- A lamp post or tree in the background. You did not scout in daylight. Fix: arrive an hour early and frame against clean sky.
- Everything washed out by smoke. You shot from downwind. Fix: reposition upwind and open the aperture a stop if the frame goes dark.
There is one more worth naming: nobody enjoys the display they planned to photograph. Set the camera going on a lockable remote, look up for a while, and check the screen occasionally. The frames are still being made while you watch.
Tips for Better Fireworks Photos
- Shoot the blue hour. Arrive 20 to 40 minutes before sunset and keep shooting as the sky darkens. The deep blue background makes colours pop and gives you something to expose for besides black. A silhouetted spectator against that blue reads as a shape, not a face, which is where the techniques in how to photograph shadows start to pay off.
- Use a foreground. Water for reflections, or silhouetted trees, rooftops, and spectators for scale. The wide lens used for context shots is the same one that makes reflections work — our guide to how to photograph reflections covers the shoreline setups that pair best with bursts.
- Stack in editing, not in the frame. Shoot two seconds at a time, then place the RAW files as layers in Photoshop and blend them with Lighten mode so only the brightest parts of each frame survive. Mask the layers to hide the smoke-lit background of the later frames. A dozen stacked two-second frames can hold a full finale in one picture.
- Bracket selectively. If the display varies in brightness, shoot a set of frames at different shutter speeds rather than changing settings randomly.
- Add creative blurs. Zooming slowly during a long exposure, or panning the camera during one, turns the trails into cones and ribbons. Do these deliberately, after you have the clean shots banked.
- Edit non-destructively. Start with RAW, lower the highlights and whites, lift the shadows slightly, and set white balance to the ambient light rather than auto. Never flatten the file.
Frequently Asked Questions
Do I really need a tripod to photograph fireworks?
Yes, for any exposure longer than about 1/30 second a tripod makes the difference between a sharp frame and a blurred one. Most fireworks work is shot at one to five seconds, which is far beyond what you can hand-hold. Without a tripod you are limited to short exposures, which usually means either clipping the burst to white or losing most of the trail. If you have no tripod, put the camera on a wall, a railing, or a sturdy bag, and brace yourself — that still beats handheld.
What shutter speed should I use for fireworks?
Start between two and five seconds at ISO 100 and f/8. Two to three seconds is a good general range because it records most of the trail without stacking too many shells in one frame. Use five to ten seconds for willow and long-trail shells, and one second or less for fast multi-break shells where you want each burst separate. Judge it from the first few frames, then leave the setting alone.
How do I stop my fireworks photos from being blurry?
Blur has three causes and each has a different fix. If the whole frame is soft, the camera moved, so use a tripod and a remote release. If only the fireworks are soft while the foreground is sharp, focus was left on autofocus, so switch to manual and set focus on a distant light before dark. If frames are consistently blurry, you are likely opening the shutter before the trail has risen, so start earlier and shoot more.
Can a phone camera capture fireworks?
Yes, and modern phones handle it better than most people expect. Use Night mode or a manual camera app, tap the sky to set exposure down rather than up so the bursts do not clip, and hold the phone still against something solid for a second or two after the tap. Shoot at 1x rather than digital zoom, and take a burst of frames. RAW or ProRAW capture on supported phones gives you much more room to fix blown highlights.
What are the best settings for an iPhone?
On iPhone, open the Camera app, switch to Night mode, then tap and hold on the sky to pull exposure down, which darkens the background and protects the burst colour. Keep Night mode set to the maximum long-exposure time, prop the phone on a bag or railing, and press the shutter as the trail rises. On iPhone models supporting RAW or ProRAW, turn that on in Settings, Camera, Formats, and shoot a few frames of each burst to stack later.
How do I photograph fireworks through rain or smoke?
Rain scatters light back at the lens, which makes every burst look hazy, so stop down to f/11 or f/16 and shorten the exposure slightly to keep the effect under control. Smoke is different and easier: work upwind of the display so the haze blows away from you, and if the shot goes grey, open the aperture a stop rather than raising the ISO. In post, lift the blacks on the RAW file and drop the highlights to recover contrast.
Conclusion
The first thing to do when learning how to photograph fireworks is arrive an hour early, find a clean composition with the fireworks in open sky, then switch to manual focus and manual exposure before the first shell goes up. Once the camera is on the tripod with a remote attached and set to ISO 100 at f/8, keep your finger on the shutter through the whole display. You will waste the first twenty frames. Shoot anyway — the ones after that tend to be the ones you keep.