
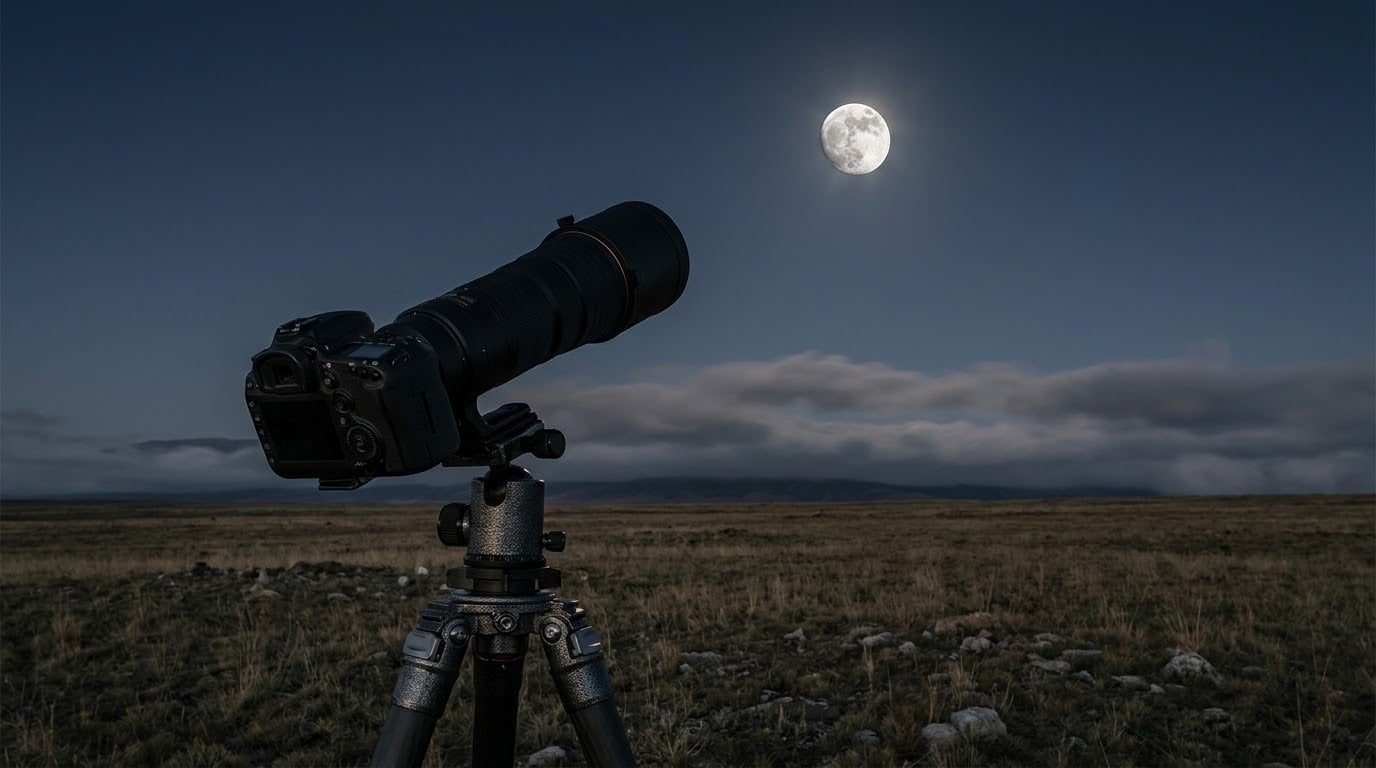
How to photograph the moon well comes down to one thing: taking control of the exposure instead of letting the camera do it for you. Switch to manual mode, start at f/11, ISO 100 and 1/100s, focus manually on the lunar surface, and shoot RAW. The whole session takes about twenty minutes once you have done it twice.
That matters because most disappointing moon photos are not bad photographs. They are a white disc with no craters in it, and almost every one of them came from an automatic mode that metered for the black sky around the moon instead of the moon itself.
This is the workflow I still teach in 2026, and it is the one I would hand a friend who has never touched a manual dial.
Table of Contents
- What You Need
- Step-by-Step
- 1. Plan around the moon’s phase and visibility
- 2. Choose your focal length and set up steadily
- 3. Focus on the moon’s surface
- 4. Set the right exposure to photograph the moon
- 5. Use the camera’s RAW format
- 6. Compose the moon for creative impact
- 7. Capture the sharp frame
- 8. Check focus and sharpness at 100 percent
- 9. Edit the photograph with restraint
- Common Mistakes When You Photograph the Moon
- Frequently Asked Questions
- Conclusion
What You Need
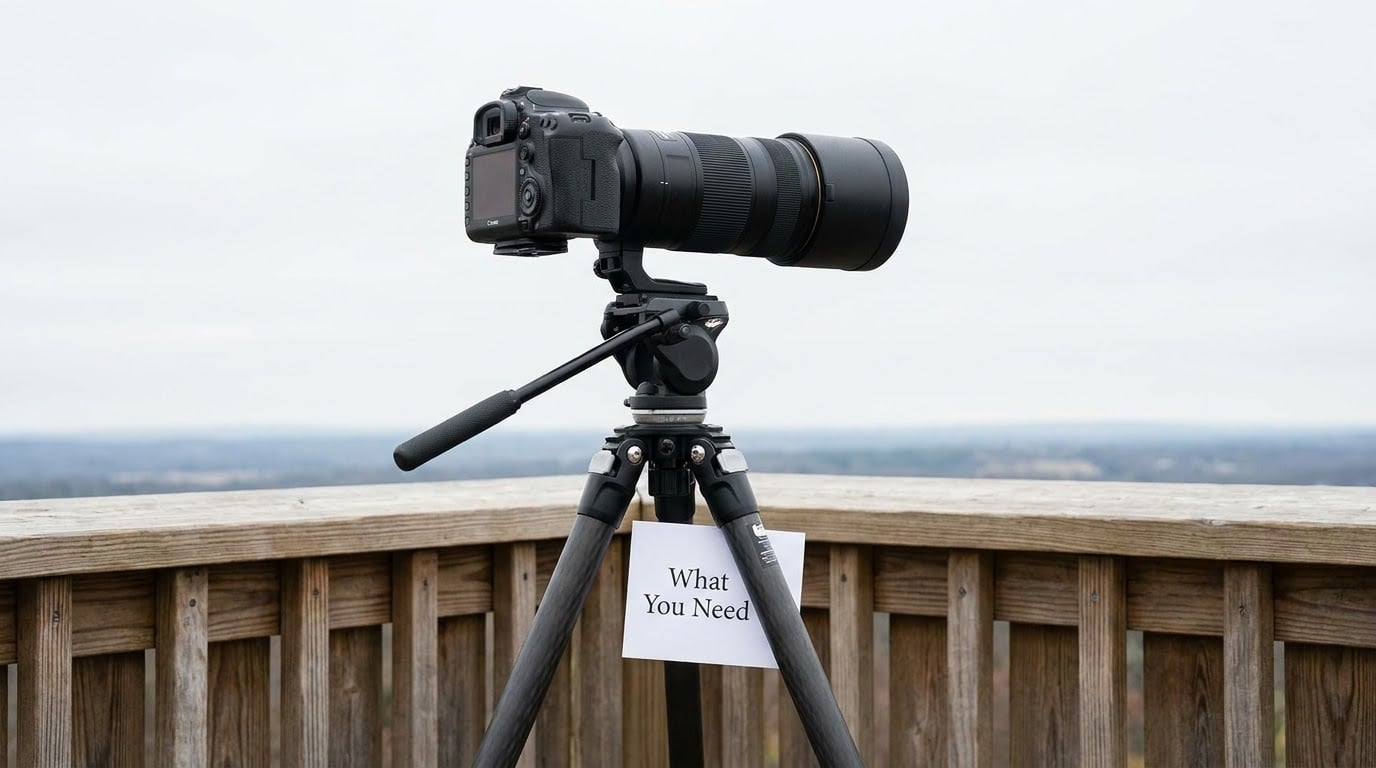
You need surprisingly little. A camera body that has a manual mode, something to hold it steady, and enough focal length to fill the frame with the moon.
A camera with manual controls. Any DSLR or mirrorless body from the last fifteen years qualifies. Manual mode is the non-negotiable part, because the automatic modes are built to expose for average tones and the moon is anything but average. A phone counts here too, since both iPhone and Android cameras hide a manual mode a couple of taps deep.
A telephoto lens, 200mm or longer. The moon is small. At 50mm it is a postage stamp, and no amount of editing will invent craters you never captured. A 75-300mm kit lens is enough to learn with, and a 300mm or 400mm lens starts showing real relief. On a crop sensor body you get roughly 1.5x the framing of the same lens on full frame, which is often the cheapest way to make the moon look bigger.
A tripod that does not wobble. Extend the legs fully and centre the column, then hang something from it if it is a light three-leg model. A heavy tripod with a fluid head beats a cheap one every time.
A remote release or the two-second self-timer. Pressing the shutter button with your hand introduces a small shake that is very visible at these focal lengths. A cheap wired remote or a ten-dollar phone app both do the job.
Optional but useful: a 1.4x teleconverter for filling the frame on a good night, a lens hood to cut stray light and flare, and a planning app. PhotoPills, Time and Date, or a free planetarium app such as Stellarium will tell you the moon’s altitude, azimuth, phase and rise time for your exact location, so you are not standing in a field guessing.
Step-by-Step
1. Plan around the moon’s phase and visibility
Check where the moon will be and when, then choose a phase that suits the shot you want. A full moon is bright, flat and dramatic. A half moon, often called a quarter moon by people who know the terminology, is where the terminator line runs down the disc and every crater throws a long shadow, and that is the phase most photographers end up preferring.
You also need clear air and a dark-enough sky. Moonlight passing through thick atmosphere near the horizon gets scattered and the disc goes soft and orange, so a moon high in the sky at 30 to 50 degrees is your best chance at detail.
How to tell it worked: your planning app shows a moon altitude above 25 degrees for your shoot window, and a forecast without cloud or mist.
2. Choose your focal length and set up steadily
Focal length is the only control that changes how large the moon appears. Roughly speaking, the moon is half a degree across the sky, so a 600mm lens on full frame fills the frame height with it, while a 200mm lens gives you about a fifth of the frame. Doubling focal length doubles the size on the sensor.
Mount the camera, aim it at the moon, and compose roughly where you want it before you get into the settings. Keep in mind that the moon drifts across the sky by about its own width in an hour, so a tight framing will not stay tight.
How to tell it worked: the moon sits off-centre with breathing room in the direction it is travelling.
3. Focus on the moon’s surface
Switch the lens to manual focus and zoom into the moon in live view at high magnification on the back of the camera. Set focus until the crater rims and maria look like rock rather than a smudge, then leave it alone.
Infinity is not a reliable place. Every lens has a little variation, and cheap focus rings are loose enough that you can miss the plane by a millimetre. Do not use autofocus here: on a dark sky it hunts back and forth and usually gives up. If your body has a single-point AF area and you have to use AF, put it on the moon itself, use one-shot focusing and switch to manual straight after it locks.
How to tell it worked: at 100 percent on the rear screen, you can pick out individual craters rather than a soft edge.
4. Set the right exposure to photograph the moon
Start with the Looney 11 rule: f/11, ISO 100, 1/100s. That is a bright-daylight baseline, and the moon is genuinely lit by daylight, which is why it works. From there, adjust.
The rule is a starting point, not a verdict. Shoot a test frame, check it, and move the shutter or the aperture until the disc holds detail right up to its edge.
Two things matter more than the numbers. First, use your camera’s highlight warning, the blinking markers that flag clipped areas: if the moon is flashing, you are overexposed. Second, photograph in RAW, because a RAW file holds the lunar surface almost to the edge of white, so you can rescue a slightly hot frame later.
How to tell it worked: the histogram sits under the right edge rather than piled against it, and no part of the moon is flashing on the screen.
5. Use the camera’s RAW format
RAW records roughly twice the tonal range of a JPEG in the shadows, and the moon is the easiest case for that headroom: a blindingly bright subject against a completely dark background. Every camera made in the last decade can shoot RAW in one menu.
The payoff happens at your desk. In Lightroom or Camera Raw you can drop exposure by two or three stops, pull highlights back, lift the terminator shadow side, and still have clean data instead of flat grey.
6. Compose the moon for creative impact
A centred moon in a black frame is technically correct and visually dull. Place it on a third and give it space, or put it low in the frame with silhouetted rooftops, bare branches or a ridge line beneath it for scale. Our guide to photographing reflections covers the wet-street version, where a still harbour or flooded field doubles the disc beautifully.
Think about size too. A small moon in a wide frame with a moody sky can be more striking than a huge one, and it relaxes your framing so the drift stops mattering.
Keep it honest. If you paste the moon into a scene or stack twenty frames into one disc, say so when you post it. A composite is a creative choice, not a fake.
7. Capture the sharp frame
Now shoot. Engage the two-second timer or your remote release, listen for the mirror or the shutter, and take a short series at the settings you have tested.
Ten frames at the same settings will save you from the one where a bird flew past or the tripod got nudged. Nothing changes between them, so there is no reason to shoot single shots.
How to tell it worked: you have a set of frames to choose between rather than one chance.
8. Check focus and sharpness at 100 percent
This is the step people skip, and it is where the whole process is won or lost. Put the camera in playback, press the zoom button, and inspect the edge of the moon at full magnification. Knowing how to photograph the moon is mostly knowing when to stop shooting and go look.
If the craters are crisp, go and shoot your series. If they look mushy, check focus first. Then check the histogram for clipping, and if the edges of the disc glow, shorten the shutter speed by half a stop or stop down another third.
At long focal lengths in moving air, sharpness can shift between frames. Watch for the wobble that low atmospheric turbulence causes, and do not assume the first sharp frame applies to the rest.
How to tell it worked: at 100 percent the crater rims have hard edges, not fuzz.
9. Edit the photograph with restraint
Open the RAW file and lower the exposure until the moon stops clipping, which usually means dropping it well below what looks right on the initial import. Pull highlights down, lift the shadows on the terminator, and add contrast to bring out the maria.
Clarity and texture can help at low amounts, and a gentle radius masking to sharpen only the moon rather than the sky stops the noise from getting the same treatment. A monochrome conversion suits a high-contrast crater field and hides colour casts that mixed light leaves behind.
Stop before the shadows go inky and the surface starts to look like a photocopy. Our guide to photographing shadows covers how to keep detail in the dark areas while keeping a shape readable.
Common Mistakes When You Photograph the Moon
The moon is a blown-out white blob. Your camera metered for the sky. Drop exposure by one to three stops, switch to spot metering centred on the moon, or just keep shooting in manual. This is the single most common moon photography problem and it is always an exposure problem.
The image is blurry. Three causes, three fixes. Shake means use a tripod and a timer. Wrong focus means magnify in live view and set focus manually. Movement in the atmosphere at long focal lengths means you simply wait for a calmer moment.
Autofocus hunts and gives up. Expected on a dark sky. Manual focus, one-shot AF followed by a switch to manual, or a body with moon-detect AF will all beat continuous autofocus here.
Night mode makes everything worse. On a phone, computational night modes stack several seconds of handheld frames. Any movement during that stack smears both the moon and the horizon. Turn it off, brace the phone against something solid, and use the timer.
Phone zoom produces grain. Digital zoom is cropping, and cropping a small sensor cannot create detail. Get closer, or use a real telephoto attachment, or accept a smaller moon in the frame and crop in editing instead.
The composition is too tight. You filled the frame, and half an hour later the moon has moved out of it or into the corner. Leave room, or plan to reframe at the end.
You cannot get the moon and the foreground sharp together. They sit metres apart in depth. Either pick a wide aperture and accept that one of them softens, or bracket two exposures and blend them later, which is the standard approach to moonlit scenery.
One field tip worth more than the rest: check your image at 100 percent before you pack the tripod down. A five-second check on the back of the camera saves the drive home.
Frequently Asked Questions
How do I take a good photo of the moon with my phone?
Turn off night mode, open the camera’s Pro or Manual mode, and set the longest telephoto equivalent the phone offers. Tap and hold on the moon to lock exposure and focus, then pull exposure compensation down one to two stops until crater detail appears. Brace the phone against a wall or tripod and use the timer. Editing the shot down afterward recovers more than any in-camera setting.
What settings should I use to photograph the moon?
Start at f/11, ISO 100 and 1/100s, which is the Looney 11 rule and a solid baseline for a bright full moon. Then shoot a test frame and adjust: a crescent needs a wider aperture or slower shutter because it is dimmer, while a full moon usually wants a faster shutter or slightly narrower aperture. Keep ISO as low as your camera handles cleanly and shoot RAW.
What is the 11 rule for moon photography?
It is a starting exposure that treats the moon like a bright daylight subject: f/11 aperture, shutter speed set to 1/100 second, and ISO 100. That gives you one correct setting out of many possible combinations. Because the moon is lit by the sun, a daylight exposure is the right ballpark. Check the histogram and the highlight warnings, then move the shutter speed until the lunar surface holds detail.
Can I photograph the moon with a kit lens?
Yes, and it is the best way to learn. A 75-300mm kit lens gives you a decent lunar disc at 300mm, and manual focus plus a tripod do most of the work. You will need patience rather than more glass, because a kit lens is usually slower and hunts more than a prime. If you can only reach 300mm, shoot wide and crop in later.
When is the best time to photograph the moon?
At night, and higher in the sky rather than near the horizon, because atmosphere blurs a low moon. Moonrise and moonset are worth planning deliberately if you want the disc in a scene, since it sits low and warm over rooftops or fields. A half moon, several days after first quarter, gives the strongest crater shadows. Whatever the phase, clear dry air beats a clear night with haze.
What white balance should I use for moon photography?
Use daylight or auto white balance and correct in editing. A white balance preset barely matters because RAW captures the colour temperature as data, and the moon is lit by sunlight, which means the neutral choice is daylight. What does matter is consistency: mixing frames shot on different white balance settings makes a set of moon photos harder to match when you process them together.
Conclusion
Your first move is the simplest one: put the camera in manual, set f/11, ISO 100 and 1/100s, and take one test frame of the moon. Look at it at 100 percent on the back of the screen, then change one setting at a time until the craters have hard edges. Shoot, check, adjust, repeat. That loop is the whole craft, and everything else, composition, phase planning and editing, is refinement on top of an exposure you already got right.