
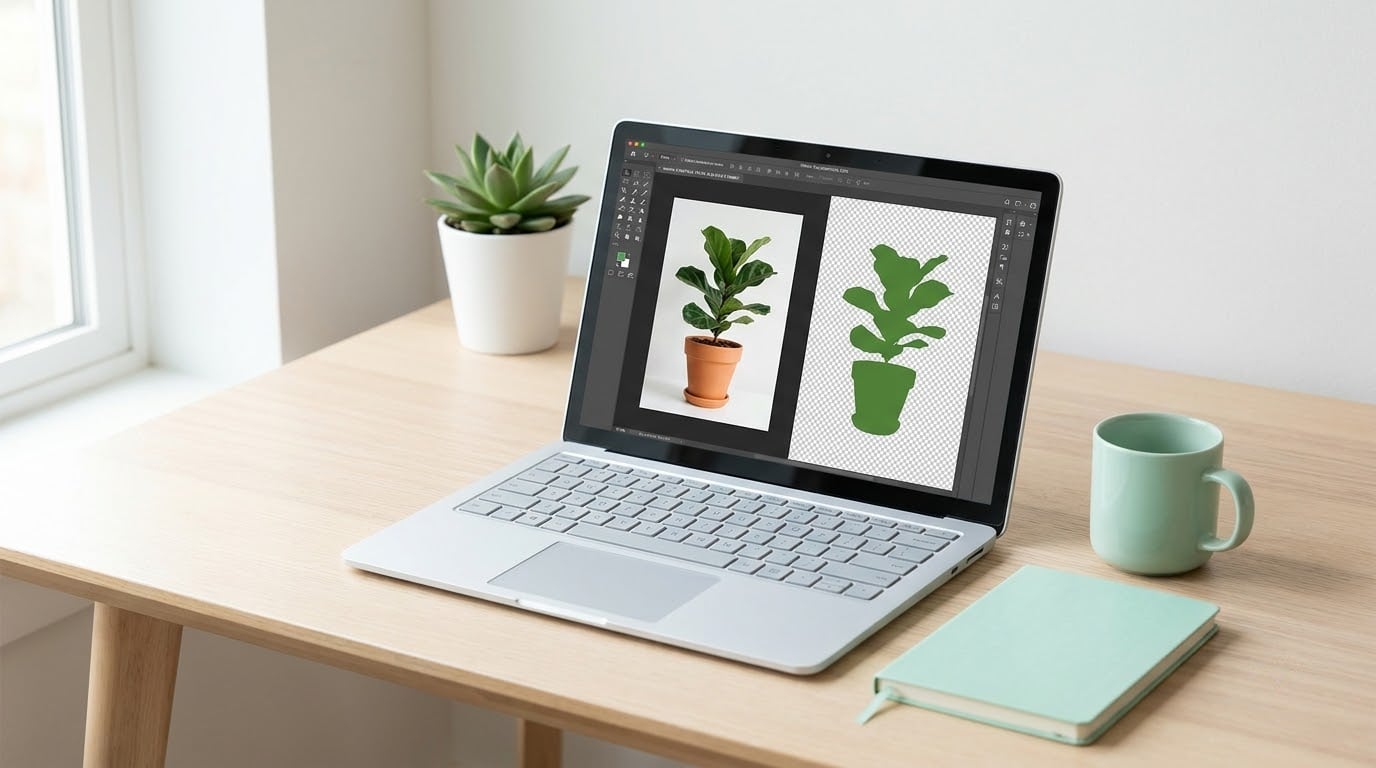
You can remove a background in Canva with the Background Remover tool, which sits under Edit Image in the top toolbar and takes about five clicks on desktop: open your design, click the photo, click Edit Image, choose Background Remover in the Tools panel, then wait for Canva to process it. You need a Canva Pro, Teams, or Enterprise plan, and this guide covers both the desktop and mobile paths as they stood in 2026.
The one part most tutorials skip comes after the automatic removal: checking whether the cutout is actually clean. Canva gets simple product shots right most of the time and struggles with hair, fur, and glass. So read the refinement step, not just the click list.
If you want the answer in one screen first:
- Open your design in the Canva editor and upload your photo through the Uploads tab.
- Click the photo on the canvas to select it.
- Click Edit Image in the top toolbar.
- Choose Background Remover from the Tools panel on the side.
- Wait for Canva to finish processing, then check the edges and fix them with Erase and Restore.
- Download the design as a PNG so the transparent background survives the export.
Table of Contents
- What You Need
- Step-by-Step
- Common Mistakes
- The result has a white box instead of transparency
- Leftover background around the subject
- Hair, fur or thin edges vanished
- The cutout looks blurry or pixelated
- The new background covers the subject
- The Background Remover is missing or greyed out
- A logo or flat graphic cut out badly
- Video background removal will not run
- Frequently Asked Questions
- Can I remove a background in Canva for free?
- Why won’t Canva let me use the Background Remover?
- How do I make a background transparent on Canva?
- How do I fix a bad cutout with hair or glasses frames?
- How do I remove the background from a video in Canva?
- How do I remove a background manually if the automatic tool fails?
- Conclusion
What You Need
You need three things: a Canva account, the photo already uploaded as an element in a design, and a plan that includes Background Remover. Canva Pro is the usual tier, and Teams and Enterprise include it too. Teachers and nonprofit staff can get the same access through Canva for Education and Canva for Nonprofits, which is the route most people in that situation are actually looking for.
Canva also runs a 30-day free trial of Pro, which is the practical answer for anyone who needs this more than once or twice. On a free account the tool is not greyed out or broken. It is simply absent, and that absence is the single biggest source of confusion for beginners.
The limits Canva actually enforces
These are the numbers that cause silent failures when you do not know them:
- Images up to 9MB in file size can be processed.
- Images larger than 10 megapixels are downscaled to 10MP before processing.
- Up to 500 images can be processed in a 24-hour period.
- Video clips must be under 90 seconds.
- The Erase and Restore brushes only work on canva.com and the desktop app, not on mobile.
If your file is over 9MB, export it smaller before uploading rather than assuming the tool is broken.
Two different things people mean by background
Searchers mix these up constantly, so it is worth separating them. Removing a photo background means isolating the subject of a photo so it sits on transparency, which is what Background Remover does. Removing a background element inside a design means deleting a shape, colour block, or rectangle you added yourself, which needs no tool at all: click the element and press Delete.
Photo quality decides your result
The automatic cutout reads contrast. A photo with even lighting, a simple uncluttered background, and a clear tonal difference between the subject and the wall behind it cuts out cleanly. A busy background, harsh shadows, or a subject and background of similar brightness is where hair and edges start disappearing.
If a photo keeps failing, raise the contrast between subject and background before you remove anything. That one change fixes more bad cutouts than any amount of erasing afterwards.
Step-by-Step
This is the full desktop workflow in canva.com and the Canva desktop app, followed by the separate mobile path, which uses a different label for the same control.
1. Upload Your Photo to Canva
Open your design, then click Uploads in the side panel and drag your file in, or use Upload files. Drop it onto the canvas and resize it until the subject fills most of the frame.
Before you carry on, look at the photo at full size. Check that the subject is sharp, that nothing important is cropped at the edges, and that the part you want to keep is clearly separate from the background. A headshot where the top of the hair touches the frame border will lose that hair.
If the image is not going anywhere near this design yet, create a custom-sized design rather than dropping it into a social post template, since you can always paste the finished cutout into a layout later.
2. Select the Photo and Open Background Remover
Click once on the photo on the canvas. A toolbar appears at the top, and Edit Image sits at the far end of it. Click Edit Image and a panel opens with the editing tools, one of which is Background Remover, listed under Tools.
Canva uses both names for the same control. You will see Background Remover in the editor, BG Remover on some toolbar buttons, and Edit Photo in older instructions and help articles. All three refer to the same thing.
If Background Remover is not in that panel, your plan does not include it. Nothing is hidden or disabled.
3. Let Canva Remove the Background
Click Background Remover and wait. Processing takes a few seconds on a normal photo and longer on a large one or a busy scene. Canva isolates what it judges to be the subject and replaces everything else with transparency.
You should see a checkerboard pattern behind the subject, which is how a transparent area is displayed. If you instead see a white or pale block, the background was flattened rather than removed, and that is a different problem entirely.
The Mobile Path on iPhone and Android
The mobile app reaches the same tool by a different route, and the different wording is why plenty of people think they have the wrong version of the app.
- Open the design in the Canva mobile app. If the photo is only on your phone, add it with Uploads or the plus menu on the bottom toolbar.
- Tap the photo once to select it.
- Tap Actions on the bottom toolbar, or Effects on some versions of the app.
- Choose Background Remover and wait for the processing indicator to finish.
- Tap Apply to commit the cutout to the design, then save or share it.
On mobile the label is Actions or Effects rather than Tools, and the option is reached from the bottom toolbar instead of the top one. Videos on mobile must be added through the Uploads tab rather than by tapping them straight from your camera roll, or the tool will not appear for them.
4. Check and Refine the Edges
Zoom in on the edges before you judge anything. Look at hair, fingers, glasses frames, whiskers, lace, and any semi-transparent material such as glass or a veil, since those are the parts that go wrong.
Two failure modes to look for. Halos show up as a thin ring of the old background colour clinging to the outline, and bites are chunks of the subject itself that have been removed along with the background.
Fix both with the brushes inside the Background Remover panel:
- Erase removes areas you brush over, so use it on halos and remaining background patches.
- Restore brings back parts of the subject you erased by mistake.
- The Brush size slider sets how wide the stroke is, so go small around hair and large across a flat background.
- Show original image lets you flip between the cutout and the untouched photo while you check, which is faster than zooming out and back in.
- Apply saves your changes back to the design. Until you press it, the cutout is a preview.
Erase and Restore are desktop-only. On mobile you get the automatic removal and the Apply step, but no brush cleanup, so complex edges are better finished on a computer.
When the damage is too extensive to brush out, retouch the source photo first and run it again. Fine edge work belongs in an editor with a proper refine-edge control; if you want the technique, our guide to removing a background in Photoshop covers it.
5. Add a New Background or Keep It Transparent
Transparent is a valid finished state. If you are building a sticker, a PNG asset, or a collage that needs to sit over another layer, stop here and leave the background empty.
To place the cutout over something new, set that something up first as a full-bleed element behind the subject. Add a solid colour from the Backgrounds panel, an image from Photos or your Uploads, or a gradient from Elements, then send it behind with the layer order control.
To resize a background without covering the subject, select the background rather than the cutout, drag its corner handle, and then move it back with the position control. Lock the layer once you are happy so it stops drifting when you select the subject.
6. Download or Reuse the Finished Design
Click Share, then Download, and set the file type to PNG. Transparency only survives in a PNG; a JPG export discards it and renders the background solid white, which is the single most common export mistake.
Pick the size your destination needs. Standard is fine for social posts and slides, while print products want a larger setting so the cutout does not look soft on paper. Transparent backgrounds survive best in PNG and PDF Print, which also keeps quality high for anything you are sending to a printer.
Save the cutout once as a standalone PNG and upload it back into your Uploads folder. Then you have a reusable backgroundless asset instead of repeating this whole process every time you need the subject on a new colour.
Common Mistakes
Almost every frustrating Canva background removal comes down to one of the following, and each has a specific fix.
The result has a white box instead of transparency
The image was flattened somewhere along the way, usually by downloading as JPG. Redo the removal and export as PNG. If the white block shows up inside the design rather than after download, the background you added in step 5 is a white rectangle sitting behind the subject rather than a transparent area.
Leftover background around the subject
Canva’s automatic pass missed a patch, often where the subject and background share similar tones. Switch to the Erase brush, drop the brush size, and paint the remaining area away. Turn on Show original image to see exactly what you are working on.
Hair, fur or thin edges vanished
The tool over-removed, usually because of low contrast or a busy background behind the subject. Restore brush the edges back, working in small strokes. If the hair was against a cluttered background to begin with, re-shoot or edit the contrast and run the removal again.
The cutout looks blurry or pixelated
The source image was too small for the size you exported. Canva also downscales anything over 10MP before processing. Export at a larger size or start from a bigger original file; no export setting can invent detail that was never captured.
The new background covers the subject
Layer order, not size. Click the background, move it behind the cutout with the layer control, and lock it so selecting the subject does not drag it forward.
The Background Remover is missing or greyed out
You are on a free plan. There is no toggle to find. Start the 30-day Pro trial from the upgrade prompt, use Canva for Education or Canva for Nonprofits if you are eligible, or remove the background in an outside editor and upload the transparent PNG back into Canva.
A logo or flat graphic cut out badly
Automatic removal is trained on photographs, not on designed graphic elements, so a circular logo can come back with holes or a bitten ring. Recreate simple logos with Canva’s own vector elements and text instead, which stay crisp at any size and need no cutout at all.
Video background removal will not run
The clip is over 90 seconds, or you trimmed it inside the design first. Trimming a video after uploading it is a known cause of failure, so upload the clip at the length you need and leave it untrimmed until the background is removed.
If your photo arrived with scratches, dust or scanner marks rather than a background problem, that is a different repair job: see our guide to removing scratches from scanned photos.
Frequently Asked Questions
Can I remove a background in Canva for free?
Not with Canva’s own Background Remover, which needs Pro, Teams or Enterprise. You have three realistic options instead: start the 30-day free Pro trial and do the work during the trial, apply for Canva for Education or Canva for Nonprofits if you are eligible, or remove the background in another editor and upload the transparent PNG into your Canva design. On a free account the tool is absent rather than disabled.
Why won’t Canva let me use the Background Remover?
Almost always because of your plan. Canva Pro, Teams and Enterprise include the tool, and so do Canva for Education and Canva for Nonprofits. On a free account the button does not appear in the Edit Image panel at all, which reads like a bug but is not one. Another cause is the file itself: images over 9MB or clips over 90 seconds cannot be processed.
How do I make a background transparent on Canva?
Remove the background first with Background Remover, then download your design as a PNG. Transparency exists only in a lossless format with an alpha channel, so JPG will flatten the cutout onto white and PDF Print will keep the transparent area while scaling for print. If you are exporting the cutout on its own, save that PNG into your Uploads folder so you can reuse it.
How do I fix a bad cutout with hair or glasses frames?
Zoom in, then use the Erase brush to remove leftover background and the Restore brush to bring back parts of the subject the tool took with it. The Brush size slider lets you work small on fine detail and wide on flat areas, and Show original image flips between the cutout and the original so you can check as you go. Click Apply when you are finished. Both brushes work on desktop only.
How do I remove the background from a video in Canva?
Upload the clip through the Uploads tab, select it, and choose Edit video on desktop or Effects on mobile, then pick Background Remover and wait for processing. The clip has to be under 90 seconds, and trimming it inside the design before removing the background is a common cause of failure. Upload the clip at the length you need and avoid trimming it until the background is gone.
How do I remove a background manually if the automatic tool fails?
Inside Canva, the manual option is the Erase and Restore brushes in the Background Remover panel, which let you paint away leftover background and paint the subject back in, stroke by stroke. They are slow for a large image but effective around a logo or a headshot. For heavy edge work on a large photo, a dedicated editor with a refine-edge control will get you a cleaner result than hand-painting in Canva.
Conclusion
How to remove a background in Canva comes down to five clicks and one careful look. Upload the photo, click it, open Edit Image, choose Background Remover, and wait. Then zoom in on the edges, repair anything the tool got wrong with Erase and Restore, and export as a PNG so the transparency survives. That last step is where most white-box problems start, so do not skip it.