
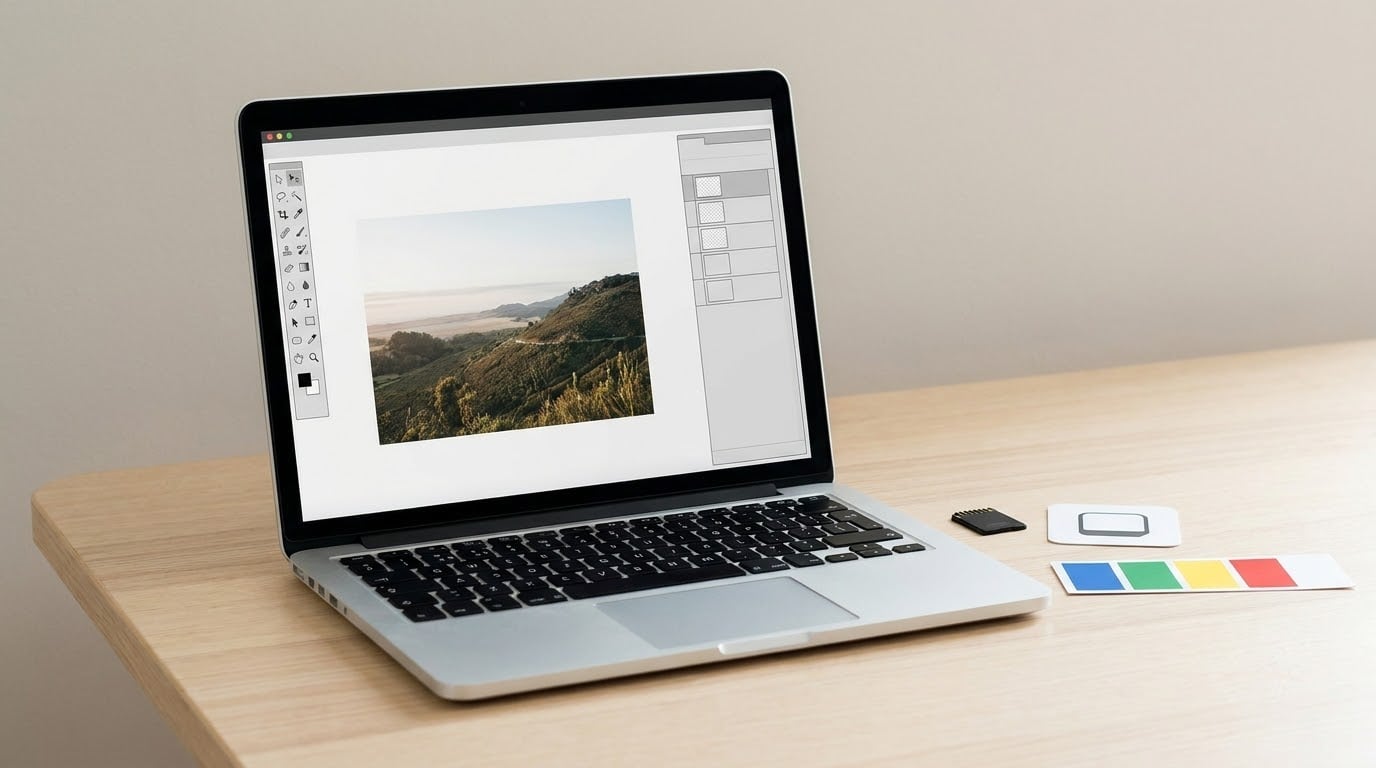
Learning how to use Photopea takes about ten minutes for the basics: open a photo, duplicate the background layer, make one adjustment, add text, and export. Photopea is a free online photo editor that runs inside your browser, opens PSD files, and gives you the same layers, masks, and adjustment tools you’d expect from a desktop program, with nothing to install.
It still works the same way it did when I first used it, and the layout hasn’t been reinvented in 2026 either, so anything you learn here transfers straight to a paid suite like Photoshop later. This guide walks one complete edit from opening a file to saving the finished image, in the order you’d actually do it.
What You Need
Photopea runs in a web browser, so the only real requirement is a current version of Chrome, Edge, Firefox or Safari. There is no installer, no account, and no trial countdown. A steady internet connection matters on the first load, because the editor and its brushes download before the page becomes usable.
Photopea can open JPEG, PNG, GIF, TIFF, WebP, BMP, SVG and layered PSD files, so photos from any camera and graphic files downloaded from the web both work. For a larger project, a machine with more than 8 GB of RAM keeps things smooth, since every layer and undo step is held in memory.
Before you open anything, copy your original file to a backup folder. Every beginner lesson I have watched started the same way: twenty adjustments in, someone reached for Ctrl+Z, and the only recoverable version was gone. Working on a copy costs five seconds.
Step-by-Step
Open an Image and Set Up the Canvas
Go to photopea.com and choose File, then Open, or just drag an image from your desktop onto the page. The file loads into a canvas with the photo centered. Panels sit on both sides, and the menu bar runs across the top.
Zoom with Ctrl and the scroll wheel, or hold Space and drag to pan around a large image. The percentage appears in the bottom corner, and the live document size sits just above it.
Check Image, then Image Size before editing anything. That dialog shows width, height, resolution and colour mode. For screen use, 72 pixels per inch at the image’s pixel dimensions is normal. For anything you intend to print, you want 300 pixels per inch, which means resizing rather than just changing the number.
Use Layers for Non-Destructive Editing
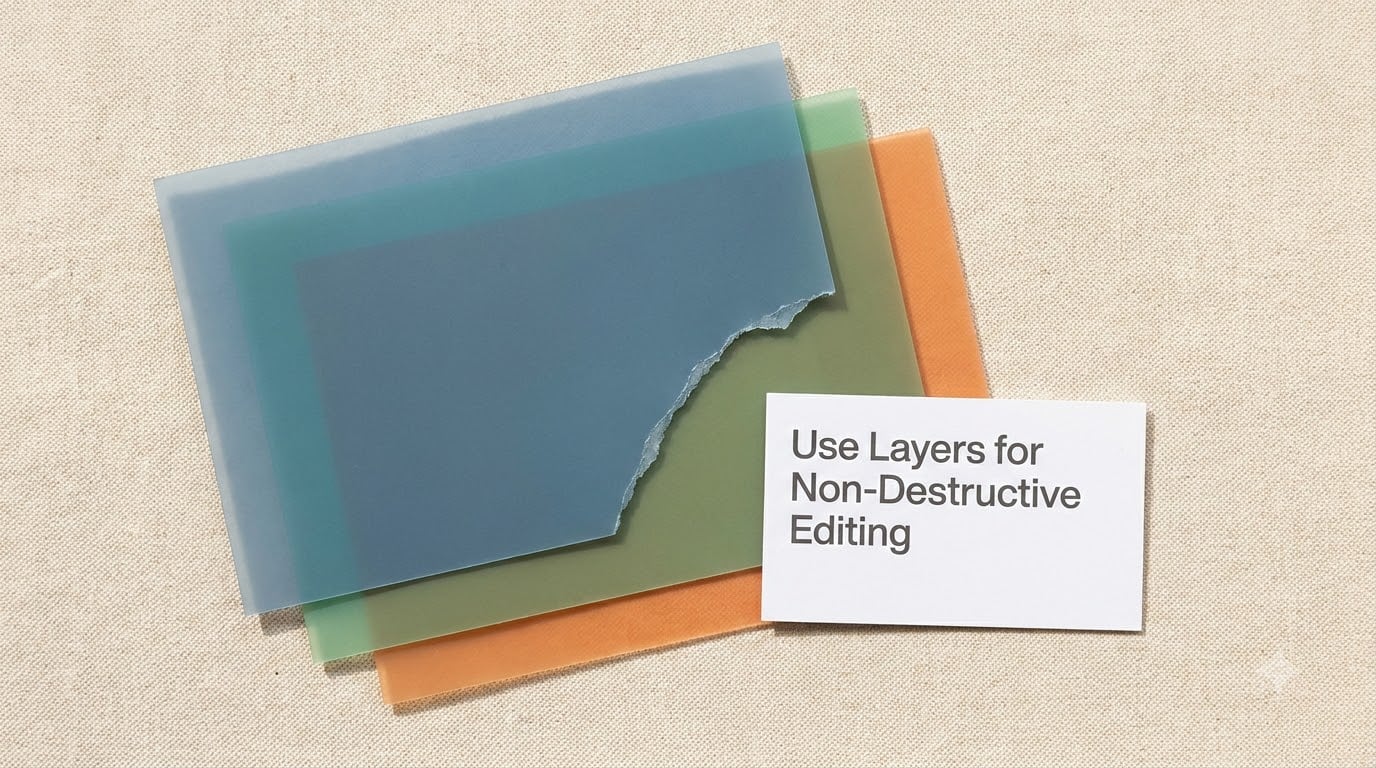
The layer named Background at the bottom of the panel is locked, which is why edits to it behave strangely. Press Ctrl+J to duplicate it, and the copy unlocks immediately. Now you have two layers, one still holding the untouched original.
Rename layers by double-clicking the name, which makes a long document readable later. The eye icon hides a layer without deleting it, and dragging a layer up or down changes the stacking order. The plus button at the bottom of the panel adds an empty layer above the current one.
Use the opacity slider for a fast preview of how strong an effect is. Hold Alt and click between two layers to hide the top one, then click in the same gap again to bring it back, which is the fastest way to compare an edit against the original.
Make a Selection and Adjust the Image
The Move tool (V) is for repositioning layers, not pixels. Press M for the Rectangular Marquee and drag a box around the area you want to work on. Marching ants mark the boundary. For irregular shapes, W gives you the Quick Selection, which paints a selection as you brush over an area with a similar colour.
With a selection active, any adjustment applies only inside it, which is how you brighten a face without lifting the sky behind it. Open Layer, then Adjustments to add Levels, Curves, Hue and Saturation, or Brightness and Contrast. Each one creates its own adjustment layer, so you can go back and change the numbers later rather than starting over.
Levels handles exposure, Curves handles contrast, and Hue and Saturation handles colour. Add them one at a time and watch the histogram as you go; the histogram should sit between the left and right edges with no clipped piles at either end.
Retouch or Add Creative Effects
For stray spots, choose the Spot Healing Brush and paint over a dust spot or power line. It samples the surrounding texture and blends it in, so one pass usually does it. The Clone Stamp (S) is the manual version: hold Alt to set the source point, then paint over the area you want to cover. Source points are easy to lose track of, so keep the source nearby.
For a creative pass, add a new layer and set its blend mode in the panel at the bottom of that layer. Multiply darkens, Screen lightens, and Overlay adds contrast without clipping. A layer mask gives you the same effect but only where you paint, which keeps it reversible.
For a vignette, click the mask thumbnail, press D to reset your colours, then paint black around the edges with a large soft brush. Black hides, white reveals. Keep it subtle; heavy vignettes date a photo fast.
Add Text or a Graphic Element
Press T for the Type tool and click where the text should sit. A text layer appears in the panel with your cursor in it. The character panel across the top handles font, size, colour, alignment and opacity, and the small icons in the options bar above the canvas set leading, tracking and style.
To resize and rotate, press Ctrl+T for free transform, drag a corner handle, then press Enter to commit. Hold Shift while dragging to keep the proportions. Two fingers on a touchscreen or Ctrl and the scroll wheel will zoom instead, so keep your hands off the keyboard while typing.
Once you are happy with the wording, right-click the text layer and choose Rasterize Type. That turns live text into pixels, which makes the export predictable but means a typo now costs a full undo rather than a quick retype.
Export or Save the Finished Image
Choose File, then Save to keep the full layered document as a PSD. Pick a project folder, because Photopea also works with a built-in project browser, and give the file a name you’ll recognise. That version keeps your layers, masks and adjustment layers intact and can be reopened and edited later.
For anything you send to someone else, use File, then Export As. Choose JPEG for photos you post online, PNG for graphics that need a transparent background, and leave quality around 80 percent unless the file has fine text in it. Export flattens your layers into one image, so export rather than save when you’re producing a deliverable.
Here are the shortcuts worth memorising before you go further:
- Ctrl+J duplicates the current layer.
- Ctrl+T opens Free Transform, then scale or rotate.
- Ctrl+Z undoes the last action.
- Ctrl+I inverts a selection or mask.
- M switches to the Rectangular Marquee tool.
- W switches to the Quick Selection tool.
- X swaps the foreground and background colours.
- D resets the colours to black and white.
Most of these carry over from Photoshop unchanged, which is the part that catches people out in a good way. People arriving from Photoshop report the same muscle memory working as expected, with a few exceptions such as snapshot states and the ability to delete all hidden layers in one click, both of which simply do not exist in the interface.
Common Mistakes
Editing the Background layer is the first one. Lock it, and your adjustments vanish when you try to undo. Duplicate it with Ctrl+J before any other action, every time.
Reaching for the Move tool when you mean the Rectangular Marquee is common. The Move tool (V) only shifts whole layers. If a tool seems to be moving your photo around instead of drawing, check the letter in the options bar.
Over-adjusting is harder to undo than it looks. A slider dragged to the far end looks extreme in the moment and reasonable in isolation on screen. Work in small increments and compare against the hidden original layer every few clicks.
Forgetting zoom and resolution costs you at export. At 30 percent zoom a JPEG artefact looks like nothing; at 100 percent it’s obvious. Zoom to 100 percent with Ctrl and 1 before you save, and check that the resolution matches where the image is going.
Saving only a flattened version is the mistake that hurts later. If Export As is the only step you do, your layers are gone from the saved file. Save a PSD first, then export a copy.
Exporting in the wrong format wastes a whole cycle. JPEG flattens transparency to whatever colour sits underneath, so a logo with a cutout background comes out with a black box. Use PNG for transparency and JPEG for photographs.
One more worth knowing: the free editor is ad-supported, and users report the page freezing at times when an ad changes, particularly on complex multi-layer files. It is not a crash, and closing extra tabs and flattening before heavy work usually clears it.
Frequently Asked Questions
Is Photopea easy to learn for beginners?
Yes, if you know what layers are, and it is a long way if you do not. Photopea’s layout, menus and keyboard shortcuts deliberately mirror Photoshop, so anyone who has used a standard image editor can navigate it within minutes. Complete beginners should spend their first session on duplicating the background layer, one adjustment and an export, which teaches the layer model without any of the advanced panels.
How do you make a layer mask in Photopea?
Select the layer you want to mask, then click the Add Layer Mask icon at the bottom of the Layers panel, the rectangle with a circle in it. Photopea fills the mask with white, which reveals everything. Paint with a soft black brush to hide parts of the layer, or press D and X to reset your colours first. White always reveals, black always hides, and grey does both at once.
What does Ctrl+T do in Photopea?
Ctrl+T activates Free Transform, the same shortcut Photoshop uses. Once the bounding box appears, drag any corner handle to scale and drag inside the box to move the layer. Hold Shift while dragging a corner to keep the original proportions, and press Enter when you are finished. Press Escape instead to cancel the transform and put the layer back exactly as it was.
Does Photopea support RAW files?
Photopea can open many RAW formats from common camera makers, but it decodes them rather than developing them the way a dedicated converter does. Users doing serious RAW work report artifacts around highlights and doubled or flat shadows. For colour-critical work, convert your RAW to a 16-bit TIFF first, then open that file in Photopea for the actual editing.
Can you use Photopea on a mobile phone or tablet?
Yes. Photopea loads in mobile Safari and Chrome, and the touch gestures work well enough for crops, colour corrections, text and background removal. Serious work still belongs on a laptop, mainly because of the small panels and the fiddly precision the healing and clone tools need. Test a two-finger gesture before you commit to an edit, since it replaces Ctrl and the scroll wheel.
Is Photopea free and legal to use?
Photopea is free to use in your browser, with the option to remove ads through a paid plan. It is built by a single developer, Ivan Kutskir, and it is a legal commercial site: hosting, funding and the domain are all properly registered, which is why it has stayed online while many free clones vanished. Opening PSD templates or fonts you do not own is a separate question and can infringe their licence.
Conclusion
Your first Photopea project should be small and reversible: duplicate the Background layer, add one adjustment layer with two or three numbers changed, type a line of text, then save a PSD and export a JPEG copy. Keep the original file untouched on disk. Once that loop feels familiar, the rest of the editor is just more of the same idea applied carefully.