
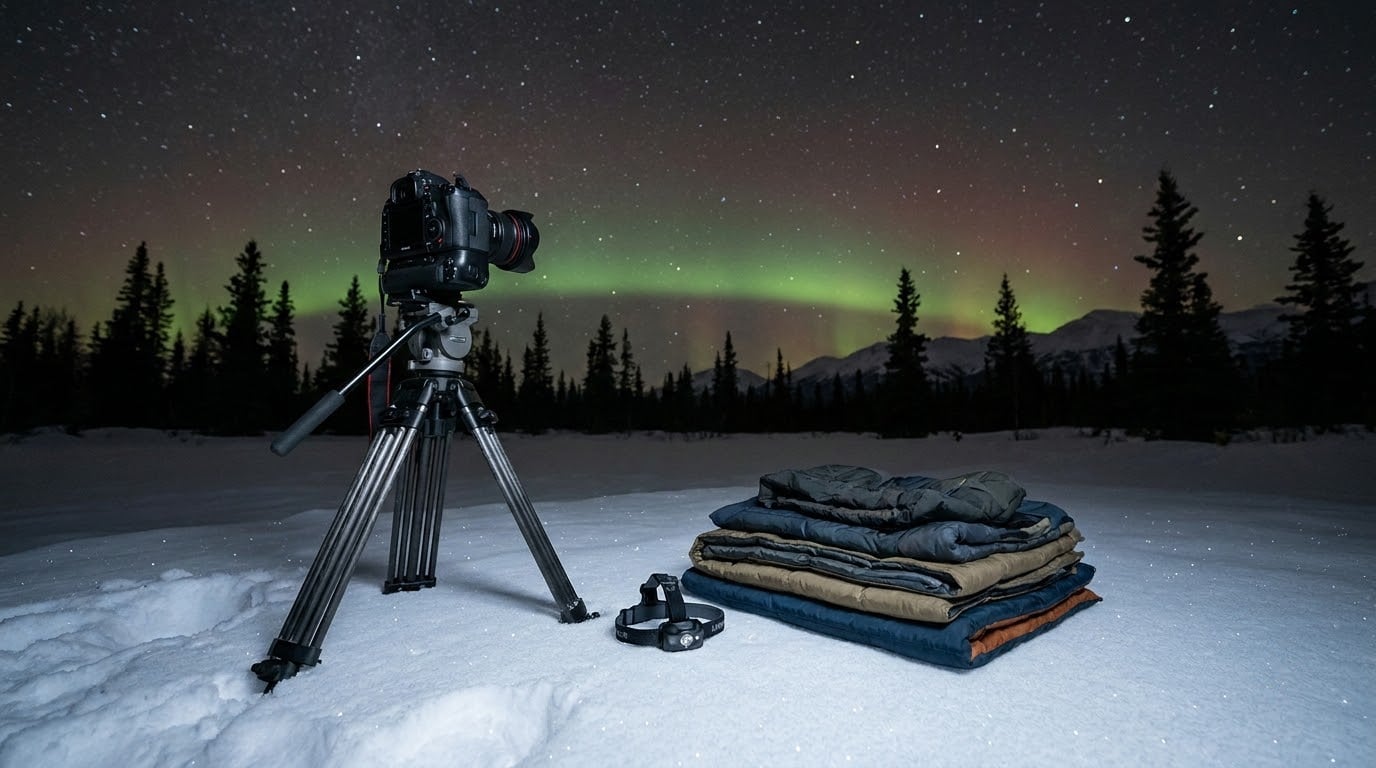
To photograph northern lights you need three things: full manual control, a wide or ultra-wide fast lens on a sturdy tripod, and manual focus set on a bright star. Exposure runs wide open aperture, ISO 1600-3200 for a starting point, and a shutter between 1 and 10 seconds that you shorten when the display is bright and moving fast.
Almost every disappointing aurora photo I have seen came down to one of three things: autofocus hunting in the dark, a camera that was not truly steady, or an exposure that clipped the colour to white. None of those are gear problems. Once you know the eight steps below, the whole process takes about ten minutes of setup and then a lot of standing still.
This guide is written for a US-based reader heading to an aurora zone: Alaska, northern Minnesota and Michigan’s Upper Peninsula, coastal Maine, Iceland, northern Scandinavia, or Scotland. The camera is the same wherever you stand.
Table of Contents
- What You Need
- Step-by-Step
- 1. Check the Aurora Forecast and Weather
- 2. Choose a Dark, Open Location
- 3. Prepare the Camera for a Cold Night
- 4. Set the Focus for Darkness
- 5. How to Photograph Northern Lights at the Right Exposure
- 6. Use a Tripod and Timed Shots
- 7. Compose for Aurora, Terrain, and Scale
- 8. Review, Repeat, and Back Up the Results
- Common Mistakes
- Frequently Asked Questions
- Conclusion
What You Need
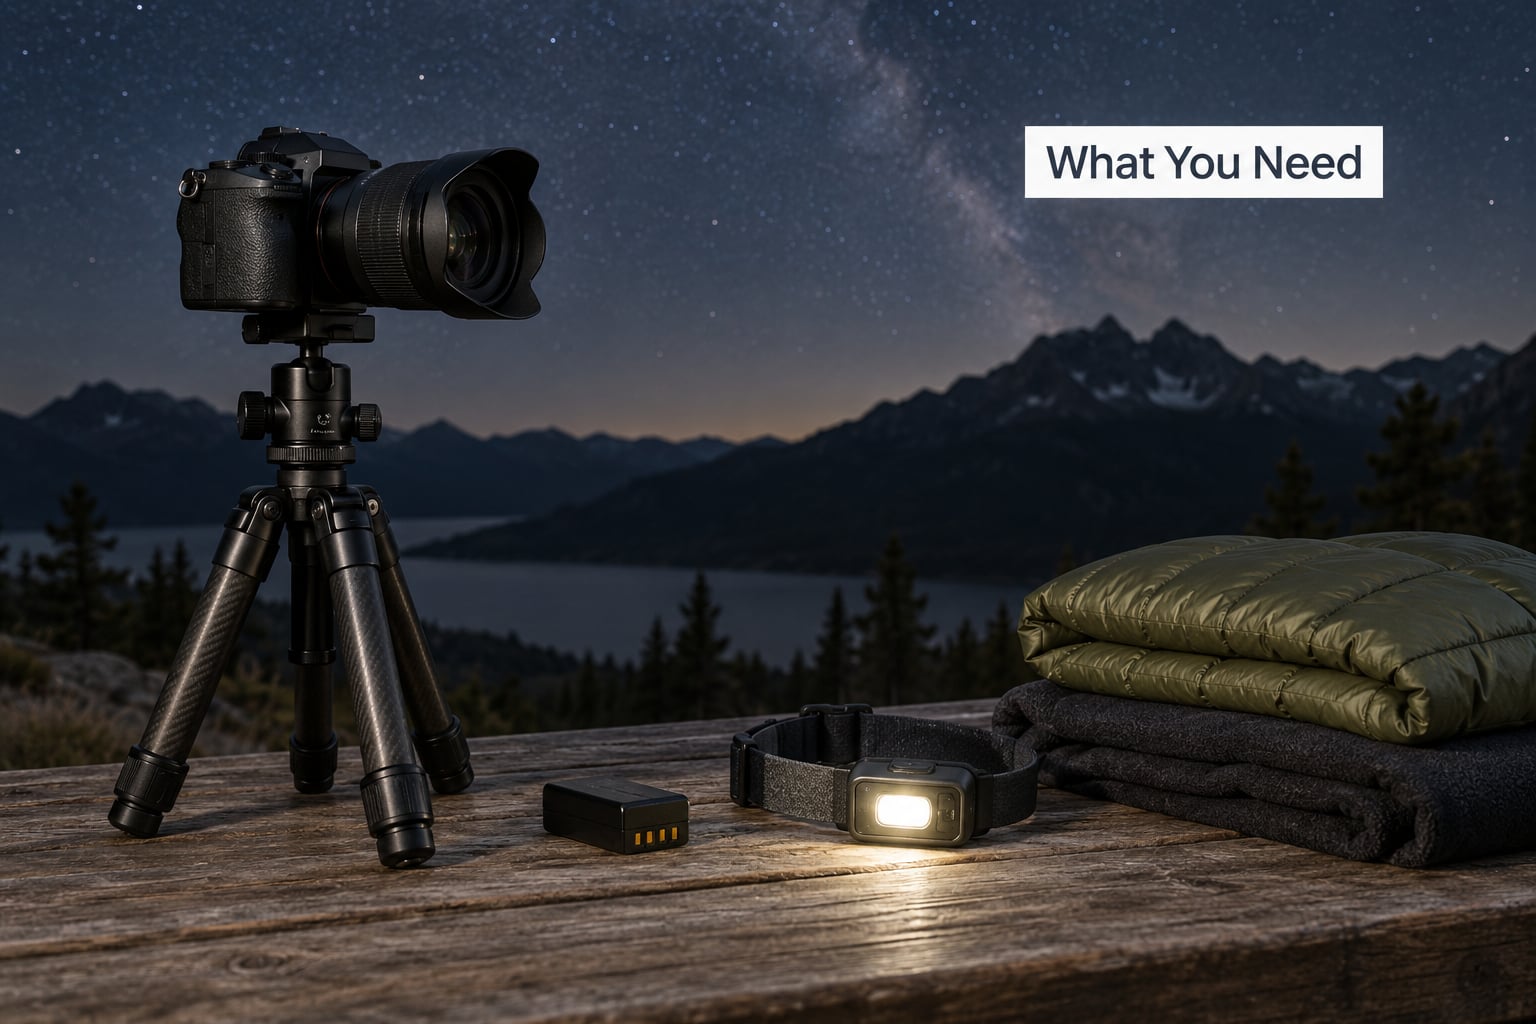
Start with the tools that decide whether you get a usable file. Everything else is a comfort upgrade.
- Aurora forecast. Look for a Kp-index forecast from NOAA’s space weather service or one of the phone apps built on top of it. Pair it with a cloud-cover forecast for your exact coordinates and a moon phase calendar. Those three together decide whether you drive.
- A camera with a manual exposure mode. Any interchangeable-lens camera built in the last decade will do. The manual dials matter more than the megapixel count.
- A fast wide or ultra-wide lens. About 14-24mm on full frame, or 10-16mm on APS-C, at f/2.8 or faster. A fast aperture collects more of the faint auroral light and lets you use a shorter shutter.
- A sturdy tripod. Nothing exotic. A cheap tripod that does not wobble is fine, and expensive models mainly survive weather better rather than produce better photographs.
- An intervalometer or a two-second self-timer. Either one replaces your finger on the shutter.
- Spare batteries, kept warm. Cold drains lithium packs far faster than mild weather does. Keep spares in an inside pocket until you need them.
- A headlamp with a red mode. White light ruins your own night vision and everyone else’s dark-sky shot.
- Warm layers and a charged phone. You will stand still for two hours in sub-zero wind. Also carry a second charged phone with an offline map, in case the main one dies.
A capable phone can produce a real aurora photo under genuinely dark skies, so a missing DSLR is not a reason to skip the trip. A phone will never match a fast lens on a tripod, though, and it will over-expose a strong display far more easily.
Cold-weather safety, briefly: tell someone your location and expected return time, carry headlamp batteries that work below freezing, keep a spare insulating layer dry, and never walk out onto lake ice or unfamiliar terrain to frame a shot. Most aurora turnarounds happen in the cold and the dark, not in the camera.
Step-by-Step
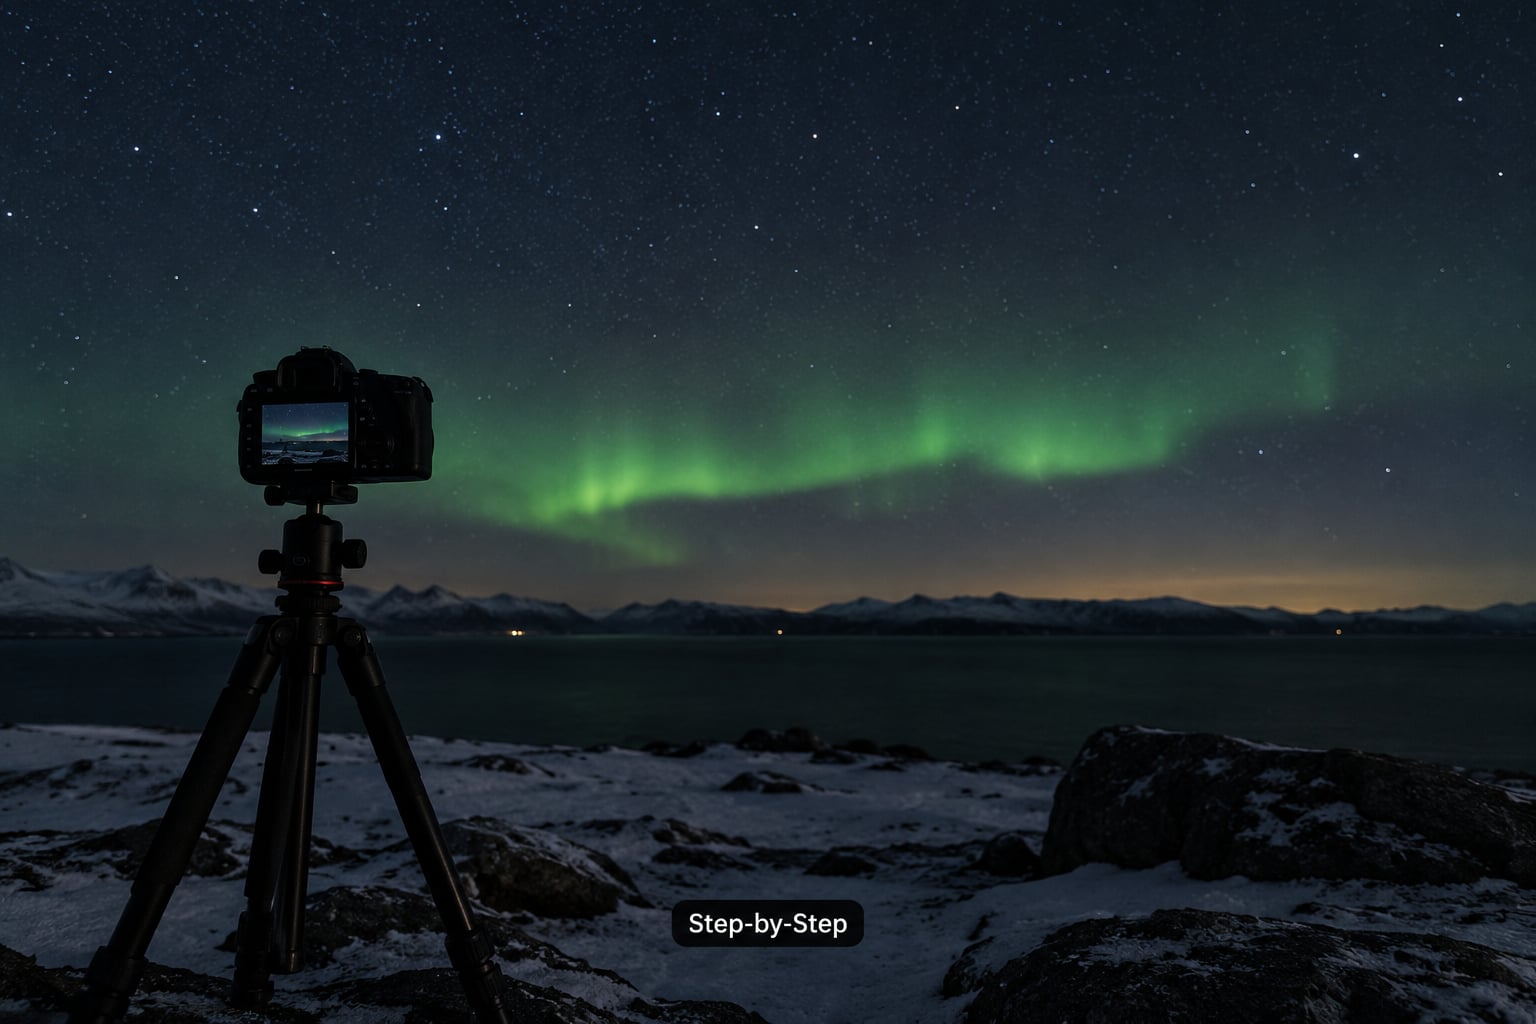
The eight steps below run in the order they actually happen on an evening, from checking the forecast to backing up the files.
1. Check the Aurora Forecast and Weather
Combine four signals before you leave: the Kp forecast, hourly cloud cover, moon phase, and the length of true darkness at your spot. Moon phase matters less to the aurora itself than people think, because the aurora can outshine a half moon easily, but it matters enormously to your foreground.
Forecasts are estimates, not promises. Solar activity is described in three-day windows that shift as new data arrives, and local viewing reports from aurora chasers are often more useful than the raw number. A moderate forecast with genuinely clear skies will beat a strong forecast sitting under a solid overcast deck, because cloud is an absolute blocker and the aurora is only a probability.
Check once when you plan the trip and again an hour before you leave. Practical example: if the forecast shows Kp 4 with thick cloud from 10pm, and Kp 3 with a clear window from 1am to 4am, plan to arrive at 12:30am. You know it worked when you can see stars from the parking lot before you unload anything.
How to photograph northern lights well starts here, because the best settings in the world cannot see through a cloud.
2. Choose a Dark, Open Location
You are balancing five things: which way the aurora is overhead, how clear the horizon is, how much light pollution sits between you and it, whether you can legally and safely reach the spot, and whether there is somewhere to stand for two hours out of the wind.
Face roughly north in the northern hemisphere for the classic overhead arc, but do not lock yourself into it. On an active night the aurora can appear to the south or straight overhead, especially during a geomagnetic storm, and displays often start as a faint band low on the northern horizon before the whole sky lights up. A wide lens pointed north with plenty of sky above it is the safe default.
Light pollution is the real enemy. A faint display that would be invisible from a town becomes obvious twenty miles out. Check a light-pollution map before you commit, and remember that a single sodium streetlight behind you will wreck a foreground.
Never trespass on private land, never park where you block a gate, and stay off unstable winter terrain. If the only clear horizon you can find requires an unsafe approach, take the shot from the road instead. You know the location works when you stand there in daylight and can already imagine the aurora arcing over that exact horizon.
3. Prepare the Camera for a Cold Night
Do the fiddly work before it is dark and before your fingers stop cooperating. Format the memory card in the camera rather than deleting files, so you know it is healthy and you get a clean card numbering. Rotate in a fresh battery, and keep the next one warm in a pocket.
Check the front element for smears, salt spray, or a stuck cap. A damp finger print on a wide lens under a bright aurora is very visible. If you use a filter, take it off. Every extra glass surface costs light and increases the chance of flare or ghosting when a bright ribbon crosses the frame.
Wear gloves thin enough to feel the dials, with a second warmer pair underneath. Set your white balance to a fixed daylight value rather than auto, because auto white balance will swing warmer every time the aurora brightens and you will spend the whole evening chasing a colour shift. Use the headlamp in red mode while you work, and shield your body from the wind when you lift the back screen.
One honest warning about condensation: bringing a freezing camera into a warm car or tent can fog the lens and the sensor from the inside. Give it 20 to 30 minutes sealed in a bag to warm up gradually before you open it. You know your preparation worked when you can change a setting without taking off your gloves and fumbling.
4. Set the Focus for Darkness
Autofocus is the number one reason aurora frames come back black or soft. The system hunts, finds nothing in a black sky, and gives up. Turn autofocus off entirely.
Find the brightest star or distant light you can see, point at it, switch to manual focus, and zoom in on the live view display until the star is a clean point rather than a fuzzy disc. On most bodies you can magnify to 8x or 10x, which is where the accuracy actually comes from. If your camera has focus peaking, switch it on. A star that looks round at maximum magnification is your signal that focus is right.
Setting the focus ring by eye on the infinity mark is a fallback, not a plan. Modern lenses rarely put infinity where the mark says, and a small focus error at 10 seconds is a visibly soft aurora.
Then take one test frame at your intended exposure and zoom in on the stars near the centre and the corners. Sharp point stars mean you can start the sequence. Star trailing or a smeared core means adjust focus and shoot again before anything else. Better yet, do this rehearsal on a dark night at home before the trip, which is the single biggest improvement most people make.
5. How to Photograph Northern Lights at the Right Exposure
Switch to full manual exposure and shoot RAW. RAW keeps the faint green and red detail that JPEG processing flattens into grey, and it lets you pull shadows back later without noise breaking apart.
Aperture and ISO work as a pair. Open the aperture as far as it goes, then raise ISO until the display reads correctly. If your lens is f/2.8, f/4 loses a stop and a half of light, which means a much higher ISO and a noisier file. Use the widest aperture your lens is sharp at, not necessarily the widest it claims.
Shutter speed is the exposure-length tradeoff. Longer exposures record more of the faint auroral colour but smear fast-moving curtains into flat ribbons. Shorter exposures freeze crisp rays and structure but need a faster lens or more ISO. For stars, the 500 rule gives you a starting point: divide 500 by your full-frame focal length for a sharp star, or 300 for a tighter result. During a strong display you can ignore it, because the aurora outshines the stars anyway.
Two labelled starting profiles, which you should treat as starting points rather than rules:
Profile A, modern full-frame body, 20mm at f/1.8. Aperture f/1.8, ISO 2500, shutter 4 seconds. This is the recipe for a moderate display where the aurora forms slow, visible rays. Raise ISO and cut the shutter to 2 seconds if the colour is starting to clip white.
Profile B, modern full-frame body, strong or fast-moving display. Aperture f/1.8, ISO 6400, shutter 1.5 seconds. Bright geomagnetic activity means faster motion and more light, so you can afford less exposure time and get sharp structure. Check your histogram: you want the aurora peaks sitting below the right edge, not stacked against it.
Watch the histogram and the highlight warnings. If the aurora edges turn into a solid white mass with no green left, you are clipping, and the fix is a shorter shutter or a lower ISO, not more saturation in editing. If the whole frame is black, you are underexposing. Shoot three frames at slightly different settings and keep the middle one as your baseline.
6. Use a Tripod and Timed Shots
Hang the camera and tighten every leg lock with the heads pointing down or at the same angle as one leg. Point one leg down the slope of the ground when you can. A tripod with one leg shorter than the others transmits far more vibration than the difference in height suggests.
Turn image stabilization off, but only when your lens or camera manual says to. On most tripod-mounted mirrorless and DSLR bodies, stabilization is designed to fight your own movement and it can introduce its own blur at long exposures. Some recent lenses specifically require it on. Read the manual for your body rather than trusting a forum answer.
Use a two-second self-timer or an intervalometer so you never touch the camera when the shutter fires. Start with a gap of about 6 to 10 seconds between frames. Shooting too fast is a real mistake during a bright, fast display, because you will fill the card with near-identical frames and miss the moment the ribbon folds into its best shape.
Wind is the underrated factor here. A useful diagnostic: take a test frame and look at distant artificial lights, a town on the horizon or farm lights. If those point lights look fuzzy rather than crisp, you have micro-vibration and should either shield the tripod with your body or drop to 0.5 to 1 second exposures at a higher ISO. You know the setup is solid when those distant points are hard little dots.
7. Compose for Aurora, Terrain, and Scale
The frame does not need a spectacular foreground, but it does need a decision. Aim for one of a few clear intentions rather than pointing at the sky and hoping.
- Foreground anchor. A stand of spruce, a rock, a frozen lake edge. You need just enough light on it to separate it from black. Moonlight, a distant town’s glow, or a 5 to 10 second exposure will do it.
- Recognizable terrain. A ridge, a lake, a church spire, a fjord wall. It tells the viewer where this was.
- Negative space. Empty sky above a low horizon, so the display has room. This is the safest composition when the aurora is behaving unpredictably.
- Vertical or diagonal ribbons. A tall curtain that runs corner to corner uses the frame better than a flat horizontal band. Rotate the camera or move your position to follow it.
- Human scale. A small figure facing the sky, shot from behind with no face visible. It communicates scale instantly.
Aurora reflected in still water doubles the drama, and it works on wet sand or a frozen puddle too. Worth knowing more about how to photograph reflections before you plan around one, since surface texture matters as much as the reflection.
Leave yourself time for several compositions. A good photographer standing at a spot for two hours will usually frame the same aurora three or four completely different ways. If the sky is fully overcast, use the time anyway for how to photograph rain at night on wet surfaces and reflective signage, and come back when the sky clears.
8. Review, Repeat, and Back Up the Results
While you are still out there, review the last few frames on the back screen at full magnification. Look for blur, clipped white colour, heavy noise, an invisible foreground, and whether the auroral structure is actually interesting.
Change one variable at a time. If the colour is clipping, drop ISO by one stop before you shorten the shutter, and compare. If stars are trailing, shorten the shutter rather than closing the aperture. Most working aurora photographers shoot something like a hundred frames across an active evening and are happy to keep five. Experimentation beats a fixed recipe.
Expect to swap batteries and cards. In cold weather, monitor your battery level more often than you think you need to, and keep the spare inside your jacket until the first one complains.
Back up before you leave the site. Copy each card to a laptop, a second card, or cloud storage, and confirm the files are actually there. Cards fail more often after cold than during it, and a card that fails at minus 20 degrees in a car park is a ruined trip. You know you did well when you get home with three or four images you would print.
Common Mistakes
Almost every aurora failure has a specific cause. Here is what the frame looks like and what actually caused it.
Blurry frames when the sky felt still. Cause: wind micro-vibration on the tripod plus a long exposure. Fix: check distant lights in a test frame, shorten to 1 second or less, or shield the tripod with your body.
A featureless white mass where the aurora was. Cause: over-exposure or excessive ISO. Fix: drop ISO one stop and re-check the histogram before anything else.
Black or empty frames. Cause: autofocus hunting in darkness and never locking. Fix: manual focus on a star, confirmed at maximum live view magnification.
Nothing but grey. Cause: underexposure. Fix: raise ISO before you shorten the shutter, and check that you are not shooting a lens stopped down.
Colour shifting between frames. Cause: automatic white balance reacting to the changing display. Fix: set a fixed daylight white balance and correct the rest in RAW.
Mushy, smeared auroral detail. Cause: in-camera noise reduction or long exposure on a moving display. Fix: shoot RAW, keep noise reduction off in camera, and use shorter exposures for fast ribbons.
Sooty spots or a hazy frame. Cause: a dirty or fogged front element. Fix: inspect and clean the glass before you leave the house, and let condensation clear gradually rather than forcing it.
Another photographer’s headlamp in your shot. Cause: white light in a dark-sky location. Fix: use your own headlamp in red mode only, and keep it pointed down.
A ruined foreground. Cause: arriving at a popular viewpoint after other cars have lit everything up. Fix: choose a slightly different foreground element, or shoot the wide sky and come back to the foreground on a quieter night.
You arrived only for the one short bright burst. Cause: planning around a single dramatic moment. Fix: stay out for the whole window. Displays often fade and then return with a different shape, and the second phase is sometimes the best material.
Two general night-photography tips that help here: shoot RAW every time, since auroral colour sits at the edge of what JPEG processing handles well. And bring more batteries than you think you need, because cold plus long screen-review sessions plus live view is a real drain.
Frequently Asked Questions
Can I photograph the northern lights with a smartphone?
Yes, on a genuinely dark night with a recent phone. Use Night mode or a manual camera app, set the shutter to 10-15 seconds, ISO to 3200-6400, and prop the phone on something rigid rather than holding it. Turn off flash and any Live Photo or beauty effects. Expect more noise and less colour than a fast lens on a tripod, so treat it as a usable backup rather than the main plan.
What camera settings work best for the northern lights?
There is no single answer, because the display changes minute to minute. Start at your widest aperture, ISO 1600-3200 on a full-frame body, and a shutter between 2 and 5 seconds for a moderate display. Shorten the shutter and raise ISO when the aurora is bright and moving fast; lengthen it and lower ISO when it is slow and faint. Focus manually on a bright star first.
Why do aurora photos look brighter than they do to my eyes?
Auroral light is faint enough that your eyes rely mostly on rod cells, which do not distinguish colour well. A camera sensor accumulates light over several seconds and records the green and red oxygen emission lines far more clearly. Many people see a grey-white smear overhead, assume it is cloud, and put the camera away before the best part of the display arrives.
Can I photograph the northern lights during a full moon?
Yes, and it can work well. A full moon washes out a faint display, so full-moon nights suit stronger activity. The same moonlight lights your landscape, which is what most aurora photographers want anyway. Moonlight can also serve as natural fill for portraits under the aurora. Aim away from the moon, keep it behind you or to one side, and expose for the sky.
Can the aurora appear somewhere other than near the Arctic Circle?
It can, though less often and usually fainter. The auroral oval widens and moves toward the equator during strong solar activity, which has made displays visible well below the Arctic Circle in places such as northern Michigan, Minnesota, Maine, and parts of central Europe. Check a Kp forecast for your latitude before you travel, and treat quiet-season sightings as a bonus rather than a plan.
Conclusion
Check the aurora and cloud forecasts an hour before you leave, pick a dark site you can reach legally and stand in safely, and have the tripod, spare battery, headlamp and warm layers ready before it gets dark.
Once there, focus manually on a star, confirm it at full magnification, and take one test frame at your widest aperture, ISO 2500 and a 4-second shutter. Read the histogram, adjust one variable, then start the timed sequence and keep shooting. How to photograph northern lights comes down to those ten minutes of setup done properly.