
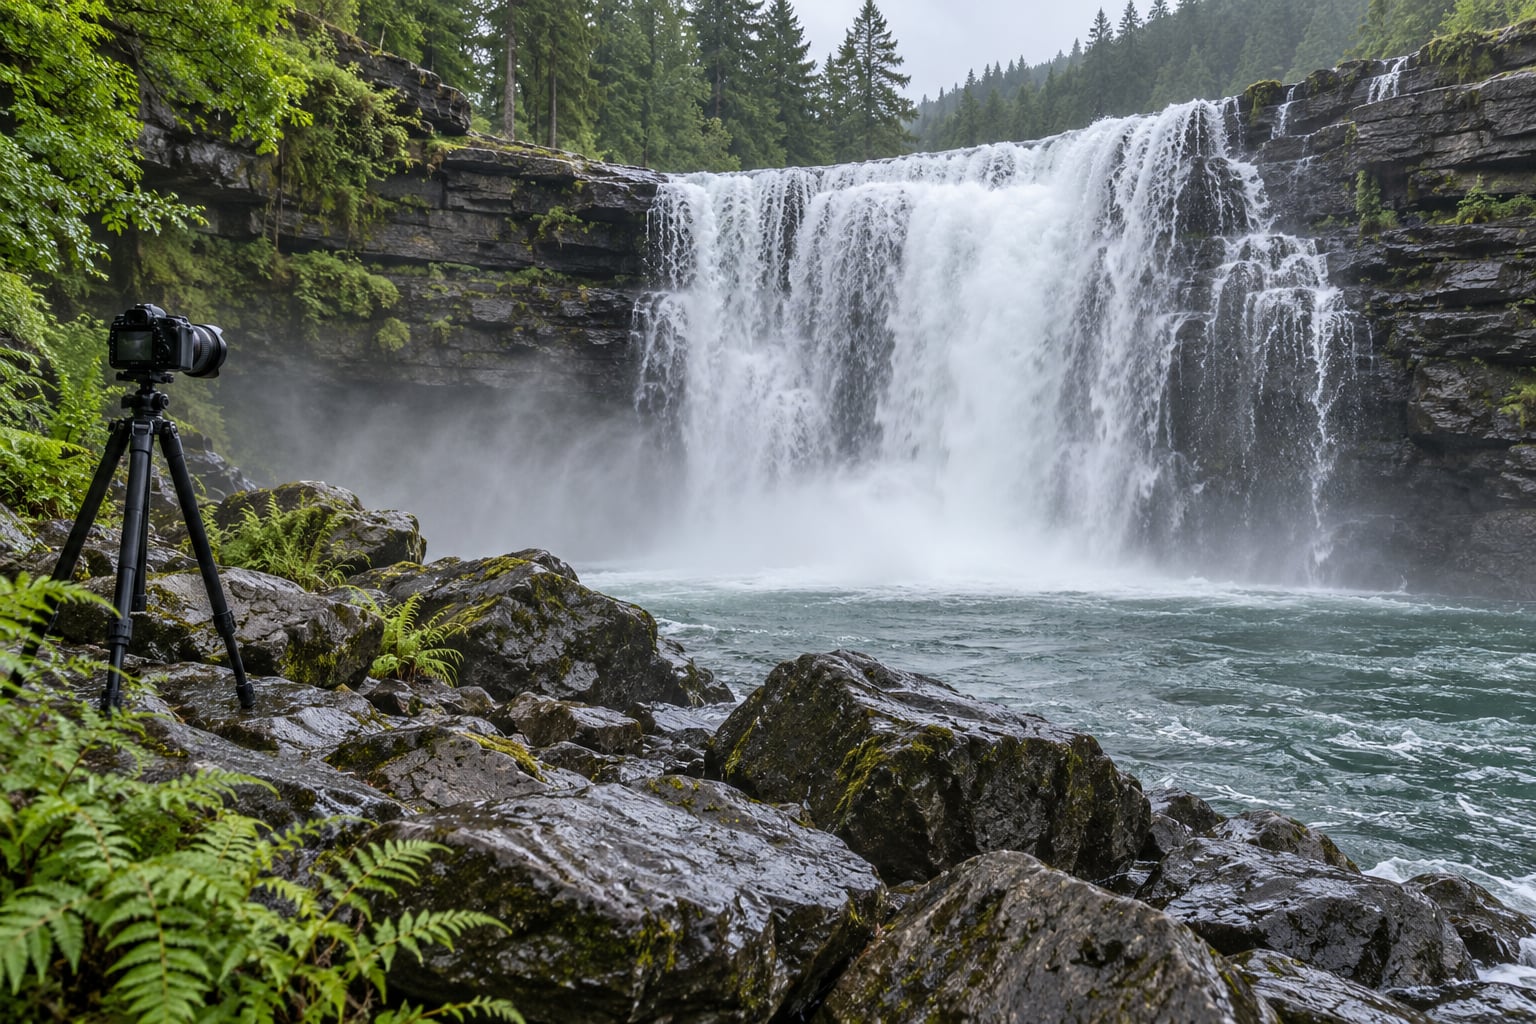
To photograph waterfalls with silky, milky water, mount the camera on a sturdy tripod, use a shutter speed between 1/4 and 2 seconds, and set the ISO as low as the camera allows. Whether you want frozen detail or a smooth blur comes down to how fast the water is actually moving, and getting there takes about ten minutes at a small falls once you know what you’re doing.
Water is the only thing in the frame that never stops moving, which makes a waterfall the easiest outdoor subject to control and the easiest to get wrong. Auto exposure will blow the white water to a flat sheet of nothing, because the camera is metering for dark rock and the water sits three stops brighter.
Most people who struggle with this already own a tripod and a filter. The gap is technique, not kit. What follows is the process I use: scout, compose, pick the effect, meter for the water, and check the histogram before every frame.
Table of Contents
- What You Need
- Step-by-Step: How to Photograph Waterfalls in 8 Steps
- 1. Scout the Waterfall and Check the Conditions
- 2. Build a Strong Composition
- 3. Choose Between Freezing and Blurring the Water
- 4. Set Exposure and Protect Highlight Detail
- 5. Focus Where the Water Meets the Rocks
- 6. Stabilize the Camera and Prevent Blur
- 7. Control White Balance and Colour
- 8. Shoot Variations and Review the Results
- Common Mistakes and How to Fix Them
- Frequently Asked Questions
- Quick Summary
What You Need
A tripod is the one piece of gear you cannot work around. Everything else on this list is optional or a refinement, but without a stable base any exposure longer than about 1/30 second will smear your rocks and trees along with the water.
- A sturdy tripod with a ball head. Carbon fibre if you plan to carry it far; aluminium if you would rather not pay the weight penalty for one trip.
- A remote release or the two-second self-timer. Touching the shutter at any multi-second speed is a guaranteed wobble.
- A circular polarizer (CPL). It cuts glare off wet rock by roughly two stops and deepens the colour of shallow water and foliage. You can shoot without it, but a CPL is what lets you use a slower shutter in the middle of the day.
- A 3-stop ND filter for when you want a silky shot but not a total blackout of detail. This is the one most beginners should buy second.
- A 10-stop ND filter for full daylight multi-second exposures. It is a heavy piece of glass, and you will rarely need it in a shaded forest gorge.
- A graduated ND when the sky is in frame and you do not want the classic hard band across the horizon.
- A microfibre lens cloth. Spray lands on the front element constantly. Shoot, wipe, shoot.
- A rain cover or a large ziplock bag. Fine mist reaches everything, including the back of the camera.
- A wide-angle lens for tight spaces where backing up is not an option.
Before you leave, check rainfall and snowmelt upstream. A trickle and a flood are different subjects requiring different shutter speeds, and the flow rate decides which technique you use before you ever unpack the camera. You can see how the same idea applies when you photograph reflections in still water, which moves in exactly the opposite direction.
Baseline settings to start from
Every waterfall is different, but almost all of them respond to this starting point: Manual or Aperture Priority mode, ISO 100, f/11, 1/2 second, two-second self-timer. Meter for the brightest part of the water, check the histogram, and adjust from there.
Step-by-Step: How to Photograph Waterfalls in 8 Steps
1. Scout the Waterfall and Check the Conditions
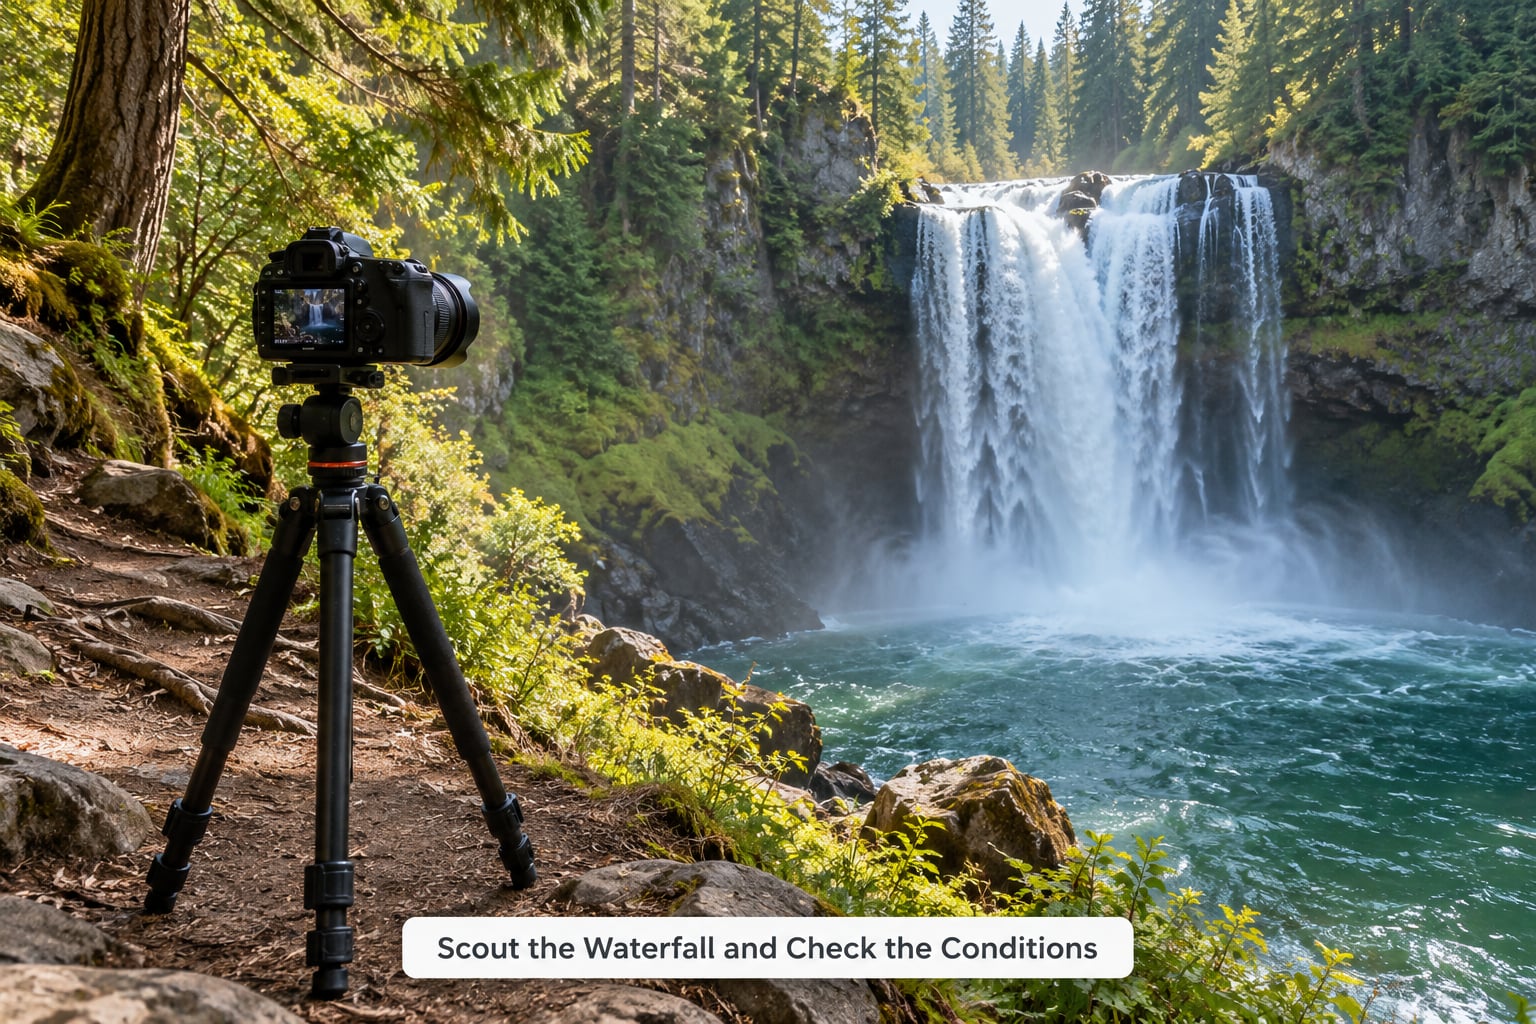
Walk the whole viewpoint before you take the camera out of the bag. Look at where the water enters, where it hits, and whether a low creek in the foreground leads the eye toward the fall. That one habit finds more shots than any filter.
Note the light direction. Water lit from behind you renders white and clean; water backlit by the sun renders as a glowing curtain and often throws a rainbow if there is light mist in the air.
You will know the position is right when the frame already works with the camera still in the bag, because there is a foreground, a middle and a back to it, and the fall is not jammed against the edge.
Check access, footing and how much spray you will be standing in. Ten minutes of scouting saves an hour of repacking a wet camera bag.
2. Build a Strong Composition
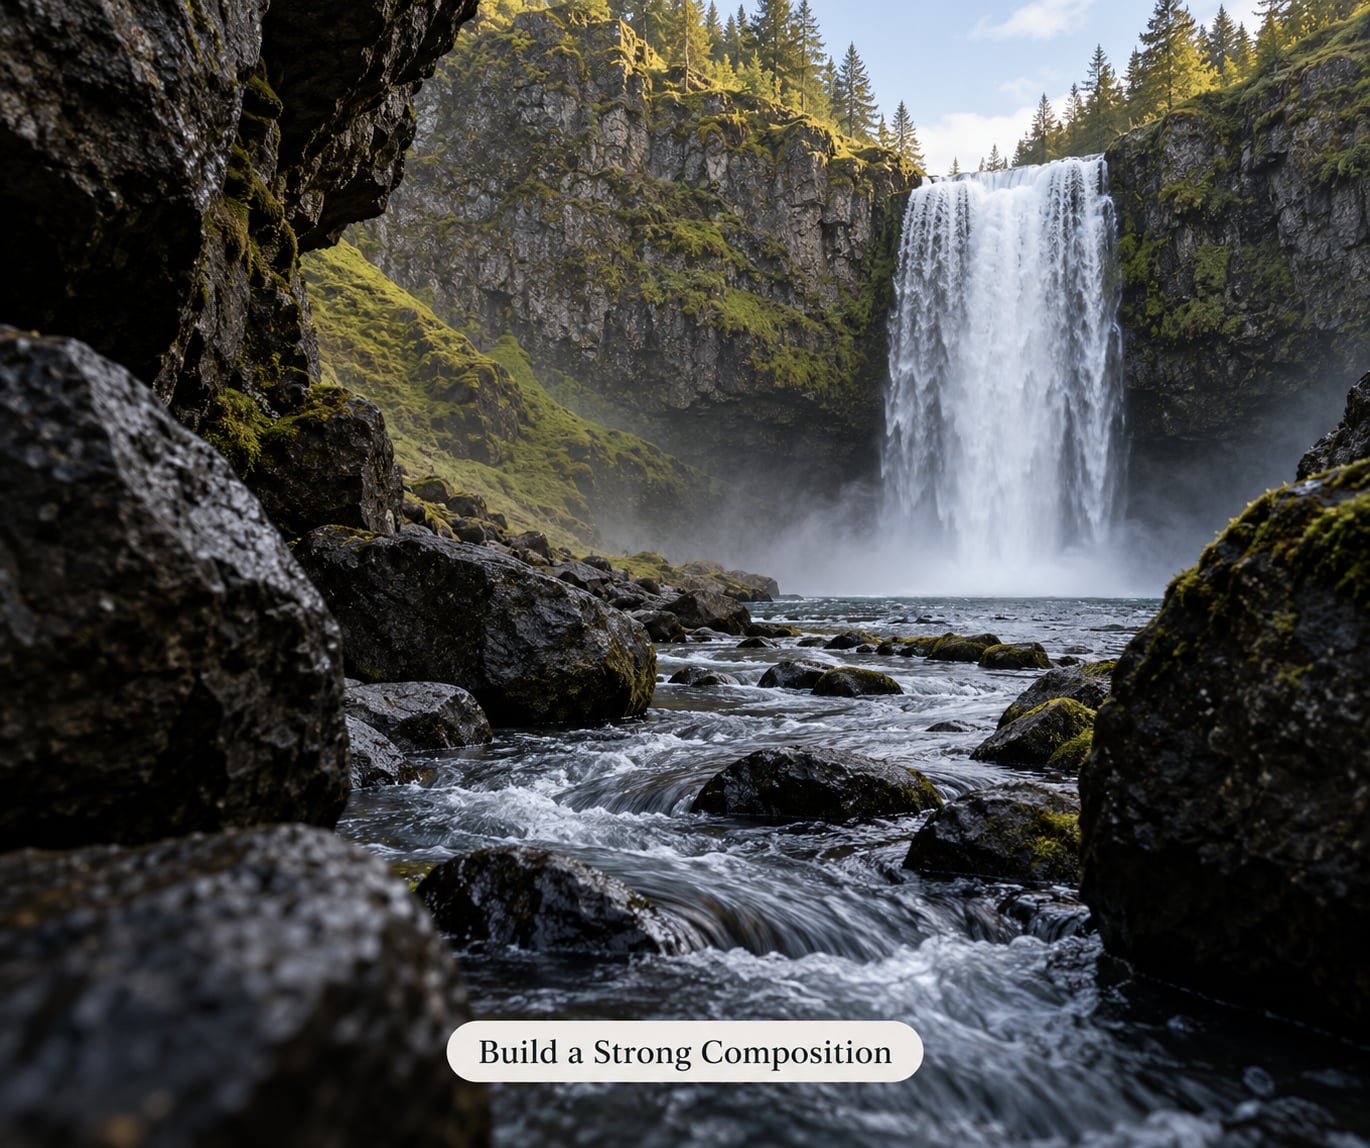
Frame in layers: dark wet rock or fern in the foreground, the falling water in the middle, and trees or a gorge wall behind. That three-layer structure is what gives a waterfall photograph depth instead of a flat record of falling water.
Use the stream as a leading line. A curve of water in the foreground that points at the base of the fall pulls the viewer through the frame. Move until that line exists, or shoot without it.
Keep the horizon out of the frame or level it properly. A tilted horizon in a waterfall shot is the most common reason an otherwise good image looks amateur.
The composition is working when the eye travels toward the fall without being told where to go, and there is something in the near field worth looking at on the way there.
3. Choose Between Freezing and Blurring the Water
This is the decision most tutorials over-explain. Keep it simple: the faster the water moves, the harder it is to blur cleanly, and the more freezing it looks.
High-flow falls throw hard, aerated water that turns into featureless white cotton past about a second. Shoot them at 1/500 to 1/1000 second and the streaks, spray and texture hold up. Low-flow falls, thin sheets and mist look best at one to two seconds or longer, where the water turns smooth and creamy.
There is a middle zone at a quarter to half second that keeps visible streak texture without going fully sharp or fully smooth. It is the safest starting point when you cannot predict how fast the water is moving.
| Effect you want | Shutter speed | Aperture | ISO | ND filter needed |
|---|---|---|---|---|
| Frozen spray and power | 1/500 to 1/1000 s | f/8 | 100 | None |
| Visible streak texture | 1/4 to 1/2 s | f/11 | 100 | 3-stop in bright light |
| Silky, smooth water | 1 to 2 s | f/11 | 100 | 6-stop to 10-stop |
| Creamy mist | 2 to 10 s | f/16 | 50 to 100 | 10-stop, shaded or cave only |
Longer is not always better. Past a few seconds on a slow fall you start losing detail in the water and the frame turns into fog with a rock in it. If you want to learn how a moving subject behaves at different speeds, our guide on photographing rain covers the same physics at a different scale.
4. Set Exposure and Protect Highlight Detail
Waterfalls have brutal dynamic range: bright aerated water next to shadowed rock walls. A single auto exposure always compromises between the two and usually loses the water.
Start at your camera’s lowest native ISO, 50 or 100. Every stop you lift adds grain in the shadowed rock, and grain in the dark half of the frame is the first thing the eye finds.
Close down to f/8, f/11 or f/16 for depth of field across the fall and the surrounding rocks. Watch the corners of the frame at wide apertures: corners go dark before the centre, which is normal at f/2.8 and rarely visible at f/8.
Switch to spot or centre-weighted metering and aim at the brightest water you want to keep. Then set exposure compensation to about minus one stop and watch the histogram. The exposure is right when the right edge of the histogram sits just short of the clipping marker with no gap between the bars.
If the frame is still too contrasty for one shot, bracket three exposures at two stops apart and blend them later. Bright water and black rock is the textbook HDR case.
5. Focus Where the Water Meets the Rocks
Focus on the point where the water strikes the rock, not on the empty space beside the fall. That impact point is where the eye goes, and it is where texture survives the longest exposure.
Use a single autofocus point and let it hunt, then switch to manual focus once it locks so the exposure cannot drag focus. On a tripod the viewfinder is no longer accurate anyway, so manual focus is usually faster than fighting it.
For wide lenses close to the subject, use the hyperfocal distance so everything from foreground ferns to the back wall of the gorge is sharp. Stopping down to f/11 gives you the depth to do it without thinking about it.
At full size on the camera screen, the ferns in the foreground and the lip of the fall should both be sharp. If only one is, you are closer than you think or the aperture is wider than f/11.
6. Stabilize the Camera and Prevent Blur
Set the tripod on solid ground, not on loose rock or moss. Turn the legs so the centre column is not carrying weight, and hang your camera bag from the centre hook if your tripod has one. On uneven rock, tighten the two legs over the gap and adjust the third rather than levelling with a slow centre column.
Turn off image stabilisation. On most cameras it fights a tripod and applies its own blur at multi-second speeds. Lens stabilisation should also be off when the camera is on a tripod, unless your manual says otherwise.
Use the two-second self-timer or a remote release. Every time you press the shutter with a finger, the tripod takes the hit.
Wind is the real enemy of long exposures, and it moves foliage, not the waterfall. The standard fix is to shoot two frames and stack them: one at your chosen long exposure for the water, then one at a fast shutter speed and tighter aperture for the trees. Mask the second over the first and the foliage stays sharp while the water stays smooth. It costs one extra frame, and on a breezy day it is the difference between a usable shot and a wasted hike.
Never stand in moving water to stabilise a tripod. The wobble you are trying to fix is not worth the footing you lose.
You know the rig is solid when the frame edges stay razor sharp at full size on a two-second exposure, with no softness anywhere except where the water is moving.
7. Control White Balance and Colour
Shoot RAW. Forest waterfalls sit under green canopy light, and a JPEG white balance will lock in a colour cast you cannot remove later.
Set a fixed white balance rather than leaving it on auto. Daylight or Cloudy works well under canopy; set it before you arrive and leave it alone so all your frames from the trip stay consistent.
Watch for magenta. Auto white balance in green forest light frequently swings warm and leaves a pink cast on grey rock and white water. A fixed daylight balance prevents it, and a small correction in the edit fixes anything left over.
In the edit, pull highlights down first because clipped water cannot be recovered, then lift the shadows gently. A touch of clarity or texture on the water sells the movement. Some frames convert well to black and white, where the tonal separation between bright water and dark rock does all the work on its own.
Spray will land on the lens during every long sequence. Wipe between frames. If you are seeing a permanent haze that will not wipe off, it is water on the inside of the front element and it needs twenty minutes to dry, not more scrubbing.
For the same reason, keep the front element dry and the camera covered if you are working in mist or rain. Our guide to photographing shadows covers what to do when the light stays flat and the gorge is too dark to meter for the water.
The colour is under control when grey rock still reads as grey in the file. Anything with a pink or green lean is a white balance problem, not a post-processing one.
8. Shoot Variations and Review the Results
Once the first frame works, stop treating it as the shot. Shoot a short sequence: a vertical and a horizontal framing, three shutter speeds either side of your starting point, one frame with and one without the polarizer.
Review at full size, not on the back of the camera at arm’s length. Zoom in on three places: the brightest water, the point of impact, and a dark corner. Blinking highlights mean you are clipping and need another stop less exposure.
Write down the EXIF of every frame you like. ISO, focal length, aperture and shutter speed for a shot that worked is worth more than a page of theory, and it becomes your starting point next time you visit.
If the light changes while you work, go back to step 3. Waterfall photography rewards the photographers who treat the first twenty minutes as scouting rather than shooting.
A session paid off when you leave with two or three frames you would print, not with the longest exposure of the day. Keep those, note their settings, and move on.
Common Mistakes and How to Fix Them
The failures below come up constantly, and most of them are the same handful of errors. Knowing how to photograph waterfalls means recognising each one on the histogram or the back screen before you waste a hike.
Blown-out white water
Metering for the dark rock means the water clips. Switch to spot metering on the brightest water, set exposure compensation to minus one stop, and check that the histogram stops short of the right edge. Shooting RAW gives you some room here, but genuinely clipped channels are gone.
Everything is soft, not just the water
The tripod is taking a hit from your finger or from the wind. Use the two-second self-timer, hang your bag from the centre hook, and turn off image stabilisation. If you are on a long exposure in a gust, check whether the tripod legs are sinking into wet ground.
Blurry trees in a long exposure
That is wind, and no shutter speed setting will fix it. Shoot the fast frame and stack it over the long one.
Flat, dull water that looks like cotton wool
Either you went too long for the flow rate or you left too much light in. Try a half-second and compare. Fast-flow falls generally look better frozen, slow falls look better silky, and matching the exposure to the flow matters more than any formula.
A pink or green cast on everything
Auto white balance reacting to green canopy light. Set a fixed Daylight balance and correct in the edit.
Shooting without an ND filter and giving up
You do not need a filter to shoot a waterfall. On an overcast day or inside a gorge, ISO 100 at f/11 gives you a second or more with no filter at all. When you do want a ten-second silky frame in full sun, a 10-stop ND is the answer, and until then a CPL plus patience is enough.
Nothing in the frame but water
A wide empty pool fills half the frame and tells the viewer nothing about size. Add a foreground rock, a fern, or a person standing in frame for scale.
Standing somewhere you should not be
Wet rock is unreliable, the plunge pool has strong currents, and spray hides footing. Keep the tripod out of moving water, keep a hand free for balance, and accept the framing you can reach safely over the one you cannot.
Frequently Asked Questions
What shutter speed should I use to photograph waterfalls?
It depends on how fast the water moves. For a fast, high-flow fall, use 1/500 to 1/1000 second to freeze spray and streaks. For a slow trickle or thin sheet, 1 to 2 seconds gives smooth, milky water. Start at 1/4 to 1/2 second for visible streak texture, then lengthen or shorten the exposure while checking the screen. Match the shutter speed to the flow rather than to a fixed formula.
Do I need a tripod to photograph a waterfall?
For anything slower than about 1/30 second, yes. A long exposure that renders water as a smooth blur needs a steady base, and any hand movement shakes the frame. A flexible tripod wrapped around a rock works for a phone, and a remote release or two-second self-timer avoids the wobble of pressing the shutter. At fast shutter speeds in bright light you can handhold, but a tripod is still worth carrying.
What is the best time of day for waterfall photography?
An overcast day is the most practical choice. Flat, even light removes hot spots on the water and lets you shoot longer without filters. Early morning and late afternoon give warmer light and better colour, but you need to know the sun’s direction for your viewpoint. Midday full sun creates bright patches on the fall that often blow out completely. Inside a cave or cavern, midday is the only workable time.
Should I use a polarizing filter for waterfall photos?
It helps, and it is not essential. A circular polarizer cuts glare off wet rock by about two stops, deepens colour in shallow water, and darkens green foliage, which means you can slow the shutter a little without a neutral density filter. Its cost is two stops of light and a slightly uneven sky at wide angles. Rotate it gently and watch for the rainbow effect at 90 degrees, which is where it is weakest.
Can I photograph waterfalls with a smartphone?
Yes. Use a long exposure app such as Slow Shutter Cam on iPhone, or the built-in Night mode or Pro modes on recent Samsung phones, and brace the phone on a rock or a flexible tripod. Tap to focus on the rock at the base of the fall, keep the exposure low to protect the white water, and wipe the lens between frames because spray lands fast. Shoot RAW or the highest quality format your phone offers for later editing.
How do I prevent blown-out white water?
Meter for the brightest part of the water, not the dark rock around it. Use spot or centre-weighted metering with the point aimed at the falls, then dial in about minus one stop of exposure compensation. Watch the histogram and stop before the bars reach the right edge. Shoot RAW so you have room to pull highlights back, and remember that water which clips in the file is not recoverable in editing.
Quick Summary
Start with a tripod, ISO 100, f/11 and a half-second exposure, meter for the water rather than the rock, and check the histogram before you shoot. Pick frozen or silky based on the flow rate rather than on a rule you read somewhere, and hold the tripod still while the shutter is open.
That is the whole answer to how to photograph waterfalls. Filters and stacking get you the last twenty percent, but the shot on the memory card is decided in the ten minutes before you press the shutter.