
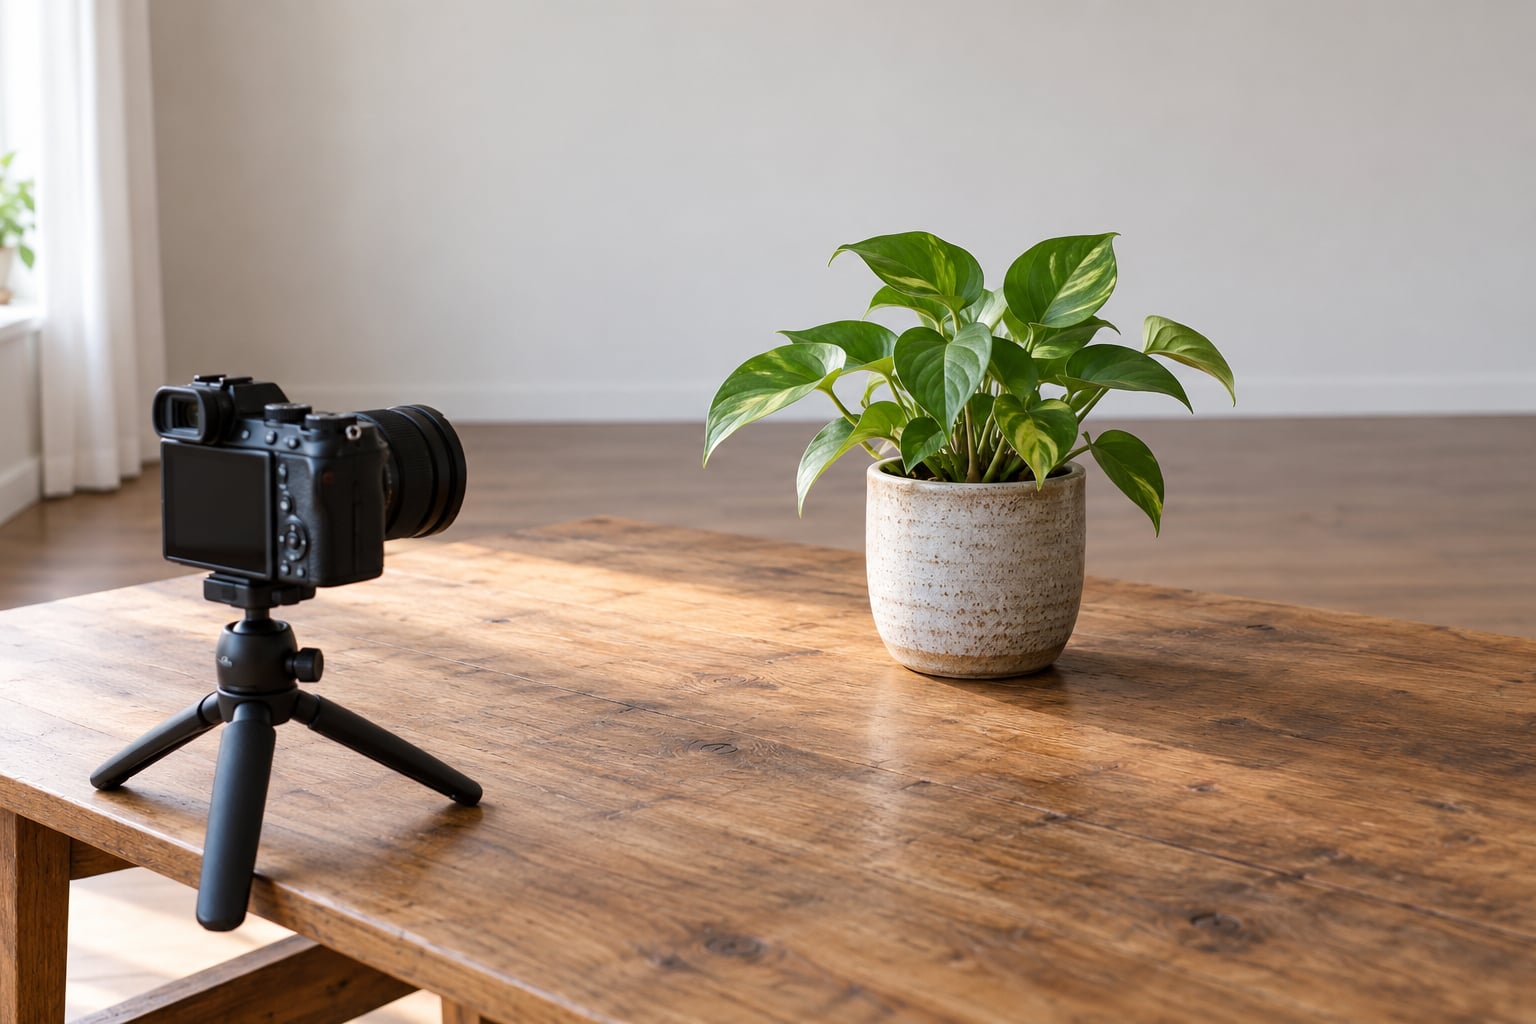
To get a shallow depth of field with a kit lens, you set the aperture as wide as the lens goes, zoom toward the telephoto end, move in close to your subject, and put as much distance as you can between that subject and whatever is behind it. A kit zoom stops down around f/5.6 at the long end, so the blur will never look like a fast prime. It can still look good, and most of the difference comes from how you stand rather than what you spend.
It takes about two minutes to set up once you know the four levers. No extra glass required.
Table of Contents
- What You Need
- Step-by-Step
- 1. Choose a Background With Clean Separation
- 2. Set the Widest Aperture Your Kit Lens Offers
- 3. Use the Longest Focal Length That Fits the Scene
- 4. Move Closer to the Subject
- 5. Focus Carefully on the Part of the Subject That Matters
- 6. Raise the Shutter Speed and Check ISO
- 7. Check the Result and Make Small Adjustments
- Common Mistakes
- Frequently Asked Questions
- Conclusion
What You Need
The kit lens that shipped with your camera is genuinely enough. The 18-55mm f/3.5-5.6 and the 16-50mm f/3.5-5.6 are the two most common, and the 18-140mm f/3.5-5.6 shows up in entry bodies. Every one of them has a widest setting, and that widest setting is your starting point.
On the camera body you need four controls: the mode dial, the aperture or front dial, the zoom ring, and the focus mode switch. Aperture priority, marked A or Av on most bodies, is the mode to use. You pick the f-number and the camera picks the matching shutter speed, which is exactly the control you want when aperture is the thing you are changing constantly.
Optional extras, in the order they start to matter. A tripod lets you drop to a slow shutter indoors without camera shake. A small reflector or a piece of white card bounces light into the shadow side of a face when the aperture is wide and the room is dim. A phone light meter app will tell you the shutter speed you are about to land on before you raise the ISO. For portraits, our one-light portrait studio guide covers lighting setups that stay soft at wide apertures.
Step-by-Step
Work through these in order. Each step makes the next one easier to judge.
1. Choose a Background With Clean Separation
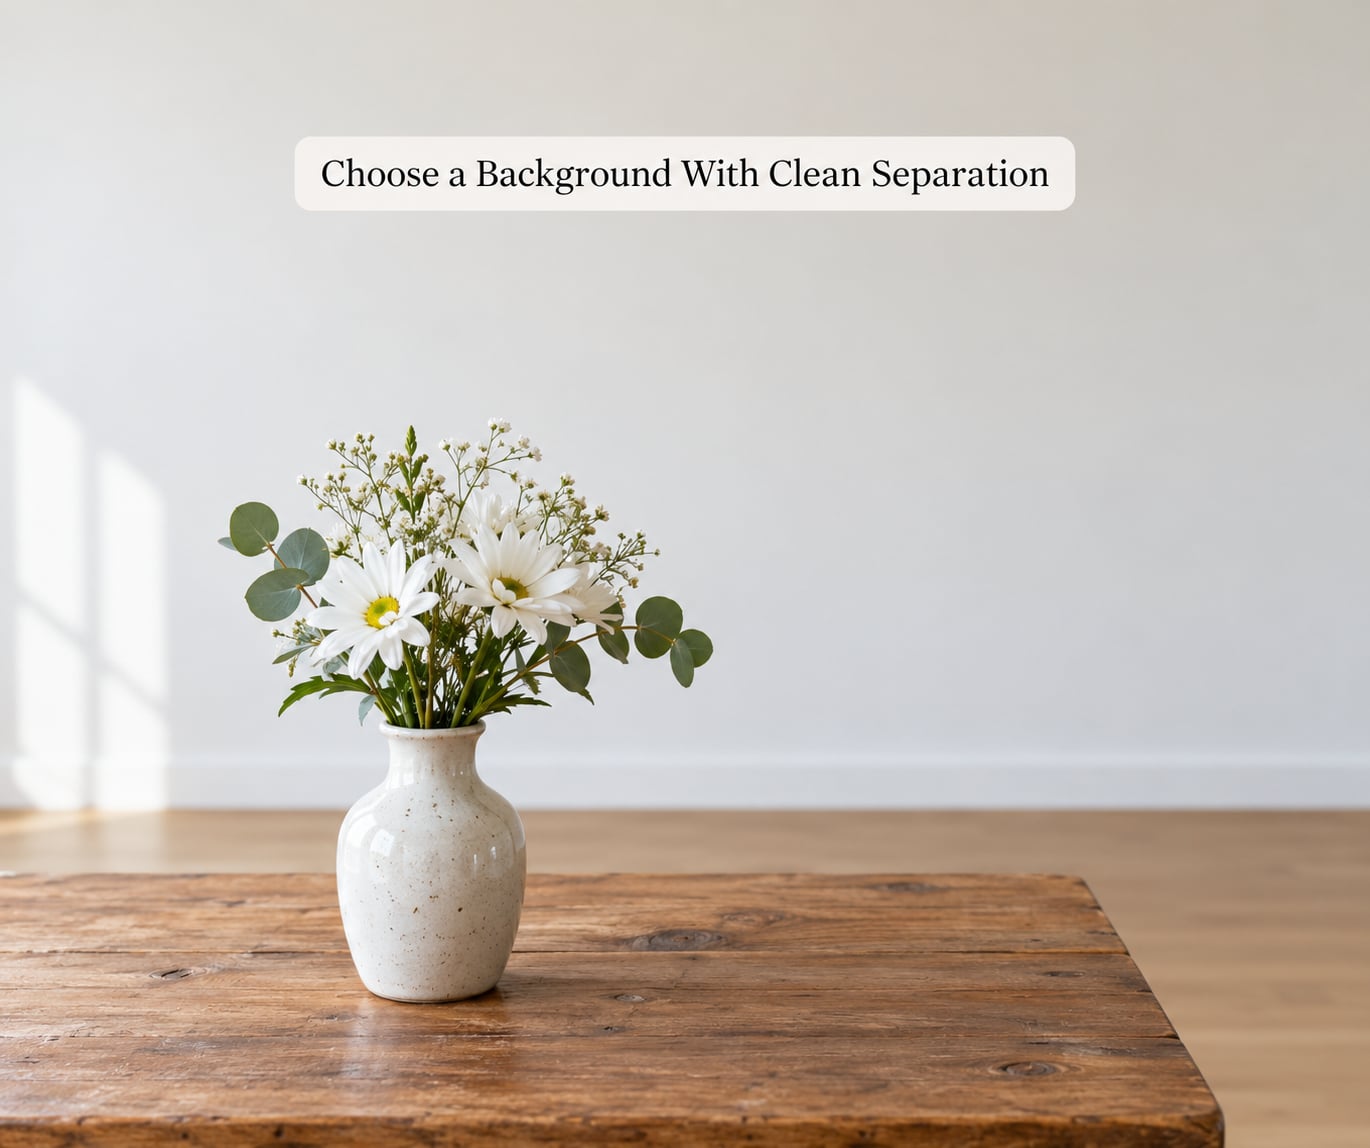
Put your subject as far from the background as the room allows. Half a metre of clear space behind a head does very little; four metres turns the same wall into a smooth wash.
Look at what is actually behind the subject, not just behind you. Standing there yourself is the fastest test, since your eyes focus at arm’s length and you will see exactly what will end up soft in the frame.
Plain and distant beats close and detailed. A bare wall twenty feet back blurs into nothing; a bookshelf six feet back keeps recognisable shapes even when it is out of focus, and recognisable shapes look like mistakes.
2. Set the Widest Aperture Your Kit Lens Offers
Turn the aperture ring until it stops. That is your maximum aperture and the single most important setting in this whole process. Common kit lenses open to f/3.5 at the wide end and f/5.6 further along the zoom range, so check what the ring reads once you have finished zooming rather than trusting the f/3.5 printed on the barrel.
The number itself varies by lens, so read the front ring rather than assuming. A constant f/2.8 kit zoom behaves completely differently from an 18-140mm f/3.5-5.6, and two lenses with the same printed range can stop down at different zoom positions.
Corners get a little soft right at maximum aperture on kit zooms. Shoot your test frame and zoom in on the edges before you commit to a whole session at that setting.
3. Use the Longest Focal Length That Fits the Scene
Holding framing steady, a longer focal length leaves a thinner slice of the scene sharp and softens what is behind the subject. Zoom toward the long end of your kit range, then back off physically until the framing matches what you had. That way you gain the compression without changing the composition.
Frame tighter than feels comfortable. The 55mm end of an 18-55mm crops a portrait down to the head and shoulders in a way that flatters most faces, and it throws the background further out of focus at the same time.
Know what is fighting you here. A variable-aperture kit lens has already lost ground by slowing down as it zooms, so a 55mm shot may end up at f/5.6 and still blur less than the same subject at 35mm and f/3.5. Check the aperture ring after every zoom, and if the long end looks weaker, do not fight it with even more zoom.
Do not chase the longest focal length when the room is small. Zooming in narrows your angle, which means you have to stand further back, which works against you. When you can only stand two metres away, use the mid range and put your effort into background separation instead.
4. Move Closer to the Subject
Fill the frame from the same spot and the background softens, because a nearer camera at a fixed framing produces a more magnified, more defocused view of everything behind the subject. This one surprises people who assume you have to back away for blur.
Check your minimum focus distance before you commit. It is printed on the lens barrel or in the spec sheet, and on an 18-55mm it is usually somewhere around 0.28 to 0.3 metres. Hit that limit and the subject blurs instead of the background.
If the light is too dim to shoot that close, move the subject into a brighter patch rather than raising the ISO.
5. Focus Carefully on the Part of the Subject That Matters
At f/3.5 and half a metre, the sharp zone can be thinner than a fingertip. Single-point autofocus placed on the near eye usually does the job for portraits. Manual focus with magnification is more reliable when the subject is turning or when a single AF point keeps hunting.
For a headshot, focus on the eye closest to the camera. For food, focus on the front edge of the main element, not the middle. For a still life with several items at different heights, stop down a third of a stop to f/4 so more than one plane stays sharp.
A very common mistake is focusing on the background because it looks more interesting. It is the one plane you want out of focus.
6. Raise the Shutter Speed and Check ISO
A wide aperture throws away light, so something else has to make up the difference. Indoors that means one of three things: more light, a slower shutter, or a higher ISO. Pick the one your subject can survive.
For a still subject, start at 1/125s and let the ISO float. A walking subject wants 1/250s. Anything that moves fast needs 1/500s or faster, and if the ISO climbs past roughly 3200 on a modern body, the noise starts costing you more detail than the extra blur was worth.
A flash or a bounced window will let you keep a low ISO and a fast shutter at the same time. If you are working with continuous light only, read the resulting frame at full size before you shoot the whole set.
7. Check the Result and Make Small Adjustments
Look at the full frame first, then check the histogram for clipped highlights on skin and pale surfaces. Zoom in on the focus point to confirm it landed where you put it. Then judge the background on its own terms: is it separated, or is it still carrying readable shapes?
Adjust one variable at a time so you know what worked. A stop of aperture changes the exposure and the blur together, so if the blur is still weak, try moving the background another metre rather than opening up again.
Keep a settings log for your own kit lens. Once you have a handful of frames you trust, the combination becomes muscle memory and you stop checking the LCD between shots.
| Kit lens | Widest aperture | Long end aperture | Best starting point for blur |
|---|---|---|---|
| 18-55mm f/3.5-5.6 | f/3.5 | f/5.6 | 55mm at f/5.6, subject 1m away, background 4m+ |
| 16-50mm f/3.5-5.6 | f/3.5 | f/5.6 | 35-40mm at f/5.6, subject 1m away |
| 18-140mm f/3.5-5.6 | f/3.5 | f/5.6 | 70-100mm at f/5.6, subject 2m away |
| 16-50mm f/2.8 | f/2.8 | f/2.8 | 50mm at f/2.8, subject 1m away |
That last row is the exception worth knowing about. A constant f/2.8 kit zoom keeps its wide aperture at every focal length, which is why it blurs better at the long end than any of the f/3.5-5.6 lenses do. If your blur feels worse the more you zoom, check whether your aperture ring is drifting as it turns.
Common Mistakes
Stopping down too far. A well-meaning habit from group photos. f/8 makes everything sharp from nose to wall, which is the opposite of the goal. For a single subject, stay at the widest setting.
Standing too far away. Distance sounds like the opposite of what you want for blur, and that is true for the background but not for the framing. At a fixed focal length, moving back with a longer lens gives more blur. At a fixed framing, moving in gives more blur. Decide which variable you are fixing first.
Zooming in without moving the subject’s background. A tighter lens magnifies the background as well as the subject, so an object 30cm behind your subject’s head becomes 90cm behind it. When the blur looks wrong after zooming, it is usually the background you need to move, not the lens.
Leaving the subject stuck to a wall. Move the person, not the wall. If you cannot move the subject, shoot from low or high so the frame fills with floor, sky or grass instead of the busy surface behind them.
Forgetting that variable-aperture zooms get slower as you zoom in. The f/3.5 you had at 18mm is f/5.6 by 55mm on most kit lenses. Re-check the aperture after every zoom, and hold the ISO steady while you do it so you can see what the lens did.
Relying on phone portrait mode. A simulated blur tries to fake what a real lens does, and it usually gives up at the edges and around hair. Shooting it optically is faster than fixing it later, and our digital camera guide covers the settings basics if the mode dial is still unfamiliar.
Expecting f/1.8 glass quality. Depth of field and bokeh quality are separate things, and photographers argue about the difference constantly. The amount of blur is decided by the four factors above. Whether the blur looks creamy is decided by the lens design, and no setting changes that.
Frequently Asked Questions
What aperture gives the most blur with a kit lens?
The widest aperture your lens physically reaches. On most kit zooms that is f/3.5 at the short end and f/5.6 from about 35mm onward. Watch for variable-aperture designs that stop down as you zoom, and re-check the ring after every zoom. A constant f/2.8 kit zoom is the exception worth looking for, because it holds its widest setting at every focal length.
Can a kit lens create a shallow depth of field?
Yes, within limits. A kit zoom cannot reach the razor-thin depth of field of a fast prime, but used at its widest aperture with a long focal length and a distant background it will separate a subject from its surroundings cleanly. Most of the visible improvement comes from moving the background rather than from the glass itself.
Is a longer focal length better for background blur?
At the same framing, yes. A longer focal length produces a thinner slice of sharp scene and a softer background. If zooming in means standing further back, the two effects partly cancel out, which is why a long lens in a small room often blurs less than a mid-range setting. Framing and distance both have to be accounted for.
Why does my background look sharp when I use a wide aperture?
Usually the background is too close. A wall 60cm behind your subject barely softens even at f/3.5, because there is not enough distance between the two planes. Push the background several metres back, or move yourself in closer to fill the same frame. If the blur is still weak, check that you are not stopping down after you zoom.
Should I use autofocus or manual focus for shallow depth of field?
Single-point autofocus on the near eye is reliable for most portraits and is faster than you would expect. Manual focus with magnification wins when the subject is moving, when the light is too dim for confident autofocus, or when the sharp zone is thinner than your single point is wide. Set the point before you commit to the shot and leave it there.
Conclusion
Start with the aperture ring at its widest stop, zoom toward the long end until the framing works, walk in as close as the minimum focus distance allows, and put the biggest gap you can between the subject and the background. Focus on the part that has to be sharp, then raise the shutter speed and the ISO until the exposure lands where you want it.
Most of the improvement you will see comes from distance, not from equipment. Updated for 2026, this is the same method I use when I want a background to disappear and only have the zoom that came in the box.