
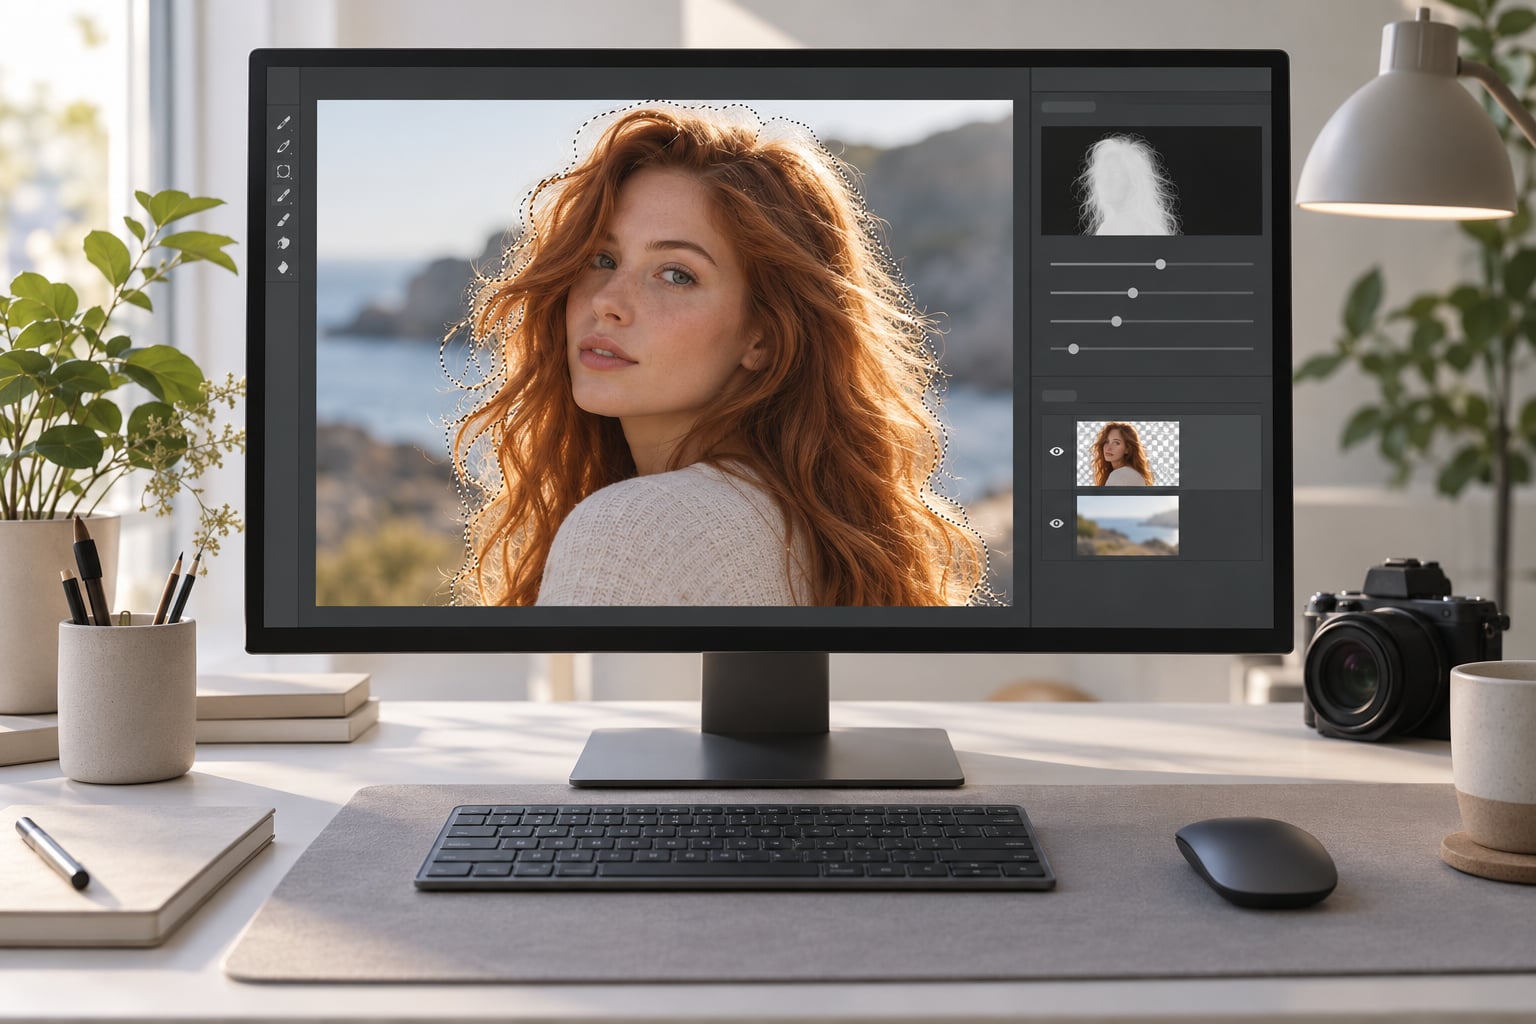
To select hair in Photoshop, make a rough selection around your subject, open Select and Mask, let Refine Hair find the strands, then touch up the result with the Refine Edge Brush. From there you output the selection as a layer mask so you can still go back and fix things later. Most people finish a head-and-shoulders portrait in about ten minutes once they know which sliders to touch.
Hair is hard because it isn’t an edge. A shoulder has a border you can trace, but a head of hair is thousands of semi-transparent strands that fade into the background one pixel at a time. Any tool that looks for a hard boundary will either cut the hair off or drag the background in with it.
Photoshop’s AI tools handle most portraits now, which is why the manual channel method has moved from essential to advanced. I’ll show you the workflow that works first, then explain what to change when the automatic pass falls short.
Table of Contents
- What You Need
- Step-by-Step: How to Select Hair in Photoshop
- 1. Prepare the image and duplicate the subject layer
- 2. Choose the Select and Mask workspace
- 3. Make an initial selection around the subject
- 4. Refine the selection with the Refine Edge Brush tool
- 5. Adjust edge detection and shift edge settings
- 6. Inspect and correct the mask with Overlay
- 7. Output the selection to a new layer or mask
- Common Mistakes and How to Fix Them
- Frequently Asked Questions
- Conclusion
What You Need
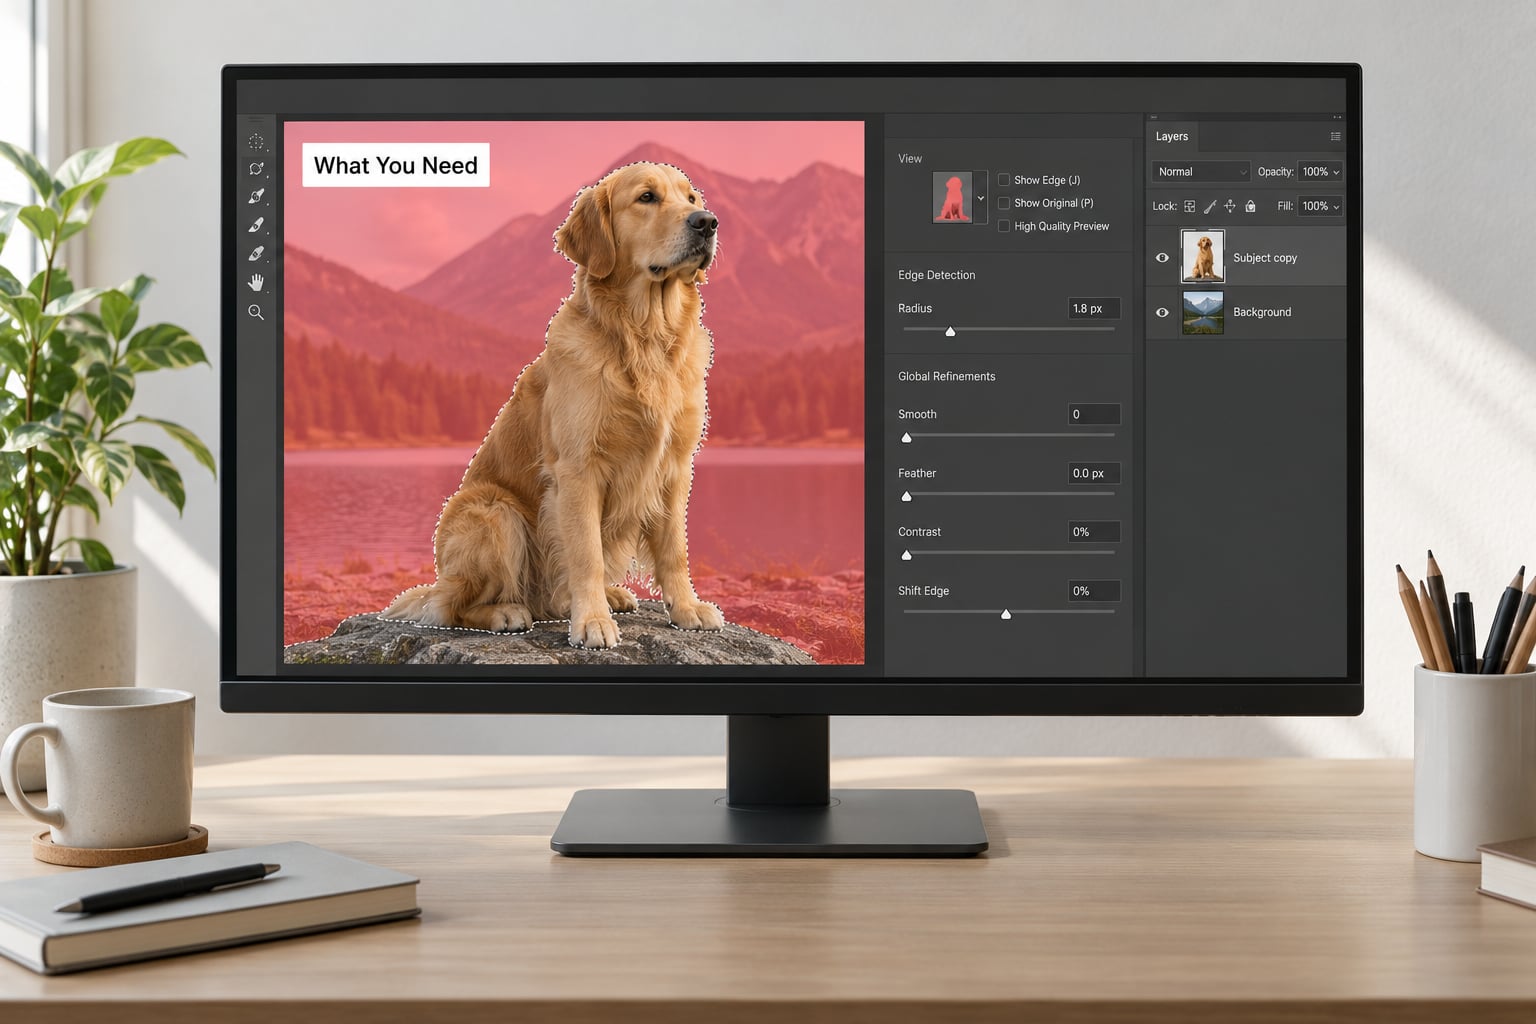
You need Photoshop, obviously, and a photo with enough detail to work with. The AI features (Select Subject and Refine Hair) run on desktop in current versions; some of them also offer cloud processing, which sends a compressed copy of the image to Adobe and returns the result. Fine hair and thin flyaways are the first things cloud processing loses, so for hair work I keep it local.
Before you open anything, check three things:
- Resolution. Open the image and look at the size in the title bar. A 3000 pixel portrait gives the Refine Edge Brush room to work at 100% zoom. Below about 1500 pixels, individual strands are gone and no slider setting brings them back.
- Separated layers. If the subject and background are on one flattened layer, you’re building a mask over a decision you can’t undo. Get them apart first, and if you can’t cut them cleanly yet, that is fine, a rough cut is enough. See how to cut out a person in Photoshop for the manual method.
- A background that isn’t the same value as the hair. Hair against a wall two shades darker than itself is the hardest case there is. Check it before you start; if the contrast is nearly zero, plan on the channel method.
You’ll also want a soft brush and a hard black brush on low opacity for cleanup, and the habit of zooming in further than feels necessary. Most bad hair masks come from working at a zoom level where a strand is two pixels wide.
Step-by-Step: How to Select Hair in Photoshop
1. Prepare the image and duplicate the subject layer
Open your file, then press Ctrl+J (Cmd+J on Mac) to duplicate the layer. Work on the duplicate so your original pixels stay intact. Rename it something like Hair Cutout so you remember which layer is the working copy.
Now make a rough selection of the whole person, hair included. Don’t try to trace individual strands yet. Select > Subject does this in one click and usually gets the body right in a few seconds; if it fails, a quick scribble with the Quick Selection tool followed by Select and Mask on that selection works just as well. The only rule at this stage is that the subject must be fully inside the selection, with no important part left out.
2. Choose the Select and Mask workspace
Click Select and Mask in the properties bar at the bottom of the window (Select > Select and Mask on Mac brings up the same workspace). The dialog looks different from the rest of Photoshop: a toolbar down the left, Refine Edge Brush settings on the right, view mode buttons in the middle of the top row.
This is where you’ll spend the whole job. It runs on its own temporary document, and nothing you do here touches your layers until you click Output.
3. Make an initial selection around the subject
If you arrived via Select > Subject, the selection is already loaded and the marching ants are visible. Check the Quality slider while you’re there. Low quality is faster on huge files; High quality uses more of your machine’s memory and gives a cleaner edge. If your machine struggles, drop it one notch rather than closing the dialog.
Now look at the Refine Hair button at the top of the workspace. Click it and give it a few seconds. It detects strands far better than the manual tools, especially around the outer silhouette. When it finishes, zoom in to 200% and look at the hair edge against the background before assuming it worked.
4. Refine the selection with the Refine Edge Brush tool
Select the Refine Edge Brush from the toolbar on the left. This is the tool that does the real work, and it’s the one beginners underuse.
Set the brush size so it’s slightly smaller than the wispy area you’re about to paint. Set Size to around 3 px for a normal portrait, then tick Smart Radius in the Edge Detection section so the radius adapts as you move from thick hair to flyaways. Use Sample All Layers when the subject sits on more than one layer, so the brush reads the real edge.
Now paint along the hair edge. Short, gentle strokes work better than one long sweep. Two habits matter here: use low brush pressure for the outer wisps so you don’t pull background in, and hold Alt (Option) to subtract if you catch background bleeding into the mask. You can always add more later; removing contamination is slower.
5. Adjust edge detection and shift edge settings
The sliders on the right change the whole edge, so use them before fine brushwork, not after. Each one has a distinct job:
- Smooth reduces the jaggedness of a hard selection. Too much and it eats the fine hair you just painted. Half a pixel to one pixel is plenty.
- Feather softens the transition. Leave it at zero for hair, since hair should stay crisp and the softness comes from the strands themselves.
- Contrast pushes the edge decision harder in both directions, adding hair and losing background at the same time. Raise it when the mask is grabbing too much background.
- Shift Edge slides the edge inward or outward. Negative values pull it in slightly, which pulls the background contamination out of the mask.
- Radius sets how far from the edge Photoshop looks for detail. Smaller is sharper; larger catches looser, further-out strands.
One slider at a time, zooming in after each change. If you stack three of them you won’t know which one caused the problem.
6. Inspect and correct the mask with Overlay
In the View menu, choose Overlay to see the mask directly. Selected areas show as white, rejected areas as black, and soft or semi-transparent areas as grey. This is the only honest way to spot a halo.
Zoom past 200% and run along the hairline. Look for three things: grey patches inside the hair where strands should be solid, white specks in the background where flyaways shouldn’t be, and a hard black line hugging the edge, which means the mask is clipping hair short.
Fix it with a soft black brush on the layer mask afterwards, or with Alt and the Refine Edge Brush here. Switch to Onion Skin occasionally to see what you’re actually selecting against the original, and to On Black or On White to check for contamination that hides on a mid-tone background. That’s the fastest way to catch the pale fringe everyone complains about after a background change.
7. Output the selection to a new layer or mask
When the mask looks right, set the Output To dropdown at the bottom of the workspace:
- Layer Mask adds a mask to the current layer. This is my default because nothing is destructive and you can keep painting on it.
- New Layer with Layer Mask keeps the mask separate from the pixels, which is cleaner when you’re building a composite.
- New Layer pastes the selection onto a transparent layer. Handy for dropping the cutout into another document, but the edge gets no correction from this.
- Copy of Selection gives you a full-resolution copy you can paste anywhere.
Click OK, then hide the background layer to confirm the isolation holds. Take a minute to test the cutout on a light background, a dark one, and a busy texture before you call it done. A mask that survives all three is finished. If you’re changing the background as the final step, removing the background in Photoshop covers the cleanup on both sides.
Common Mistakes and How to Fix Them
The edge looks hard and cut off. Refine Hair ran, then a high Smooth value flattened it. Drop Smooth to under a pixel, drop Contrast if you raised it, and paint the hairline again with the Refine Edge Brush. Shift Edge toward negative by a pixel or two to give the strands room.
A pale or dark fringe shows after the background changes. That’s contamination, not a selection error. In Select and Mask, set Output To Layer Mask, then use Decontaminate Colors at roughly 70% and apply it to the whole selection. Go too high and the edge gets darker than the hair; 70% is the value retouchers land on most often.
Fine flyaways are missing. Increase Radius to 4 or 5 px, lower Contrast so Photoshop stops rejecting low-opacity pixels, and paint the outer edge with a small Refine Edge Brush. If the background is nearly the same brightness as the hair, Photoshop genuinely cannot tell them apart; the channel method is the answer.
The Refine Edge brush grabs too much background. Shrink the brush, lower the pressure, and hold Alt to subtract. If it keeps grabbing, tick Smart Radius so the tool tightens on the hard edges and only softens where the hair really is loose.
Curly or frizzy hair turns into a fuzzy blob. Curly hair needs a smaller Radius (1 to 2 px) and less Contrast, because the gaps between curls are supposed to show background through. Work in small sections rather than the whole head at once.
Dark hair on a dark background. No masking tool resolves this, because there is no tonal difference to resolve. Open the Channels panel, duplicate the channel with the best contrast between hair and background, push the separation with a Curves adjustment, paint corrections with a hard brush, then Ctrl or Cmd-click the channel thumbnail to turn it into a selection. Painting those corrections goes faster if you already know how to use the Clone Stamp tool.
Photoshop won’t open Select and Mask. A selection has to be active first. Make even a rough one, or the button stays greyed out.
Frequently Asked Questions
What is the fastest way to select hair in Photoshop?
Use Select Subject, then open Select and Mask, then click Refine Hair. That three-click sequence handles most head-and-shoulders portraits on a clean background. Finish with a few passes of the Refine Edge Brush at 3 px with Smart Radius on. The manual channel method is only faster when you already know the subject sits on a flat, contrasting background.
Why does my hair selection look blurry or soft?
Feather and a high Smooth value are the usual culprits. Feather is meant for hard object edges and does nothing useful on hair, so set it to zero. Keep Smooth under one pixel, lower Contrast slightly, then zoom past 200% and paint the hairline again with the Refine Edge Brush. A blurry hairline is almost always a slider problem, not a brush problem.
How do I remove color halos and fringing around hair?
Halos come from background pixels captured inside the mask. Duplicate your working layer, open Select and Mask, choose Layer Mask as the output, then use Decontaminate Colors at around 70% and apply it to the entire selection. Values above that start eating into the hair’s own colour. Check the result on a black background and a white one, since a fringe that vanishes on grey is still there.
Should I use Refine Hair or the Refine Edge Brush?
Use both, in that order. Refine Hair handles most of the silhouette automatically and takes seconds. The Refine Edge Brush is what fixes what the AI missed, adds individual flyaways, and cleans up background it pulled in. Beginners who use only the button get a good mask; beginners who use only the brush take three times as long for the same result.
Which channel is best for selecting hair?
No single channel wins every time. Open the Channels panel and look at Red, Green and Blue thumbnails with Ctrl-click (Cmd-click on Mac) held over each one to preview which gives the strongest light and dark separation between hair and background. Usually one channel reads noticeably better. Duplicate that one, push it apart with a Curves adjustment, and paint corrections with a hard brush before converting it back to a selection.
What does Ctrl+L do in Photoshop?
Ctrl+L (Cmd+L on Mac) opens the Levels adjustment, where black and white point sliders set the darkest and lightest values in an image or selection. In hair work it’s how you exaggerate contrast in a channel before turning it into a mask. Ctrl+M opens Curves, which gives you a gentler, more precise version of the same job.
Conclusion
Start with a rough selection that contains the whole subject, open Select and Mask, click Refine Hair, then walk the hairline with the Refine Edge Brush at 3 px with Smart Radius enabled. Before you click Output, zoom past 200% and check the edge on a light and a dark background, because that inspection is what separates a usable mask from a convincing one. Once you’ve done it a few times, the whole job takes about ten minutes.