
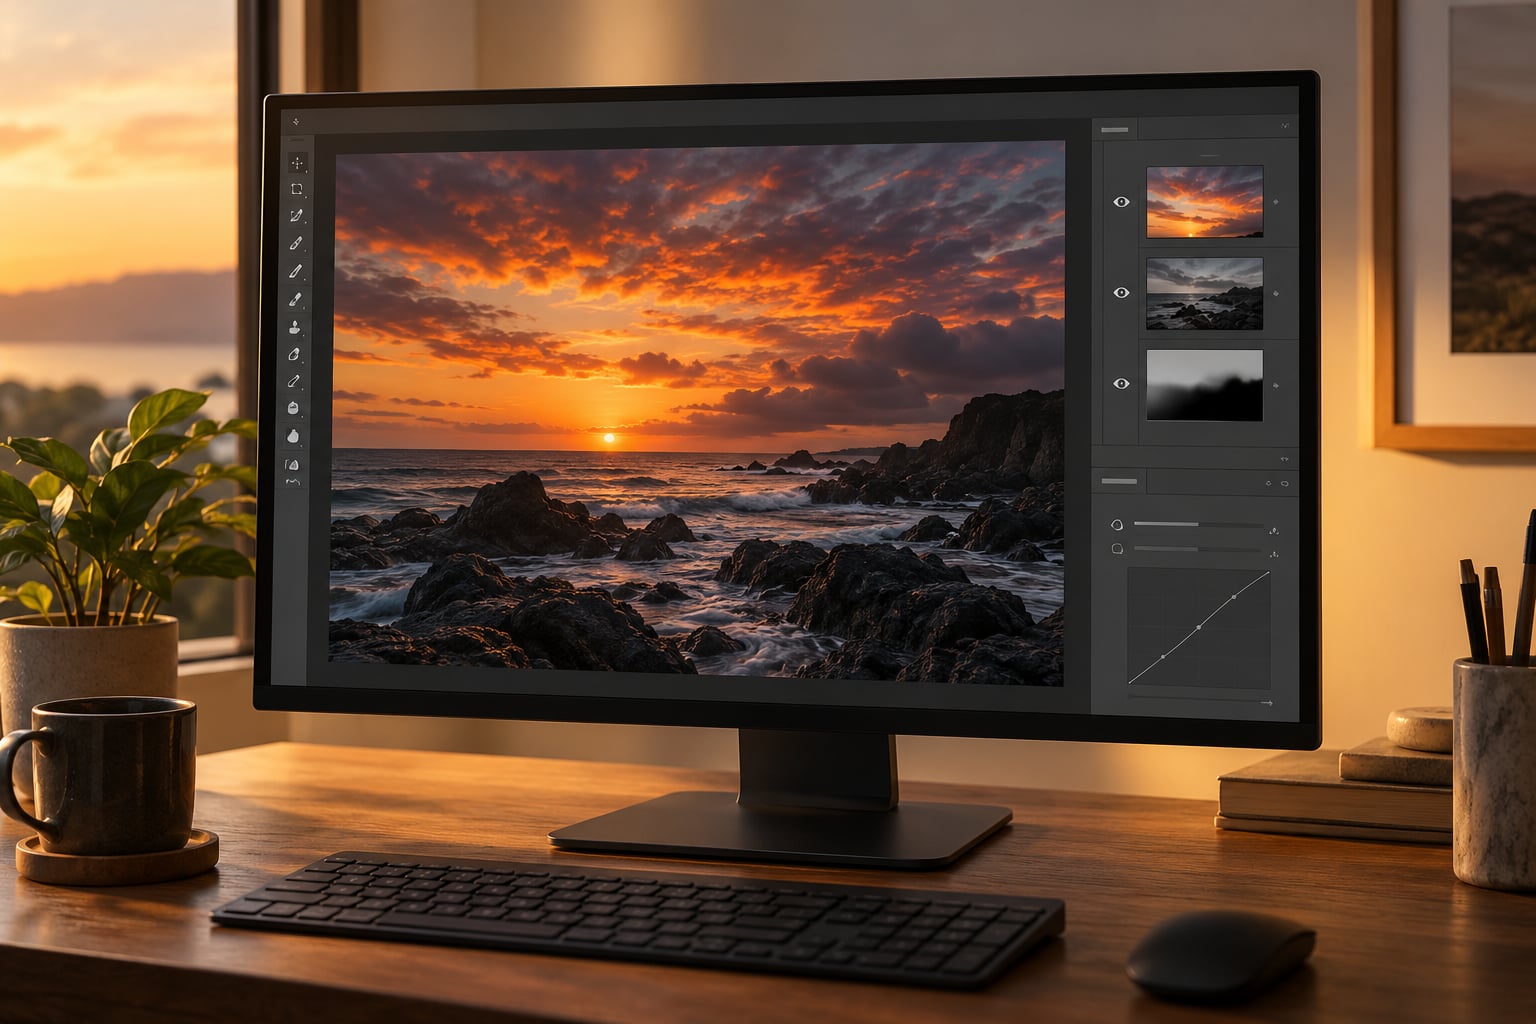
How to replace a sky in Photoshop comes down to one menu path and a handful of sliders: open your photo, choose Edit > Sky Replacement, pick a preset or load your own sky image, then tune Shift Edge, Fade Edge, temperature and brightness until the new sky sits naturally behind your foreground. The whole basic edit takes five minutes. Getting it to look real takes longer, and that part is mostly edge and light matching.
Below is the workflow I use, from preparing the file through to the final tonal pass. Menu paths are for Photoshop on the desktop, current subscription releases. The Sky Replacement dialog has looked the same since the feature arrived, though the Edge Lighting group is newer.
The big trap is thinking this is a cut-and-paste job. It isn’t. Two images shot under different light, different lenses and different times of day will never match on their own, so your real work is convincing the viewer that they were taken together. That means honest edges, matched direction of light, and a foreground that has been adjusted to sit under the new sky rather than beside it.
Table of Contents
What You Need
You need three things: Photoshop, a foreground photograph with usable sky area, and a replacement sky image that is at least as large as the sky area you’re covering.
Photoshop on desktop. Sky Replacement lives under the Edit menu. It works in both RGB and Grayscale color modes, and it will not run on a locked or hidden layer, on a Bitmap-mode file, or on a layer group. If you edit on an iPad, the feature exists but with fewer of the edge controls, and I cover that in the FAQ.
A foreground photo with a clean sky area. Look at the original before you start. Some skies are simply gone, blown to pure white by the camera, and there is no colour information left to work with. Sky Replacement can still mask that area, but the new sky often meets the foreground with a hard edge because there was nothing to blend with.
A sky image that fits. Bigger is better. If your sky photo is 6000 pixels wide and the sky area in your foreground is 2000, you have room to scale down. The reverse leaves you scaling up, and upscaled skies lose the fine cloud texture that makes a composite convincing.
Watch the lens on your sky photo. Wide lenses bend the cloud edges toward the frame corners, and when you match that against a normal or telephoto foreground the perspective fight is visible even to people who could not tell you why it looks wrong.
The features used in this guide:
- Select Subject and Select > Sky, plus the Select and Mask workspace
- Sky Replacement dialog with its presets panel, sky move tool and sky brush tool
- Layer masks, clipping masks and adjustment layers
- Color Range, Quick Selection tool, and Blend If layer style
- Curves, Levels, Color Balance and Photo Filter adjustment layers
Step-by-Step: How to Replace a Sky in Photoshop
1. Prepare the foreground photograph
Duplicate your background layer and convert the duplicate to a Smart Object before anything else. Right-click the layer, choose Convert to Smart Object. Every scaling and cropping you do from here is reversible, which matters when the sky you picked turns out to be the wrong scale.
Now look honestly at the foreground. Blow open the Window > Info panel and click the histogram’s clipping markers, or use View > Exposure Info to check whether the old sky clipped to 255. A sky that clipped means the brightest highlights are missing information, and no amount of slider work fully recovers the look. Be aware of it and move on.
Crop for the sky you want, not the sky you have. Cropping first means the replacement only has to fill one region, which is a far easier mask to get right than chasing an odd-shaped selection around three hills.
Check the foreground for problems the new sky will draw attention to. Distracting power lines, a bright street sign, or a plastic bag caught on a fence all get louder once the sky behind them goes dramatic. Fix them now with a spot heal, and Photoshop’s healing and cloning tools handle small distractions better than they handle large ones.
2. Select the sky with Select and Mask
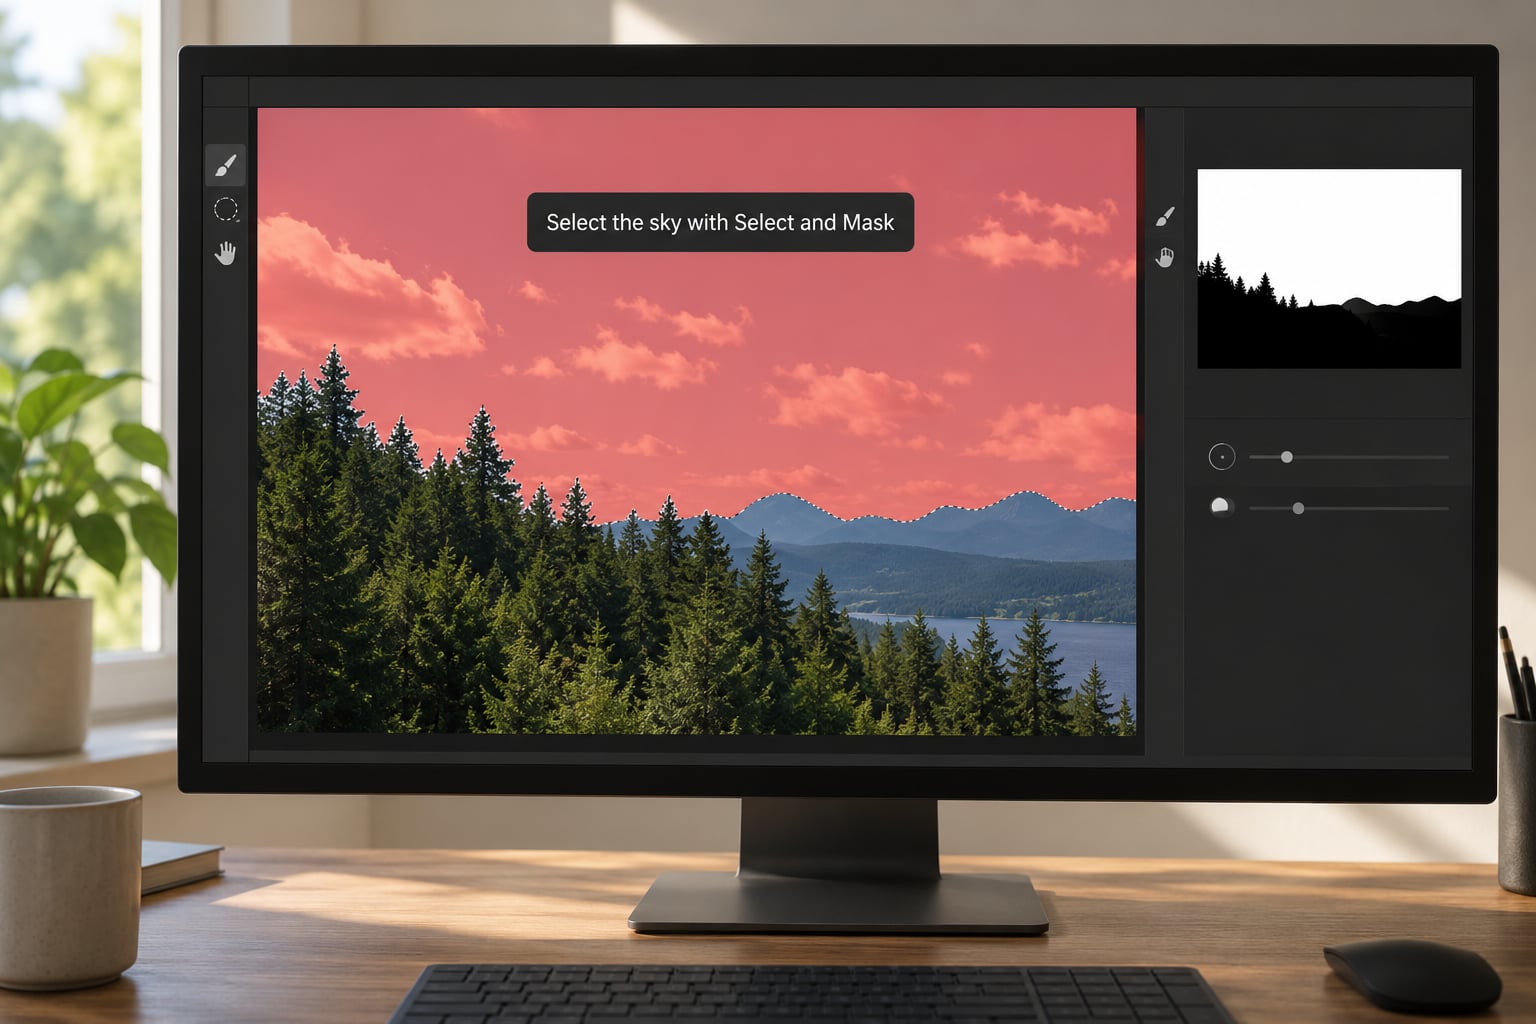
The Sky Replacement dialog runs its own automatic selection, but it struggles with bare branches, power lines and thin grass. Building the mask yourself gives you the control that complex edges need.
Select Select > Sky. Check the result against the original by holding Alt as you click, because the single most common complaint about this tool is a selection that misses thin branches and leaves scraps of old sky behind.
For a manual mask, open Select and Mask from the bottom of the Select menu. Four controls do most of the work here:
- Refine Edge Brush with a small hard brush to add back thin branches and antennae the automatic pass dropped
- Smooth between 2 and 6 to clean up the jagged fringe along a roofline
- Feather between 0.5 and 1.5 pixels for a soft natural transition
- Shift Edge to push the boundary slightly into the foreground when the old sky left a bright rim
Lower the Contrast value if the selection is bleeding into half of the foreground. Raise it when the mask is too timid. And turn on Show Edge so you see the boundary as a white outline instead of guessing.
Click OK. Your sky mask now lives on a layer you can hide, tweak and come back to. Do not flatten it into the image.
3. Add the replacement sky as a new layer
Go to Edit > Sky Replacement. The Sky Replacement dialog opens with your image displayed and a panel of preset skies on the right. Click any preset for a fast read on whether the scene can work at all. If the whole idea depends on a specific sky, click the + icon at the bottom of the panel and choose Add Sky from File.
Use the sky move tool (the Move icon in the bottom of the dialog) to drag the new sky into place. It positions the horizon relative to your existing one, so if your foreground has a distant ridge at the left third, move the new sky until its horizon roughly follows that line. Getting the two horizons roughly parallel does more for believability than any slider.
The sky brush tool lets you push parts of the sky around locally. Grab it, set a soft brush, and feather the sky upward near the horizon if the transition is too tight. Masking works here the same way it does anywhere else, and it is easier to paint the sky than to fight the selection later.
Choose your Output setting before moving on:
| Output option | What you get | Use it when |
|---|---|---|
| New Layers | A set of smart objects plus an editable mask, with the original pixels intact | Almost always. You can re-tune scale and lighting without repeating the work |
| Duplicate Layer | A flattened composite on a single layer, with the original deleted | Exporting a small file for a quick social post, never for an edit you may revisit |
| New Layers with Sky Move Tool | Adds the sky move tool to your toolbar for manual horizon placement | Complex composites where you are dragging the sky around by hand |
Choose New Layers. Then click OK and let Photoshop build the stack. This is the moment to also learn the layer behaviour itself: a masked layer, a clipping mask and an adjustment layer all respond to blend modes, and that is how you will match the light in the next step.
4. Match the light, color, and perspective
Reopen the dialog, or select the sky smart object and reopen Sky Replacement. Work through the sliders in this order, because each one changes what the next one looks like.
Scale sets how much of the sky frame you see. Shrink it and you get a wider field of view, which suits a wide-angle foreground. Grow it and you compress the clouds, which suits a tighter shot with a longer lens. Matching scale roughly is what stops the composite from looking like a poster pasted onto a photo.
Orientation flips the sky horizontally when your shadow directions disagree. If the sun in your new sky throws light from the opposite side to your foreground shadows, the whole image falls apart instantly. Flip before you spend time on colour.
Temperature shifts the new sky warm or cool to agree with your foreground’s white balance. Drag the slider and watch the horizon, not the middle of the sky. The middle of a sky can be any colour and still look right; the strip where sky meets ground has to agree.
Brightness matches the new sky’s luminance to your foreground. A sky brighter than its scene at dusk reads as unnatural light shining from nowhere. A sky darker than a midday scene reads as an approaching storm, which is a valid artistic choice but should be a choice.
Crop to Image trims the sky frame to the canvas. Leave it off if you want room to move later.
Users on Photoshop forums often report that the Brightness slider inside the dialog is too blunt, and that matching luminance with a Levels adjustment on the sky layer afterward gives finer control. Both work. The dialog slider is faster; the adjustment layer is more precise and stays reversible.
5. Refine edges and add natural atmosphere
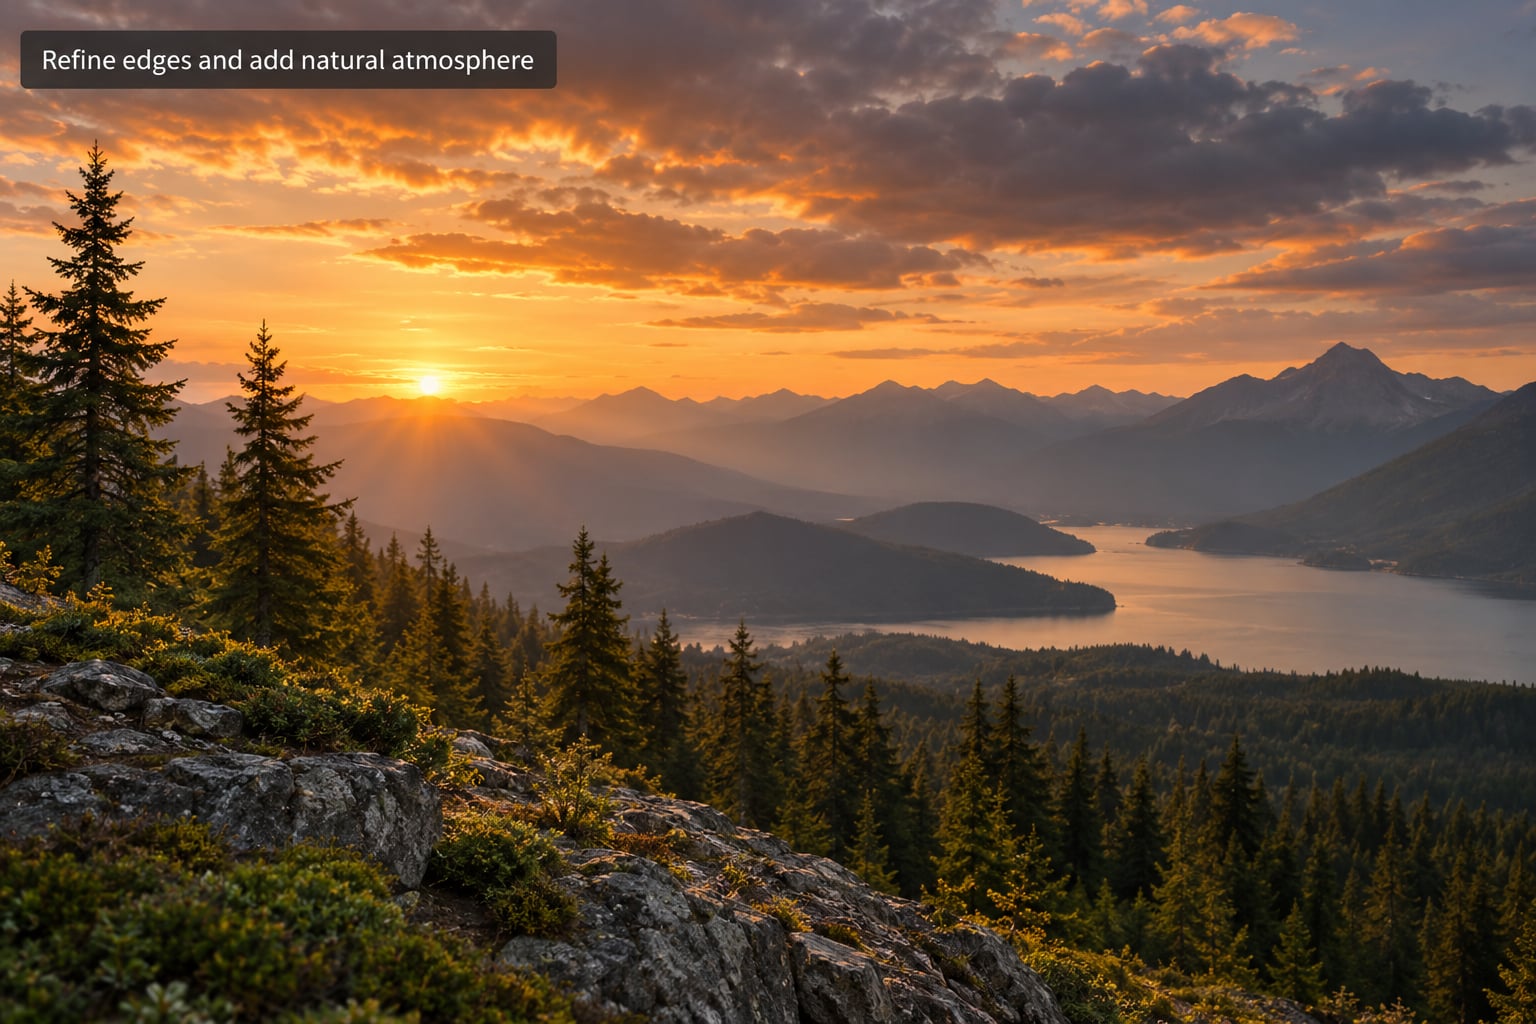
Zoom to 100% and inspect the boundary. At this magnification almost every problem shows up, and at 33% you will not see a single one of them.
Shift Edge moves the mask boundary. Push it into the foreground when a bright rim of the original sky is still visible around your subject. Pull it back when you see a dark outline, which usually means the mask has eaten into the subject.
Fade Edge feathers the boundary. Twenty to forty is often plenty, and there is a temptation to slam it to 100 because a soft edge looks forgiving at first glance. It does not hold up. A heavily faded edge makes a distant ridge look like a smudge. Forum users who share their slider values tend to land in the 40 to 70 range, and they are right.
The Edge Lighting group tackles fringing directly. Stitch repositions the edge slightly to break the outline, Add Noise breaks up a suspiciously clean boundary so it matches sensor grain in the foreground, and Spill suppresses the bright colour fringe that old sky pixels leave around fine detail. Raise Stitch and Add Noise by small amounts and watch the result rather than guessing large values.
Then add atmosphere. Real distant objects sit behind haze, so a new sky that ends in razor-sharp contrast against the horizon is the most common giveaway. Add a new Levels adjustment layer above the sky, mask it with a long soft gradient that runs from the horizon upward, and lower the whites slightly. A tenth of a stop is plenty.
If your foreground is hazy but the new sky is crisp, you can push in the other direction. A gentle white or warm gradient over the distant parts of the foreground pulls everything together, and a Curves adjustment clipped to a layer mask gives you control over the strength.
6. Make final tonal adjustments
Add two adjustment layers above everything, both clipped so they affect only the composite: one Curves layer for contrast, one Color Balance or Photo Filter layer for temperature. Clipping keeps them reversible and stops them from altering anything you might paste in later.
Match the foreground to the sky rather than the other way around. A dramatic sunset sky is much easier to reconcile than a dramatic foreground, so if the two disagree, the sky usually loses.
Open a duplicate of the original and toggle between them with the eye icon in the Layers panel. This catches global exposure shifts you stopped noticing five minutes into an edit. Then zoom to 100% one final time and check the edge work at three or four points along the horizon.
Which sky replacement method should you use?
Sky Replacement is not the only route, and for some images it is the wrong one. This is the comparison no tutorial tends to print.
| Method | Best for | Weakness | Skill level |
|---|---|---|---|
| Sky Replacement dialog | Clear horizons, open scenes, quick work on many images | Struggles with bare branches, power lines, mist and fog | Beginner |
| Quick Selection tool plus mask | Simple scenes with one solid foreground shape | Drifts on low-contrast edges, needs cleanup | Beginner |
| Blend If layer style | Architectural shots where sky and building separate by colour | Slow, fiddly split sliders, poor on fine detail | Intermediate |
| Color Range selection | Bridges, pylons, bare trees, anything with delicate structure | Fuzziness settings can destroy the very detail you need | Intermediate to advanced |
| Generative Fill | Small gaps, sky extension, quick concept work | Less directional control than a chosen sky file | Beginner |
For fine structure, users generally reach for Color Range rather than fighting the automatic selection. Sample the sky colour, watch the Fuzziness value, and keep it lower than instinct suggests, because high fuzziness eats exactly the thin detail you were trying to keep.
Generative Fill has changed what counts as a sky edit. You can select the existing sky and generate a replacement in seconds without picking a file, and the results are convincing for wide, uncluttered skies. You still lose control of sun position and horizon line, so for a specific look I still choose a sky file.
Common Mistakes and How to Fix Them
The Sky Replacement menu item is greyed out. This is the single most common problem on support forums, and it is almost never a bug. The command needs a normal, visible, unlocked layer. A locked Background layer will not do it, which is why converting the duplicate to a Smart Object first solves it more often than anything else. It also needs the image in RGB or Grayscale mode, not Bitmap or Duotone, and not a layer inside a locked group.
Thin branches and power lines are missing from the mask. The automatic selection drops high-frequency detail. Open Select and Mask, pick the Refine Edge Brush with a small hard brush, and paint them back at low flow. Adding a few pixels of feather afterwards keeps them from looking drawn on.
A bright halo or coloured fringe rings the subject. That is leftover original sky pixel bleeding past the mask, or a mask that eats into the subject and leaves its old colour. Shift Edge moves the boundary in the right direction; the Edge Lighting group’s Spill control removes colour contamination that Shift Edge alone will not. Set Stitch and Add Noise to small values so the edge picks up grain rather than looking clean and artificial.
The sun and the shadows point different ways. Use the Orientation slider in the Sky Replacement dialog to flip the sky horizontally. If flipping makes things worse, your sky file simply has its sun on the wrong side and no slider will fix it.
The horizon looks like a cut-out. Reduce Fade Edge, add the gradient haze from step 5, and check that the scale of the sky roughly matches your foreground. A composite with the wrong scale always reads as fake, no matter how well the colour matches.
Mist, fog and shallow depth of field images fail completely. These are the failure case that teaches the tool’s limits. Where the sky is blurred into the foreground there is no hard boundary to detect, so the selection has nothing to grab. For fog, pick a soft sky and mask it broadly with a large soft brush instead of relying on the automatic selection. For shallow depth of field, the sky is usually out of focus but the transition to a distant building can still be masked if you select it rather than the sky.
The composite looks clean while the foreground looks noisy. Match them with a small amount of grain. Add a Noise layer with a fine monochromatic noise set to Overlay at low opacity, mask it to the sky, and the sensor texture reads consistently across both halves.
Tips for a Believable Photoshop Sky Replacement
Choose the sky before you open Photoshop. Browsing presets inside the dialog with a foreground already loaded biases you toward skies that will not work. Decide what the sky needs to do, then find it.
Photograph the sky separately if you shoot this often. Shoot it straight on, wide, at a similar time of day to your foreground work, and with the sun positioned the way the foreground shadows point. A matched capture fixes problems no slider can.
Do the foreground damage repair first. Once the sky is dramatic, every distraction competes with it. Photoshop’s healing tools cover small flaws, and for a bigger gap, Content Aware Fill clears objects from the foreground before you mask anything.
Work non-destructively the whole way. Smart objects, layer masks, adjustment layers and a clipped Curves layer at the end mean every decision stays reversible. Choosing New Layers in the Output dropdown is the single decision that most affects this, and it takes one click.
Check the composite at three sizes: 100% for edges, 50% for colour, and fit-to-screen for overall believability. Most composites that fail do so at the smallest size, which is exactly the size people actually see your work at.
Do less than you think you need. A heavily graded sky with an aggressive Shift Edge and a Fade Edge at 90 reads as a composite faster than a plain one does. When a result starts to look overworked, back off three sliders and compare.
Frequently Asked Questions
Why can’t I select Sky Replacement in Photoshop?
Sky Replacement needs an unlocked, visible layer in RGB or Grayscale mode, so it is greyed out on a locked Background layer, inside a locked group, on a hidden layer, or in Bitmap and Duotone modes. Duplicate your Background layer, right-click it, choose Convert to Smart Object, and the menu item becomes available. If it still will not run, check that the file is not flattened into a mode the tool cannot read.
How can I fix a blown out sky in Photoshop?
A sky clipped to pure white has no recoverable colour information, so you cannot repair it, only replace it. Select the sky, mask it, and place your replacement sky behind the foreground. If you want to keep the original, lower Highlights before masking so some tone returns, then match the new sky’s brightness to the corrected foreground rather than to the clipped one.
How do I edit only the sky in a photo?
Mask the sky to a new layer and everything else stays editable underneath. Select Sky for an automatic mask, or use Quick Selection or Color Range for finer control, then open Select and Mask to refine the edges. Once the mask is right, every adjustment you make affects the sky alone, which is far safer than painting over the whole image.
How do I add my own sky image to the Sky Replacement dialog?
Open Edit Sky Replacement, then click the + icon at the bottom of the presets panel and choose Add Sky from File. Use an image at least as large as the sky area you are covering so you scale down rather than up. The new sky appears as a smart object you can reposition with the sky move tool before you commit to it.
Can I replace a sky in Photoshop on iPad?
Yes, but the tool is narrower. The iPad version of Photoshop includes Sky Replacement with the core presets and the main sliders, and it lacks the Edge Lighting group that removes fringing on desktop. Complex tree edges also tend to need more manual cleanup on a touch device. For detailed work, do the mask and edge refinement on the desktop.
How do I stop my replaced sky from looking pasted in?
Most obvious composites fail on light and scale rather than on the sky itself. Flip the sky with the Orientation slider until the sun matches your shadows, match temperature and brightness at the horizon rather than at the top of the frame, add a soft gradient haze along the horizon, and lower Fade Edge from its maximum. Finish with a clipped Curves layer that affects sky and foreground together.
Conclusion
Start with the sky image, not the Photoshop dialog. Find a replacement that matches the direction of light and the scale of your foreground, then build the mask on a Smart Object copy of your photo. Adjust Shift Edge and Fade Edge until the boundary disappears at 100%, match temperature and brightness at the horizon, and finish with gradient haze plus one clipped Curves layer over both halves. Choose New Layers in the Output dropdown and you can back out of any decision you regret.