
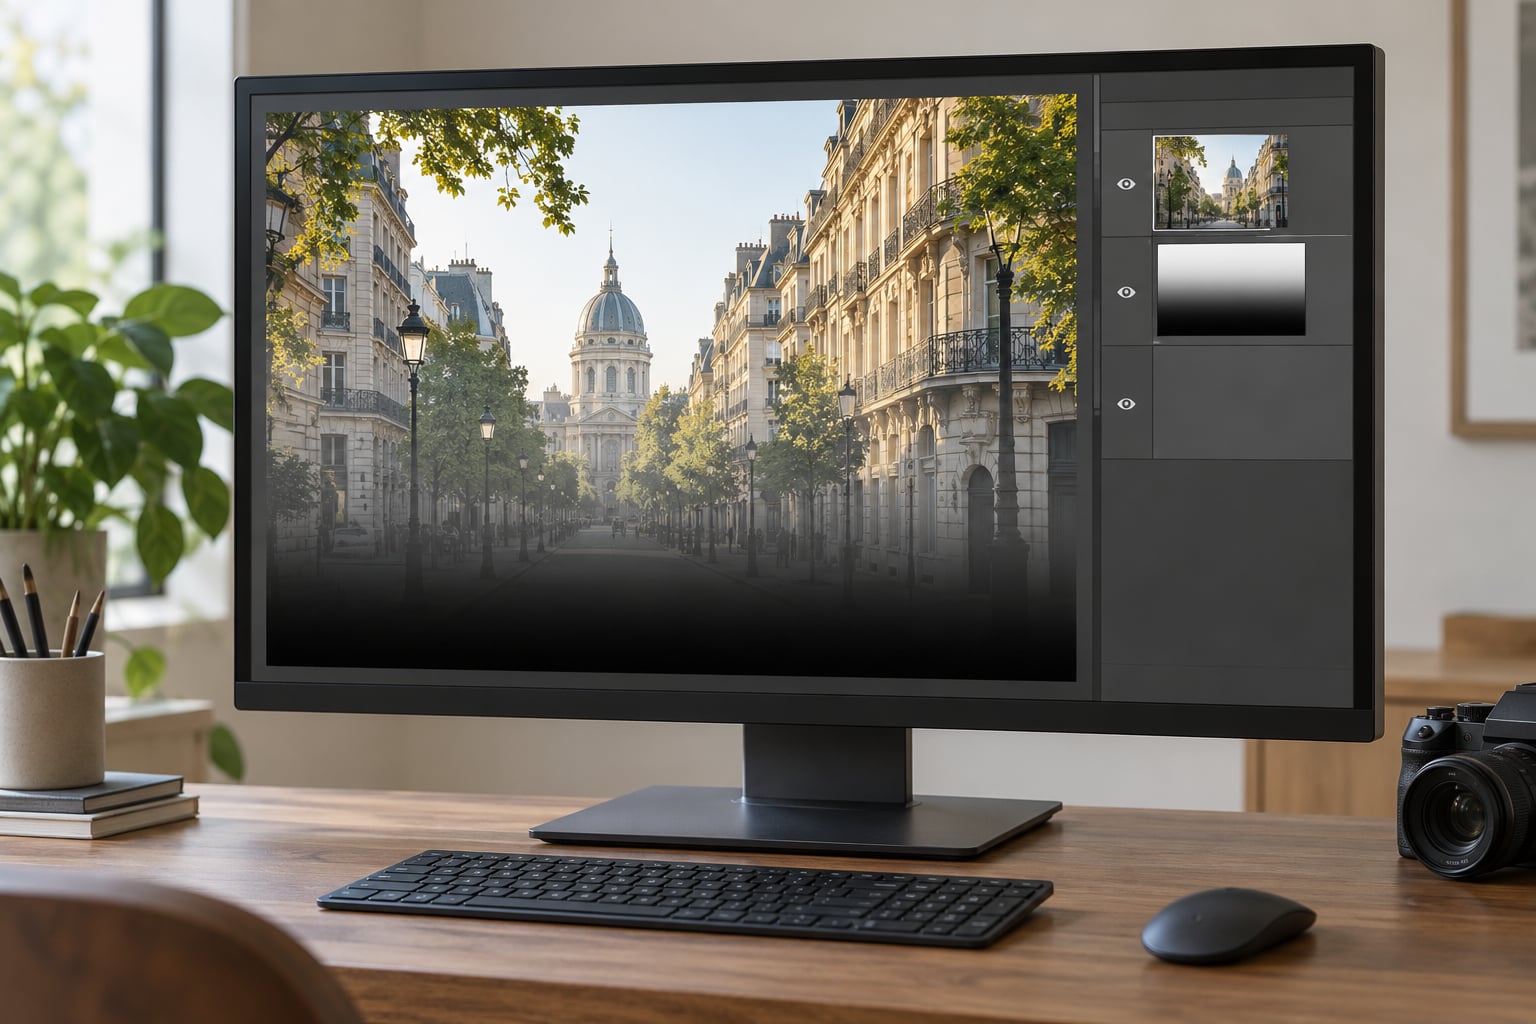
To create a tilt shift effect in Photoshop, duplicate your background layer, apply Filter > Blur Gallery > Tilt-Shift, then pull the focus lines into a narrow band across your subject. Mask the blur with a soft gradient so the sharp area fades gradually instead of stopping at a hard line. The whole thing takes about fifteen minutes on a decent-sized photo.
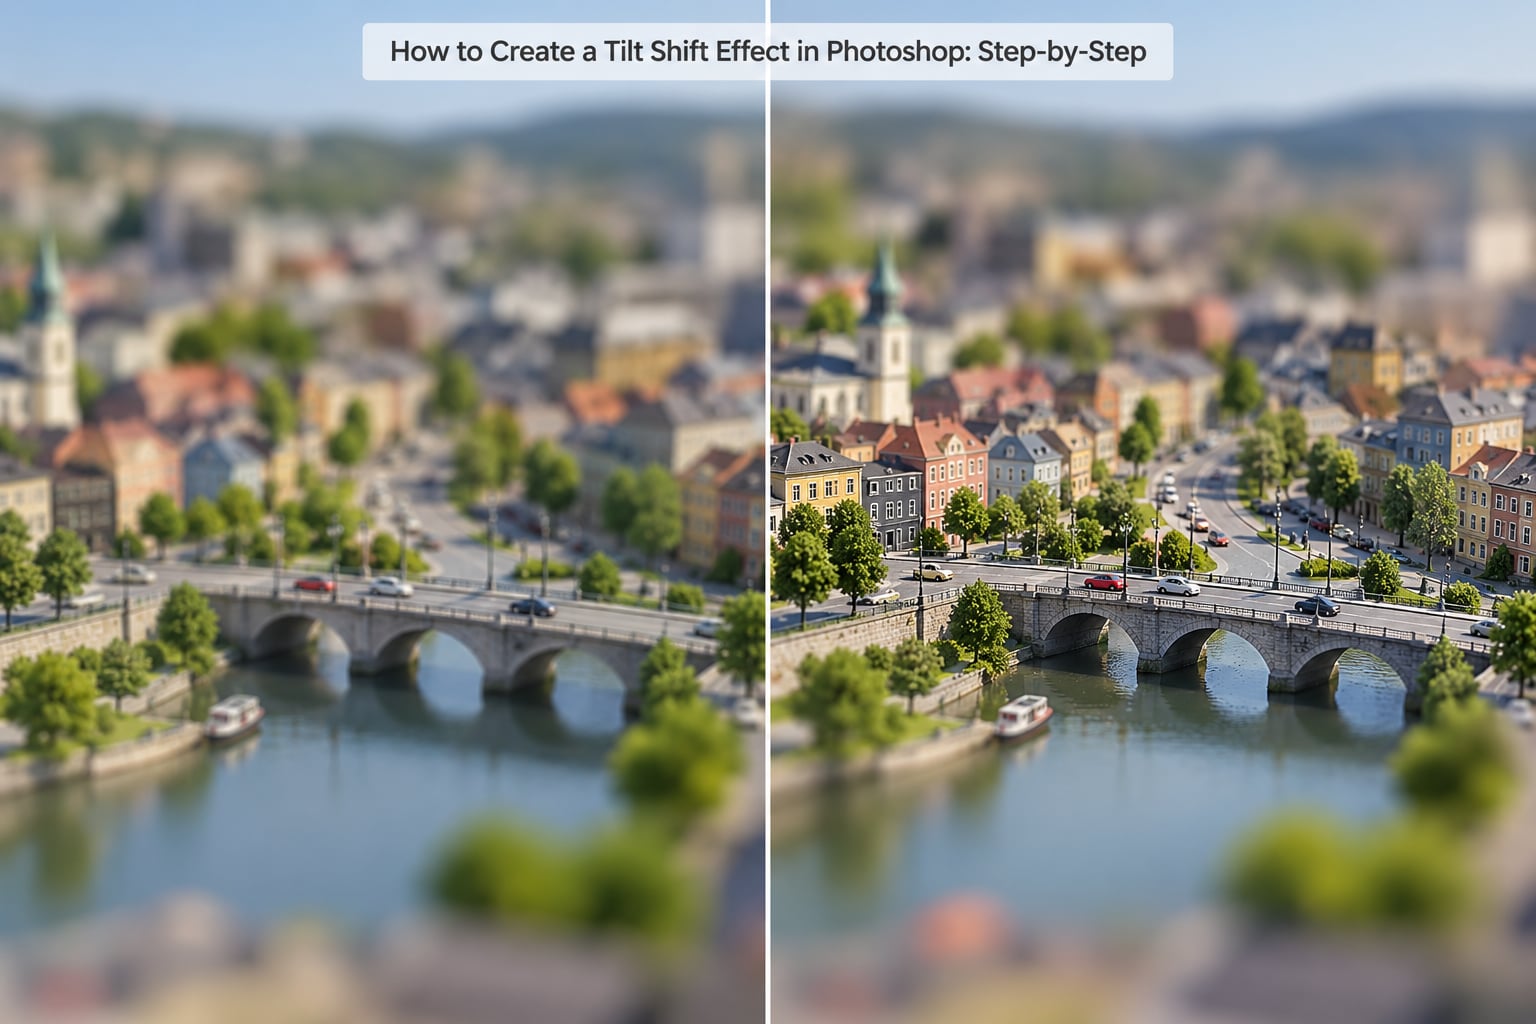
The reason this works is optical. A real tilt-shift lens tilts the plane of focus so only a thin slice of the scene is sharp and everything nearer or further falls off softly. Your eye reads that narrow, gradual ramp of blur as an extreme close-up of a physical model, which is why the best miniature photos are shot from high up with long receding lines.
What follows is the workflow I actually use, menu paths included, along with the mistakes that make the effect look pasted on. These steps are for Photoshop desktop on Windows and Mac; the filter is called Tilt-Shift (US spelling) in Blur Gallery and has been there since Photoshop CS6.
Table of Contents
What You Need
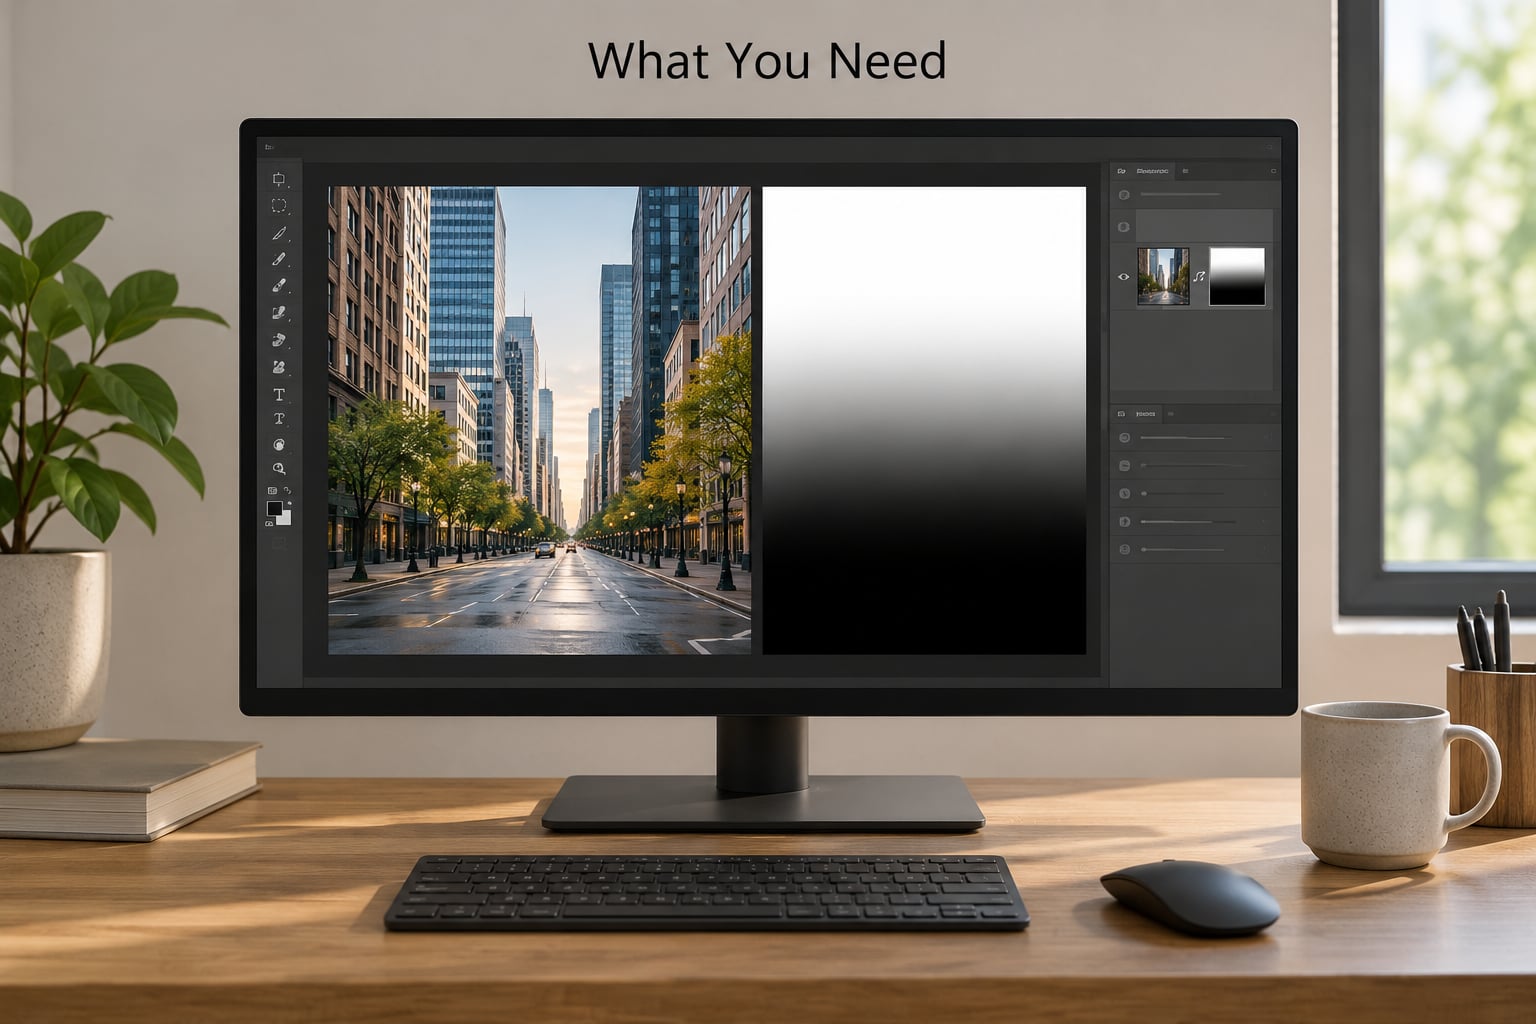
A photo with real depth in the frame beats a fancy camera every time. Roads, rooftops, rail lines, staircases and rows of trees all give the eye something receding to measure scale against.
You also need Photoshop itself. The Tilt-Shift filter lives in the Blur Gallery, which arrived in Photoshop CS6 and is present in every version since. If you are on Photoshop Elements, skip ahead to the FAQ, there is a workaround there.
A soft round brush matters more than most guides admit. It is how you heal the mask edges after the gradient, and a hard brush will leave you fighting visible halos.
One habit worth forming early: work on a duplicated Background layer rather than the original. Knowing how to use Smart Objects in Photoshop helps here, because a Smart Object lets you convert the result to a Smart Filter later and go back and tweak the blur without redoing it.
Before you open Photoshop, though, decide on your subject. Keep layers unlocked and your adjustment layers ready.
How to Create a Tilt Shift Effect in Photoshop: Step-by-Step
1. Choose a Photo With Strong Perspective
Shoot from an elevated position and look down at roughly 30 to 45 degrees. Ground-level shots never work, no matter how much blur you pile on, because there is no sense of looking down onto a model.
Check that your frame has foreground, midground and background. That three-layer stack is what sells the shallow depth of field.
2. Duplicate the Background Layer
Press Cmd+J (Ctrl+J on Windows) to duplicate. Name the top layer Blurred Layer and leave the sharp original underneath. That lower layer is your safety net when the mask goes wrong.
Optionally, right-click the duplicate and choose Convert to Smart Object. Smart Filters preview live, so you can reposition the blur later instead of reapplying it.
3. Add Blur to the Upper and Lower Areas
Select the duplicated layer, then go to Filter > Blur Gallery > Tilt-Shift. The filter opens with an on-canvas control overlay, and understanding that overlay is the whole trick.
You get four pieces. The center pin sets where the blur is weakest. Two solid lines mark the in-focus range that stays fully sharp. Two dotted lines mark the transition zone where blur ramps up. The outer ring on the pin, or the Blur slider in the options bar, sets how much blur everything else receives.
Drag the center pin onto your subject, roughly at the plane you want sharp. Then squeeze the two solid lines close together so the sharp band is narrow. A band about a quarter of the frame height is usually plenty.
Move the dotted lines outward to create a gentle ramp. This is the part people rush, and it is the part that decides whether the result looks real. Bring the transition up to around 40 pixels and adjust the Blur slider to somewhere between 10 and 20. You can refine it further after you have finished all of the steps below.
4. Mask the Blur With a White Gradient
Click OK to apply, then add a layer mask to the blurred layer so you can knock the blur back to zero exactly where you want it sharp.
Alt-click (Option-click on Mac) the layer mask thumbnail to load it as a selection. Now open Quick Mask Mode with Q, and check View > Show Layers in Quick Mask Mode.
Choose the Gradient Tool (G), and in the options bar pick Black, Transparent and set the type to Reflected Gradient. Now drag a short line down the middle of your subject. The reflected gradient fades out above and below the drag, which matches how a real lens defocuses in both directions.
If your focus band is slanted rather than horizontal, hold Shift while dragging so the gradient stays straight, then rotate the layer mask afterwards to match your line of sight.
5. Refine the Sharp Focus Band
Hit Q again to return to standard mode, then Cmd+D (Ctrl+D) to drop the selection. Your subject should now be sharp with a soft blur ramping into it from both sides.
Zoom in at 100 percent and look hard at the ramp. If it is too abrupt, select the layer mask, paint white with a soft round brush at 20 to 30 percent opacity, and feather the transition by hand. Painting black pushes the blur further into the subject when you need the sharp area larger.
If the ramp still looks like a band of fog rather than depth, you blurred a region that was already soft. Go back to the smart filter and lower the Blur slider a few points.
If your subject has an obvious base, a table edge or a line of feet, align the sharp band with it. That single alignment does more than any amount of extra blur.
If the foreground is distracting, run the filter a second time on a duplicate layer, drag the center pin to the foreground, and mask the subject back out. Two passes give you a genuine near-far-out-of-focus look instead of a flat backdrop.
6. Add Contrast, Color, and Final Polish
Flatten the effect with a Curves adjustment on a new layer set to Soft Light at 30 to 40 percent opacity. If you have not touched Levels before, the beginner’s guide to Levels covers the same idea in more detail, and how to use Curves goes deeper on the shadow roll-off that makes toy scenes pop.
Add a Vibrance adjustment at plus 15 to plus 25. Small amounts only. Over-saturated reds and greens are the fastest way to make a miniature photo look like a bad filter.
Then add a sharpening pass to the sharp band only. Mask it with the same gradient you used before so the blur stays soft.
Common Mistakes
The blur is far too strong. Real miniature photography uses a gentle ramp. Drop the Blur slider to 10, widen the transition lines, and compare against your sharp layer. If the blurred version is obviously soft from across the room, so will the finished image be.
The sharp band is a thin strip floating in the wrong place. This almost always means the focus band does not sit on your subject. Reposition the center pin so the sharp slice crosses the subject, not the empty sky above it.
There is a visible hard edge where the blur starts. The transition zone is too tight. Drag the dotted lines further from the solid lines and increase the feathering on the mask. A real lens never goes from sharp to soft in a single pixel.
The background is sharp and the subject is blurred. Your selection or mask is inverted. Go to Select > Inverse on the mask thumbnail and check again.
Halos ring the edges of buildings or people. Blur bleeds across high-contrast edges and drags their colour outward. Fix it with a small Select > Modify > Shrink on the layer mask, then paint the lost detail back with white.
Colors look radioactive. Pull Vibrance back toward zero. Real models photographed up close pick up slight contrast and warmth, not neon.
Photoshop says it could not complete the tilt-shift command. Convert the layer to a Smart Object first, then retry. If it still fails, close other documents to free memory, or set Preferences > Performance to allocate more memory to Photoshop and restart.
Two composition habits keep most of this in check. Always shoot from above, and always put the sharp band on a real plane in the scene.
Frequently Asked Questions
Do I need a tilt-shift lens to make this effect?
No. A real tilt-shift lens physically tilts the plane of focus, which most people cannot afford or do not own. The Photoshop version simulates the same optical result with a narrow sharp band and a gradual blur ramp, and for a landscape or cityscape shot from a high vantage point it is indistinguishable from the real thing. Lenses still win on edges, because the simulation cannot change perspective.
Why is my subject blurred instead of the background?
The selection or layer mask is inverted. Click the layer mask thumbnail, then choose Select Inverse from the Select menu, and the blur will move off your subject. If the whole image looks equally soft, check that you are actually looking at the blurred layer and that the layer mask is enabled, since a hidden or black-filled mask removes the effect entirely.
Where is the tilt-shift filter in Photoshop?
It is at Filter Blur Gallery Tilt-Shift. Blur Gallery has contained the filter since Photoshop CS6, so every current desktop version has it. The options that appear on the right give you Blur and Focal Point values, while the on-canvas overlay lets you drag the focus lines directly. Press Cmd and H to hide the overlay while you check the result.
Can I create a tilt shift effect in Photoshop Elements?
You can, but Elements has no Blur Gallery. Use the older route instead: enter Quick Mask Mode with Q, pick the Reflected Gradient from the Gradient Tool and drag across your focus area, then apply Filter Blur Lens Blur. Elements can save selections too, so you can blur the background, restore the subject, and repeat for the foreground.
Why does my tilt shift effect look fake?
Almost always the blur ramp. Real miniature photos fade gradually from the sharp band outward, so if yours drops from sharp to fully blurred within a few pixels, the eye reads a gradient overlay rather than depth. Widen the transition zone, lower the Blur slider to around 10 to 15, and increase the mask feathering with a soft brush.
Should I blur the foreground as well as the background?
It depends on the frame. If there is something close to the camera competing with the subject, blurring it too makes the depth read properly. To do it, duplicate the blurred layer, run the Tilt-Shift filter again, drag the center pin to the foreground element, and mask your subject back in sharp. Skip the second pass when there is no real foreground in the shot.
Conclusion
Start simple: duplicate your background, run Filter > Blur Gallery > Tilt-Shift, pin the focus to your subject, and mask it back with a soft reflected gradient. Get that first pass right before touching any colour.
Once it reads as a model, add a restrained Curves and Vibrance pass on top. That ordering is what keeps the effect looking photographed rather than filtered.