
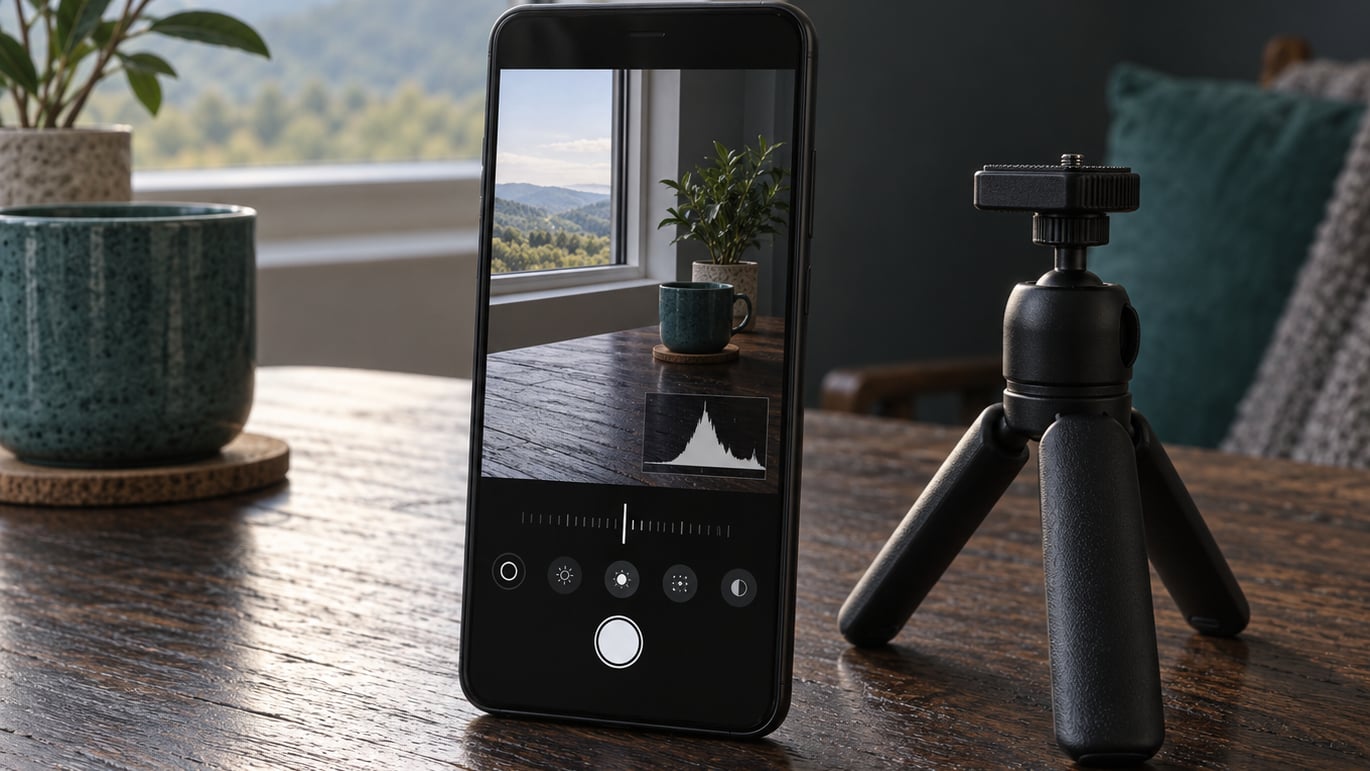
To shoot manual on an Android phone, open the stock camera app, swipe the mode strip to Pro, Manual or Expert, then set ISO, shutter speed and focus yourself instead of letting the phone decide. Most Android phones made in the last several years can do it. The whole process takes about five minutes once you know which control does what.
The awkward part is naming. Samsung calls it Pro, Google Pixel calls it Expert, Xiaomi calls it Pro, and a handful of brands bury it under More. Same controls, different labels.
Table of Contents
What You Need
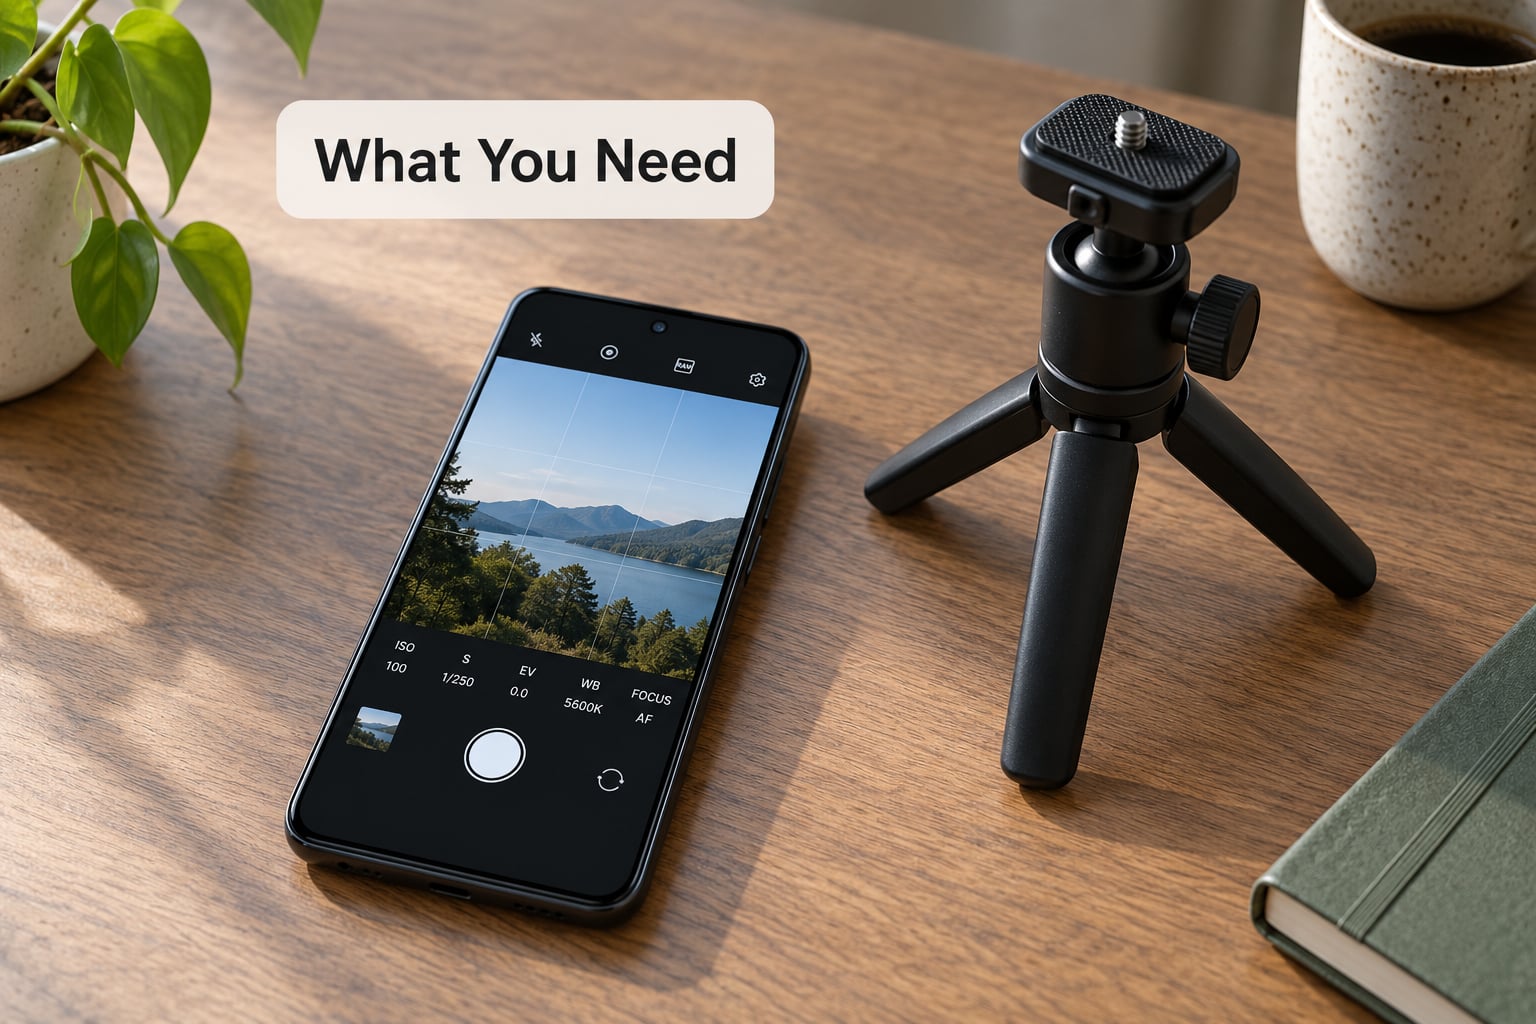
Any Android phone with a manual shooting mode, and that is most of them. Check by opening the camera app and looking for a Pro, Manual, Professional or Expert option along the mode strip. On some models it hides behind a More or Night entry, or sits inside a settings gear labelled Camera control.
Three things help more than people expect:
- A stable surface or a small tripod. Once your shutter drops below about 1/60th of a second, hand shake starts showing. A phone tripod with a clamp costs very little and instantly doubles how many usable frames you get.
- A cleaning cloth. A fingerprint on the lens costs you more sharpness than a mediocre ISO setting ever will.
- Room to look at the frame. Manual mode asks you to judge brightness and focus from a screen. Cramming the phone into a pocket mid-adjustment is how settings get lost.
If you plan to shoot black and white regularly, start with the best phone camera settings for black and white photography, since manual control matters more there than anywhere else.
Step-by-Step: How to Shoot Manual on an Android Phone
1. Open the camera’s professional controls
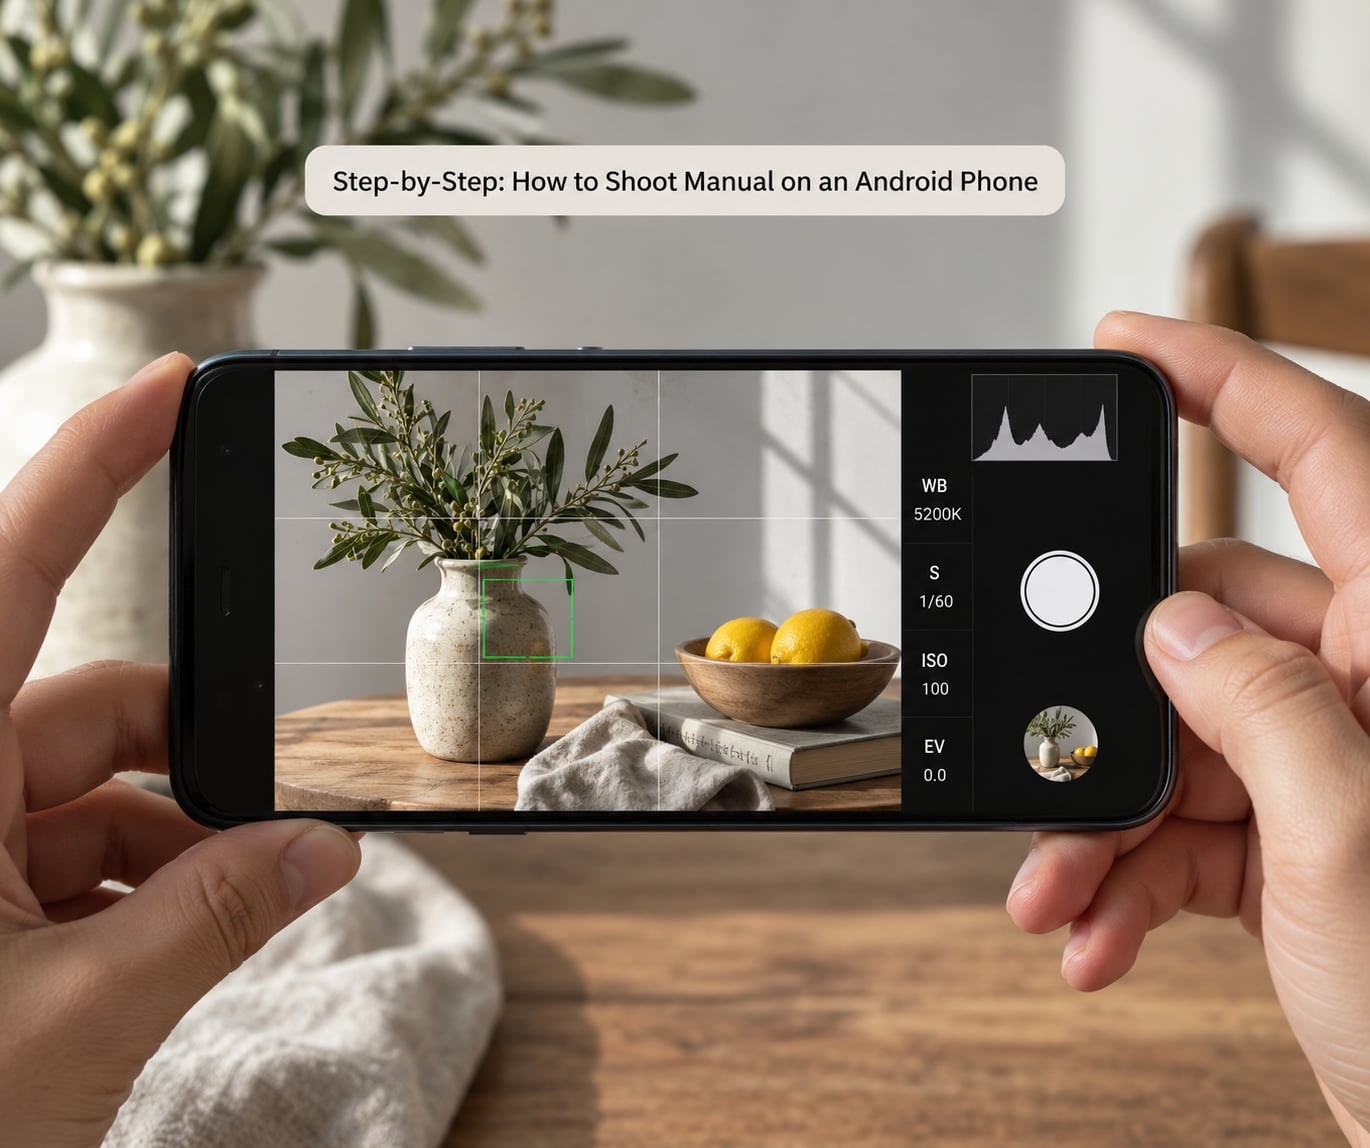
Open the camera app and swipe across the row of shooting modes at the bottom or top of the screen. Look for Pro, Manual, Professional or Expert. If you only see Photo, Portrait, Night and Video, tap More at the end of the strip.
The mode has to show you adjustable exposure values. If it opens but only offers a scene picker, you have the wrong menu. Some Samsung models hide the full manual controls behind a small tab on the left edge of the viewfinder, so a manual mode you cannot control is usually just a different entry point.
2. Choose a suitable starting exposure
Set ISO low, pick a moderate shutter speed and leave focus adjustable. That is a workable starting point in almost any light, and you refine from the frame you actually see rather than a number on a screen.
Rough starting points, not rules:
- Bright daylight: ISO 50-100, shutter around 1/250s.
- Overcast daylight or open shade: ISO 50-100, shutter around 1/125s.
- Indoor with windows or lamps: ISO 200-800, shutter around 1/60s, phone on a support.
Once you shoot manual on Android regularly, you stop guessing with those and start reading the light instead.
3. Set ISO, shutter speed and focus
Each control changes one thing. ISO sets how sensitive the sensor is to light. Shutter speed sets how long the sensor is exposed. Focus sets the distance the lens is sharp at.
Drag or tap the on-screen value for each, or spin a physical dial on phones that have one. Raising ISO is how you keep a fast shutter in dim light at the cost of noise. Lengthening the shutter is how you keep ISO low in dim light at the cost of motion blur, so put the phone on something solid first.
For focus, tap the screen to set autofocus on the subject and watch the focus box lock. To go fully manual, switch the focus control from AF to MF and drag a focus slider. A fixed distance beats an autofocus that hunts around when you are shooting a still life or a distant view.
4. Check exposure and composition
Turn on the histogram if your phone has one. You are looking for data spread across the width of the graph rather than piled up against the right edge. A spike jammed against the right means clipped highlights, and those pixels are gone. A big empty gap on the right means the frame is darker than it needs to be.
Ignore your screen brightness. An auto-brightening phone dims the display outdoors and fools you into thinking the shot is too dark, which is how people underexpose by accident. Exposure compensation, or the small plus and minus scale next to the values, nudges the whole exposure when you want it brighter or darker without touching the other settings.
Composition is the other half. Straighten the horizon using the level gauge if there is one, and look at the brightest part of your subject. Protecting a highlight you cannot get back is worth more than pulling a shadow back later.
5. Take a test shot and refine the settings
Shoot one frame, then open it at full size. Zoom in on a fine detail to check sharpness rather than trusting the thumbnail, and check the histogram in the image editor if your gallery offers one.
Four symptoms tell you what went wrong:
- Clipped white patches with no detail means the shutter was too slow or ISO too high for the light.
- Crushed shadows with no texture usually means you underexposed to protect highlights.
- Blur everywhere means the shutter was too slow for the phone to hand-hold.
- Sharp in the background, soft on the subject means focus landed on the wrong thing.
Change one value at a time so you know which one fixed it. When the frame looks right, write the three numbers down. That recipe becomes your fast start next time instead of another round of dialling.
6. Save or reuse your manual settings
Once exposure and focus are right, lock them so the phone stops hunting. Most apps have an AE/AF lock icon, and on some it is a long press on the focus box. Locked settings are what make a run of ten near-identical frames possible, which matters for panoramas and bracketed sequences.
Bracketing means deliberately shooting one frame darker, one correct and one brighter, then blending them later for a wider dynamic range. It takes about fifteen seconds and rescues a sky that would otherwise blow out.
Here is the honest limitation: most Android camera apps do not permanently save custom profiles. When you leave manual mode, those values are usually gone. Some ProShot and Camera FV-5 style apps can store presets, but treat that as a bonus rather than the default. Photograph your recipe instead.
For exposures longer than about a second, read our guide to how to shoot long exposure photos on a phone, since hand shake stops being optional at that point. And if you want the manual settings to serve a finished image rather than a snapshot, the practical guide to fine art photography covers where the extra control actually pays off.
Common Mistakes
Using an ISO you did not need to. Reaching for ISO 1600 in fading light feels safe because the frame brightens, but you traded noise for exposure. Try one stop higher than feels right instead. Tip: keep ISO at its lowest usable value until the shutter speed drops below what your hands can hold.
Choosing a shutter speed that cannot be handheld. The old rule says keep the shutter at least as fast as one over the focal length, so roughly 1/200s for a phone. Tip: when the light forces a slower shutter, brace the phone against something solid or use a tripod before you go any slower.
Focusing on the wrong distance. Autofocus often locks on the nearest edge, which on a group shot is a hand. Tip: tap the subject’s face or main point of interest and check the focus box turns white or solid before you shoot.
Treating screen brightness as exposure. Auto-brightness is lying to you, especially outdoors and in a dark room. Tip: read the histogram instead, and if your brightness is unreliable turn the phone’s auto-brightness off for the session.
Pushing past what the sensor can hold. A phone has far less dynamic range than a dedicated camera, so a scene with a bright sky and a deep shadow will not fit in one frame. Tip: shoot RAW, or bracket, and accept that one part of the frame has to give.
Leaving the camera in a mode that quietly resets. Some apps drop back to automatic settings when the app loses focus or the screen sleeps. Tip: after returning to the app, glance at the three values before the next frame, and re-lock exposure when you shoot a series.
Frequently Asked Questions
Does every Android phone have manual mode?
Most Android phones sold in the last several years do, but the label changes with the brand. Samsung says Pro, Pixel says Expert, Xiaomi says Pro, and some models bury it under a More option in the mode strip. Open the camera app and look for a mode that shows adjustable ISO, shutter speed and focus. If none appears, the phone may only expose controls in a third-party camera app.
What does ISO do in Pro mode on a phone?
ISO sets how sensitive the phone sensor is to light. A low ISO such as 50 or 100 gives you the cleanest file but needs a brighter scene. Raising ISO brightens the frame without slowing the shutter, and costs you noise and grain in return. The practical habit is to keep ISO as low as the light allows, then raise shutter speed instead, and only lift ISO when a fast shutter is not possible.
Can I shoot RAW in manual mode on Android?
Usually yes, if your phone’s sensor supports it. Look for a RAW or DNG toggle in the manual or Pro mode settings, and note that RAW files are several times larger than JPEGs, so storage fills up quickly. The benefit is much more latitude when editing: you can pull back highlights and open shadows afterwards in a mobile editor that reads DNG files. Shoot JPEG as well if you want quick-to-share frames.
Does image stabilization help with slow shutter speeds?
Stabilization helps with hand shake but it does not stop subject motion. On most phones, optical stabilization is active automatically and can smooth out somewhat slower handheld shots than you would manage without it. Once your shutter drops far enough for the subject itself to move during the exposure, no amount of stabilization saves the frame, and a tripod is the honest answer.
How do I focus manually when there is nothing to focus on?
Tap the subject to set autofocus, then switch the focus control from AF to MF to hold that distance as a fixed value. For distant scenes, set focus manually rather than leaving autofocus on, because autofocus often hunts and never finds a horizon. Focus peaking, available in some third-party camera apps, highlights the sharp areas in colour so you can watch the edges snap into focus while you drag.
Does manual mode produce better photos than automatic?
Not automatically better, but different. Automatic mode blends several exposures, cleans up noise and picks an exposure that reads as correct, which is why it often wins for a quick snapshot. Manual mode wins when you need a specific look: freezing motion deliberately, holding highlights on a bright sky, shooting light trails, or working in flat light where the auto result looks grey. Use automatic for speed and manual for intent.
Here is what to do first. Open the camera app, find Pro, Manual or Expert, and set ISO to the lowest number on the dial. Choose a shutter speed around 1/200s, tap the subject to focus, and take one frame. Look at it full size, change one value, shoot again. After ten minutes you will have a feel for the controls that no settings list gives you. That is how to shoot manual on an Android phone, and it takes one afternoon to make second nature.