
You can remove fungus from a lens only if the growth sits on a surface you can actually reach. Anything living between cemented elements, inside a sealed barrel, or etched into an anti-reflective coating needs professional lens servicing, and no home method changes that. The work below takes about an hour for an externally contaminated filter or an accessible front element, and the identifying step takes five minutes.
The reason for that split is simple. Fungus feeds on the coating itself, and the moment it has been growing long enough to etch glass, it has already become part of the lens rather than a stain on it. Treating the two cases the same is how people end up with a lens that looked dusty and came back fogged, chipped or decentered.
Fungus spores are present in ordinary air, so spores will always reach your lens; they only take hold somewhere dark and damp where spores, moisture and organic nutrients sit together. A camera bag in a humid closet, a lens parked in an unheated garage or a body cap left off for weeks are the usual settings. Cleaning removes the growth and the film it left behind, but only humidity control keeps it from coming back.
Table of Contents
- What You Need
- How to Remove Fungus from a Lens: Step-by-Step
- Step 1: How to Remove Fungus from a Lens by Identifying the Problem
- Step 2: Remove Loose Dust Before Cleaning
- Step 3: Clean an Accessible Exterior Surface
- Step 4: Do Not Clean Internal Fungus Through the Lens Barrel
- Step 5: Let the Lens Dry Thoroughly
- Step 6: Recheck the Lens Under Angled Light
- Step 7: Arrange Professional Servicing When Needed
- Common Mistakes
- Frequently Asked Questions
- Conclusion
What You Need
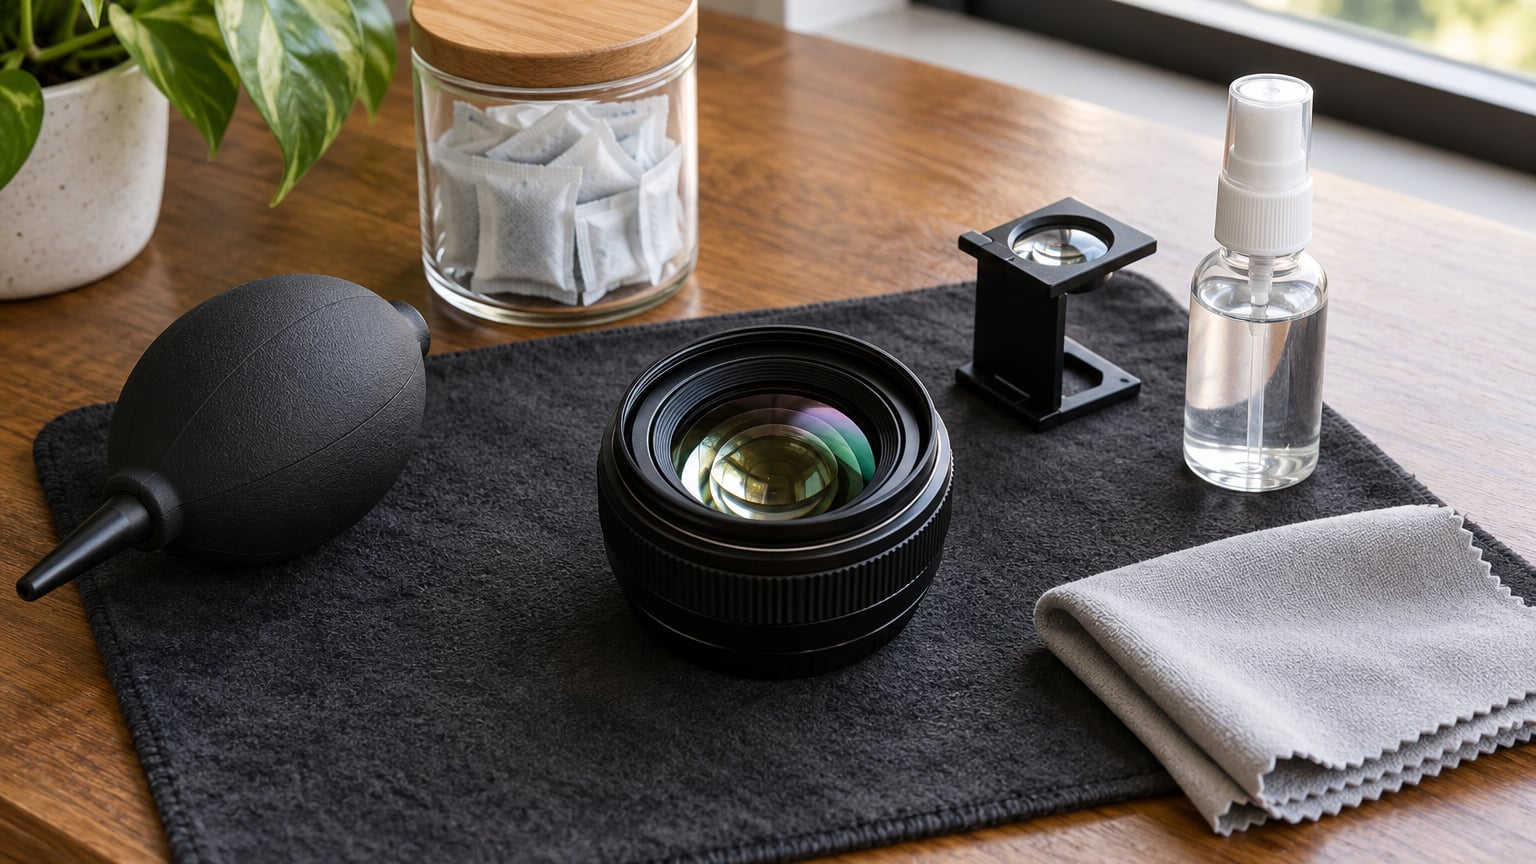
You need less than most people expect, because most of what gets recommended online is for full teardowns that are not a home job. Here is the honest list for the work described in this guide.
- A clean, dark surface such as a non-slip mat, plus a small flashlight or bright lamp
- A 10x magnifying loupe, a jeweller’s loupe or even a strong reading lens
- A rubber hand blower with a bulb you squeeze, held by the body
- Fresh, clean microfiber lens cloth or lens tissue
- Manufacturer-approved lens cleaning fluid, used sparingly
- Nitrile gloves, so your fingerprints are not the thing you clean off next
- Airflow: a fan or a gentle draught from a hair dryer set to cool
- Silica gel packets and a sealable container for the final dry
Also useful: a clean plastic tray to keep the lens from sitting directly on the mat, and a few cotton swabs for the barrel exterior. Keep nitrile gloves on for the whole session, including the inspection, because skin oils on the front element are harder to see than fungus and harder to shift later.
Some things people reach for should not touch a lens at all. Bleach eats coatings. Household glass cleaner is not formulated for optical coatings, and Windex-style ammonia products risk a matte or peeling finish. Compressed air propels liquid droplets straight into the barrel, which is how it reaches the rear element. Cotton swabs inside the barrel can scratch the front element and shed fibres. And never immerse a lens unless the maker permits it, because water and detergent travel past the barrel seals and into mechanisms that will not forgive it.
How to Remove Fungus from a Lens: Step-by-Step
Step 1: How to Remove Fungus from a Lens by Identifying the Problem
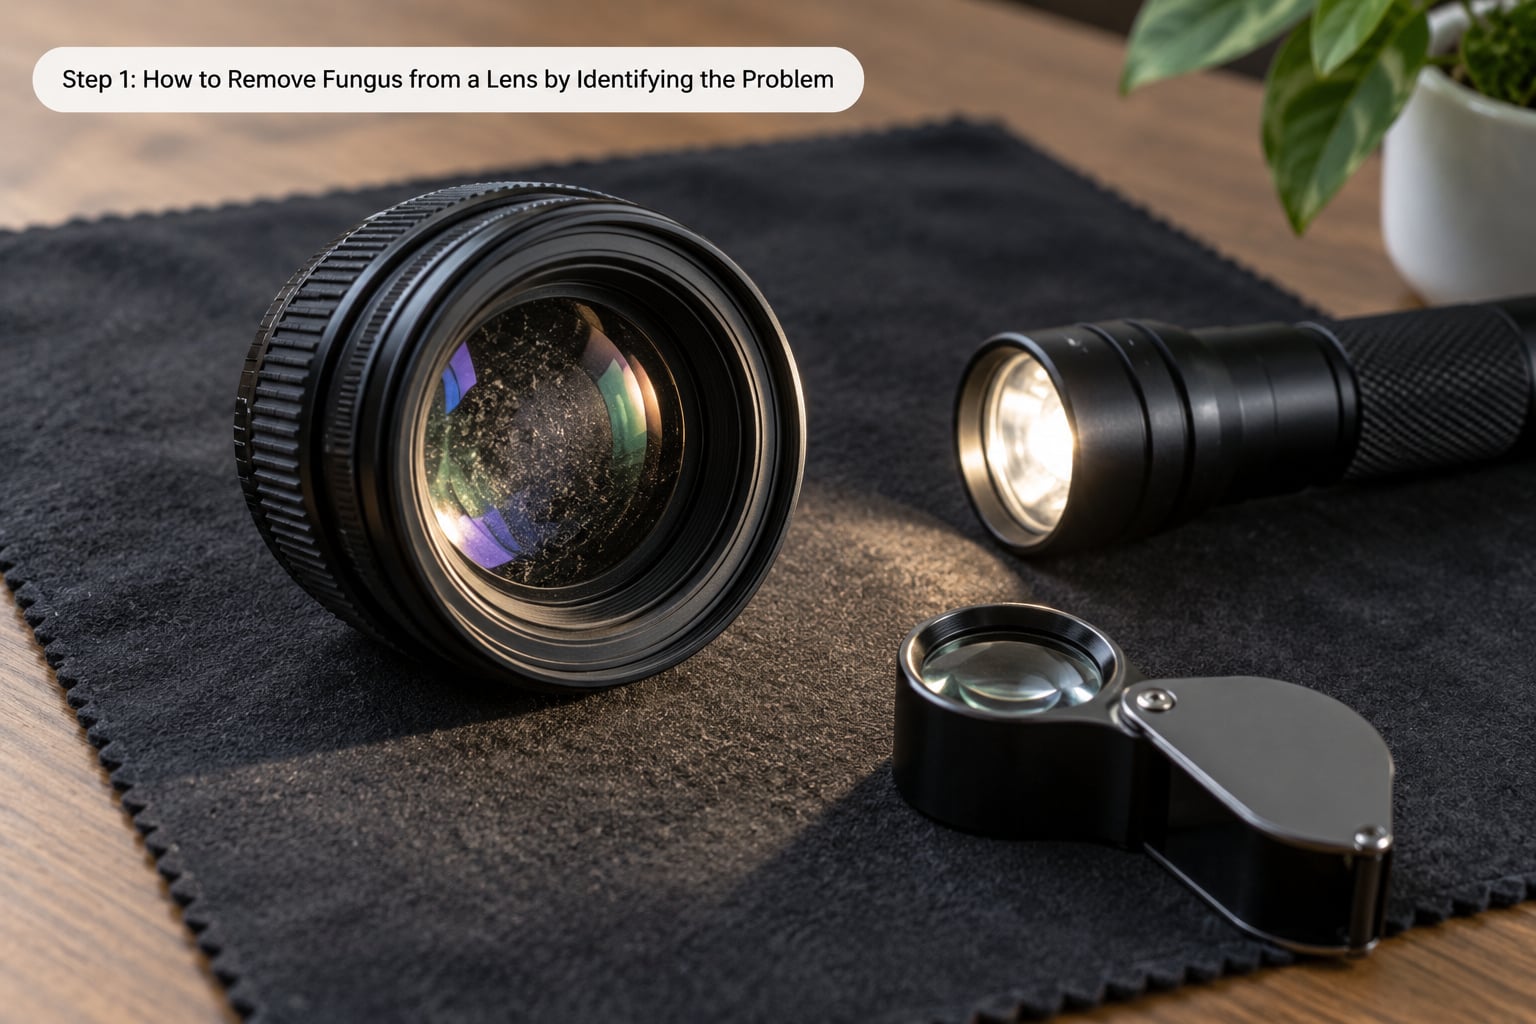
Light the glass at a shallow angle and look through the loupe rather than straight into it. Fungus shows up as thin branching filaments, fern-like tendrils or rosettes of spots, often clustered near the edge of an element where the mount funnels air. It has texture and direction; it spreads from a point.
Dust does not branch. It sits on top of the image, stays put as you change the viewing angle, and moves or disappears when you touch it. Flare and internal reflections feel different again: they bloom into colour when the light source sits opposite your eye, and they change shape every time you shift position.
Haze is the one people misread most. It is a low-contrast milkiness over the whole surface, uniform, without structure. Fungus is not uniform, and untreated haze has no filaments to lift away.
Decide one thing before you touch anything: can you see the growth without looking into the barrel, on a surface you could reach with a cloth? Note what you see in each element, front and rear, and note the light source and angle. That record is your before state, and it is the only way you will know in step 6 whether anything actually changed.
Step 2: Remove Loose Dust Before Cleaning
Point the lens element straight down so falling grit cannot land on the glass, then hold the blower by its body with the nozzle a centimetre above the surface. Squeeze the bulb slowly, not a blast, and work from the centre outwards.
You can see this working: dust shifts and drops away under the air, and the glass looks the same afterwards, just cleaner. Loose grit still sitting on the surface is the thing that gets dragged across the coating by a cloth in step 3 and leaves streaks no fluid will remove.
Step 3: Clean an Accessible Exterior Surface
Put two or three drops of manufacturer-approved lens fluid on the cleaning cloth, never straight onto the glass. A soaked lens pools fluid at the edges, where it runs into the barrel and under a filter thread.
Fold the cloth so a clean flat face contacts the glass. Wipe in light circles, barely touching, lifting away rather than scrubbing. You want the cloth to move, not the glass.
This worked if the film looks even instead of patchy under the angled light from step 1. Stop immediately if you see rainbow streaks, a dull matte finish or a patch that was not there before. That is coating damage, not fungus, and it does not improve with more passes. Wipe with a clean section of cloth once to lift excess fluid, then move on to drying.
Step 4: Do Not Clean Internal Fungus Through the Lens Barrel
Fungus between elements cannot be reached with a swab. The swab damages the front element and leaves fibres in the barrel; unscrewing the inner barrel section twists elements against their spacers and can tilt them, and cemented groups held by old optical cement can separate entirely.
Keep spores where they already are. Do not set a suspect lens on the same mat as your other glass, do not put it back in a shared bag, and do not mount it on a body you care about until step 6 confirms what you are dealing with. Wear the gloves, and wipe the outside of the barrel before it goes anywhere near another lens. Spores are everywhere in normal air, so the risk is contamination of surfaces, not a travelling colony.
Cross-contamination also runs the other way. Put your clean lenses in the case before you handle the suspect one.
Step 5: Let the Lens Dry Thoroughly
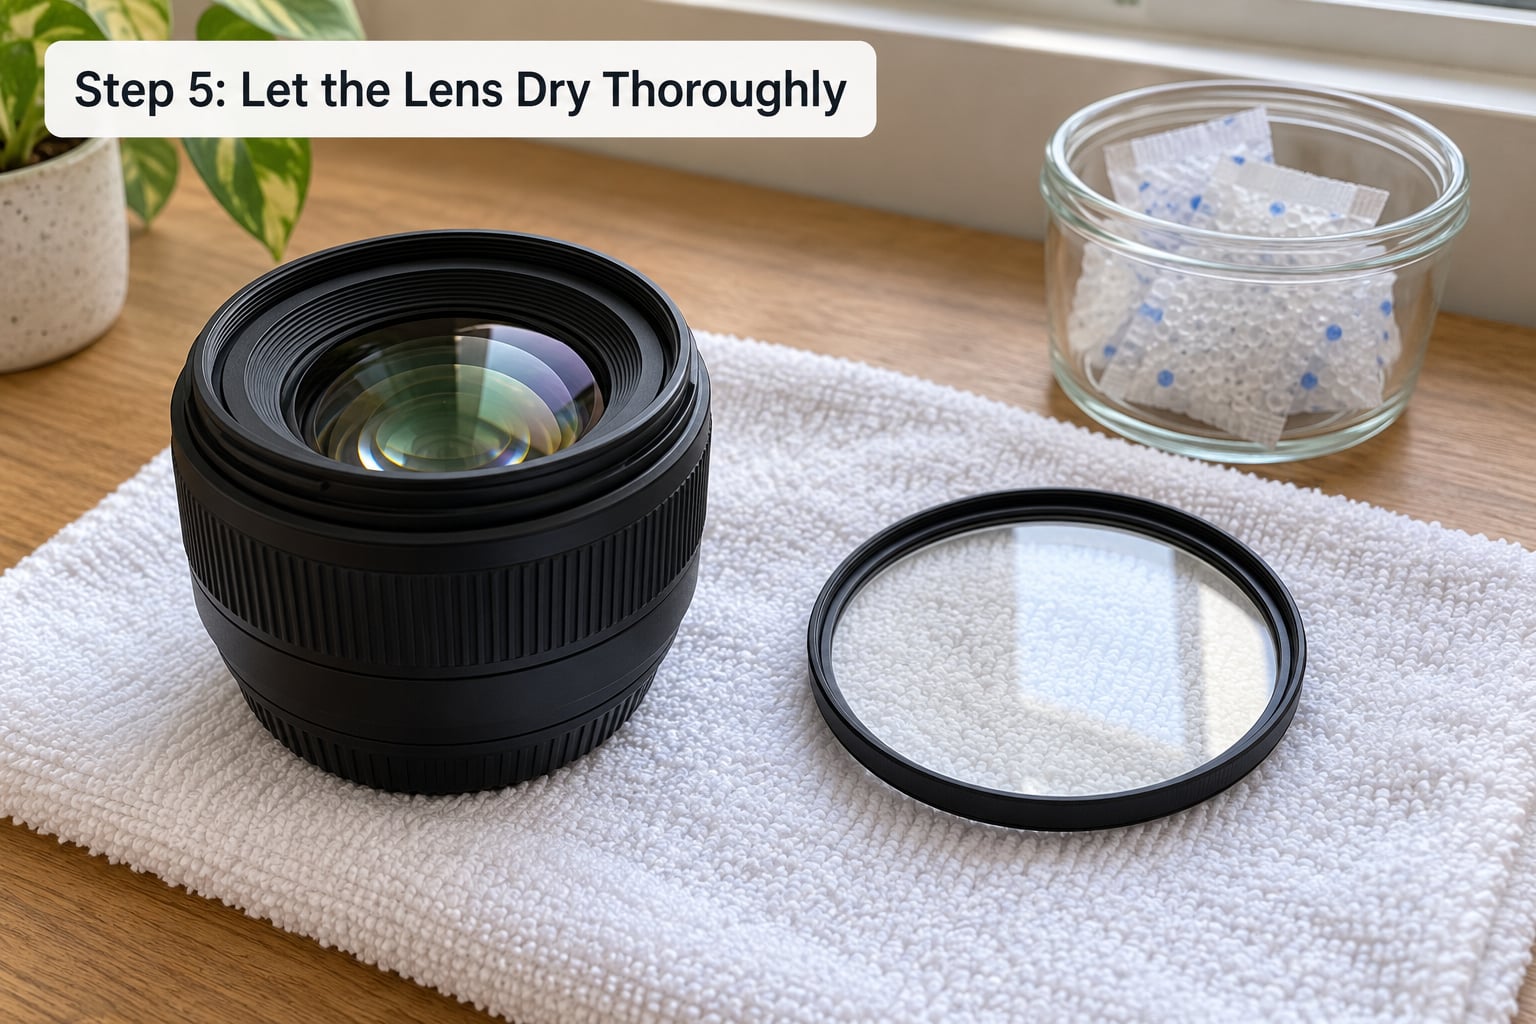
Place the cleaned part on a clean towel in a room with moving air, or aim a fan across it. Drying is faster than people expect, and it is safer to wait longer than to rush it. Give it a couple of hours before you handle the glass again, and longer before anything gets cased.
You can see this working when the surface looks completely dry and there is no cool patch left near the mount. If you handled it too soon, you will find a print of your fingerprints on the element instead.
Silica gel helps as a final step, not a first one. Packets only draw moisture from air around a part that is already dry, and a wet lens sealed into a container will simply hold that moisture against the coating. Add a few packets, seal it, and leave it until the part is bone dry.
Step 6: Recheck the Lens Under Angled Light
Return to the same light and angle you used in step 1. Comparing the two views side by side is the only honest test; memory is generous to yourself. Expect surface growth on an external filter or accessible element to be gone or dramatically reduced.
Expect internal fungus to be unchanged. Test at a wide aperture, mid range and wide open with a flat, textured subject and a hard light source. Flare that changes with aperture points to internal haze or coating condition. Marks that sit still at every aperture, that stay visible on the front element only, and that do not move when you rotate the barrel are on the glass, not inside.
Step 7: Arrange Professional Servicing When Needed
Stop home work and contact a qualified camera repair technician when any of these are true.
- The growth is inside the barrel or between elements, and you can see it through an aperture at wide openings
- Cleaning made the coating look duller, patchier or matte than before
- Elements look separated, offset, or the image shows a crescent of uneven brightness
- The focus or aperture ring is stiff, gritty or will not hold a position
- You can see dust or debris inside the barrel rather than on an outer surface
- The lens is valuable, collectible, or the glass has coatings you cannot identify
A technician can disassemble the lens, clean between the elements and reassemble it with the correct shims and greases, which is beyond what tools and patience at a kitchen table cover. Send it in rather than testing more chemistry on it. Internal work is cheap to fix at first and expensive once the elements have shifted.
Common Mistakes
Cleaning the barrel with swabs. Swabs inside a barrel scratch the front element and deposit fibre. The safer move is to stop at the front element and let a technician handle anything deeper.
Using compressed air. The propellant leaves condensed liquid on the glass, which attracts more grime than it removed. A rubber bulb blower does the same job with no liquid.
Pouring fluid onto the glass. It runs under a filter ring and into the barrel. Put the fluid on the cloth instead.
Reusing the same dirty section of cloth. That is the step that scratches a coating. Move to a clean fold each pass, and stop when the cloth picks up grit.
Rushing the dry. Casing a damp lens traps the moisture that feeds the next bloom. Airflow first, then silica gel, then seal.
Soaking the whole lens in a chemical bath. Immersion takes solution into the mechanism and the mount, past every seal, and it can separate cemented groups held with brittle old cement. It also strips the edge paint that keeps internal flare in check. There is no home version of this that is reversible.
On prevention, the habits that matter are unglamorous. Store gear in a dry ventilated case, not a closed bag in a basement. Use a dry cabinet with a hygrometer if you shoot in humid weather, and refresh the silica gel regularly. Keep lenses capped and bodies capped so dust-laden air is not pumped in every time you change a card. Wipe a stored lens every few months so a small bloom never sits unnoticed. And do not park lenses in a car, where heat and humidity swing together all day.
Frequently Asked Questions
Can I remove lens fungus myself?
Only if the growth is on a surface you can reach, such as an external filter or a front element. Anything between elements, inside the barrel, or etched into the coating needs professional lens servicing. Identify the location first with angled light and a loupe, clean only what is accessible with approved fluid and a clean microfiber cloth, then stop before touching the barrel or unscrewing any internal section.
How long does a lens take to dry after fungus cleaning?
Give an externally cleaned element or filter a couple of hours in moving air before you handle the glass again, and longer before you case it. Check that no cool patch remains near the mount and that the surface feels dry to a light touch. Use silica gel only after the part is dry, since sealing a damp lens traps the moisture that feeds the next bloom.
Will a test shot show remaining lens fungus?
A test shot shows the consequence, not the location. Flare, low contrast and veiling haze can come from fungus, coating damage, internal reflections or a dirty sensor. Photograph a flat textured subject against a hard light source at wide, mid and wide-open apertures, then compare with a known-good lens. Confirm the glass itself under angled light with a loupe, the same way you inspected it before cleaning.
Can lens fungus damage my camera body?
Fungus does not move out of a lens and into a body, and spores are always present in ordinary air. The realistic risks are contaminating surfaces you touch while working, carrying debris into the mount, and handling an infested lens before you have decided what it needs. Gloves, a separate work surface, and moving clean lenses into their cases before you pick up the suspect one are enough protection.
Does lens fungus removal work on vintage or coated lenses?
It often does, but results vary widely with age and coating condition. Fungus that is still sitting on the glass can usually be lifted away, while growth that has etched the anti-reflective coating leaves permanent loss of contrast that no cleaning recovers. Old cemented groups and aged edge paint add risk, so if the lens is collectible, have it assessed before attempting anything beyond an external clean.
Conclusion
The first thing to do when asking how to remove fungus from a lens is find out where the growth actually sits. Angled light, a loupe and a written before state tell you in five minutes whether you have a surface problem or an internal one.
If it is on an accessible surface, blower first, then approved fluid on a clean cloth, then a proper dry in moving air before anything goes near silica gel. If it is inside, between elements, or the coating already looks etched, close the case and arrange professional lens servicing. Keeping clean lenses cased and dry stops the next bloom before it starts.