
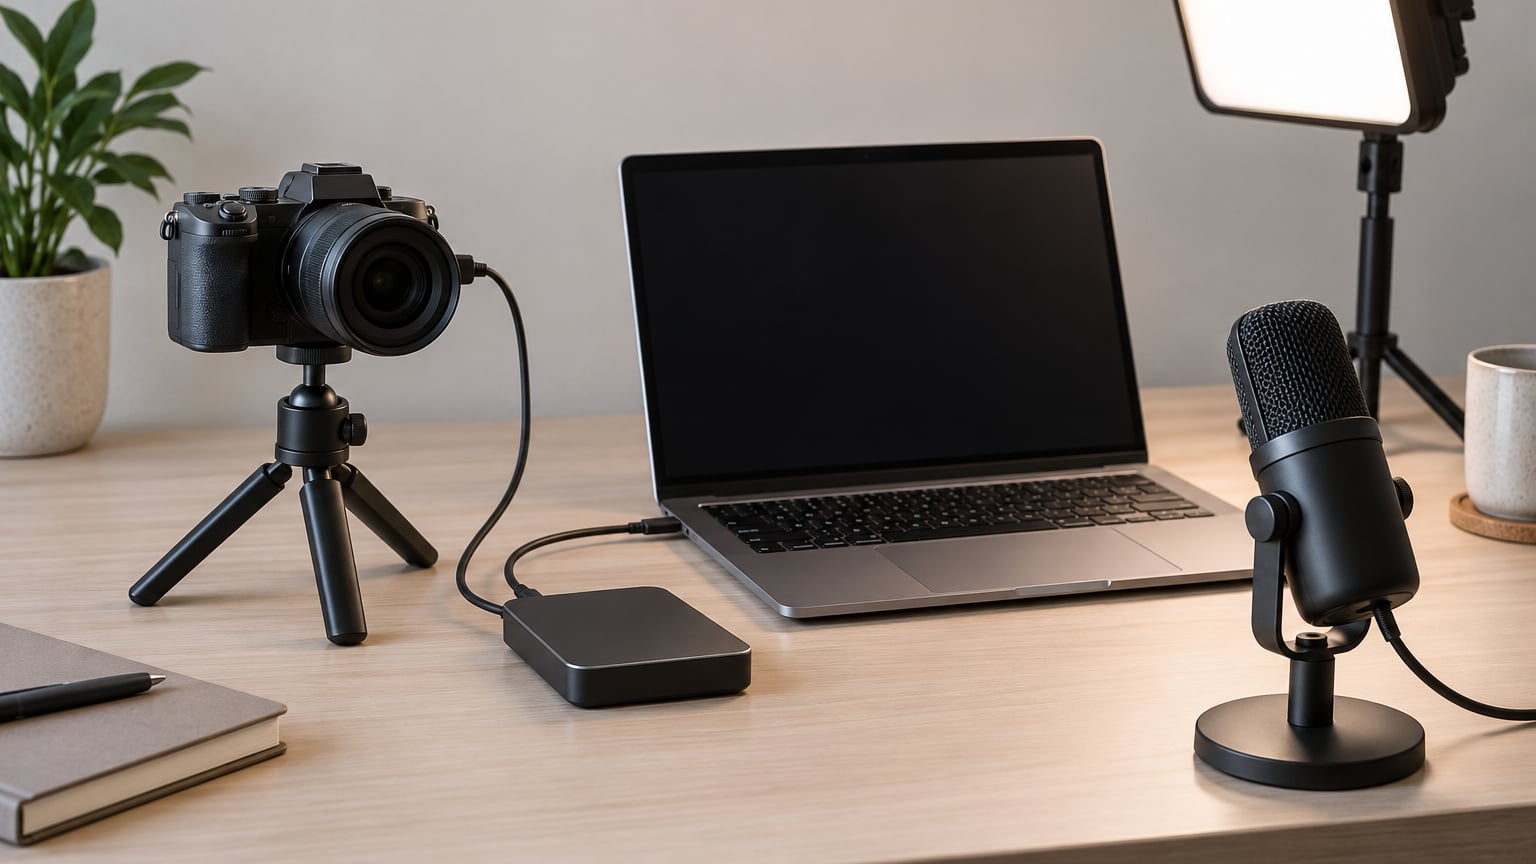
You can use a camera as a webcam in two ways: plug it into the computer over USB and run the free webcam utility from your camera maker, or run an HDMI cable into a capture card that the computer treats as a standard webcam. Either way, the camera shows up in Zoom, Teams, Google Meet and OBS like any other webcam. Set aside about 20 minutes for the USB route if your camera is on a supported list.
Worth doing if you already own a camera. A built-in laptop webcam gives you a fixed wide angle, harsh overhead lighting and audio picked up from the keyboard. A camera on a tripod, facing a window, with an external microphone looks like a different setup entirely.
Table of Contents
- What You Need
- Step-by-Step: How to Use a Camera as a Webcam
- Common Mistakes
- Frequently Asked Questions
- Can I use a DSLR or mirrorless camera as a webcam?
- What cable do I need to use a camera as a webcam?
- Do I need special software to use a camera as a webcam?
- Why is my camera not showing up as a webcam?
- Does the camera audio come through when I use it as a webcam?
- Can I use the camera in two apps at once?
- Conclusion
What You Need
Four things matter: the camera, the cable, something on the computer that turns the signal into a webcam, and a microphone. Here is the checklist.
- A camera. A DSLR, a mirrorless body or many camcorders work. Older models often need the HDMI route.
- The right cable. A USB cable that carries data for the USB method, or an HDMI cable plus a capture card for the HDMI method.
- Webcam software. The free utility your camera maker publishes, or capture software that comes with the capture card. Most makers also publish a compatibility list — check your exact model number on it first.
- Power. A USB cable that charges while it transfers data, or an AC adapter with a dummy battery for a camera that will not run and charge at the same time.
- A microphone. A separate USB or XLR microphone. Camera webcam utilities almost never carry the camera’s own audio, so the mic is not optional.
- A tripod or a stable mount. A stack of books works, but anything that wobbles shows up in your video.
USB method or HDMI method?
The choice comes down to one thing: whether your camera sends a clean video signal straight out of USB.
- USB: one cable, free software from the maker, video only, usually up to 1080p or 4K depending on the body, and it works only if your model is on the compatibility list.
- HDMI: a capture card, clean HDMI output from the camera, no compatibility list to check, 1080p60 on nearly everything, and it works with almost any camera made in the last fifteen years.
- Neither: if your camera is old or unsupported, run OBS and add the tethered live view window as a source, then pick the OBS virtual camera.
People on photography forums describe the HDMI route as the best picture quality and the most fiddly to set up. The USB route, once the utility is installed, tends to appear in Zoom and Teams almost straight away.
Step-by-Step: How to Use a Camera as a Webcam
Check Whether Your Camera Can Work as a Webcam
Find your model number, then open your camera maker’s webcam utility page and look for that number on the compatibility list. Canon’s is called EOS Webcam Utility, Sony’s is Imaging Edge Webcam, Nikon’s is Webcam Utility, Fujifilm uses X Webcam, and Panasonic calls its Lumix Webcam. If your body is listed, the USB method will probably take you ten minutes.
Not listed, or no utility at all for your brand? Look at the HDMI port instead. Almost every camera has one, and a capture card turns whatever the camera outputs into a webcam. The one requirement is clean HDMI output — a video feed with no menu text, no icons and no shooting information burned into it.
Whatever the route, switch the camera into video or movie mode first. A camera left in still-photo mode often outputs nothing at all over HDMI, which is a common reason people give up.
Connect the Camera and Install Capture Software
For USB, connect the camera to the computer with the cable that came with it, or any USB 3.0 data cable if the original is missing. Turn the camera on, then install the webcam utility from the maker’s site. macOS asks for permission to access the camera, and Windows wants permission for the app to use the microphone, so say yes to both.
The Fujifilm route shows how little else is needed. On an X-H2 you open the setup menu, choose the USB power supply and communication setting, set it to communication on, then set the connection option to USB webcam. The camera registers as a webcam and nothing else is required.
For HDMI, run an HDMI cable from the camera’s HDMI port to the capture card’s HDMI input, then plug the card into the computer over USB. Elgato’s Cam Link is the widely used example and it needs no drivers because it presents itself as a standard video class device. Switch the camera to movie mode and the picture usually appears in OBS or any app that lists capture devices.
If the picture is black at first, the card is likely in the wrong HDMI port, or the camera is still showing its menus on screen.
Choose the Camera as the Video Input
On Windows 11, open Settings, go to Bluetooth and devices, then Cameras, and pick your camera or capture device from the drop-down list. You can confirm the feed in the preview panel above.
On macOS, open System Settings, choose Privacy and Security, then Camera, and tick the app under Camera. Apple menu, System Settings, then the same Privacy and Security panel lists every connected video source.
Inside the meeting apps it is nearly the same path each time. In Zoom, the arrow next to the camera icon in the bottom bar opens video settings, and Camera lists every detected source. In Teams, the three dots above the call controls open Device settings. In Google Meet, the three dots next to the microphone icon opens Settings, then Video. In Discord, go to User Settings, Voice and Video, and the Video Input drop-down does the same job.
For streaming, OBS is the place to set it. Add a Video Capture Device source, choose the camera or capture card in the drop-down, confirm the preview looks right, and then click Start Virtual Camera. That virtual camera appears everywhere a normal webcam would, which is how you record and call at the same time.
Set the Resolution, Frame Rate, and Focus
1080p at 30 fps is the safe setting for calls. It looks sharp, it uses less USB bandwidth than 4K, and nothing in a video meeting needs more. Go to 1080p60 or 4K30 when you are streaming, recording or sitting close to the lens.
Manual exposure matters more than most people expect. Auto exposure keeps hunting as you lean, and in a room with flickering light it will hunt too, which reads as flicker to the other side. Set aperture, shutter and ISO yourself once, then leave them alone. If you are new to that, what camera settings for black and white photography covers the same controls in plain language, and shutter speed explained for beginners explains the one value that causes most of the flicker.
Autofocus hunting is the other complaint. Continuous autofocus spends the whole call pumping back and forth, and for a person sitting still it looks like a defect. Switch to one-shot autofocus, or to manual focus if you know where you’ll be sitting.
Add Lighting and Improve Audio
Point the camera at a window with the light behind the screen rather than in front of it. A soft source at roughly 45 degrees to the side gives you a face that’s lit rather than shadowed, and a sheet of white paper or a plain wall opposite the window handles the shadow side.
A wide aperture blurs the background the way a phone portrait mode never quite does. That happens naturally with a camera at f/2 or wider, so step your camera back and open up.
On audio, assume the camera’s microphone is not coming with you. Most webcam utilities send video only, and capture cards vary on whether they pass audio through from the camera’s HDMI. Plan on a separate microphone: a USB microphone straight into the computer is the simplest thing that works, and an XLR microphone through an audio interface sounds better still. Choose the microphone in the same settings panel where you picked the camera.
Framing helps too. Put the camera at eye height rather than on top of the laptop, close enough for a head-and-shoulders shot. If people relax once they stop watching themselves, how to make people comfortable in front of the camera is worth a read.
Test the Webcam Before a Call
Open the camera app on your operating system and check the feed there first. If it looks wrong there, it will look wrong in every meeting app, and you can rule the meeting app out of the problem.
Walk through the same checklist twice. First, image: is it the right way up, is your face evenly lit, is focus locked where it should be. Second, audio: speak at normal volume and check the input meter moves, then record ten seconds and play it back on headphones, because echo and background hum are easy to miss live.
Then open the actual meeting app and join a solo call or start a test recording. Leave it running for a few minutes. Stutter and dropped frames usually show up once the camera warms up, not in the first thirty seconds, so a short test will not catch them.
Common Mistakes
The camera is not detected at all. This is the most reported problem on photography and streaming forums, and it is usually software or mode rather than hardware. Close every app that might hold the camera, unplug it, close the camera fully, then start the webcam utility before you reconnect. Try another USB port, and use the original cable because charge-only cables are common in drawers.
Black video. Check the camera is in movie mode, check the HDMI cable is in the capture card’s input port rather than its output port, and check the capture card is selected as the source in the app rather than your built-in webcam. In OBS, refresh the device list.
Text and icons burned into the picture. The camera is sending its menu overlay down the HDMI cable. Go through the camera’s display options and turn off shooting information, histogram, focus boxes, grid lines and any on-screen display, then toggle the clean HDMI or clean output setting. On most bodies it sits in the display or setup menu.
Stuttering or dropped frames. USB 2.0 ports cannot carry 4K video reliably. Move to a USB 3.0 port, which is usually marked with the trident symbol, drop to 1080p30, and close any program doing heavy disk work. If the capture card is the source, a higher-quality HDMI cable also fixes a surprising share of it.
The other side cannot hear you. The camera’s audio is not being used. Pick your microphone in the meeting app’s audio settings and set levels so the meter moves with your voice but not when the room is quiet.
Autofocus hunting. Move the subject, or stop autofocus entirely. One-shot autofocus locks once when you press the shutter button; manual focus never hunts.
The camera dies twenty minutes into a long call. It is running on battery. Use an AC adapter with a dummy battery, or a USB cable that powers while it transfers data, and remove the battery while on mains power if the manual allows it.
The image is upside down or mirrored. Some cameras and capture cards mirror the feed. Turn off mirror or flip in the capture software, or use the horizontal flip option in your streaming app.
Frequently Asked Questions
Can I use a DSLR or mirrorless camera as a webcam?
Yes, as long as it can send video to the computer. Most recent Canon, Sony, Nikon, Fujifilm and Panasonic bodies support USB webcam mode through a free utility from the maker. Older or unsupported models almost always have HDMI output, which works with any capture card. Check your exact model on the maker compatibility list before buying a cable.
What cable do I need to use a camera as a webcam?
For the USB method, a USB 3.0 data cable that came with the camera is ideal, and a charge-only cable will not work. For the HDMI method you need an HDMI cable matching your camera port, either mini-HDMI or micro-HDMI, plus a capture device. Micro-HDMI cables are thin and fragile, so buy a spare.
Do I need special software to use a camera as a webcam?
Usually yes. Canon, Sony, Nikon, Fujifilm and Panasonic all publish free webcam utilities that translate the USB signal into a standard webcam. Capture devices generally need no drivers because they present themselves as video class devices, though OBS is the usual app for checking the feed. If no utility exists for your model, use the HDMI route.
Why is my camera not showing up as a webcam?
Close any app holding the camera, unplug it, switch it fully off, then open the webcam utility before reconnecting. Confirm the camera is in video or movie mode and that you are plugged into a USB 3.0 port with a data cable. On macOS, check Camera under Privacy and Security. Refreshing the device list in your meeting app usually finishes it.
Does the camera audio come through when I use it as a webcam?
Rarely. Most manufacturer webcam utilities send video only, so the camera microphone goes unused. Capture devices vary, and some pass HDMI audio while others ignore it. Plan on a separate USB or XLR microphone and choose it in the app’s audio settings. Camera microphones are small and boxy anyway, so a real microphone sounds better.
Can I use the camera in two apps at once?
Not directly, since most apps open the camera exclusively. The workaround is OBS. Add the camera as a video source, then start the OBS virtual camera and point Zoom, Teams or Meet at that virtual device instead. Several people in forums use this to record a session while streaming it live.
Conclusion
Here is the short version of how to use a camera as a webcam. Look up your exact model on your camera maker’s webcam compatibility list. Connect the camera with the right cable for the route you picked, and open the utility or capture software first. Select it as the video input in your meeting app, then set exposure and focus manually so nothing hunts mid-conversation. Add a light in front of you and a separate microphone, because the camera’s own audio is not coming along.