
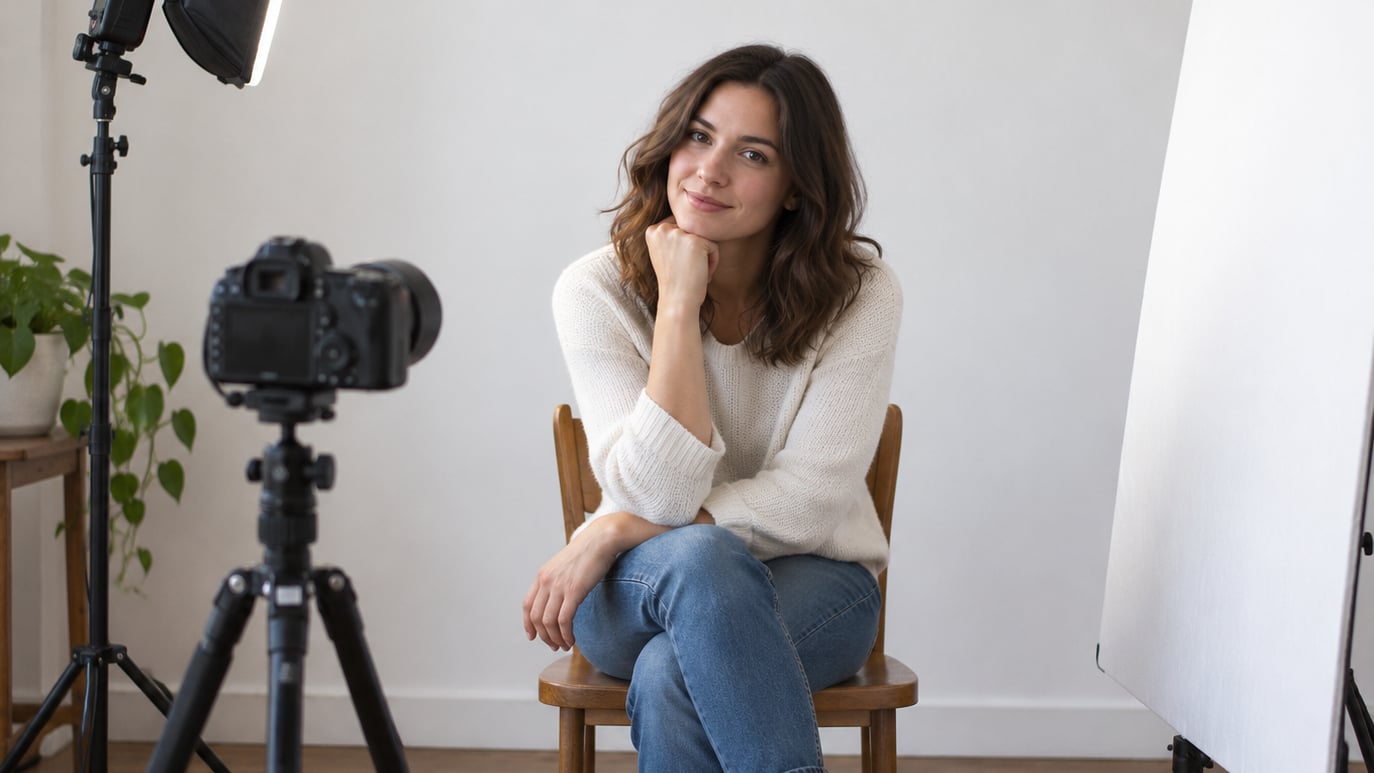
Off camera flash is an external flash mounted on a light stand away from your lens, fired by a wireless trigger sitting in the camera’s hot shoe. Learning how to use off camera flash takes about fifteen minutes of setup and one test shot, and it is the single change that turns flat on-camera light into light with shape, direction and softness. Most beginners can get a usable portrait out of one speedlight, one stand and a piece of white foam board.
The gear barely matters compared to where the light sits and how big that light looks from the subject’s point of view. That is the whole idea, and the rest of this guide is just the mechanical steps to get there.
If you are still deciding what to carry, what to pack in a camera bag covers the small items that make a location shoot work, including spare batteries.
Table of Contents
What You Need
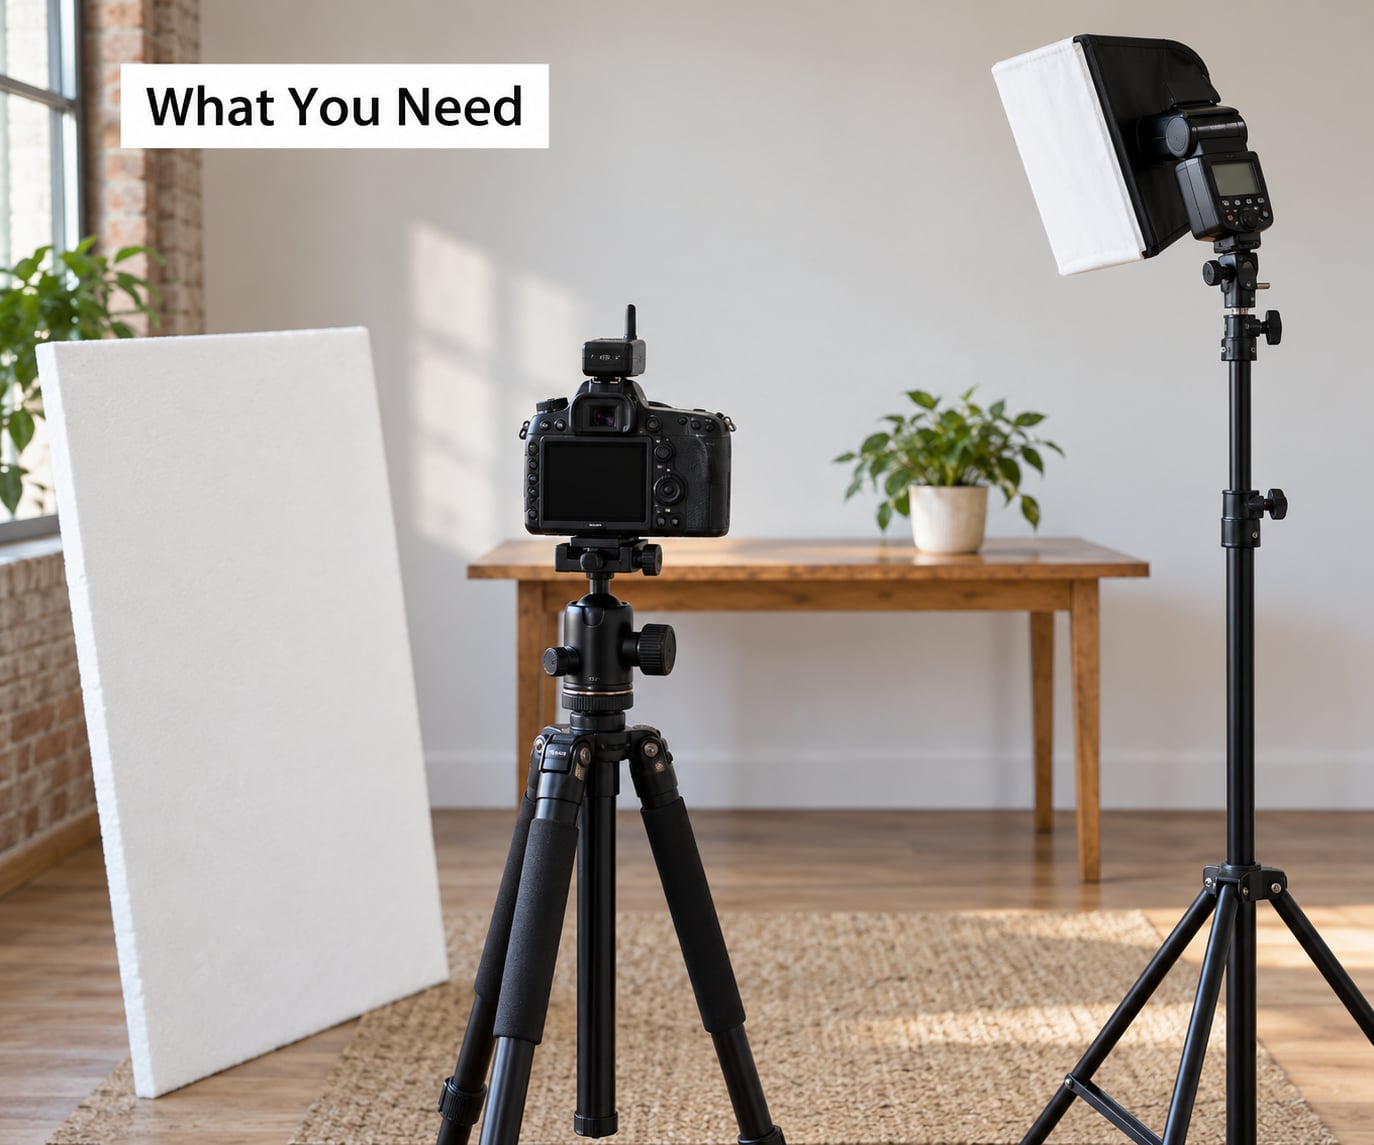
- A camera with a hot shoe. Any DSLR or mirrorless body with a hot shoe works, including older models.
- A flash head. A dedicated speedlight such as a Canon EL-1 or EL-100, a Nikon SB-5000, or a third-party strobe like a Godox B10 or an AD series head. A budget manual flash works fine for learning; it simply has no radio receiver inside.
- A way to fire it. Either a flash with a built-in radio receiver that talks to your camera brand, or a separate transmitter and receiver pair.
- A light stand and flash holder. A small 5-foot stand with an umbrella-style bracket is enough for indoors. Sandbag the base indoors, since a top-heavy stand walks across the floor.
- A light modifier. A softbox, a shoot-through or bounce umbrella, or a diffusion panel.
- A reflector. A white reflector, a foam board or a sheet of white card to fill the shadow side.
- Spare batteries and a stand weight. Radio units and zoomed flashes eat batteries faster than you expect.
That list looks heavier than it is. For a first session you can use a camera, one flash, a stand and a white foam board near a window, with no trigger at all if the flash supports being fired by the camera or a slave mode.
Step-by-Step: How to Use Off Camera Flash
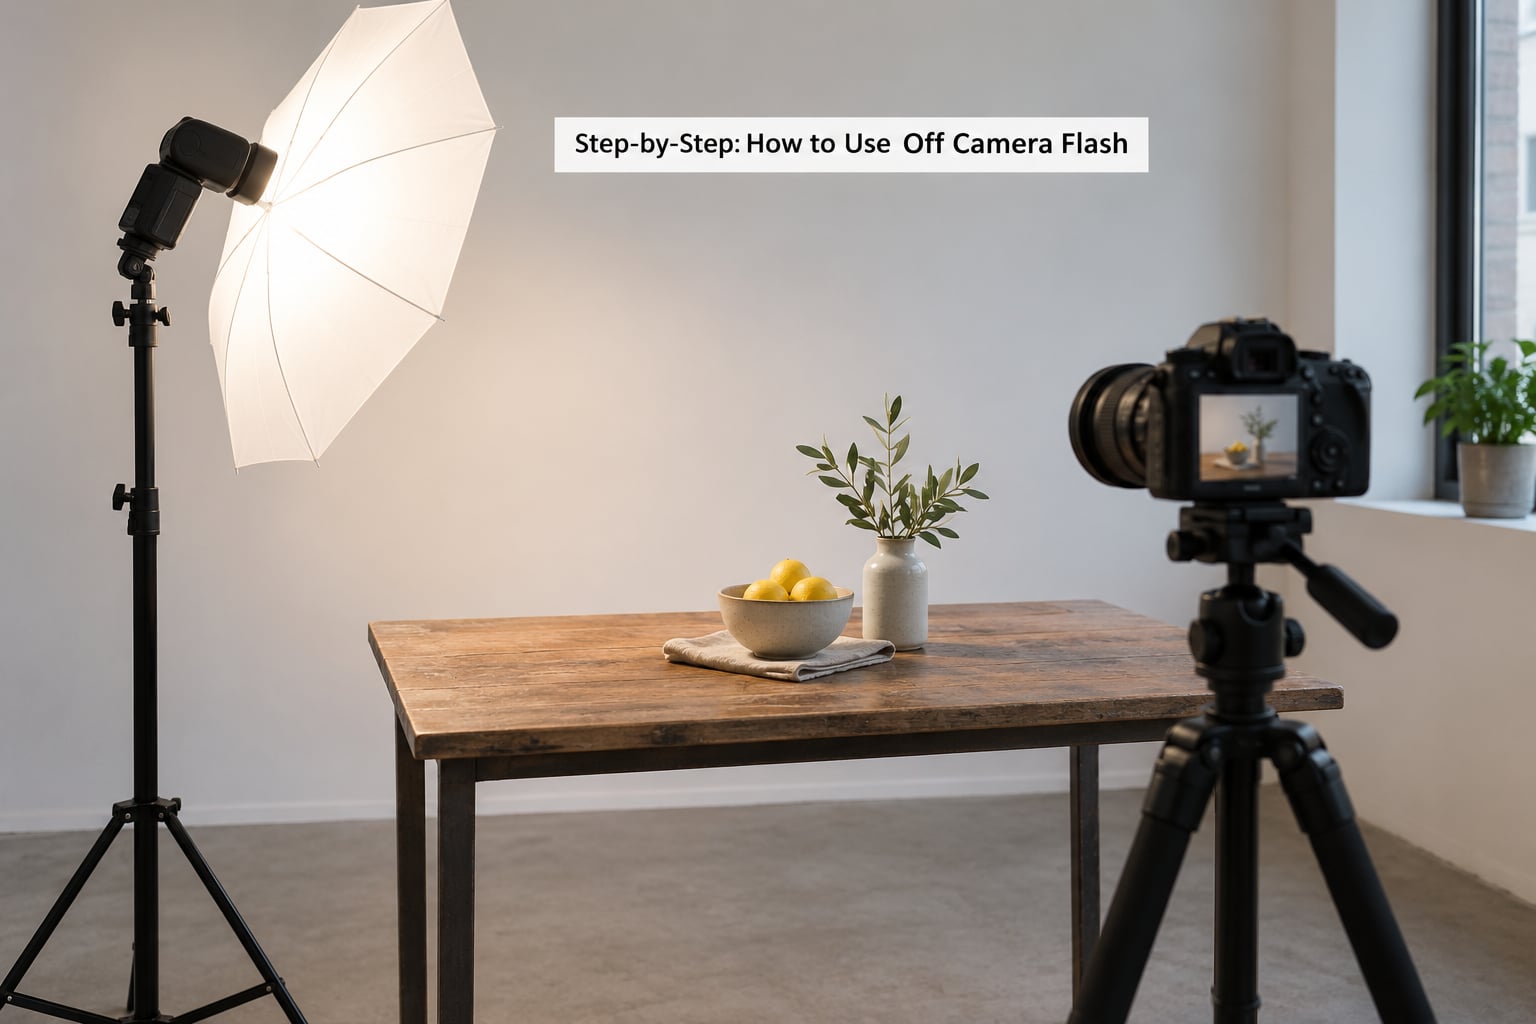
Work through these five stages in order. Each one depends on the last, and the test shot at the end of every stage tells you whether it worked.
1. Choose the Light Direction and Look
Direction does more to a portrait than any other decision. A flash on the lens axis gives you a flat, shadow-under-the-nose look, which is why on-camera flash gets a bad reputation.
- Side (about 45 degrees off axis, slightly above eye level). Shadows fall to the far side of the face and give the nose and cheekbones shape. This is the safe default for portraits and the position most people mean when they say off camera flash.
- Above and in front, angled down. Shadows drop under the cheekbones. A higher angle with a small modifier is the classic dramatic look.
- Behind the subject, aimed forward or at the back of the head. You get a rim of light along the hair and shoulders that separates the subject from the background. Usually paired with a reflector or a second light for the face.
- Close to the lens axis but off to one side. Softest and flattest of the four, and often the right answer for group shots and food.
You can tell the stage worked when the shadow shape on the face matches the direction you chose. If you aimed the flash high and the shadows still sit directly under the nose, something is pointing the wrong way, usually because you are looking at the back of the flash head.
Talking a subject through a move you invented mid-shoot is harder than it sounds. Getting people comfortable in front of the camera helps, and so does telling them the move before you make it rather than after the frame.
Do you actually need a trigger for off camera flash?
Only if your flash cannot hear the camera on its own. Three triggering methods cover nearly everything.
- Built-in radio. Many speedlights and radio-enabled strobes receive directly from your camera, so all you do is enable the wireless flash function in the camera menu, set the flash to a matching channel and group, and fire away.
- Separate radio trigger. A transmitter in the hot shoe sends a signal to a receiver clipped to the flash. This is the flexible option, and the one most working photographers carry.
- Optical or infrared slave. The flash watches for a burst of light from another flash or from the camera and fires in response. Cheap and simple, but it needs line of sight and it fails in bright sun.
Radio wins on reliability, which matters when the closest obstacle is a steel wall, a concrete pillar or water. Wedding photographers on r/WeddingPhotography describe running one flash across two bodies during live events, and the deciding factor in those setups is always trigger range, not flash power.
The classic beginner failure is buying a trigger that does not speak your camera brand’s protocol. Canon, Nikon, Sony and Fujifilm each need their own transmitter variant even when the flash body is third party, so check the trigger’s supported camera list before you buy.
2. Position the Flash and Subject
Start roughly 1 to 2 meters from the subject and put the flash head at about 45 degrees to the side, a little above eye level, angled down toward the chest. That single position works for most portraits and gives you a triangle of light on the shadow side of the face.
Distance decides softness. The flash is a small, hard source, so its shadow edges sharpen as it gets closer to the subject and soften as it moves back. Moving the light closer also increases falloff, which darkens the background faster than the subject.
For product and still-life work, the same principle scales down. Put the subject on a table, set the flash 30 to 60 centimeters away at 45 to 60 degrees, and keep the camera on a low tripod so you can match the flash height to the product’s top surface.
You will know the placement worked when the falloff across the subject is even and the shadow side is not much darker than the lit side. Add a reflector on the shadow side if it is.
3. Add a Modifier or Reflector
A bare flash head is a hard light source and it will show every pore and wrinkle. Modifiers fix that, and each one points the light differently.
- Shoot-through umbrella: put the flash inside, umbrella between flash and subject, fire through the fabric. Bright, slightly hard, very cheap, spreads light widely.
- Bounce umbrella: flash faces into the umbrella and the light bounces back. Wider and softer than shoot-through, but it eats roughly a stop and a half of power and the flash has to point up.
- Softbox or octabox: directional and soft. A large softbox close to the subject gives the smoothest light and keeps spill off the background, which is why it is the standard portrait modifier.
- Diffusion panel: shoot through a translucent panel held near the flash. It does not shape the light direction, but it softens a bare head cheaply.
- Grid: attaches to a softbox to narrow the beam and stop the flash hitting the background.
- Reflector or bounce card: white foam board on the shadow side returns light and opens the shadows. A black panel does the opposite, deepening them.
The rule underneath all of these is apparent size. Light looks soft when the source is large compared with the distance to the subject, so a big modifier held close beats a small one held far. My usual habit is to keep the front edge of the softbox within about a meter of the subject’s face.
4. Trigger the Flash and Set the Exposure
Set up the camera in manual flash mode so you control everything, then expose for the background before you switch the flash on.
- ISO 100. Flash exposure is independent of ISO, so the lowest native ISO gives you the most flash headroom.
- Aperture between f/4 and f/8. Wide enough to gather flash light, narrow enough for usable depth of field on groups.
- Shutter speed at or below max sync. Most cameras cap at 1/200 or 1/250. Above that the shutter curtain stops fully covering the sensor and you get a dark band across the frame.
- Meter the background with the flash off. Adjust those three settings until the background is correctly exposed on its own. This is the step most people skip, and it is why their backgrounds go black.
- Set the flash to manual at 1/16 or 1/32 power. Take a test shot, then step down or up in thirds of a stop.
You will know the exposure is right when the lit side of the face lands just under clipping and the background keeps its brightness. If the flash output is more than about two stops off, jumping straight to the correct value saves time.
Two options break that rule set. High-speed sync lets you shoot above the normal sync limit, usually up to 1/1000 on most speedlights, which is the answer when the background is too bright to expose at 1/200. It costs several stops of power, so you may need a stronger flash or a closer subject. TTL meters each frame using a pre-flash burst, which is convenient for moving groups and fast-changing scenes, and unpredictable for still work; I set it once and switch to manual so I know what changes between frames.
You can also calculate the light instead of metering it. Take the flash’s guide number, divide by the aperture, and the result is your maximum flash-to-subject distance in meters. A flash with a guide number of 26 gives you f/4 at 6.5 meters, or f/2.8 if you halve the distance.
5. Check the Result and Refine the Light
Look at the test frame for five things, and change one at a time.
- Highlights. Blinking highlight warnings mean the flash is too hot, so drop power before anything else.
- Shadow density. If the shadow side is nearly black, add a reflector or move the flash closer to the lens axis to flatten it.
- Colour. A flash set to daylight balance against a warm interior leaves skin orange. Gel the flash with CTO to match tungsten, or set white balance to the flash and let the camera correct it.
- Falloff and background. Flash the scene with the flash off to see what the background alone looks like. If the backdrop has a hot spot behind the subject, move the light farther back or add a grid.
- Framing and focus. Raise the ISO, open the aperture or use a tripod once the light is where you want it.
Change one variable per test shot. The instinct to fix flash power, angle and camera settings all at once is what turns a five-minute session into an hour.
If you plan to finish a frame in monochrome, the ratio decisions above matter less and the shadow shapes matter more. How to shoot black and white photos with a digital camera covers working in that mode.
Common Mistakes and How to Fix Them
Almost every off camera flash problem shows up as one of these symptoms.
- The light is harsh and unflattering. No modifier was used, or the flash sits too close to the subject. Add a softbox or umbrella, keep the front edge of it within about a meter of the face, and step back.
- The flash does not fire at all. The channel or group on the receiver does not match the transmitter, the receiver is set to master instead of slave, the receiver is asleep, or the hot shoe contact is not seated. Also check for radio-blocking materials between the two units. Mismatched brand gear is the most common cause, and no setting fixes it.
- The background goes black. You exposed for the flash and never metered the background on its own. Turn the flash off, set ISO, aperture and shutter until the background looks right, then bring the flash in.
- The frame is blown out. You started too hot. Drop to 1/32 or 1/64 power and step up in thirds rather than full stops.
- A bright hot spot appears on the backdrop. The flash is too close to the subject relative to the distance behind them. Move the light back, raise it and angle it more downward, or add a grid.
- A black band crosses the image. The shutter speed is above max sync speed without high-speed sync enabled. Drop to 1/200 or 1/250, or switch on high-speed sync and accept the power loss.
- Skin tone comes out orange or blue. The flash colour temperature does not match the light in the room. Gel the flash or set white balance to the flash colour.
- Two bodies, one flash, only one fires. Use the trigger’s multi-trigger mode, set both transmitters to the same channel, and choose manual flash power since each body meters differently.
As a final habit, shoot the ambient frame first every time. That single frame tells you what the flash has to beat, and it stops you from adding light to solve a problem you already fixed in the camera settings.
Frequently Asked Questions
Do I need a trigger for off camera flash?
You only need a separate trigger if your flash has no receiver of its own. Many speedlights and radio-enabled strobes accept a signal straight from the camera, so you enable the wireless flash function in the camera menu and set the flash to a matching channel and group. If the flash has no built-in radio, add a transmitter on the hot shoe and a receiver on the flash, then match channel and group on both.
What is max sync speed and how does it affect the flash?
Max sync speed is the fastest shutter your camera allows with flash, usually 1/200 or 1/250. Above it the shutter curtain no longer covers the sensor fully and you get a dark band. High-speed sync raises that ceiling to around 1/1000 on most speedlights but costs several stops of power. Flash duration itself is about 1/1000, far shorter than the sync limit.
How do I make off camera flash look natural?
Move the flash off the lens axis, add a modifier that is large relative to the subject, and keep it close so shadow edges stay soft. Match colour with a gel or by setting white balance to the flash. For a natural look, set the flash about one stop under the ambient so it only lifts shadows, and expose the background on its own so the room or sky keeps its normal brightness.
Can I use one flash with two camera bodies?
Yes, and it is routine for wedding photographers working live events. Two bodies with two transmitters can fire the same flash when both sit on a matching channel, or you use the trigger’s multi-trigger mode so the flash accepts more than one signal. Each body meters separately, so set flash power manually for one of them and adjust from there.
Which trigger works with my camera and flash?
A trigger has to match your camera brand and speak the flash’s protocol. Canon, Nikon, Sony and Fujifilm each need their own transmitter variant even when the flash body is third party. Multi-brand systems such as the Godox X and V series cover most combinations. Check the supported camera list before buying, because mismatched gear is the most common reason a flash never fires.
Conclusion
Put one flash on a stand at roughly 45 degrees to the side, a little above eye level, aim it at your subject, and take one test exposure with the background already metered at ISO 100, f/4 to f/8 and 1/200. From that frame, change one variable at a time and the setup stops being guesswork.