
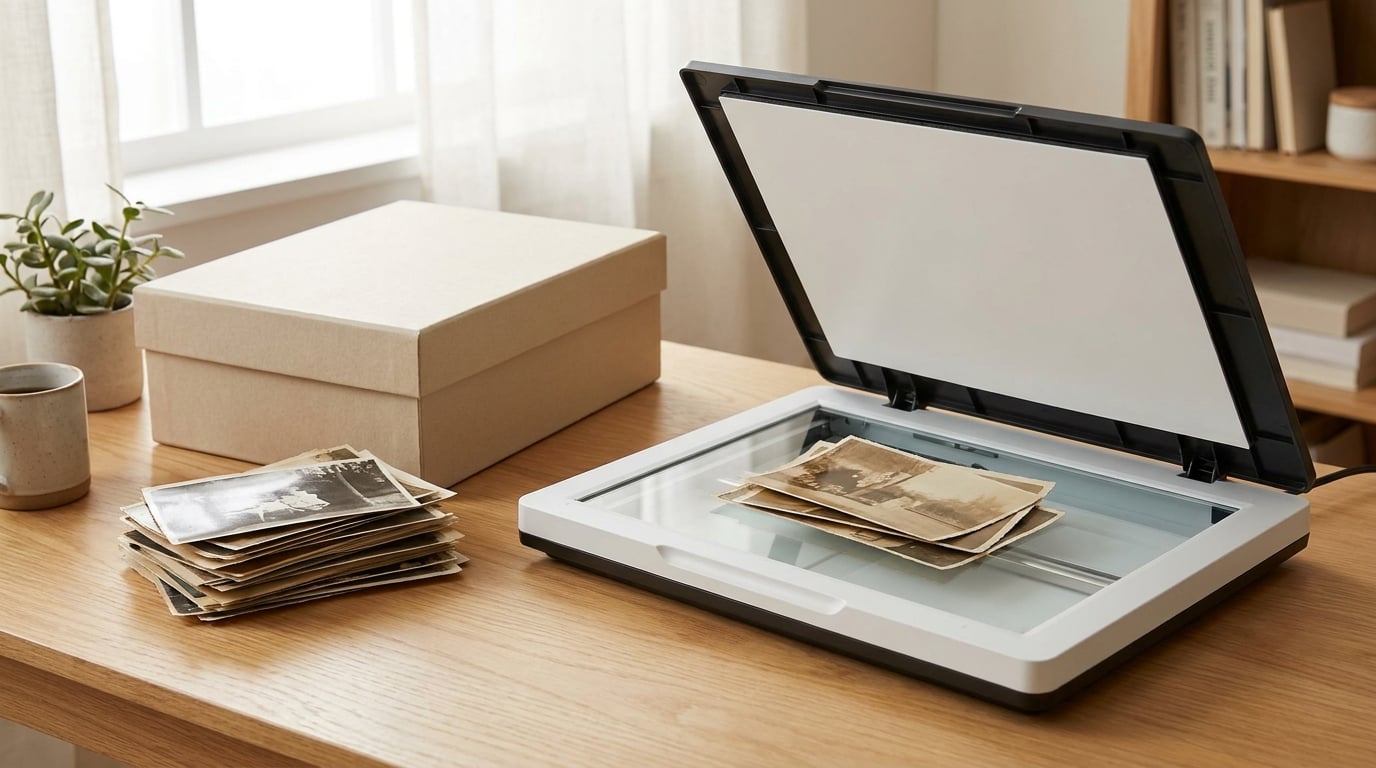
You can scan old photos at home with a flatbed scanner or with your phone and a scanning app. The scanner gives you a truer copy at 600 DPI, the phone gets a few hundred loose prints done in an afternoon. Neither takes more than a couple of hours to set up, and both are entirely doable on a kitchen table.
What matters is that you handle the originals gently, choose one method before you start rather than switching halfway, and copy every finished file to more than one place. This guide walks through both routes, then covers albums, naming, backups, and the mistakes that quietly ruin a scan.
If you have a large collection, most people want to know how to scan old photos at home in a way that survives a laptop failure six months from now, so the backup section is worth reading even if you already know your way around a scanner.
Table of Contents
What You Need
The gear list is short, and most households already own most of it. The variable is only whether you have a flatbed scanner or you are working from a phone.
- A flatbed scanner — a dedicated unit such as an Epson Perfection or Canon LiDE if you are buying, or the scanner built into a printer you already own. Brother, Canon, Epson and HP all ship one.
- A smartphone — the fallback for prints behind album sleeves and for anyone who does not own a scanner.
- Clean, dry hands or nitrile gloves — gloves are optional, clean hands are non-negotiable. Skin oils are the fastest way to spot a print.
- A soft brush and a lint-free microfibre cloth — for dust on prints and on the scanner glass.
- A clean, level workspace — a sheet of black or white card to set the photo against, and a soft surface to lay originals on.
- Archival storage — acid-free boxes, polyester or glassine sleeves, and interleaving tissue for photos that touch.
- Storage for the digital files — an external drive plus cloud storage. One drive is not a backup.
- Editing software — whatever is already on your computer. Scans rarely need more than a crop, a slight rotation and a black point adjustment.
Here is the honest version of which route fits which job. The resolution figure is the effective detail you end up with, not the sensor number printed on the box.
- Flatbed scanner. Up to 600 DPI, sharp and colour-accurate. Roughly 8 to 10 hours for 300 prints, including cleaning and checking each one. Prints have to come out of the album first, because the lid will not close over a bound page.
- Printer or all-in-one scanner. Typically 300 to 600 DPI, and quality varies a lot by model. Similar time to a dedicated flatbed, often with slower bundled software. Also no good with bound albums.
- Phone with a scanning app. Effectively 150 to 300 DPI. Three to four hours for 300 loose prints. This is the only method here that handles bound albums, with the album open and lying flat.
- Mail-in scanning service. 300 to 600 DPI, handled on site. You send the box and wait for it to come back, and they open the albums for you.
Most families end up using the phone for albums and loose snapshots, then buying or borrowing a flatbed for anything they want to print at a larger size. Those two methods together cover almost every collection I have seen.
Step-by-Step: How to Scan Old Photos at Home
Work through the same order every session: inspect, capture, check, save, back up. A repeatable routine is what turns a chaotic box into a finished archive instead of an evening you scroll through old camera software later.
How to Scan Old Photos at Home With a Flatbed Scanner
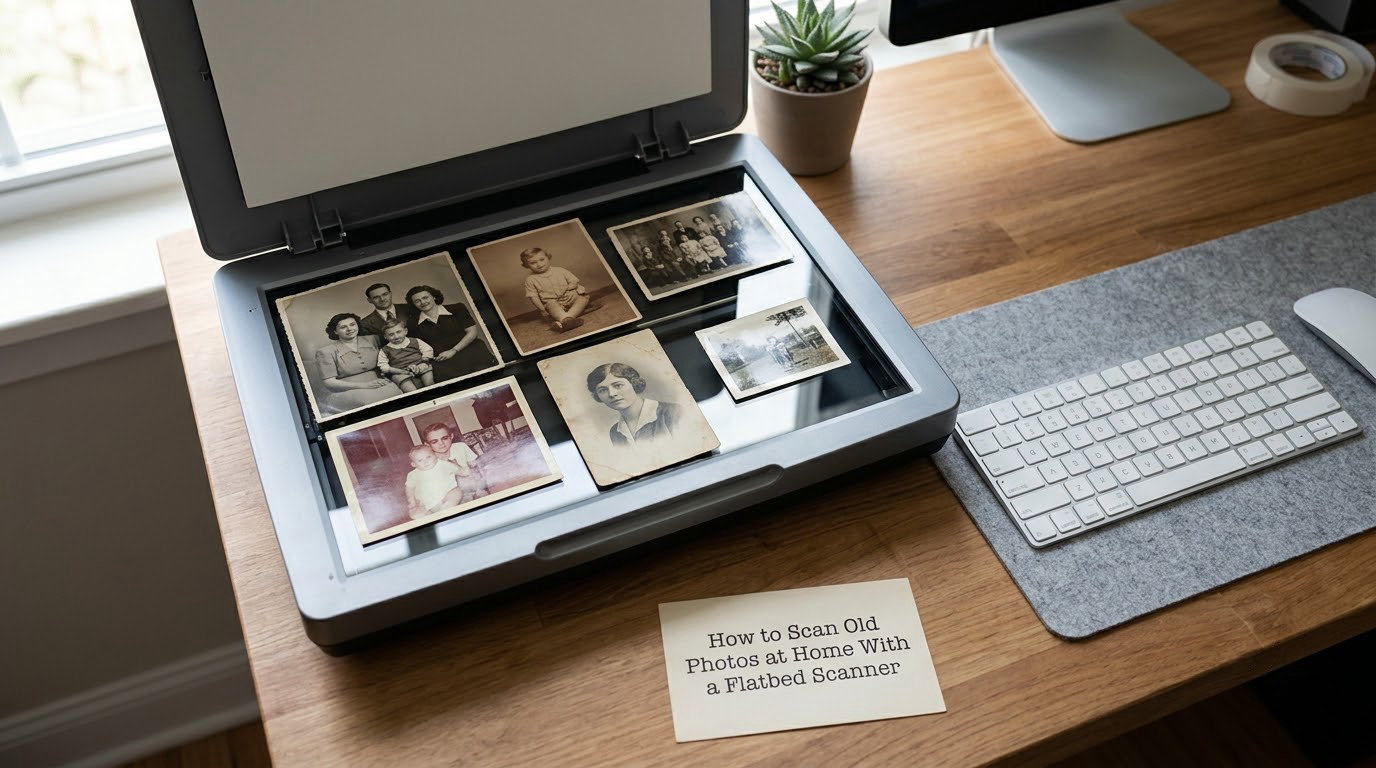
Start with the machine rather than the photos. Plug the scanner in, launch its software, and open the settings dialog before you clean the glass, so you know exactly which controls your model exposes.
- Clean the glass. A microfibre cloth and a couple of drops of water on a lens cloth is enough. A speck of dust on the platen shows up as a permanent smudge on every scan of that spot.
- Set the resolution to 600 DPI. This is the standard for photographic prints because it holds up when you reprint or enlarge. It produces a file around 45 MB for a 4×6 print. Stay above 300 DPI for anything you might reprint; below that, fine detail in faces starts to break up.
- Set the colour mode to 24-bit colour. Black and white prints can be captured in 24-bit too, then converted later. 8-bit greyscale throws away tonal information you cannot recover.
- Turn off auto-enhance and document mode. This is the setting that quietly wrecks photo scans. Document mode crushes the shadows in a dark photo and pushes the highlights past white. Some scanners label it Image Enhancement, Color Control, or a small picture of a mountain.
- Leave auto-crop and deskew on if you want them, but check the preview before committing. Auto-crop occasionally clips a rounded corner or a date stamped in the margin.
- Lay the photo face down, pushed into the white inner border of the glass bed. Lifting the lid fully lets daylight leak in and wash out the scan; a partially closed lid is enough.
Check the preview at full size. Look at the edges of faces, at the darkest jacket in the frame, and at a highlight like a sky or a window. If shadows are solid black with no detail or the window is pure white, your settings are still adjusting something.
Then save as TIFF and only convert to JPEG later. TIFF is uncompressed, so nothing is thrown away at the moment of capture, and it gives you room to correct a faded print years from now without another trip to the original.
For a batch, put several prints on the bed at once, lined up against the white area, and use the multi-page or multi-region scan option so each one saves as its own file. Leave a finger-width of space between them; prints placed edge to edge merge into a single bad crop.
If your printer is doing the scanning, you already have software for it: Epson Scan on Windows, Image Capture on a Mac, Windows Scanner on Windows 11, or the flatbed utility bundled with a Canon or Brother printer. Image Capture is regularly reported as working well with older budget units like the Canon LiDE, which is useful if you own a ten-year-old printer that nobody has used.
Budget on something like a minute of active handling per print after setup, and call it a session of 100 to 150 prints rather than a heroic afternoon. A 300-print box is realistically a full day of work once you include opening envelopes, checking each preview, and closing up.
How to Scan Old Photos at Home With a Phone
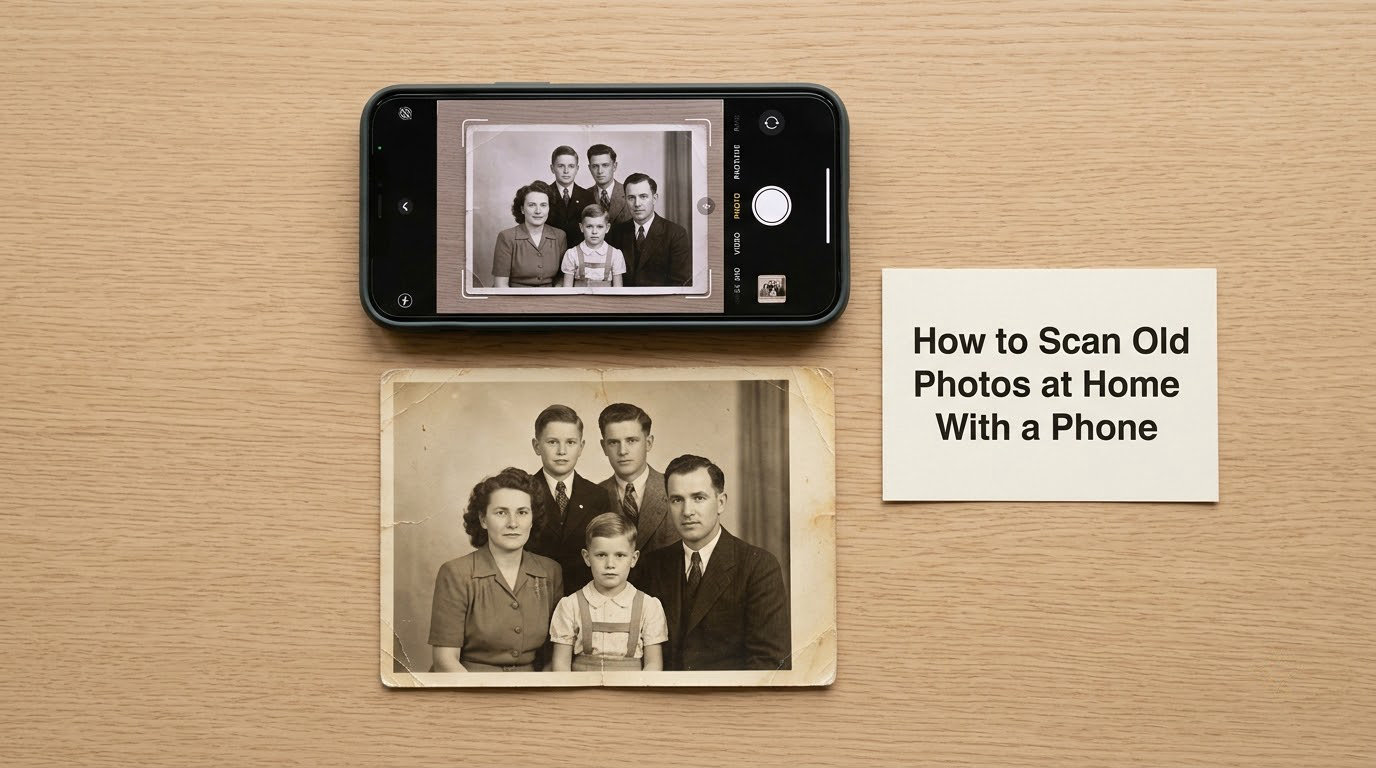
The phone method works differently: you are photographing the print, and the app does the measuring for you. Two apps cover most people. Google PhotoScan is free and takes four slightly angled shots of the same print, then stitches them together so the glare in one shot cancels out the others. It handles glossy prints and photos behind thin plastic sleeves better than anything else on a phone, and it is the one most often recommended in photo-organisation forums. Photomyne costs a modest subscription, and its batch mode is genuinely faster if you have more than a hundred loose prints.
- Find even light. Indirect daylight from a window is the standard, and it beats a ceiling lamp. Turn off overhead lights so you are not fighting two sources.
- Put the print on a flat, plain surface and rest the phone directly above it. A tripod or a stack of books holding the phone steady beats a hand, because movement shows up as soft focus.
- Tap the capture and follow the app’s guidance. On multi-angle apps, slide your phone across the print along the arrows rather than lifting and replacing it.
- Check for glare before accepting the scan. If a bright reflection sits across a face, rotate the print or change the light and take it again. It takes four seconds and saves a retake later.
- Crop and straighten in the app, then save into a single album rather than your camera roll. A dedicated album makes the backup step a single sync.
The honest limit is resolution. Phone scanning gives you the equivalent of roughly 150 to 300 DPI on the print, which is completely fine for sharing, printing at 4×6, and building a family album. If you want an 8×10 print or a close crop of a face, that file may not hold up.
How to Prepare and Organize Scanned Photos
Never clean a photo with anything wet. Dust off with a soft brush, or blow gently from a distance. No water, no cleaner, no tissue dampened with anything. If a photo needs more than that, stop and use a conservator rather than risk it, because the print is usually the only copy you will ever have.
Handle prints by the edges with clean dry hands, and lay them face up on a soft surface rather than stacking them face to face. Photos that are stuck together should be separated slowly, never pried. If two prints are bonded, place them between sheets of interleaving tissue and leave them for a day; adhesion weakens and they often let go on their own. Prints in peel-and-stick album pages are the hardest case, because the glue keeps re-bonding every time you try to lift an edge. Scan them in place with the phone app, or accept that some will not come out cleanly and scan the page as it is.
Name files while you still know who is in them. A name like 1962-Mom-and-Dad-wedding beats IMG_4471 every single time, and it takes no longer to type. Folder by decade rather than by person: it stops you opening one photo, getting pulled into a memory, and ending the session with eleven photos sorted out of two hundred. On r/Genealogy and r/declutter, that single change is the difference between people finishing the box and abandoning it in the closet.
Then apply the 3-2-1 rule: three copies of your scans, on two different kinds of media, with one copy stored somewhere else. In practice that means your computer, an external drive, and a cloud folder. Your originals stay where they are, in an acid-free box away from heat and sun, because a scan is a backup and never a replacement.
Common Mistakes
Almost every bad scan comes from one of seven small decisions. Each one has a fix you can apply on the next print.
- Scanning at too low a resolution. The preview looks fine on screen and unusable when printed. Fix: 600 DPI for anything you might reprint, 300 DPI minimum otherwise.
- Closing the lid fully. On a lidless flatbed, closing it lets room light wash the image. Fix: rest it partway down, or drape a black cloth over the top edge.
- Leaving auto-enhance on. The scan comes out with crushed shadows and blown highlights. Fix: switch off image enhancement, color control, or document mode in the settings dialog.
- Photographing under mixed lighting. A ceiling lamp plus a window gives you two colour temperatures and a colour cast. Fix: one light source, daylight preferred.
- Ignoring glare on glossy prints and plastic sleeves. A white streak across the middle of a face is the most common phone-scan failure. Fix: use a multi-angle app, change the light angle, or scan the print out of the sleeve where it is safe to do so.
- Scanning at an angle. Skewed edges and a keystoned crop make straightening guesswork. Fix: flatten the print, align it square against the glass guides, or on the phone, hold the camera directly overhead and use the grid overlay.
- Keeping one copy. One folder on one laptop is a single point of failure, and family photo scans tend to end up exactly there. Fix: 3-2-1 before you call the project finished.
Two more worth knowing. Scanners crush blacks in dark photographs, so open the shadows slightly in your editor rather than reshooting at a lower brightness, and check that a dark jacket still shows texture. Phones do the opposite and clip bright highlights to pure white, which is why the sky in an outdoor shot sometimes comes out flat.
Slides and negatives are a separate project, not a footnote. They hold more detail than any print and need a different holder or a light source, so set them aside in their own box rather than trying to squeeze them onto the platen. Many people finish the prints first and deal with negatives weeks later.
Frequently Asked Questions
What is the best way to scan all my old photos?
Start by sorting loose prints by decade, then use a flatbed scanner at 600 DPI in 24-bit colour with auto-enhance switched off, saving as TIFF. Use your phone with a multi-angle scanning app for anything still inside a bound album or behind plastic sleeves. Scan in sessions of 100 to 150 prints, name files as you go, and copy each session to an external drive and a cloud folder before you close the lid.
What is the best scanner for scanning old photos?
For most homes, a flatbed scanner that already exists on a printer is enough, and it costs nothing to try. When buying, any recent Epson Perfection or Canon LiDE model handles prints well at 600 DPI. A photo-feeder scanner built for odd shapes is worthwhile only if you have thousands of prints to get through. Feeder models run fast but treat photos like documents, so check that the model is rated for photographic prints.
What is the best app for scanning photos?
Google PhotoScan is the strongest free option. It takes four slightly angled shots and stitches them together, which removes most of the glare that ruins glossy prints and photos behind plastic sleeves, then auto-crops the result. Photomyne is the better pick if you have a large batch, because its batch capture mode cuts the time per print considerably. Both save straight to your photo library or to cloud albums.
Is it better to scan old photos or take pictures of them?
Taking pictures with your phone is faster and handles bound albums in place, which a flatbed physically cannot do. A scanning app closes much of the quality gap by correcting perspective and stitching out glare. A flatbed still wins on resolution, giving you up to 600 DPI against roughly 150 to 300 DPI from a phone. Use the phone for albums and sharing, and a scanner for anything you plan to print large.
How much does it cost to digitize 1,000 photos?
Doing it yourself costs a scanner, if you do not already own one, plus your own time. Budget roughly 8 to 10 hours for every 300 prints, so 1,000 photos is a few days of work rather than an evening. Mail-in scanning services quote a per-photo price with volume discounts and charge for the scan regardless of how long it takes you, which wins for very large collections. Always confirm originals are returned.
What to do with thousands of old family photos?
Do not try to identify and organise everything before you start, because nobody finishes that way. Sort into broad buckets by decade, then scan in timed sessions of 100 to 150 prints and stop when the session ends. For collections of several thousand prints, get two or three per-photo quotes from a mail-in service and compare the total against your own hours. Write names on a separate note as you scan, while relatives can still confirm them.
Conclusion
Five things to do first, in order. Inspect the originals and dust them with a soft brush, handling nothing wet. Pick one route for loose prints and one for bound albums so you are not switching methods mid-project. Set 600 DPI and 24-bit colour with auto-enhance off if you have a scanner. Check the preview at full size before you move to the next print. Then copy every finished session to a second drive and a cloud folder before you call it done.
Do not wait until the whole collection is scanned to start sharing. Fifty good scans in a shared album that relatives can add names to are worth more than a perfect archive nobody opens.