
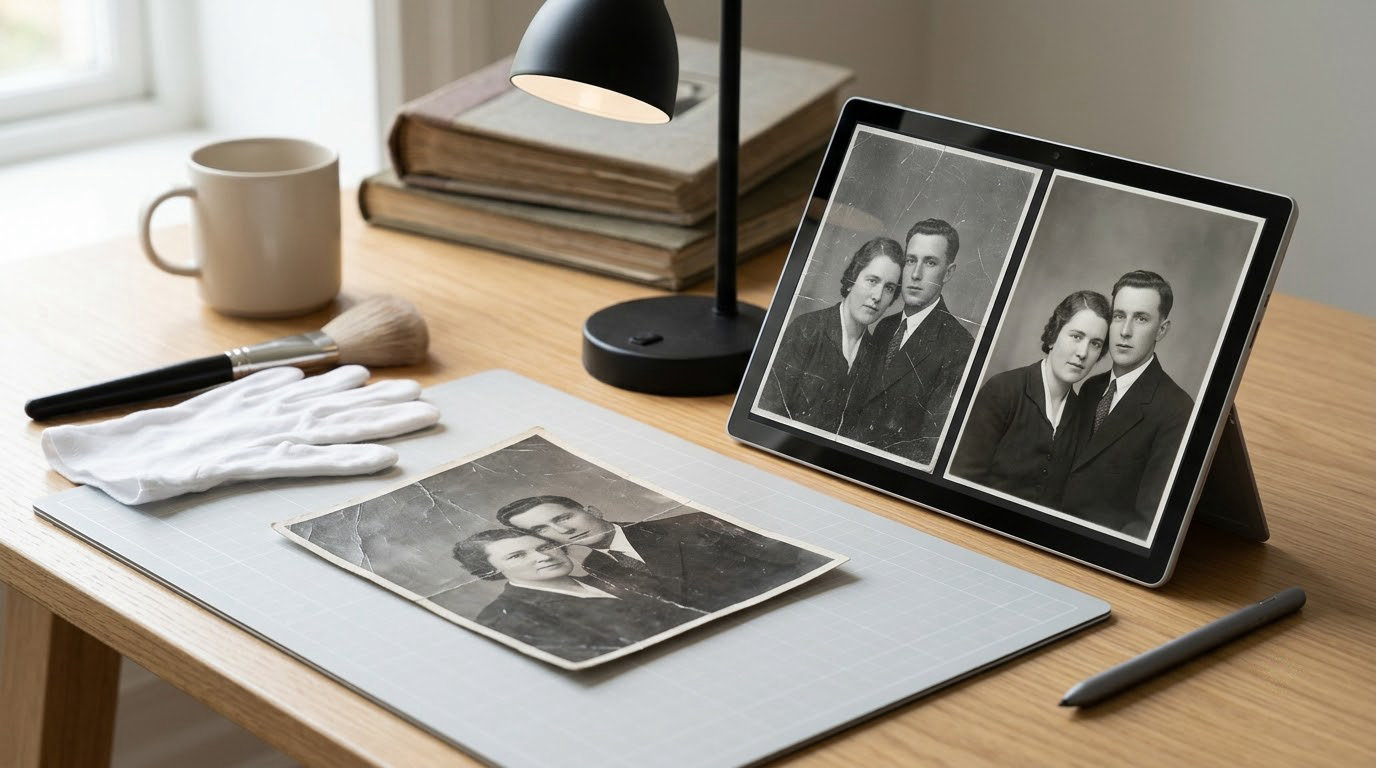
How to remove scratches from scanned photos comes down to three routes: an automated dust filter for specks, healing brushes for individual scratches, and an AI remover for heavy damage. Start with the filter for the easy stuff, then finish the scratches by hand so faces and lettering survive. Most of the work takes 10 to 20 minutes per print once you know the settings.
One warning before you start: the scanner magnifies damage. A scratch you can barely see under a lamp becomes an obvious white line across a face at 600 DPI. Retouching is normal practice for photo restoration, but never touch the physical print, the negative or the slide itself. Every repair here happens on a duplicate layer of the scan, and the original file stays untouched.
Table of Contents
- What You Need
- Step-by-Step: How to Remove Scratches from Scanned Photos
- Common Mistakes
- Frequently Asked Questions
- Can you remove scratches from a photo without Photoshop?
- Are AI scratch removers safe for old family photos?
- How do I keep the film grain in my scanned photo?
- What scan resolution do I need before retouching scratches?
- Can you buff scratches off a physical photograph?
- Will Digital ICE remove scratches from my negatives?
What You Need
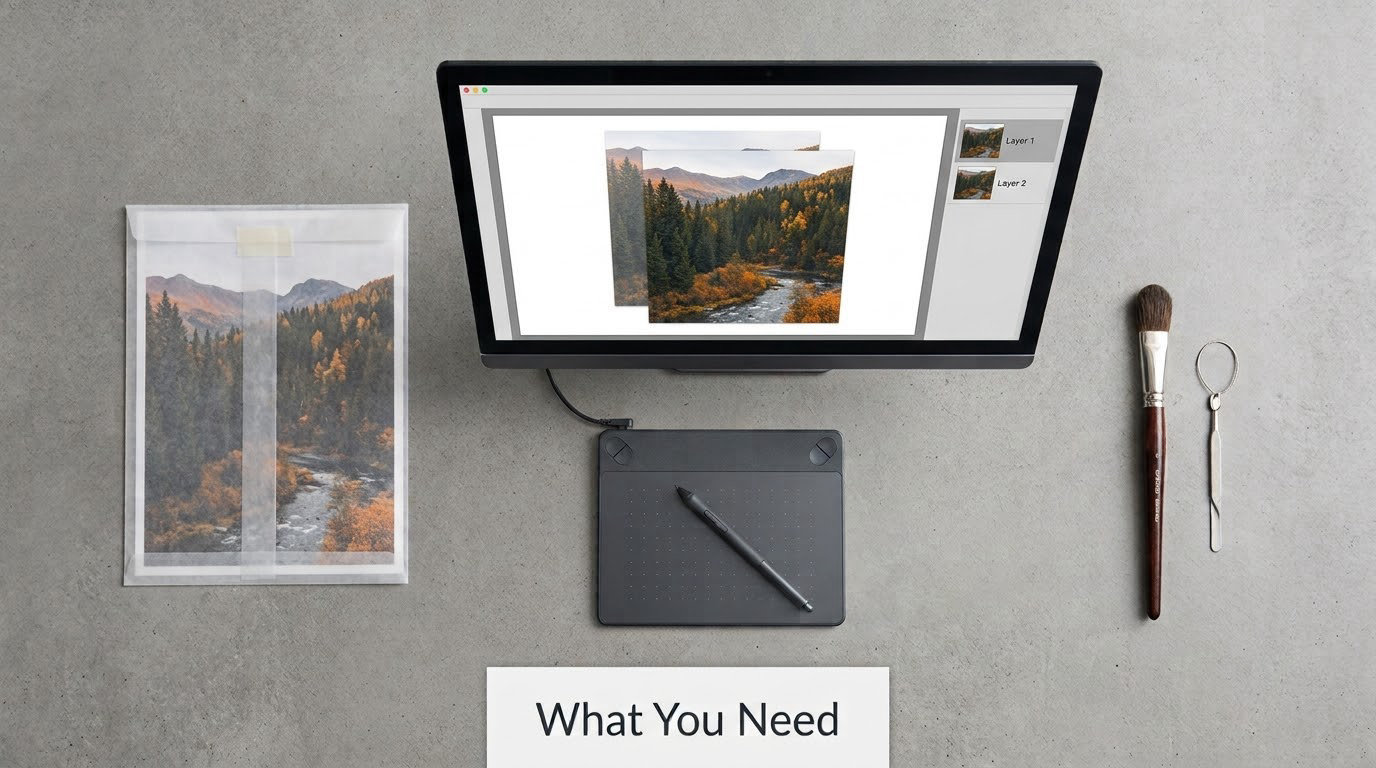
You need four things: the best scan you already have, an image editor, a duplicate layer to work on, and a brush. That is genuinely it. Everything else is optional, and the tool choice matters far less than the workflow.
- The highest-quality scan available. If the negative or film can be rescanned, do that first. Clean the negative with a wetting agent, clean the scanner glass, and rescan at 300 to 600 DPI in 48-bit color. A clean rescan beats any amount of retouching.
- An image editor. Photoshop is the reference point, Photoshop Elements covers most of it, Affinity Photo costs a one-off payment, and GIMP is free and fully capable.
- A duplicate layer. This is the whole non-destructive discipline: nothing happens to the pixels that came out of the scanner.
- A soft brush or healing tool, plus selection tools if the damage covers more than a hairline.
Photoshop, Elements, GIMP, Affinity, or a free online tool
Photoshop has the best tools, but Elements covers most of this workflow and GIMP gives you everything at no cost. The online AI removers are the fastest option and the least trustworthy for archival work.
| Tool | Cost | Learning curve | Best for | Known failure mode |
|---|---|---|---|---|
| Adobe Photoshop | Paid subscription | Moderate | Full control: healing brushes, patch tool, frequency separation, layer masks | Content-aware fill invents plausible texture where none existed |
| Photoshop Elements | Paid one-off or subscription | Low | Beginners who want the Spot Healing Brush and a spot removal filter | No frequency separation, fewer blend modes |
| GIMP | Free and open source | Moderate | The free path: Clone tool, Healing tool, Resynthesizer, Smart Remove | Tool names differ from Adobe, so tutorials need translating |
| Affinity Photo | Paid one-off | Moderate | Photoshop-style healing and patching without a subscription | Smaller community, fewer tutorials |
| Free online AI remover | Free tier or paid credit | None | Quick previews and severe damage on throwaway copies | Invents detail, compresses the file, uploads family photos to a server |
GIMP is the answer most people land on. As one commenter put it on a film photography forum, GIMP would be quite easy to heal those scratches with, and that holds up. In GIMP, the Healing tool is the equivalent of Photoshop’s Spot Healing Brush, the Clone tool maps directly, and the Filters and Enhance and Repair and Restore area has a Smart Remove filter that plays the role of the automated dust filter.
Step-by-Step: How to Remove Scratches from Scanned Photos
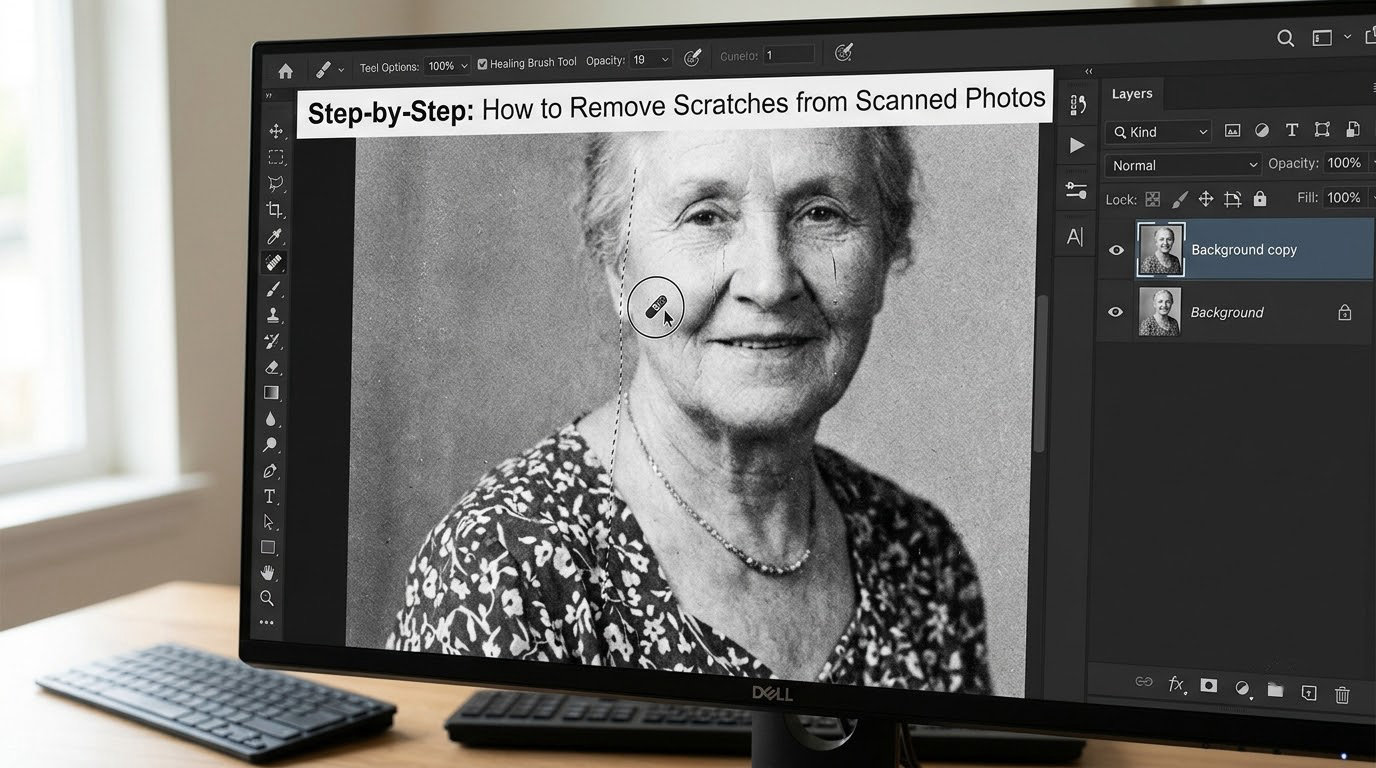
The workflow below is the same whether you use Photoshop, Elements, Affinity or GIMP. Only the menu names differ, and each section notes the equivalent path where it matters.
Step 1: Make a Non-Destructive Working Copy
Duplicate your scan layer, name the copy, and never touch the original. This one habit is what separates a repair from a rescue job.
- Open the scan. If it is a JPEG from years ago, this is your master, so stop and rescan if you still have the physical original.
- Duplicate the layer in the layers panel. In GIMP this is Layer and Duplicate Layer.
- Rename them: scan-original and scan-work. You now have a hard stop you cannot cross by accident.
- Convert to a working color mode if needed. 16-bit per channel gives the healing tools more tonal room than 8-bit.
- Zoom to 100% and hold it there. Scratches hide from you at fit-to-screen size, and every repair decision should be made at full magnification.
Check the resolution while you are there. Anything above 300 DPI is plenty to print at 8 by 10 inches; below 150 DPI, the scratch will out-resolve the image and you will spend all night repairing pixels nobody will ever see.
Step 2: Identify the Scratch and Its Surrounding Texture
Not every mark is damage. Before repairing, know which of the six common types you are looking at, because each responds to a different tool.
| Damage type | What it looks like | Best tool | Typical time |
|---|---|---|---|
| Dust specks | Small dark or white dots, scattered | Spot Healing Brush, automated filter | 2 to 5 minutes |
| Fibers and hairs | Thin curved lines, often light | Spot Healing Brush | 5 to 10 minutes |
| Scratches on print emulsion | Straight or curved bright line with hard edges | Clone tool, healing brush, patch tool | 10 to 25 minutes |
| Creases and folds | Long soft line with tonal shift on both sides | Frequency separation, patch tool | 25 to 45 minutes |
| Fingerprints and smudges | Soft blotches, low contrast | Healing brush, patch tool | 5 to 15 minutes |
| Stains and color cast | Large area, yellow or magenta tint | Levels, curves, color balance | 10 to 20 minutes |
Zoom to 200% or more on the scratch and look at the pixels immediately beside it. That neighboring texture is your sampling source, and knowing whether it is smooth sky, textured tweed or a busy background changes the brush settings completely. A scratch crossing a flat sky takes a minute. The same scratch across a knitted jumper can take twenty.
Also decide whether the damage is on the print or on the negative. Emulsion scratches on a negative can often be cleaned and rescanned away entirely, which beats any digital repair. Print damage exists only in the scan, so that decision only applies to film.
Step 3: Select and Repair Scratches by Hand
For a thin scratch, sample clean pixels right next to it and paint along its length in short strokes. Most tutorials on how to remove scratches from scanned photos stop at the click-drag part, and that is exactly where the difference between a clean repair and a visible smear is decided. Here is the exact sequence.
- Pick the Spot Healing Brush (J in Photoshop and Elements). For GIMP, choose the Healing tool and set Sample type to Resynthesize.
- Set brush size just wider than the scratch and hardness between 0 and 20 percent. A hard edge brush is what leaves the tell-tale halo.
- Set Opacity to 100 percent and Flow to roughly 50 percent for a first pass.
- Scrub along the scratch in short overlapping strokes, following the direction the scratch runs.
- Alt-click (or Ctrl-click in GIMP) on clean pixels just beside the scratch to resample, then keep painting.
- Zoom out to 100%, look, zoom back in. Refine the edges with a small soft brush at low opacity.
Resampling constantly is the part people skip. If you sample once and then drag the brush the length of the scratch, you copy one patch of texture over and over and the repair reads as a visible repeating pattern. Re-sample every few millimetres and the scratch disappears.
For a longer scratch, switch to the Clone tool (S). Alt-click to set the sample point, then click repeatedly rather than dragging. The Clone tool does not blend, so check your work every ten clicks or so.
Step 4: Repair Larger Scratches Without Flattening the Image
When a scratch is wide, crosses a face, or runs through lettering, hand-brush work alone will smear. Use selection and patching instead.
Select the damaged area with a soft-edged lasso, feather it 2 to 4 pixels, then use the Patch Tool. Draw the selection onto a nearby patch of matching texture and Photoshop blends it in while preserving some of the original detail. For a missing area such as a torn corner, use Content-Aware Fill, then immediately undo and try it again with a different patch scale. Content-aware fill is fast and it invents texture that was never there, so it belongs on background areas, never on a face or on text.
For creases and folds, separate the image into a low-frequency color layer and a high-frequency detail layer using frequency separation (Image and Image Apply Image in Photoshop, or Colors and Decompose in GIMP). Repair the color layer with the patch tool or content-aware fill, where smearing does not matter, then push the result back through the detail layer. The fold disappears, and the skin texture survives.
Compare before and after at 100% before you move on. Toggle the visibility of the work layer, or flip the canvas horizontal, which gives your eye a fresh view and catches repairs that look wrong but feel fine.
Step 5: Refine, Compare, and Save the Correct Version
Refinement is a separate pass, not part of the repair. Lower the repair layer opacity to about 80 to 90 percent so the fix is not perfectly invisible, then correct any color shift with a soft brush or a Curves adjustment masked to the repair only.
Do not sharpen yet. Once the image is clean, add a new layer, use Unsharp Mask or Smart Sharpen at a low amount (50 to 80 percent) with a radius around 1 pixel, and mask it so the repaired areas stay soft. Sharpening scratches you just removed is the fastest way to undo the work.
Save two files. One layered working file, either PSD, TIFF or GIMP’s XCF, keeps every layer and every mask. One flattened archival master, 16-bit TIFF if the software offers it, is the copy you back up and print from. Never save over a JPEG you have opened and edited repeatedly. Each save re-compresses and the previous generation of artifacts stays baked in, and after a dozen rounds the whole picture looks soft and blotchy.
If you want to strip out paper texture or a regular grid pattern from a scan of a print, the community answer is an FFT filter followed by a motion blur applied in the direction of the remaining pattern, which clears up the repeating structure. That is an advanced move and it is easy to flatten real detail along with the pattern, so try it on a copy.
Common Mistakes
Almost every ruined restoration traces back to one of seven mistakes, and all of them are cheap to avoid.
Working on the original file. There is no undo history in a scan that has been closed and reopened. Duplicate the layer first, every time. The fix is trivial now and impossible later.
Using a hard brush. A brush at 100 percent hardness leaves a hard-edged smear that is more visible than the scratch. Keep hardness between 0 and 20 percent and drop the flow if the repair looks plastic.
Repairing at the wrong zoom. At fit-to-screen, dust disappears and so do your repairs. Zoom to 100% or 200% and judge there, which is also where you will see whether the brush matched the texture.
Selecting too much area. Every extra pixel inside the selection is texture the tool has to invent. Tighten the selection to the damage plus a pixel or two, feather lightly, and repair the minimum area.
Treating intentional lines as damage. Texture in a sweater, embroidery on a shirt, lettering on a sign, a pattern in a rug and the sparkle in an eye are all things the filter reads as specks. Eyes, teeth, eyelashes, eyeglass frames, tweed, pinstripes, lettering, belt buckles and jewelry are the first casualties of an automated filter applied across the whole frame.
Overusing content-aware fill. It is excellent on plain backgrounds and terrible on faces and text. If the fill produces something you cannot immediately recognize as the surrounding area, undo it and patch manually.
Over-saving a JPEG. Re-exporting the same file twenty times is the reason old restorations look waxy. Work in a lossless format and export once at the end.
And the physical mistake, which is not recoverable: never use toothpaste, solvents, erasers or buffing on a photograph. Those remove the emulsion permanently. Toothpaste is for phone screens and car paint. A scratch on a print can only be repaired digitally.
Two quality-control habits are worth building in. Work at 100% zoom and flip the image horizontally before you call it finished, which catches repairs your eye has already accepted. And on any original with real family or monetary value, test the whole process on a photocopy or a low-resolution scan first, and consider a paper conservator before sending anything irreplaceable out.
Frequently Asked Questions
Can you remove scratches from a photo without Photoshop?
Yes. GIMP is free and has every tool this job needs: the Healing tool with Resynthesize mode works like the Spot Healing Brush, the Clone tool maps directly across, and the Smart Remove filter in Filters, Enhance, Repair and Restore plays the part of the automated dust filter. Affinity Photo covers the same ground with a one-off payment. How to remove scratches from scanned photos is the same workflow in all three; only the menu names change.
Are AI scratch removers safe for old family photos?
They are fast and often convincing, but they generate the missing pixels rather than recovering them. That is fine for a quick social media copy and wrong for an archival master of a relative you want your grandchildren to see. On a face, AI tools frequently change the shape of features that were never damaged. Use them for previews, then do the real repair by hand.
How do I keep the film grain in my scanned photo?
The automated dust filter will happily eat grain, because grain looks exactly like the noise it is designed to detect. That is the single most common way these filters flatten a picture. Two defenses: apply the filter to a duplicate layer at reduced opacity, and mask it away from faces and textured clothing. Then sharpen on a separate layer at the end so the grain comes back without the scratches.
What scan resolution do I need before retouching scratches?
At least 300 DPI, which is enough to print an 8 by 10 inch image. 600 DPI is the sweet spot for enlargements and for family prints, because a thin scratch at 600 DPI is still thin rather than a chunky white bar. Scanning at 150 DPI leaves you repairing pixels that will never be visible, and below that, sharpening cannot save it. Always scan in 48-bit color and save the master as TIFF.
Can you buff scratches off a physical photograph?
No, and it is worth being blunt about why. Toothpaste, metal polish, erasers and buffing compounds are abrasive: they strip the emulsion or the gloss layer to reach the scratch, and they take the image with them. The original detail is destroyed permanently. Digital retouching is the only safe route, which is why rescanning at high resolution and repairing the scan is the first step.
Will Digital ICE remove scratches from my negatives?
Not reliably. Digital ICE reads the infrared channel, where many types of dust and fiber vanish, and it removes what it finds there. A base scratch in the emulsion often shows up in the infrared channel too, which is why it sometimes works. But it also softens fine detail, fails on textured prints, and gets confused on modern films. Expect it to help with dust, not to save a scratched negative.
Duplicate your scan layer, open it at 100%, and heal the first speck you can see. That single habit is what makes how to remove scratches from scanned photos a twenty-minute job instead of an evening, and everything else on this page is a variation on it.