
ISO is the setting that decides how much your camera amplifies the signal coming off the sensor, so a higher ISO number gives you a brighter photo and a noisier one. It does not change how much light comes through the lens, and it works together with aperture and shutter speed rather than on its own. If you have searched ISO explained for beginners and landed here, you will find plain explanations, tables of real starting values, and no film theory in the way.
One thing worth saying early, because it confuses almost everyone at the start: ISO is a third control, not a magic brightness button. Turn up the volume on a quiet recording and you hear more music, but you also hear more hiss. ISO works the same way.
Table of Contents
- What Is ISO in Photography?
- How ISO Affects Exposure, Noise, and Image Quality
- What ISO Number Should Beginners Use?
- ISO and the Exposure Triangle
- How to Set ISO on Your Camera
- Low ISO vs High ISO: Which Is Better?
- Common ISO Mistakes Beginners Make
- ISO Settings for Different Photography Situations
- Frequently Asked Questions
- Conclusion: Start With the Lowest ISO That Works
What Is ISO in Photography?
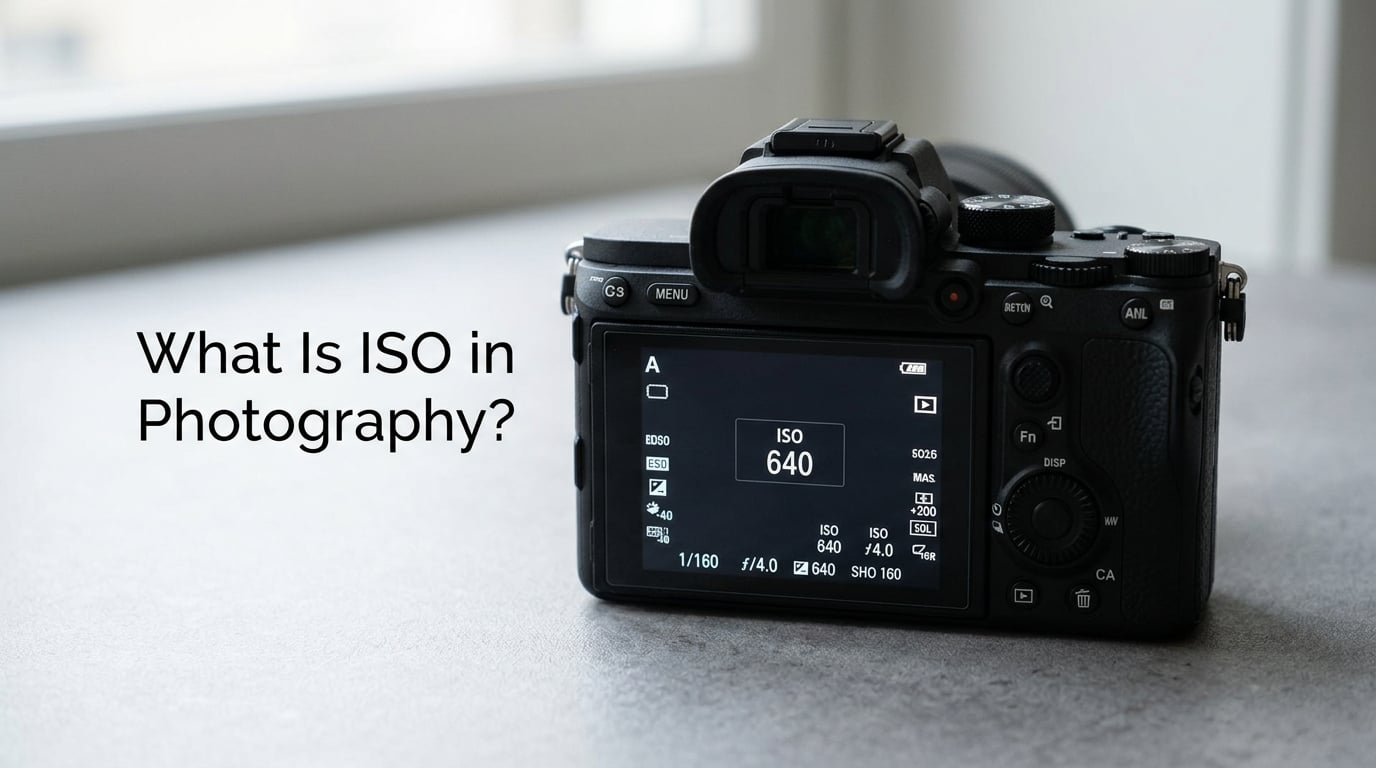
ISO controls how sensitive the camera treats the image sensor to light, which determines how bright or dark the finished photo looks. A low number such as ISO 100 produces a clean, smooth file, while a high number such as ISO 6400 makes it possible to shoot somewhere very dark. You always end up at some ISO value, even in full auto mode, where the camera picks it for you.
ISO explained for beginners in one sentence
ISO tells the camera how hard to push the brightness of the signal it collected, and every extra bit of pushing brings more noise along with it.
What does ISO stand for?
The name comes from the International Organization for Standardization, the body that publishes the film speed standard. The acronym was borrowed wholesale from film, which is why every digital camera still labels the scale the same way even though nothing about it applies to a memory card.
Film had to be physically more reactive to capture a dim scene quickly. Digital sensors are not, so the label is now a measure of amplification. Modern bodies usually let you set ISO in steps of a third of a stop, and the familiar values (100, 200, 400, 800) each represent a doubling of the previous one.
What is base ISO?
Base ISO is the value where your sensor uses its own native electronics with no artificial gain, and it is usually 100 or 64 on modern cameras. Every full stop above base ISO doubles the amplification: ISO 200 is 2x, ISO 400 is 4x, ISO 1600 is 16x, ISO 6400 is 64x.
Most cameras list settings below base ISO as extended low values, and very high ones as extended high values. Those still work, and they are useful, but they skip the cleanest electronic state. Some recent bodies have two base ISO values, usually 100 and around 800, where the sensor switches circuit and cleans up dramatically in poor light. That second one is why a mirrorless camera from the last few years often holds together far better at ISO 6400 than an older model did.
How ISO Affects Exposure, Noise, and Image Quality
ISO changes three things: the brightness of the image, the amount of noise in it, and how much room you have left before the shadows and highlights clip. Here is the short version, number by number.
| ISO value | Brightness compared with ISO 100 | Noise level | Where you would use it |
|---|---|---|---|
| ISO 100 | 1x, the baseline | Very low, almost invisible | Direct sun, or any scene on a tripod |
| ISO 400 | 4x brighter | Low, fine at normal viewing sizes | Overcast daylight, open shade, a lit room |
| ISO 1600 | 16x brighter | Moderate, visible in flat areas | Indoor events, evening streets, indoor sport |
| ISO 6400 | 64x brighter | Heavy, softens fine detail | Gymnasiums, night street work, dim weddings |
Noise is the random speckle and mottled texture you see in shadow areas and smooth surfaces like sky or skin. Two kinds matter to a beginner. Shot noise comes from the physics of light itself, so it rises whenever you are close to the sensor’s limits. Read noise comes from the camera reading and processing the signal, and it grows as the electronics work harder at higher ISO.
What you lose with rising ISO is not resolution so much as cleanliness. Detail survives in a noisy file, but edges get mushy when you push shadows in editing, and smooth areas break up first. That is why a slightly underexposed high ISO frame usually looks better than a clean low ISO frame you brighten later. Photographers on r/AskPhotography hit on this constantly: the underexposed file is missing light the sensor never recorded, and the camera has to guess what should have been there.
What ISO Number Should Beginners Use?
Start with the light you have, then adjust for movement. These are starting points, not rules.
- Bright sun outdoors: ISO 64 to 200. Keep it at base ISO whenever you can.
- Open shade, overcast light: ISO 200 to 800. Watch your shutter speed for movement.
- Normal indoor light, parties: ISO 800 to 3200.
- Evening and dim streets: ISO 1600 to 6400.
- Indoor sport or children running around: ISO 1600 to 6400, paired with a fast shutter speed and the widest aperture your lens allows.
There is no single right number, because three things move it. Your camera matters most: recent full-frame bodies are usable well past ISO 6400, while an older or smaller-sensor model gets rough there. Your lens matters, because a fast f/1.8 lens gathers more light than a slow kit zoom, so you can stay at a lower ISO. And your tolerance for noise matters, which is personal.
The only way to know your camera’s limit is to test it. Shoot the same static scene at ISO 100, 400, 1600 and 6400, all with the same exposure, and look at the files at normal size. Most people find their acceptable ceiling is lower than the spec sheet suggests, and higher than they expect.
ISO and the Exposure Triangle
ISO, aperture and shutter speed are the three settings that control exposure, and changing one means you can change the other two to keep the brightness the same. Here is what each one does on the way up and on the way down.
| Setting | When you raise it | When you lower it |
|---|---|---|
| ISO | Brighter image, more noise, no motion blur added | Cleaner image, needs more light or a slower shutter |
| Aperture (f-number) | Darker image, more depth of field, more light on every frame | Brighter image, thinner depth of field, risk of soft focus at wide values |
| Shutter speed | Less light, freezes motion, more chance of camera shake when very fast | More light, more chance of motion blur, steadier handheld shots |
A worked example makes it click. Indoors at ISO 1600, f/2.8 and 1/125s, you have a clean, bright frame. A dancer spins into frame, so you want 1/500s, four times faster, and you need four times the light. Opening up to f/1.8 is not enough on its own, so you go to ISO 3200 and 1/250s, or you accept a little blur and stay at ISO 1600.
There is no correct choice there, only a trade you decide on purpose. That is the whole game, and ISO is the setting you reach for last, after you have done what you can with aperture and shutter speed.
How to Set ISO on Your Camera
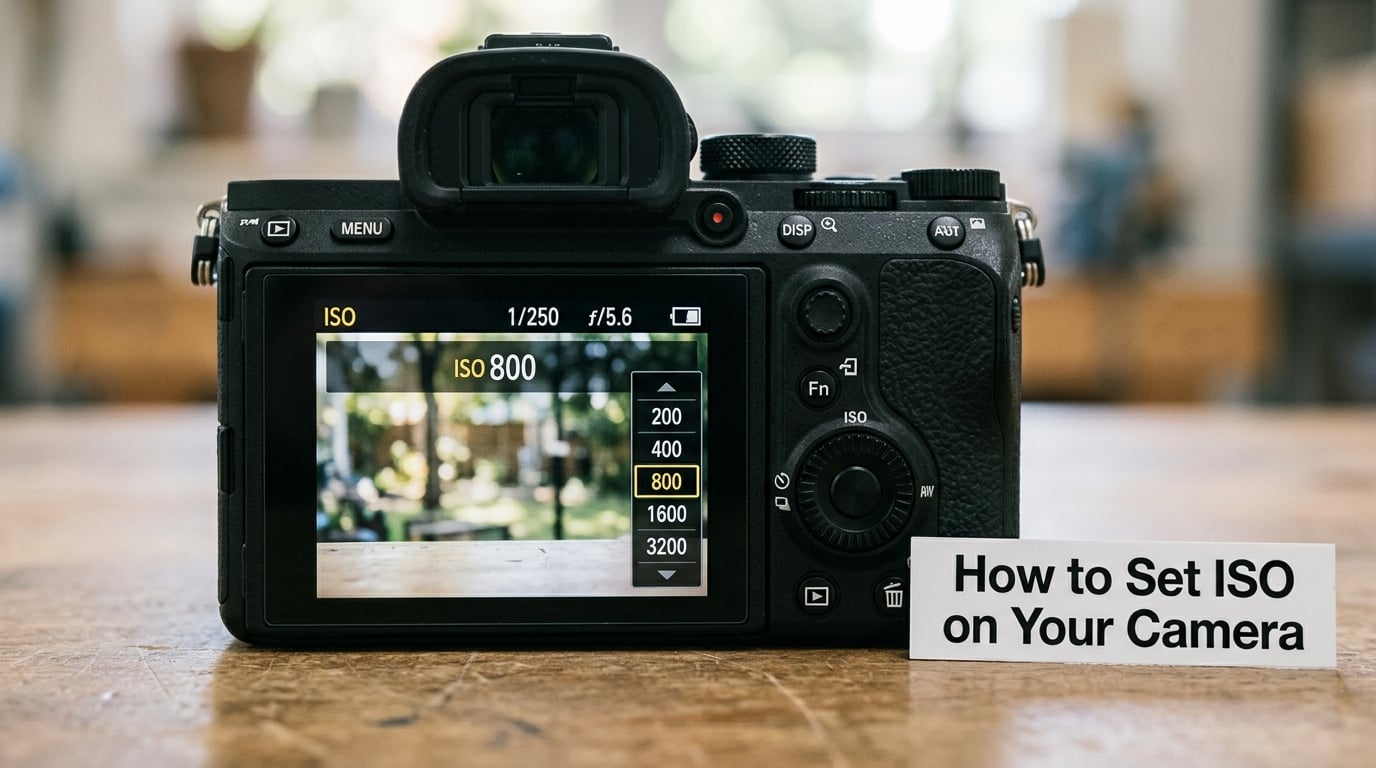
Almost every camera follows the same logic, even when the labels differ. Look for an ISO button on the top plate or the back, or a sensor or sensitivity option inside the shooting menu, and use the top dial, rear dial or touchscreen to pick the value.
- Turn the mode dial first. In P, A, S or any manual mode, you control ISO yourself. Fully auto modes often hide it.
- Press the ISO button, or find ISO in the shooting menu. On many bodies it is labelled ISO or a camera icon, and it sits near the shutter release or on the rear thumb rest.
- Pick a value with the dial or the touchscreen. Turn the wheel until the number changes, then press the button again to lock it. The display shows the ISO next to the shutter speed and f-number.
- Turn on Auto ISO if you want the camera to choose. It usually lives in the same menu, and you set a maximum value there. That ceiling is the most useful setting in the whole feature, so set it to the highest ISO you are still happy with.
Shutter priority (S or Tv) and aperture priority (A or Av) modes pair well with manual ISO, because you hold one side of the triangle steady and change ISO to compensate. Phones work the same way in their pro or manual mode, where ISO is a field at the bottom of the screen and you tap it to change it.
Low ISO vs High ISO: Which Is Better?
Neither one, on its own. A low ISO gives you the cleanest file and the most detail in shadows, and a high ISO lets you freeze a moving subject without a flash. Judged on image quality alone, low wins. Judged on whether you got the shot at all, high often does.
Low ISO is the right call when the subject holds still and the camera can sit still too. High ISO earns its place whenever movement or a short exposure matters, which is most indoor and night work. Beginners often fall into the trap of a low ISO rule and end up with a frame so dark that no amount of editing rescues it.
The habit that works is a floor, not a ceiling. Pick the lowest ISO that still lets you hold a shutter speed fast enough to stop the blur, then stop worrying about the number. Most people land somewhere between 400 and 3200 for everyday shooting.
Common ISO Mistakes Beginners Make
Raising ISO out of habit
In full sun on a tripod, ISO 3200 is a choice you made, not one the light demanded. Check what is possible before you turn the dial, and use the base ISO value whenever the tripod or the shutter speed is doing the work.
Leaving Auto ISO at its default ceiling
Out of the box, a camera may allow ISO 12800 before it stops, which is far noisier than most beginners want. Set the Auto ISO maximum yourself, something like ISO 3200, and the camera will open the aperture or slow the shutter before it gets uglier than that.
Confusing ISO with shutter speed
ISO 3200 does not freeze a running child, because ISO adds no motion information to the frame. Only the shutter speed does that. A fast shutter at a high ISO is a good pair; a slow shutter at a low ISO is a blurred photo however clean the file is.
Reaching for a high ISO instead of a tripod
For a static scene at night, putting the camera on a tripod lets you shoot at ISO 100 with a two-second or 30-second exposure, and the result beats almost any handheld high ISO frame. A stable camera is the cheapest noise reduction there is.
Judging noise from a heavily edited file
Noise looks far worse in a file that has been lifted, pushed and sharpened than it does straight out of the camera. A lot of the “grainy disaster” complaints on r/Beginning_Photography turn out to be a decent ISO 3200 frame that was pushed two stops in editing. Judge the raw file, not the finished one.
ISO Settings for Different Photography Situations
| Situation | Starting ISO | Note |
|---|---|---|
| Daylight portrait outdoors | ISO 100 to 400 | Watch the shutter speed if the subject moves |
| Outdoor scenery and travel | ISO 64 to 200 | Use a tripod at dawn, dusk or at night |
| Street photography | Auto ISO, max around ISO 3200 | Shutter speed at 1/250s or faster, no flash |
| Indoor events and weddings | ISO 1600 to 3200 | Wide open aperture, keep shooting above 1/125s |
| Indoor sport | ISO 3200 to 6400 | Fast lens, 1/500s, shoot where the light is |
| Night street and astro | ISO 1600 to 6400, or 100 on a tripod | Tripod and a fast lens beat ISO every time |
Treat every number here as a starting point rather than a verdict. Shoot the same scene twice, once a stop higher and once a stop lower, and pick the one you prefer. Your camera, your lens and your tolerance for noise will settle these questions faster than any chart.
Frequently Asked Questions
What is ISO in simple terms?
ISO tells the camera how hard to boost the light signal it collected. A low number like ISO 100 keeps the file clean but needs plenty of light. A high number like ISO 6400 makes a dim scene bright enough to shoot, and the boost shows up as noise, which is the speckled texture you see in shadows. It is one of the three exposure settings, alongside aperture and shutter speed.
What does 400 ISO mean?
ISO 400 means the camera amplifies the sensor signal four times as much as it does at ISO 100, so the photo comes out four times brighter. Each full step on the dial is a doubling: 100 to 200 to 400 to 800. In practice ISO 400 suits overcast daylight, open shade or a reasonably lit room, and its noise is mild at normal viewing sizes.
Does higher ISO mean better quality?
No. A higher ISO gives you a brighter image and the ability to use a faster shutter speed, but the extra amplification adds noise and softens fine detail, especially in shadows. Cleanliness is best at base ISO, usually 100 or 64. Higher ISO is a trade you accept so you can reach a usable shutter speed or a wide enough aperture in dim light.
When should I use Auto ISO instead of setting it myself?
Auto ISO works well when the light changes faster than you can react, such as at weddings, indoors or on the street. Set a maximum value that matches your noise tolerance, around ISO 3200 for many beginners, and the camera will stay below it. Choose ISO manually when the light is steady, or when you are on a tripod and want the file as clean as possible.
How does ISO compare with exposure compensation?
Exposure compensation changes how bright the whole frame comes out, usually in one stop steps, without touching any of the three settings. ISO changes one of those settings to gather or boost more light. Use ISO to solve a lighting problem, and exposure compensation when the shot is correctly exposed but you want it lighter or darker for reasons of taste.
Conclusion: Start With the Lowest ISO That Works
Use the lowest ISO that still lets you hold a shutter speed fast enough to stop the blur, then raise it when the light or the movement asks for it. That is the whole of ISO explained for beginners: no magic, no single correct number, just a running trade between brightness, sharpness and grain.
Do one thing this week. Put your camera on a tripod, shoot a static scene at ISO 100, 400, 1600 and 6400, and compare the four files at full size. Ten minutes of testing teaches more than an hour of reading, and you will end up with your own answer instead of somebody else’s.