
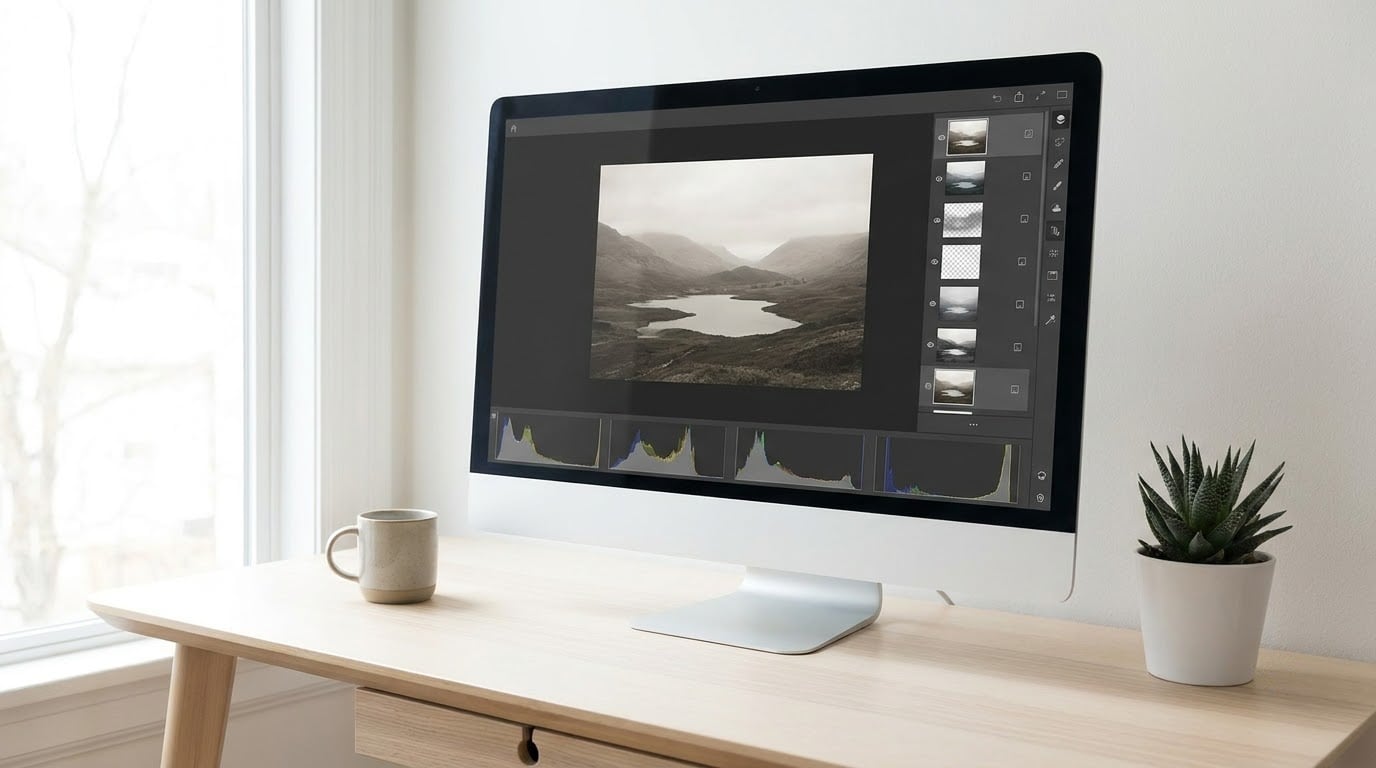
Learning how to edit photos in GIMP comes down to one repeatable chain: open the file, duplicate the layer, crop, fix tone and color, retouch, sharpen, then export. Master that sequence and the interface stops feeling crowded, because every tool belongs to a step in it. The whole core pass takes roughly twenty minutes once you have done it a few times.
The steps below follow GIMP 3.0 on Windows, macOS and Linux. GIMP 2.10 does nearly everything here too, but several menu labels moved, so I flag the differences as they come up.
Table of Contents
- What You Need Before You Start
- Step-by-Step: How to Edit Photos in GIMP
- Step 1: Open and Prepare Your Photograph
- Step 2: Crop and Straighten the Composition
- Step 3: Make a Nondestructive Levels Adjustment
- Step 4: Adjust White Balance and Color
- Step 5: Use Curves for Deeper Contrast
- Step 6: Retouch Small Imperfections with Layers
- Step 7: Sharpen Details Without Creating Halos
- Step 8: Add a Creative Adjustment or Texture
- Step 9: Flatten, Size, and Export the Final Image
- Common Mistakes and How to Undo Them
- Frequently Asked Questions
- Is GIMP good for editing photos?
- What is the easiest way to edit a photo in GIMP?
- Can GIMP edit RAW files, and which versions support them?
- How do I save a GIMP image as a JPEG?
- What is the difference between flattening an image and exporting it?
- How do I avoid making my edited photos look overprocessed?
- Conclusion
What You Need Before You Start
Four things, and only one of them costs anything.
- GIMP 3.0, free. Download it from gimp.org. Windows gets an .exe installer, macOS a .dmg you drag into your Applications folder, and Linux uses the standard package manager or a Flatpak image. Nothing on this page needs a paid tier or an account.
- A copy of your photo. Not the only copy. Duplicate the file on disk before you open it, or at least duplicate the layer inside GIMP, so your untouched original survives any bad slider drag.
- A neutral reference, optional but useful. A grey card or a white paper in the frame tells you what true neutral looks like. Without one, you are guessing at white balance from memory, and memory is the least reliable tool in the room.
- Some memory to spare. Eight gigabytes handles a 24-megapixel file comfortably. Below that, GIMP will still run, but filters and undo steps start to stutter.
Four words you will meet immediately, defined so nothing later is confusing:
- Layer — one transparent sheet stacked on another. Every edit worth keeping happens on its own layer.
- XCF — GIMP’s native working format. It stores layers, and no browser or phone can open it.
- Selection — a highlighted region that limits an operation to part of the image.
- DPI — printing density. The web ignores it completely and looks only at pixel width, which is why two files with identical pixels can print at very different sizes.
If a tutorial you found online does not match the menus in your window, check its version label first. Most confusion about GIMP is really confusion about whether the writer used 2.10 or 3.0.
Step-by-Step: How to Edit Photos in GIMP
Here is the same reference table I keep beside my own monitor, since menu hunting is the slowest part of any session.
| Action | Where to find it | What it does |
|---|---|---|
| Duplicate the original | Layer > Duplicate Layer (Ctrl+Shift+J) | Keeps the untouched pixels recoverable |
| Crop | Tools > Transform Tools > Crop Tool (Shift+C) | Trims the frame without discarding pixels |
| Straighten a tilt | Tools > Transform Tools > Straighten | Rotates a crooked horizon flat |
| Resize pixels | Image > Scale Image | Changes the real dimensions |
| Extend the frame | Image > Canvas Size | Adds space around the image |
| Overall exposure | Colors > Exposure | Brightens or darkens everything |
| Black, white, midtones | Colors > Levels | Sets where shadows, mids and highlights fall |
| Local shadow or highlight | Colors > Shadows-Highlights | Recovers one area without touching the rest |
| Colour cast | Colors > Color Temperature | Warms or cools the whole frame |
| Contrast shape | Colors > Curves | Bends the tonal ramp into an S |
| Sharpening | Filters > Enhance > Sharpen (Unsharp Mask) | Boosts edge contrast, and halos if pushed |
| Retouch | Tools > Healing, Tools > Clone | Removes small blemishes or objects |
| Working file | File > Save (Ctrl+S) | Writes an editable XCF with layers |
| Finished file | File > Export As (Shift+Ctrl+E) | Writes a flat JPG, PNG or WebP |
Step 1: Open and Prepare Your Photograph
Open the file with File > Open or drag it from your file manager straight onto the GIMP window. The title bar tells you the pixel dimensions, and Image > Image Properties gives you the full detail, including the color profile and bit depth. Check the profile before anything else: an image tagged with the wrong profile will look correct on your screen and wrong everywhere else.
Then duplicate the background layer with Layer > Duplicate Layer and name it. The untouched original now sits underneath as a safety net, and any adjustment you regret becomes a matter of switching off one layer rather than trying to reconstruct what you lost.
Save the working file as an XCF as soon as the duplicate exists. File > Save keeps every layer intact, and a name like beach-edit.xcf tells future you that the original JPEG was never overwritten.
Step 2: Crop and Straighten the Composition
Press Shift+C for the Crop Tool, then drag the handles inward from the edges. The chain icon in the tool options links width to height, so the aspect ratio holds as you pull; unlink it only when you deliberately want a new shape, such as a tall 4:5 crop for a social feed.
Zoom out to fit the window and check the composition as a whole, then zoom to 100% and check the edge pixels. Cropping cuts pixels off, so a stray bright object clipped in half at the border looks like a mistake rather than a frame.
For a horizon that sits two degrees off, grab the Straighten tool under Tools > Transform Tools, draw a line along the true edge, and preview the rotation before committing. For a building shot that leans from perspective rather than from the camera roll, use the Perspective tool and correct one corner at a time.
Remember that cropping is not resizing. Cropping removes picture; Image > Canvas Size adds empty canvas around what is already there, which is what you want when fitting a print to a fixed frame.
Step 3: Make a Nondestructive Levels Adjustment
With your duplicate layer selected, open Colors > Levels. You get three sliders under a histogram: black point on the far side, white point on the near side, and a gamma value in the middle.
Pull the black point inward until the darkest part of the histogram meets the panel’s base, which restores detail in heavy shadows. Pull the white point inward the same amount at the top, but stop before the highlight blobs join into one white smear. Then use gamma only if the midtones still feel flat.
Your choice of tool follows the problem:
- The whole image is too dark — use Colors > Exposure, which shifts the whole tonal range together.
- The whole image is too flat — use Levels, moving both outer points and the gamma.
- One region is too dark while the rest is fine — use Colors > Shadows-Highlights, which targets that range and leaves the other alone.
Keep one adjustment per layer, and lower the layer opacity instead of dialing a slider to its limit. Forty percent of a strong correction blends more naturally than a hundred percent of a gentle one.
Step 4: Adjust White Balance and Color
A photo shot under a tungsten lamp goes orange, and one shot in open shade goes blue. GIMP can tell the difference between those two problems and the fix lives under Colors > Color Temperature: drag toward yellow to warm a cold frame, toward blue to cool a warm one. In GIMP 2.10 this is Colors > Color Balance, and it is the tool most beginners have never opened.
To be accurate rather than approximately right, open Colors > Curves, click the black point eyedropper, and click something that should be neutral grey in the scene. The channel with the lowest reading is the one carrying the cast, and the three channels will settle into something closer to each other when you have found the true neutral.
After that, Colors > Saturation adds or removes punch across the whole image, while Colors > Hue-Saturation shifts a specific range — useful for pulling orange out of skin without dulling the sky. Saturation is the slider people push too far. Pull a landscape back to where it looks slightly dull in the editor and it will look correct to everyone else.
Step 5: Use Curves for Deeper Contrast
Levels fixes the endpoints; Curves lets you decide what happens between them. The diagonal line in the Curves dialog represents every tone from black to white, and you can bend it into an S: a gentle lift in the lower section opens the shadows, a gentle push in the upper section holds the highlights, and the steep middle increases contrast.
Move the curve in small gestures and check the result at 100%. A curve that looks dramatic in a dialog that only shows a thumbnail is a curve you will regret at full size.
For a fine-art black and white, put a new layer above the photo and use Colors > Desaturate > Desaturate to convert it to grey, then set that layer’s mode to Overlay at about 40 percent. The underlying color returns in the highlights and shadows, which is the reason photographers do it this way instead of simply switching to greyscale. Colors > Components > Channel Mixer lets you bias which color becomes the darkest, and a yellow-blue mix is the classic starting point for skin tones.
Step 6: Retouch Small Imperfections with Layers
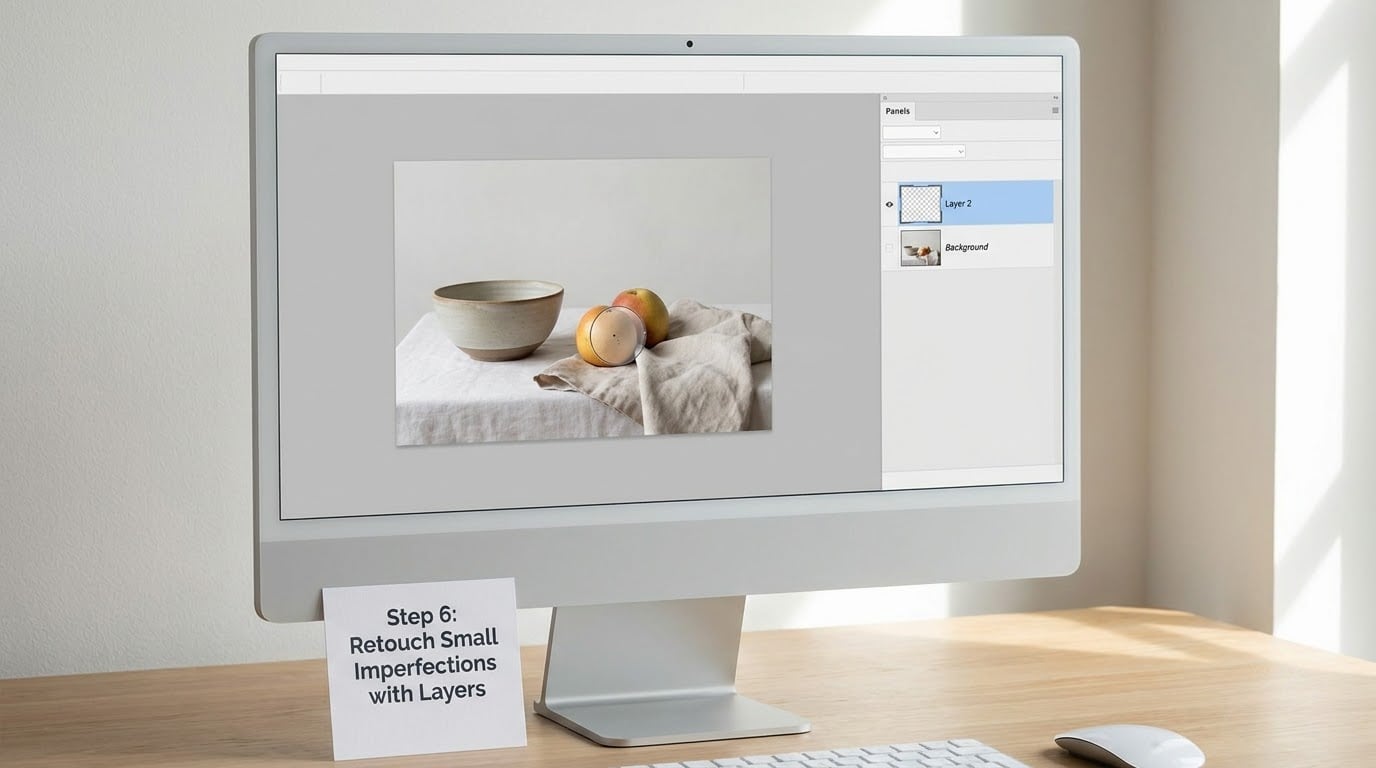
Duplicate the layer again, so the retouch sits alone and can be hidden when you want the honest version. Then choose the Heal Tool. It samples the surrounding skin or surface and blends the blemish away without you painting a replacement, and for dust, spots and small scratches on product shots it is the fastest fix in the program.
Set brush size a little larger than the mark, keep hardness soft, and paint in short strokes. Follow the texture of what is underneath rather than scrubbing in one direction; a heal stroke that follows grain disappears, one that fights it looks like a smudge.
Use the Clone Tool when there is no clean nearby skin to sample, such as removing a wire from a sky, but understand its limit: cloning repeats the exact pixels you copy, including their texture and lighting. On a flat wall that is invisible, on a face it gives you two identical patches of grain. When a heal or clone stroke still reads as a mark, drop the layer opacity to 60 or 70 percent so it blends into what is underneath, then zoom to 100% and look again. Retouching that survives a check at 100% always reads as natural at normal viewing size.
Step 7: Sharpen Details Without Creating Halos
Go to Filters > Enhance > Sharpen (Unsharp Mask). Two numbers matter: radius, usually 1 to 2 pixels at final output size, and amount, kept modest. Sharpen compares neighbouring pixels and exaggerates their difference, which is why an over-cooked photo shows bright fringes along rooflines and hair.
Turn on the preview in the dialog and zoom to 100% around a high-contrast edge before you accept anything. Live Unsharp in the same menu is the gentler option, because it keeps the effect live while you work and lets you dial it back to zero at any point.
Two habits prevent most sharpening problems. Sharpen after scaling to the size you will actually deliver, since sharpening a huge file and then shrinking it wastes the effect. And sharpen on its own layer so the strength stays adjustable rather than baked into the pixels.
Step 8: Add a Creative Adjustment or Texture
Here the workflow leaves correction and becomes art direction. Create a new transparent layer, then generate texture with Filters > Render > Clouds or Noise, and set that layer’s mode to Soft Light or Overlay. Start the opacity around 30 percent.
A gradient works the same way: add a Linear gradient with the Gradient tool, set the layer mode to Soft Light, and mask it with a black-to-white layer mask so the light falls across one corner rather than the whole frame.
The rule I hold to is that the effect should be invisible as an effect. If you can point at the texture, it is too strong.
Step 9: Flatten, Size, and Export the Final Image
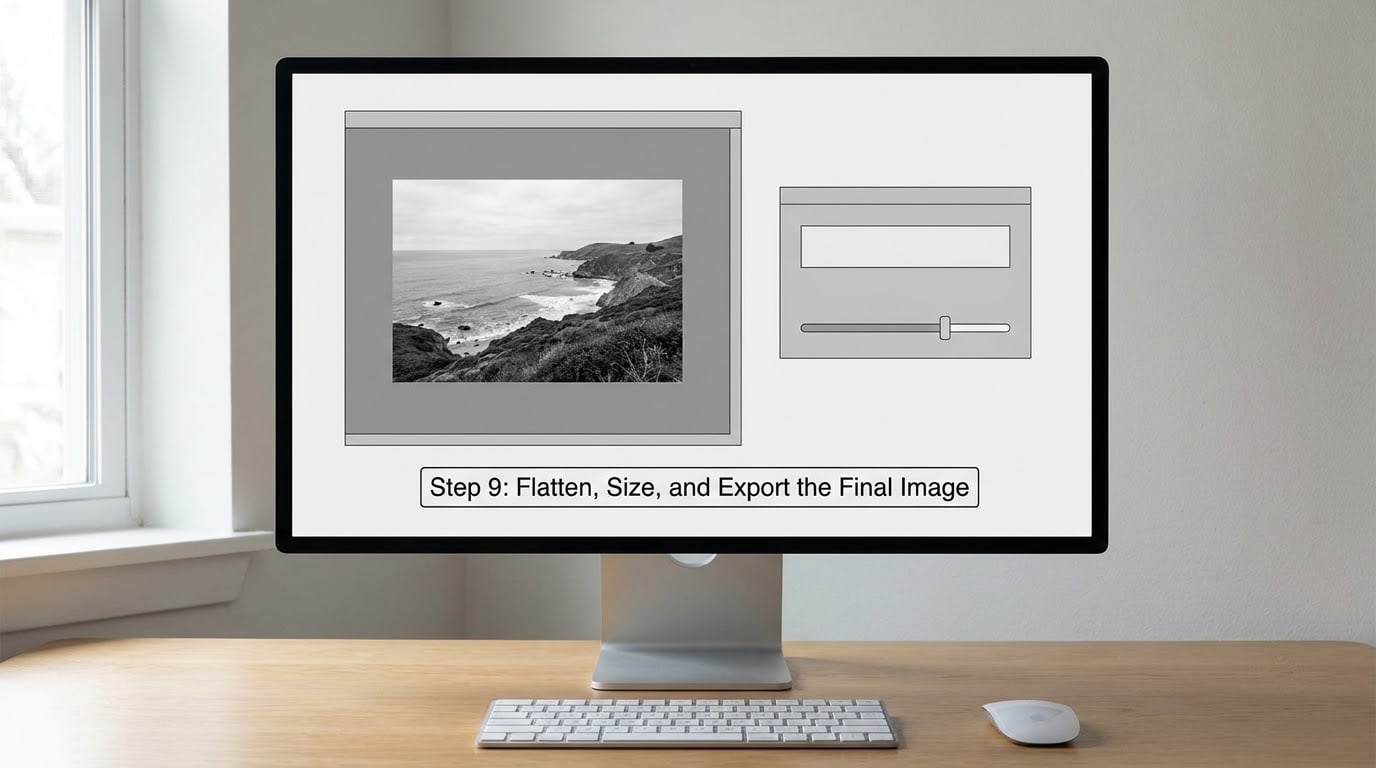
Flattening merges your visible layers into one and throws away the layer structure, which is why you never flatten the only copy. Under Image > Flatten Image it is a one-click action on your working file, and it cannot be undone from the exported JPG — so leave the layered XCF alone and skip flattening entirely if you can.
Skipping it costs you nothing. Export works on a layered image just as happily, and the layers stay editable for the next version of the photo. Flatten a copy only when a specific service or print shop insists on a single-layer file.
Set the delivery size with Image > Scale Image. Leave the chain link engaged so width and height scale together, type the pixel width you need, and check the height that results. For a web photo, 1200 to 2000 pixels wide is plenty. Ignore the resolution field unless you are printing; the web does not read DPI.
Now File > Export As, the step beginners skip and then wonder why they have no file. GIMP’s Save only writes XCF. Export is what produces a JPG, PNG or WebP.
Choose the format by content: JPEG for photographs, PNG for anything needing transparency or crisp flat edges such as logos and screenshots, WebP when you want a smaller web file that keeps quality. For JPEG, set the quality slider between 85 and 95 and enable the preview so you can watch the file size update. Anything above 95 inflates the file size sharply and buys almost nothing visible.
Before moving on, open the exported file in a normal image viewer and check it at 100%. Look at the edges, the shadow detail and the total file size. This last thirty seconds catches a surprising share of mistakes, including a wrong extension or a compressed file nobody can load.
Common Mistakes and How to Undo Them
Most bad-looking GIMP output is one of the following, and every one has a quick fix.
| Mistake | What you see | How to fix it |
|---|---|---|
| Editing the only layer | Adjustments you cannot take back | Duplicate first; if it is already gone, check Edit > Undo History and step back |
| Brightness-Contrast pushed hard | Crushed blacks, chalky highlights | Undo, then use Colors > Levels or Exposure with gentler values |
| Wrong color profile | Colors look correct on screen, wrong everywhere else | Set the profile in Image > Image Properties before adjusting anything |
| Over-retouching | Plastic, waxy surface | Drop the retouch layer to 50 percent opacity or hide it |
| Over-sharpening | Bright fringes along edges | Halve the amount, lower the radius, or switch to Live Unsharp |
| Unlinked chain in Scale Image | Stretched faces and bent horizons | Re-link the chain and scale again from the original XCF |
| Flattening before export | Lost layers, no way to revise | Keep the layered XCF as the master; flatten only a copy |
| Saving instead of exporting | No file anyone else can open | Use File > Export As and pick the format you need |
Two shortcuts are worth memorizing on day one. Ctrl+Shift+J duplicates a layer, and Ctrl+Z undoes. The second one is the reason beginners fear editing, and knowing it removes most of that fear.
For a fifteen-minute practice run, take any photo with a tilted horizon and a distracting object in the background, and complete only these six actions: duplicate the layer, straighten, crop, fix white balance with Color Temperature, retouch the object on its own layer, then export at 1600 pixels wide. Restricting yourself to that set teaches the whole chain rather than a scattering of isolated tricks.
Frequently Asked Questions
Is GIMP good for editing photos?
Yes for everything a hobbyist or photographer normally needs: cropping, resizing, exposure and color correction, layers and masks, retouching, sharpening and export. GIMP is free, open-source and runs on Windows, macOS and Linux. The honest gaps are professional RAW workflow, which is less mature than a dedicated raw converter, and the absence of some smart-object and content-aware features found in commercial editors.
What is the easiest way to edit a photo in GIMP?
Duplicate your background layer first, then treat each adjustment as its own layer and use the Colors menu rather than the tool icons. Crop and straighten before tone work so you are not correcting pixels you are about to remove. For a quick fix, Colors u0026gt; Brightness-Contrast handles mild problems, while Colors u0026gt; Levels gives finer control over a badly exposed shot.
Can GIMP edit RAW files, and which versions support them?
GIMP can open many RAW formats, and current 3.x versions handle a broader set of cameras than 2.10 did. Even so, GIMP is not a raw developer in the way a dedicated converter is, and heavy editing of a raw file can be slow. If your work is mostly exposure and white balance, download the free raw converter that came with your camera, correct there, then open the result in GIMP.
How do I save a GIMP image as a JPEG?
GIMP cannot save a JPEG through File u0026gt; Save, because Save only writes its own XCF format. Use File u0026gt; Export As instead, name the file with a .jpg extension, choose JPEG from the file type list, and set the quality slider between 85 and 95. Turn on the preview to watch the file size change. The XCF stays as your editable master.
What is the difference between flattening an image and exporting it?
Flattening, under Image u0026gt; Flatten Image, merges your visible layers into a single layer and discards the layer structure, but it does not write a file. Exporting, under File u0026gt; Export As, writes a file in a shareable format such as JPEG, PNG or WebP. You can export a layered image without flattening, which is why keeping the layered XCF as your working file costs you nothing.
How do I avoid making my edited photos look overprocessed?
Use one adjustment per layer at a moderate opacity, so the strength stays adjustable instead of baked into the pixels. Judge every change at 100% zoom rather than in a dialog thumbnail, keep saturation near where it looked slightly dull in the editor, and sharpen last, at the size you will deliver. If a slider change needs more than about 40 percent, it usually wants to be a different tool.
Conclusion
Start with three habits and the rest of GIMP becomes manageable. Duplicate the file before you touch it, give every correction its own layer at a moderate opacity, and always finish by exporting and then opening the exported file to check it. Once those are automatic, the interesting territory opens up: selection tools, layer masks, and removing a background properly.