
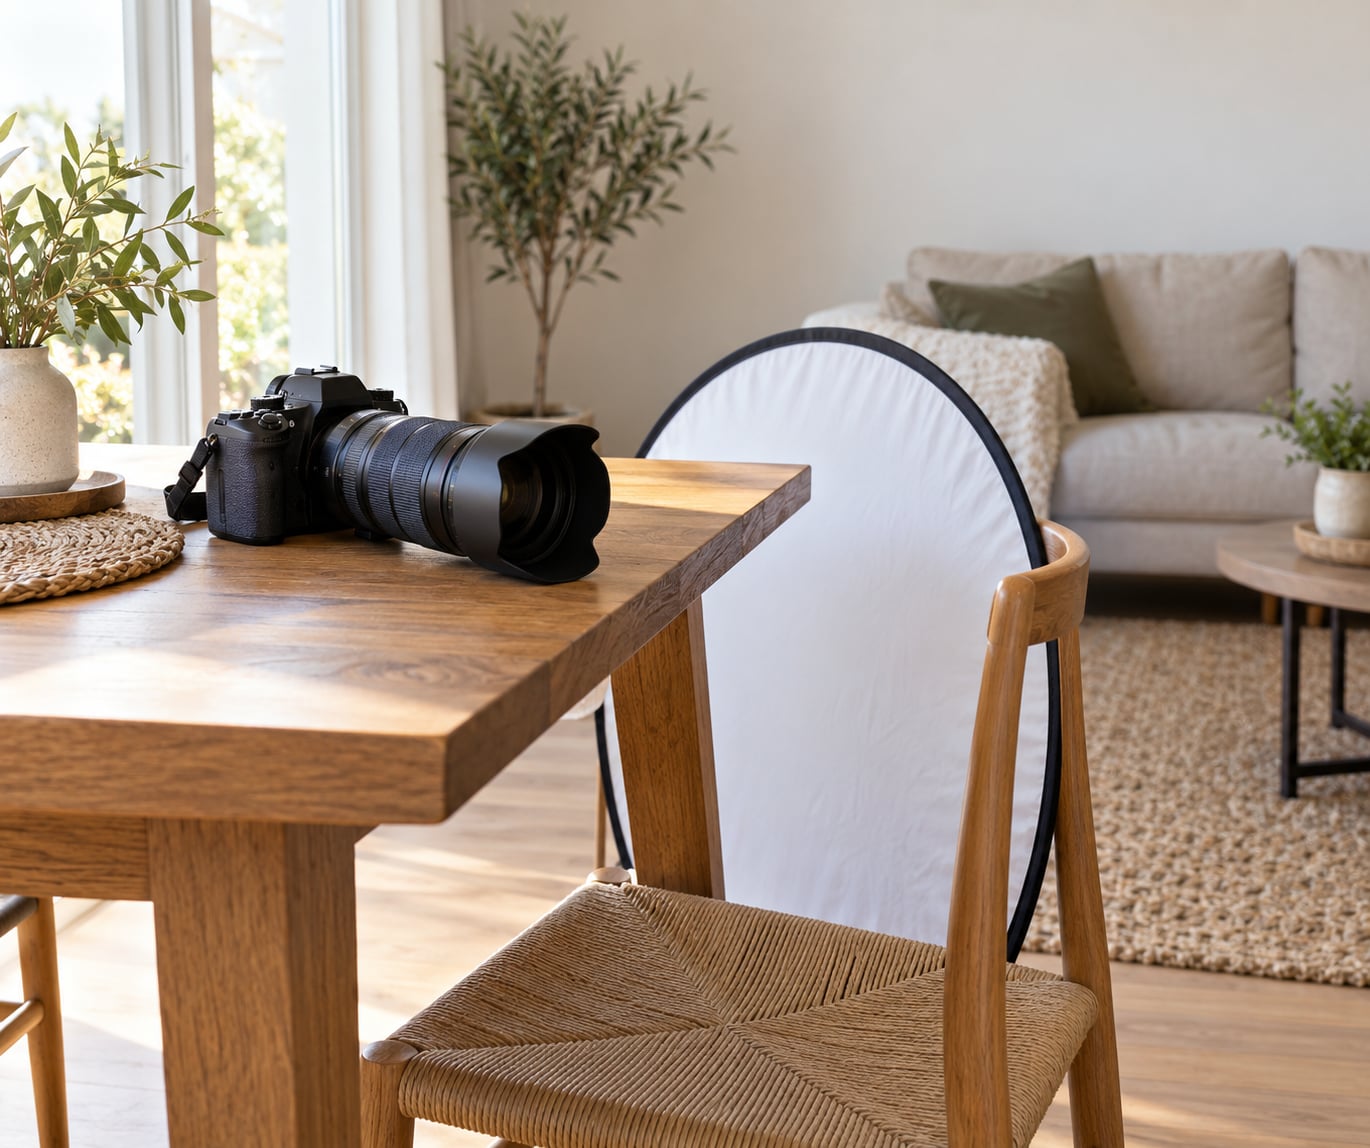
To photograph a family portrait well, choose soft light, keep everyone close together and slightly staggered instead of lined up in a row, and shoot near f/5.6 with a shutter speed at least as fast as your focal length. Then keep talking, because a stiff family produces a stiff photograph no matter how good the camera is. Budget 30 to 60 minutes and a patch of shade, and you can do it on any camera, including a phone.
The order matters more than the gear. Light first, then how the bodies are arranged, then the settings, then the directing. Get the light right and you are halfway there. Get the depth of field wrong and no amount of smiling rescues the frame.
Families rarely sit for portraits. Most groups I have photographed had one bad session every five or ten years, and that single bad window is all they have of that age. It is worth an afternoon of preparation to avoid the three usual failures: harsh light, a cramped line of bodies, and a background full of distractions.
Table of Contents
What You Need to Photograph a Family Portrait
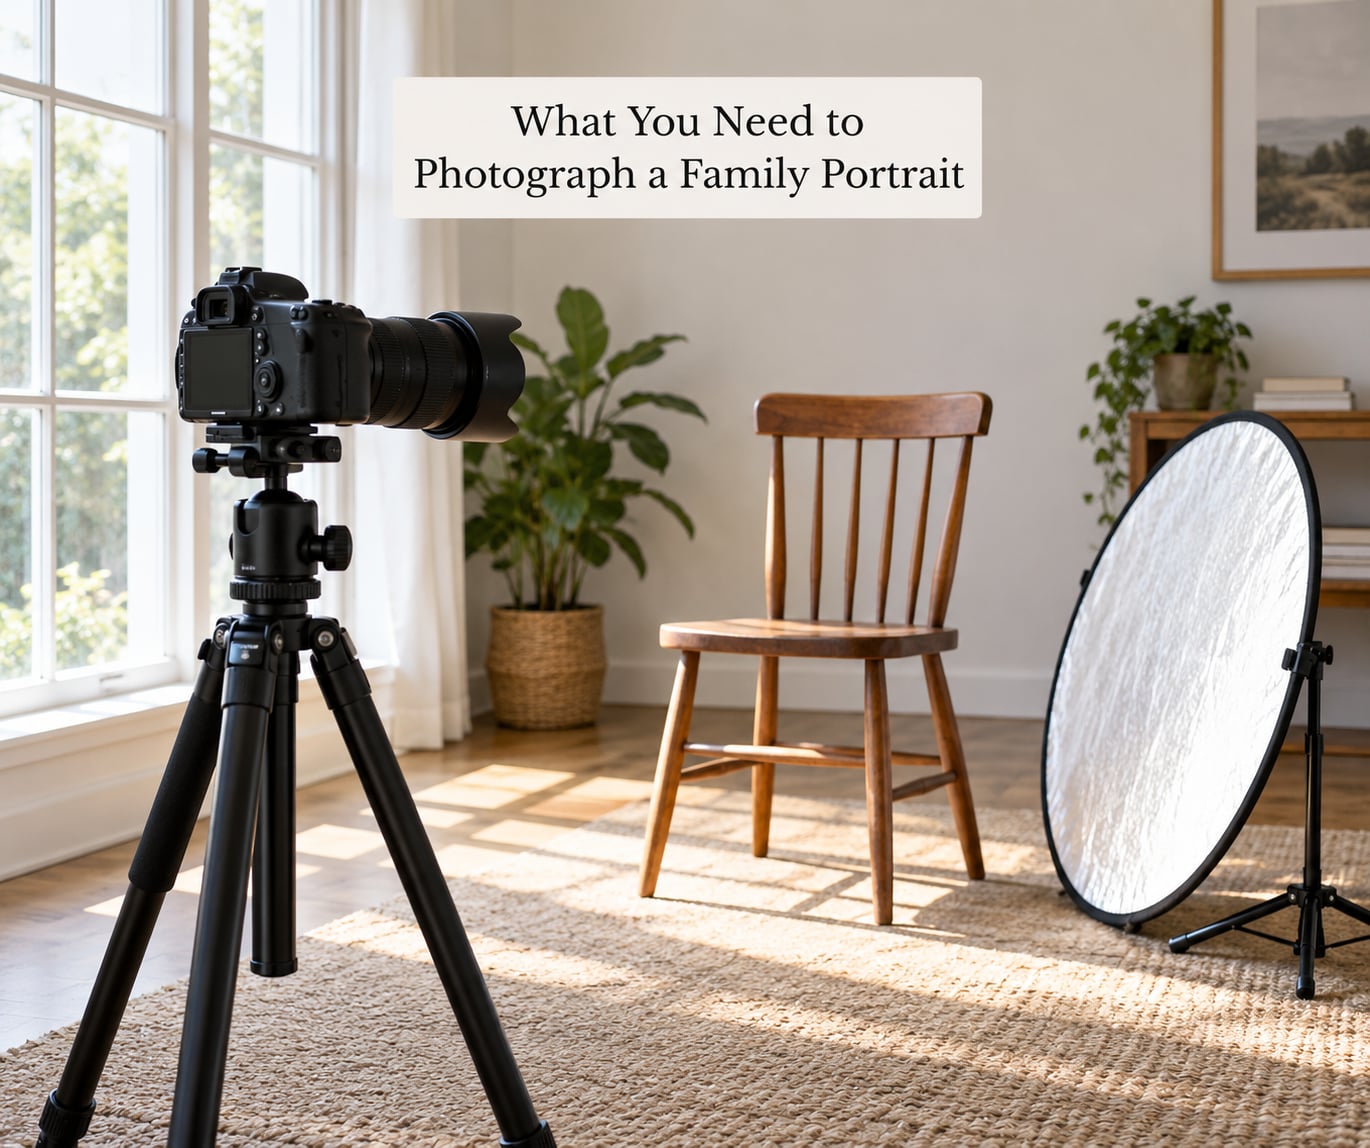
Almost nothing on this list costs money, and the first three items are the only ones that really matter.
- A camera. A DSLR, a mirrorless body, or a recent phone. Shoot in RAW if your camera allows it, because family photos are usually edited years later and RAW keeps the shadows recoverable.
- A normal-to-short tele lens. Something in the 35mm to 85mm range on a full-frame body is the sweet spot: wide enough to fit eight people in a living room, long enough to keep the background soft. An ultra-wide lens at arm’s length stretches noses and shrinks people at the edges, so avoid it indoors. Our guide to using a reflector in portrait photography covers the fill light in detail.
- A reflector. A 20 to 30 inch round collapsible, or a sheet of white foam board taped to a chair. It fills the shadow side of faces so nobody has dark eyes.
- One prop, not five. A blanket, a chair, a basket, a dog leash. Props give restless hands something to hold.
- Water and snacks. Hungry children produce genuinely awful expressions. Ten minutes of snack time saves the session.
- A folding chair. Grandparents and anyone with a bad knee will thank you, and a seated subject reads differently from a standing one, which is useful for variety.
- A tripod, optionally. Handy for groups of ten or more where you need to step back and compose carefully, and for self-portraits taken with a timer.
You do not need a fast prime, a studio strobe, or a backdrop. A window, a white board, and a patch of open shade will carry you through almost any family you meet.
Step-by-Step: How to Photograph a Family Portrait
How to prepare the location and talk with the family
Pick somewhere close to where the family already spends time. A familiar living room, a porch, or the patch of grass behind the house produces better expressions than an unfamiliar park fifteen minutes away, because nobody has to wonder what is supposed to happen.
Walk the spot before anyone arrives. Look at the background from camera height, not from your own. Bright windows, a bin, a drying rack, or a neighbour’s bright fence will pull the eye straight out of the picture. Turn the group so the brightest part of the background sits behind their shoulders.
Then talk before you shoot. Tell them roughly how long it will take, that you will be moving around and asking them to look at each other rather than at you, and that the photos take a few minutes each. Two sentences of honesty prevents ten minutes of awkward silence.
Shoot the children first, while they are fresh. Children lose interest in a predictable order: best in the first ten minutes, fading by the twenty, done by the forty. The relaxed adults will hold up much longer, and grandparents are happy to wait because they are used to it.
For session length, roughly one photo per person works well for small groups, so take more frames as the group grows. Fifteen people means fifteen frames minimum before you account for blinking, and nobody blinks twice in a row.
How to use natural window light for a family portrait
Put the family about one to two metres from a window and turn their faces toward it, not into it. Side light from a window at roughly 45 degrees to the group gives shape to faces; light coming straight from behind the camera flattens everyone into the same shadowless look.
If the window is too bright, hang a sheer white curtain or a bedsheet over it. That single piece of fabric turns a hard edge of light into something soft enough for skin tones. It costs almost nothing and it is the difference between a snapshot and a portrait.
Watch the contrast. Put the white reflector on the side facing away from the window, just out of frame, and angle it back toward the group. Faces with visible catchlights, that bright spot in the eye, read as alert and healthy; faces without them read as tired, whatever the meter says.
Outdoors, open shade is your friend. The shade of a building, a tree, or a car is usually 3 to 4 stops softer than direct sun, and it stays soft for the whole session. Direct midday sun is the worst light for a family portrait: it drops shadows into every eye socket, squints everyone into a grimace, and creates hot spots on shoulders and foreheads. Our guide to photographing shadows explains why that contrast is so hard to fix afterwards.
Overcast light is the most debated question in family photography, and the honest answer is that it is good and flat at the same time. Overcast light is soft, even, and kind to skin tones, which makes it the safest light you will ever shoot a multi-generational group in. What it is not is interesting: without a bright background or a bright shirt to catch the eye, faces sit close together in value and the picture looks grey. Fix that by putting something bright and colourful in the frame, and by shooting slightly darker to hold colour saturation in the edit. Overcast is a light to work with, not a light to hide from.
For warm directional light, shoot in the last hour before sunset and the first hour after sunrise, when the sun is low and warm. Be there 40 minutes early. That window closes quickly and there is no second one that evening.
How to pose family members naturally
Nobody looks good standing in a straight line at attention. The fix is arrangement, and it rests on five moves you can apply in any order: put them close, stagger the heads, turn the bodies at angles, bend the joints, and vary the heights.
Close beats spaced. Shoulder to shoulder, with people overlapping slightly, looks like a family; a metre of daylight between each person looks like a group of strangers who share a postcode. Ask everyone to shuffle in, then take one step back.
Stagger the heads. Line everyone up by height and you create a row of flagpoles. Instead, put the tallest people slightly behind and the shorter ones forward, each head landing in a gap. If you cannot see a head behind another head from your shooting position, the arrangement works.
Turn the bodies. Nobody should face the camera square on unless they want to. A three-quarter turn, one foot forward, one shoulder toward the camera, instantly removes the parade-ground look. Then bend the joints: elbows, knees, and ankles should not be locked straight. A locked joint reads as a mannequin.
Build physical contact. A hand on a shoulder, a child held on a hip, an adult wrapped around a smaller person. Touch is what separates a family portrait from a group photograph, and it also stops people from drifting apart while you talk.
Give each person something to do rather than something to hold. Hands with a job go somewhere natural; hands hanging at the sides get shoved into pockets or fiddled with hair.
Direct with movements that end in a photograph, not instructions that start from a frozen pose. “Walk toward me slowly and stop when I say” produces a natural step. “Stand up straight and smile” produces a stiff one. Photographers on r/photography say the same thing repeatedly: give people motion to move into, and they relax on the way.
How to compose and photograph the family portrait
Shoot from the eye level of the shortest person, or slightly above. Photographing small children from far above is the single most common flaw in family snapshots, because the camera makes them look smaller and you end up cropping their feet to fit them in.
Find your focal length by stepping back rather than zooming in. Walk backwards until the group fits, then stop. That keeps distortion low and gives you room to reposition everyone inside the frame.
Leave space in the direction people are looking or moving. A group walking toward the right of the frame wants empty space on the right. If you are shooting a reflection in a window or a puddle, how to photograph reflections is worth a separate read.
Use manual exposure mode and set these values as a starting point. The pattern is the same each time: enough depth of field for the whole group, a shutter speed fast enough to stop a fidgeting child, and the lowest ISO the light allows.
| Group size | Focal length | Aperture | Shutter speed | ISO ceiling |
|---|---|---|---|---|
| 1 to 2 people | 50 to 85mm | f/2.8 to f/4 | 1/250s or faster | ISO 400 |
| 3 to 5 people | 35 to 70mm | f/4 to f/5.6 | 1/250s | ISO 800 |
| 6 to 10 people | 28 to 50mm | f/5.6 to f/8 | 1/320s | ISO 1600 |
| 10 people or more | 24 to 35mm | f/8 | 1/320s | ISO 3200 |
Aperture is the setting people get wrong. Shooting a family at f/1.8 looks wonderful for one person and terrible for four, because depth of field at that aperture is a few centimetres deep. Moving up to f/5.6 or f/8 is what keeps the whole group sharp.
Check the shutter speed rule of thumb: use a speed at least as fast as your focal length, so 1/125s on a 125mm lens, and double that for children who will not hold still. Two seconds of your job is keeping the camera still.
For focus, use back button focus or single-point autofocus on the face nearest the middle of the group, then shoot a short burst of three frames for every pose rather than one frame. Blinking is close to random, so the frame you did not take is the one where everybody had their eyes open.
How to check the results and make small adjustments
Check the histogram, not the back of the camera screen. Bright clothes and pale skin skew the meter into underexposing the whole frame, and the screen of a modern camera is bright enough to make a dark picture look fine.
Zoom in at 100% on the eyes of the person you focused on. If they are not sharp, your depth of field is too shallow for the distance between subjects, so stop down one aperture step and shoot again.
Look for three recurring problems: someone blinking, a background brighter than the faces, and a pair of shoulders that has drifted out of line. Fix these quietly while the group is mid-conversation rather than stopping the session to correct them.
Move the person with the bright background behind them instead of trying to fix it in the edit. Repositioning takes ten seconds; recovering a blown-out sky in RAW takes ten minutes and rarely looks right.
Common Mistakes to Avoid (and How to Fix Them)
- Shoot a wide frame in open shade. Open shade gives beautiful edge light, so use it to frame the group tightly and keep bright sky out of the shot. A wide frame in open shade is half sky.
- Line everyone up by height. This produces the flagpole row. Stagger the heads front to back instead so each face has its own patch of background.
- Crop feet, or worse, crop at the knees. Frame from mid-thigh up for children and full-length only when the whole body is relaxed and visible.
- Shoot at f/1.8 because it is available. Depth of field is the constraint, not creativity. Use f/5.6 or f/8 and get the background separation from a longer lens and a greater distance instead.
- Give ten instructions before taking a picture. By the tenth instruction everyone is posing for you. Take a frame after every direction, so you always have something, and keep talking between shots.
- Ignore the background brightness. Anything brighter than a face competes with it. Turn the group, move the camera lower, or wait for the person in white to step aside.
- Shoot the whole session in one pose. Plan variations instead: seated, standing, walking, close group, kids only, grandparents only, from behind, and one wide frame of everyone in the location.
- Give one instruction to a big group at once. With ten people, keep talking to the two or three who look stiff. The rest copy them.
A few quick habits that pay off more than any gear: shoot a few minutes of video between stills, because motion often unlocks the expression you cannot direct; keep the session under 90 minutes; and take the family photograph of everybody together first, before anyone gets tired, in case you get one good frame and nothing after it.
Frequently Asked Questions
What F stop should I use for family portraits?
Start at f/5.6 for a group of three to five and move to f/8 for six people or more, shooting about three metres back. Wide apertures such as f/1.8 keep only a few centimetres sharp, so the front and back rows blur. To keep a shallow background instead of a wide aperture, move further away and use a longer lens.
What are the best colors to wear for a family portrait?
Pick two or three colours from one palette and let family members wear different shades of them, which reads as coordinated without looking like a uniform. Solid, simple fabrics photograph better than thin stripes or fine checks, which shimmer and moire. Avoid anything with large text or busy logos, and save bright white and bright red for one person only.
How do I get everyone in focus in a group photo?
Focus on the person nearest the middle of the row, then stop down until both ends of the group are sharp. Staggering heads front to back also reduces the distance the lens has to cover in depth. If you are still short, step further back and use a longer focal length, which gives more depth of field at the same framing.
What are some good prompts for family photography poses?
Give directions that end in a picture rather than descriptions of a pose. Try walking toward me and stop here, hug the person next to you, everyone look at the smallest person and count to three, sit down on the grass and pull someone in with you, and walk slowly toward the tree while I follow. Each one produces a frame worth keeping.
Do I need a tripod for family portraits?
You do not need one for three or four people, because you can hold the camera steady at shutter speeds above 1/125s. It earns its place for groups of ten or more, for low-light settings, and for self-portraits taken with a timer. If you skip it, turn on image stabilisation or brace your elbows against your ribs.
What is the 20 60 20 rule in photography?
It is a composition guideline, not a family portrait rule: put 20 percent of the frame on the main subject, 60 percent on supporting elements, and 20 percent on empty space or background. For family portraits it works as a framing check. If the background is taking most of the frame, step in closer or re-angle the group.
Conclusion
Knowing how to photograph a family portrait comes down to four things in a fixed order: soft directional light, bodies arranged close and staggered, settings with enough depth of field for the whole group, and enough movement and conversation to keep faces real. Miss one and the frames look amateur. Miss all four and you get the holiday snap.
Start with the location and the light. Pick a familiar spot with a clean background, put the family an arm’s length from a window or into open shade, and take one relaxed pose with everyone turned slightly toward the light. Get that single frame right, then work through the settings table and the variations.