
Learning how to photograph sports action comes down to three settings working together: a shutter speed fast enough to stop the movement (usually 1/1000s or faster), an aperture wide enough to keep the background soft, and an ISO high enough to make both of those work in the light you have. Add continuous autofocus, a short burst at the right moment, and framing that leaves space in front of the athlete, and shots that used to depend on luck start happening most of the time.
Sport moves faster than the eye can track. The decisive moment — the strike, the landing, the turn of the head — lasts a fraction of a second, so the camera has to be aimed, focused and exposed before it happens. That is why almost every tip below is about preparation rather than reaction.
Before you arrive, check the venue photography policy rather than assuming. Many leagues restrict flash, tripods and shooting from certain areas, and turning up without knowing the rules wastes the whole session.
Table of Contents
- What You Need
- Step-by-Step: How to Photograph Sports Action
- 1. Scout the Location and Study the Action
- 2. Choose a Shutter Speed That Freezes Motion
- 3. Set Aperture and ISO for Your Lighting
- 4. Use Autofocus Modes That Track Movement
- 5. Anticipate the Peak Moment
- 6. Track the Subject and Shoot a Burst
- 7. Compose for Energy and Direction
- 8. Review Images and Adjust Your Approach
- Common Mistakes
- Frequently Asked Questions
- Start With One Match and Three Numbers
What You Need
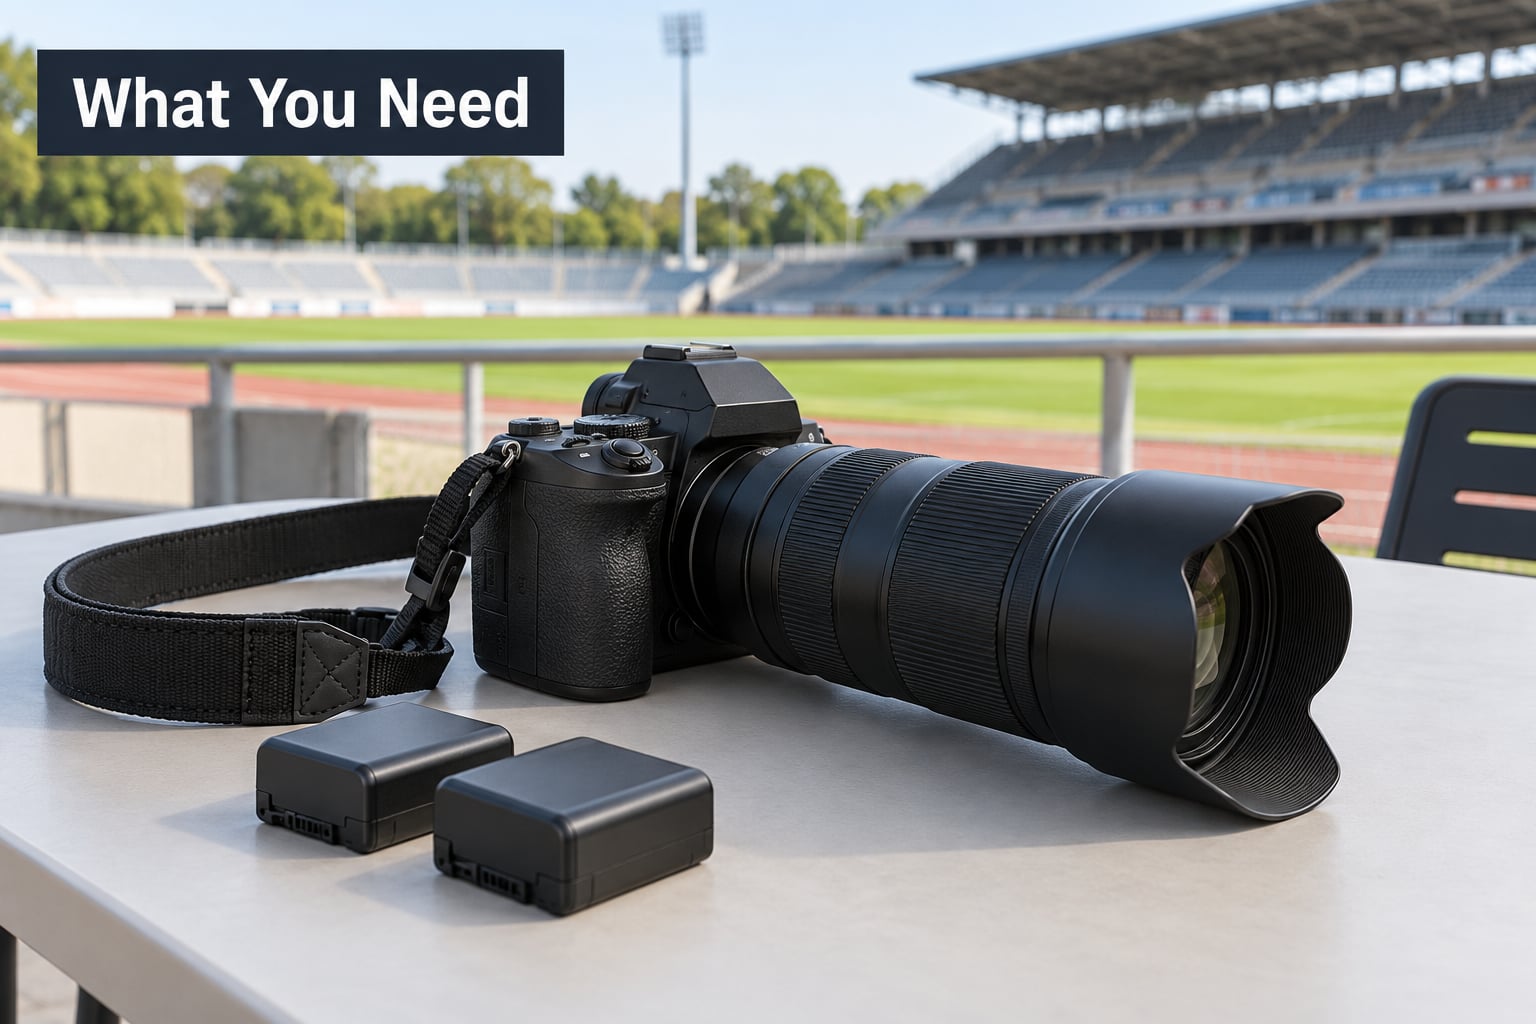
Start with what you already own. Professionals argue about bodies and lenses constantly, but entry-level kit produces perfectly good action frames — a well-timed 24MP image beats a missed moment at any resolution.
A camera body with continuous autofocus and a decent burst rate. Look for AF-C (called AI Servo on Canon, Continuous on Sony and Nikon) and a frame rate of at least 5 fps. Sustained speed matters more than the headline number: a camera that fires 12 frames per second for half a second and then stalls is less useful than one that keeps going at 8.
A telephoto lens. A 70-200mm covers most field sports from the sideline. A useful rule of thumb, widely used in the trade, is roughly 100mm of focal length for every 10 metres of distance between you and the subject for a full-frame-height crop — so about 300mm at 30m, 400mm at 40m.
Constant maximum f/2.8 apertures are the reason sports lenses are expensive, because you are paying for light at the far end of the zoom ring. Modern f/4 lenses are sharper corner to corner and two stops cheaper in every other way, and most beginners get more usable frames out of one.
Support gear that matters more than another lens. A monopod for a long lens, a spare battery (or three), fast memory cards in a spare pocket, a rain cover, and a lens cloth. Cold drains batteries quickly, and a long lens pointed at the sky in drizzle finds water fast.
Preparation. Arrive 30 minutes early, walk the venue, note where the light comes from and where the background gets busy, and learn the shape of the sport. Two of the eight steps below happen before kick-off.
Step-by-Step: How to Photograph Sports Action
This cheat sheet is a starting point, not a rulebook. Every venue, sport and lighting condition pushes it somewhere different.
| Sport | Shutter speed | Aperture | ISO | Suggested lens |
|---|---|---|---|---|
| Football / soccer (outdoor, day) | 1/1000 – 1/1600s | f/4 – f/5.6 | 100 – 400 | 300 – 400mm |
| Football / soccer (floodlit night) | 1/1250s | f/2.8 – f/4 | 1600 – 3200 | 200 – 400mm |
| Indoor basketball | 1/800 – 1/1250s | f/2.8 | 1600 – 3200 | 70 – 200mm |
| Cycling / road racing | 1/1250 – 1/2000s | f/4 – f/5.6 | 200 – 800 | 200 – 400mm |
| Motorsport | 1/1600 – 1/2000s | f/5.6 – f/8 | 100 – 400 | 100 – 300mm |
| Swimming / diving | 1/1000s | f/4 – f/5.6 | 400 – 1600 | 300 – 600mm |
| Golf swing | 1/1000 – 1/2000s | f/5.6 – f/8 | 100 – 400 | 200 – 400mm |
| Children’s games | 1/800 – 1/1000s | f/2.8 – f/4 | 800 – 2500 | 70 – 200mm |
| Panning / motion blur | 1/25 – 1/200s | f/4 – f/8 | Auto ISO | 70 – 200mm |
1. Scout the Location and Study the Action
Walk the ground before the event with the camera in your hand. Look at what is behind the main area of play: a row of empty seats, a plain wall or a scoreboard makes a far cleaner frame than spectators, kit bags and advertising boards.
Spectators are the other half of the problem. If the crowd is going to end up in your frames, read up on how to photograph strangers respectfully before you raise a long lens at the stand.
Note the direction of the light. With sun behind you, faces are lit and shadows fall away from the subject. With sun in front of you, every jump and header ends up with a dark face and a white halo. Knowing where the shadows land at different hours saves you guessing mid-match — how to photograph shadows covers the light patterns worth mapping on the ground beforehand.
Watch one complete sequence of play at a slower sport, or from a distance during a busy warm-up, and write down where the decisive moments happen. In football that is usually the strike; in basketball the takeoff; in cricket the moment after contact; in motor racing the car cresting the rise into the corner.
Then pick your spot. The usual trade-off is a clear view against a strong background, and an elevated position that keeps heads out of the frame beats ground level every time.
2. Choose a Shutter Speed That Freezes Motion
The short answer most photographers land on: 1/1000s freezes most action, and going faster mostly costs image quality. Consensus on photography forums such as r/AskPhotography is that you rarely need more than 1/1000s for a player on foot.
Use a rule of thumb based on the fastest thing in the frame. A sprinting child or a dog chasing a ball moves fastest at the extremities, so those need the higher figure. Track cycling, motor racing and anything moving towards you needs 1/1250s or faster to stay crisp.
Direction matters as much as speed. Movement across the frame blurs more than movement towards the camera at the same speed, so a runner going left to right needs a faster shutter than one coming at you.
Now the deliberate exception. Sport does not have to be frozen to look fast. A footballer struck at 1/15s with the camera panned shows a sharp body and streaked background; a volleyball spike at 1/250s shows the ball dragging behind the hand. Motion blur is a style choice, and it needs a different technique — which step 8 covers.
3. Set Aperture and ISO for Your Lighting
Aperture controls how much of the frame is sharp. Wide apertures like f/2.8 give a soft background and separate the athlete from a busy crowd, but a player running towards you can drift out of focus in a fraction of a second.
Where a subject moves towards the lens, stop down to f/5.6 or f/8 for more depth of field. The cost is light, so the ISO climbs with it, and that is the trade-off every indoor shooter deals with: either a thin depth of field at a lower ISO, or more of the field in focus at a noisier one.
Outdoor in daylight, ISO 100 to 400 is comfortable. Floodlit night games and gyms run 1600 to 3200 on most modern bodies, which is usable with decent noise reduction. Auto ISO with a sensible ceiling is a reasonable shortcut, though it produces visible brightness shifts across a sequence; a fixed ISO gives a more consistent look when you are reviewing a whole match.
One habit worth forming early: open the histogram after a burst and check that highlights are not clipping. Bright kit against a dark crowd is where overexposure sneaks in.
4. Use Autofocus Modes That Track Movement
Switch to continuous autofocus (AF-C, AI Servo or Continuous AF) and leave single-servo autofocus for portraits and posed shots. Single-servo focuses once, and once is not enough when the distance is changing 30 times a second.
Use a flexible or zone focus area rather than a single point when the athlete’s size or direction is unpredictable. A single point is more precise when you have a clear subject and a clean background, which is exactly what step 1 gives you.
Turn on subject detection — eye, face or person tracking, and vehicle detection where you shoot motorsport. Modern cameras hold a subject far more reliably when the detection system is deciding which thing to follow, especially through crowds of people in similar kit.
Watch for hunting: the rapid pulsing and clicking that means the focus point has locked onto the background or swung between two subjects. The usual causes are a background with high contrast right behind the athlete, a subject moving towards the edge of the frame, and working at high ISO on a very long lens. Respond by reframing to put a clean background behind the athlete, or by zooming in slightly to fill more of the frame.
Back-button focus is worth learning once you shoot regularly: AF-ON starts tracking, the shutter button only releases. It also stops the camera refocusing every time you half-press to check exposure.
5. Anticipate the Peak Moment
The strongest sports images are usually captured slightly before the moment readers picture. That is the wind-up, the plant foot, the arm at full stretch, the ball just leaving the hand — poses with shape, not the flat follow-through afterwards.
Read the body before you react to it. Weight shifting forward, a shoulder dropping, a hand opening on the grip: these are the tell-tales that come one or two beats before the decisive instant.
Learn the rhythm of play. A penalty is a routine you can practise. A breakaway is not, but after a few turns of the head you learn to track the ball carrier’s shoulders rather than the ball.
Watch, do not chase. Lift your eye slightly ahead of the athlete, let the frame sit where the action is going, and start the burst as the movement arrives. Shoot a moment early rather than late — a frame before the peak usually looks more alive than one after it.
6. Track the Subject and Shoot a Burst
Follow the athlete with a smooth, slow pan rather than jerking the camera around. Small corrections, kept continuous, keep the subject inside the focus area; fast movements between corrections shake the whole frame.
Use short bursts instead of holding the shutter down. Three to five frames starting just before the peak gives you options without filling the buffer and without filling the card with near-identical images you will delete later.
Watch your buffer. Once it fills, the camera slows to a crawl regardless of its headline frame rate, and you will miss the next sequence entirely. Two practical fixes: shoot JPEG rather than RAW when a fast card is not available, and carry a second card rather than planning to delete halfway through a game.
Know your file format’s trade-off too. RAW keeps the most recovery latitude in the edit, which matters most in floodlit gyms where shadows are noisy. JPEG files are smaller, so you can shoot far more of them before changing cards, and there is no processing delay between bursts.
7. Compose for Energy and Direction
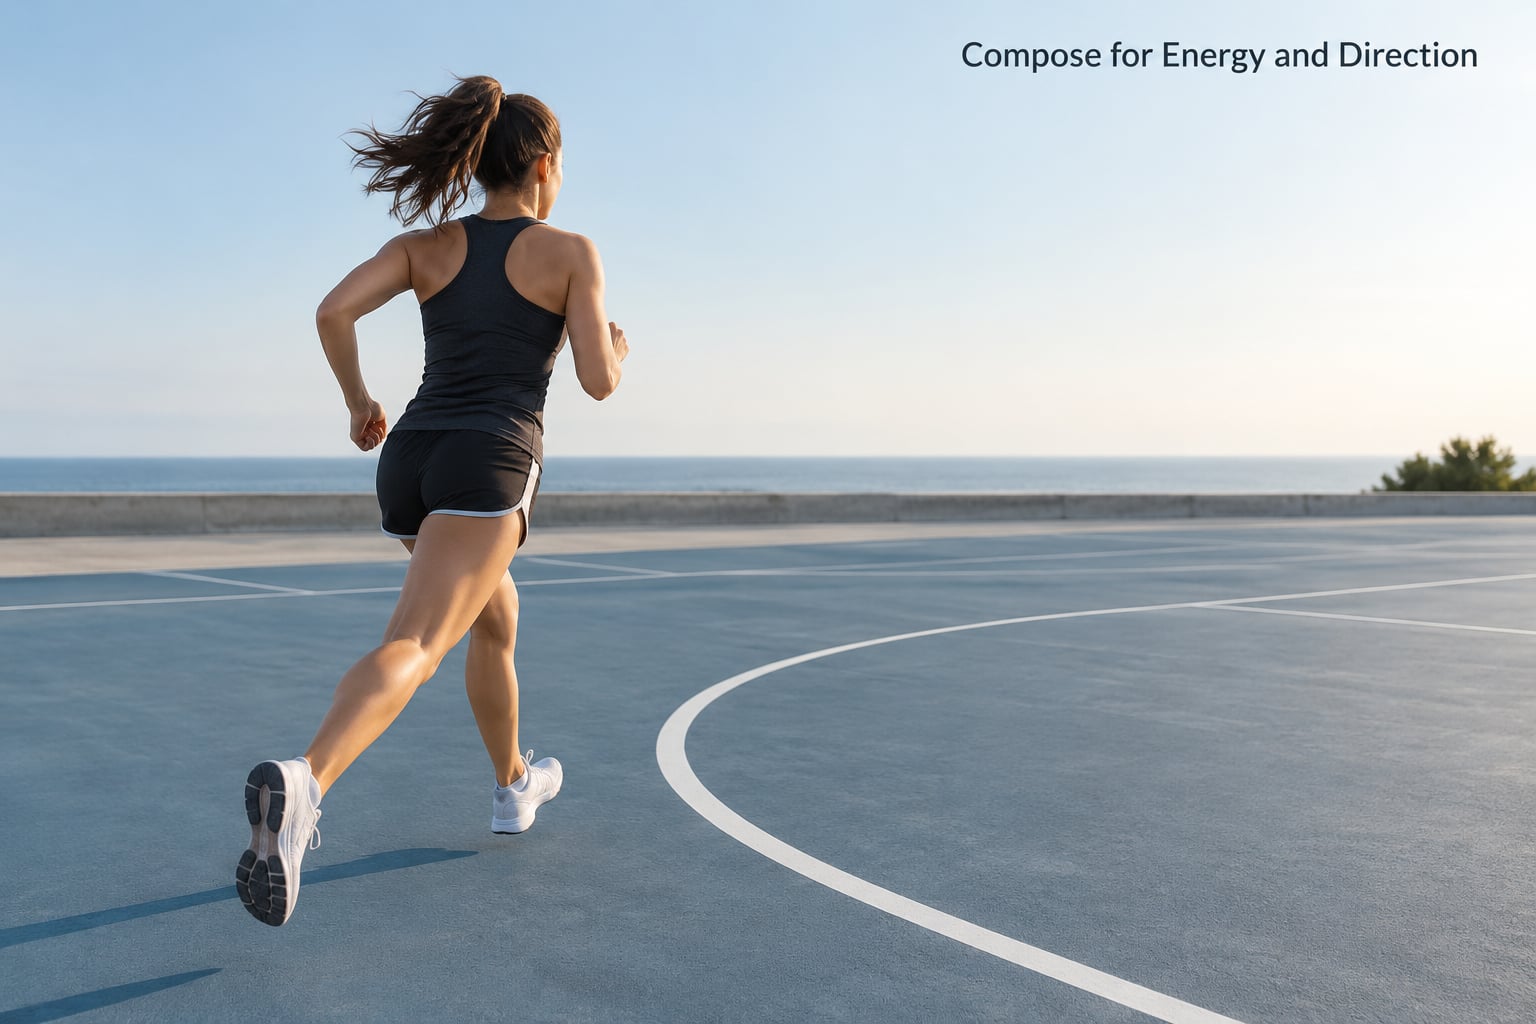
Leave space in front of the movement. A runner photographed heading into the right edge of the frame looks trapped; the same runner with room ahead looks like they are going somewhere.
Work with diagonals. A tilted baseline, a leaning player, an outstretched leg, or court markings running across the frame all add energy that a level horizon removes.
Use depth. Foreground grass, a barrier or an out-of-focus spectator gives a layered frame that separates the athlete from the background and makes a 2D image feel like a place. Wet courts, polished gym floors and water hazards hand you a second composition for nothing — how to photograph reflections covers the angles that pay off best.
Change your angle of view. Shooting high from the stands covers the play; shooting low from the pitch edge, or framing tight on hands and faces, gives the images that stand apart from the rest. Both are valid — pick a lane and cover it properly rather than drifting.
Look for the instant the body makes a clean shape: legs apart and airborne, arms wide, head turned. A slightly loose frame that you can crop later beats a tight frame where an elbow is half out of the picture.
8. Review Images and Adjust Your Approach
Before you shoot the next match, review what you got. Zoom to 100% on a few frames and check focus first, then shutter speed, then exposure, then framing. That order matters — a sharp image of the wrong moment is usually more fixable than a beautifully composed blur.
Note your real settings from the EXIF data rather than what you meant to use. Auto ISO and exposure compensation produce surprises that you will not remember accurately at the end of a noisy afternoon.
Cull honestly. Flag the keepers while reviewing, then work only on those: correct exposure, apply selective noise reduction to the shadows rather than the whole frame, sharpen selectively on the subject, and dodge and burn gently to separate the athlete from the background.
Change one variable at a time next session. If AF kept hunting, move your position or reframe rather than touching everything, so you know which change fixed it.
Keep a running log of settings and results. Digital Photography School recommends exactly this, and it takes about a minute per match — two seasons of notes will tell you far more about your own kit than any settings chart.
Common Mistakes
Almost every disappointing action photo comes from one of a short list of causes. Here is how to recognise each one and what to change.
| Symptom | Likely cause | Fix |
|---|---|---|
| Subject is soft, background sharp | Slow shutter speed | Raise shutter speed to 1/1000s or faster and lift ISO to compensate |
| Focus pulses and locks on background | Single autofocus, or a cluttered background | Switch to AF-C, use subject detection, and move for a cleaner backdrop |
| Frames go dark in a gym | ISO too low, or auto exposure fooled by bright lights above | Set ISO 1600–3200, add exposure compensation for backlit players |
| Burst slows mid-sequence | Buffer full of RAW files | Shoot shorter bursts, use JPEG, or carry a second card |
| Athlete cut off at the edge | No space left in the direction of travel | Frame wider on the approach and let the action travel into the open space |
| Action recorded too late | Following the athlete instead of anticipating | Watch the lead-up cues and start the burst one beat early |
| Sharp but dull image | Flat light, forgotten white balance | Shoot RAW, set white balance deliberately, apply dodging and burning in the edit |
| Gear stopped working mid-match | Cold batteries, rain on the front element | Spare batteries in an inner pocket, rain cover, keep a cloth in the bag |
A few of these come up constantly enough to be worth naming separately.
Trusting the camera to find the action for you. Auto mode and full auto AF will focus on whatever is closest, which in a crowded stadium is usually a spectator. Set the dial yourself.
Over-relying on Auto ISO. It helps in the first five minutes of an indoor match, then the exposure starts pumping as the camera hunts for a target. Cap it and take control.
Flash by default. Flash is banned or restricted at most outdoor matches, it slows your sync speed, and it fires at 1/200s duration or longer rather than freezing the action. Use it only when the rules allow and you have measured how long your flash actually lasts.
Filling the card and the buffer at once. Thousands of near-identical frames make selection harder, not easier. Fewer, better-aimed bursts win.
Ignoring the background. A sharp athlete with a spectator’s arm through their head is a wasted frame. Capping aperture around f/8 to f/11 can help separate subject from background in software, but moving your position solves it for free.
One reassurance for beginners: the biggest single improvement most people report is moving closer or using a longer lens for a tighter crop, not buying better gear.
Frequently Asked Questions
What shutter speed do I need to photograph sports action?
For most field sports, 1/1000s freezes a running athlete cleanly and is the number to learn first. Add speed for track cycling, motor racing and anything moving across the frame at pace. Slower speeds from 1/250s work when the action is partly blurred on purpose, and panning usually sits between 1/25s and 1/200s depending on how much blur you want.
What is the best camera setting for fast-moving athletes?
Shutter priority at 1/1000s with continuous autofocus and a short burst is the most useful starting point. It protects the one setting that matters most while you learn. Once you can judge exposure, switch to manual exposure with a fixed aperture and ISO so the whole sequence shares one brightness.
Do I need a telephoto lens to photograph sports?
A telephoto lens makes the work far easier because it isolates the athlete from a busy background. A 70-200mm handles most club-level field sports from the sideline, and roughly 100mm of focal length per 10 metres of distance fills a full-frame height. A kit zoom at 35mm will get you closer, and close is the cheaper fix for blur.
How do I photograph sports indoors in low light?
Expect to work at ISO 1600 to 3200 with a shutter speed near 1/1000s and an aperture of f/2.8 or wider. Shoot RAW so you can pull shadows back without amplifying noise further, and raise exposure compensation when players are backlit against bright lamps. Stable focus matters more than any other factor in a dark gym.
When should I use panning to show motion?
Panning suits sports where speed is the point, such as cycling, running, motorsport and skateboarding, and it works best when the athlete moves across the frame rather than towards you. Start around 1/200s with continuous autofocus, hold the camera steady and rotate with the subject, then slow down as the technique comes.
How do I keep a moving athlete in focus?
Use continuous autofocus with a zone or flexible focus area, turn on subject detection, and keep the athlete away from the edges of the frame where tracking systems are weakest. If focus hunts, reframe against a cleaner background or zoom in slightly. Holding the camera steady and making small corrections beats swinging it around.
Start With One Match and Three Numbers
Pick one sport and one venue you know well, and shoot the next match with 1/1000s, continuous autofocus and a short burst. Nothing else changes. Write down where the focus failed and where the framing failed, then fix one of them next time.
Most improvement in sports action photography comes from position and timing rather than equipment. Get closer, get to the end line, arrive early, and keep shooting the moment before you think the moment happens.