
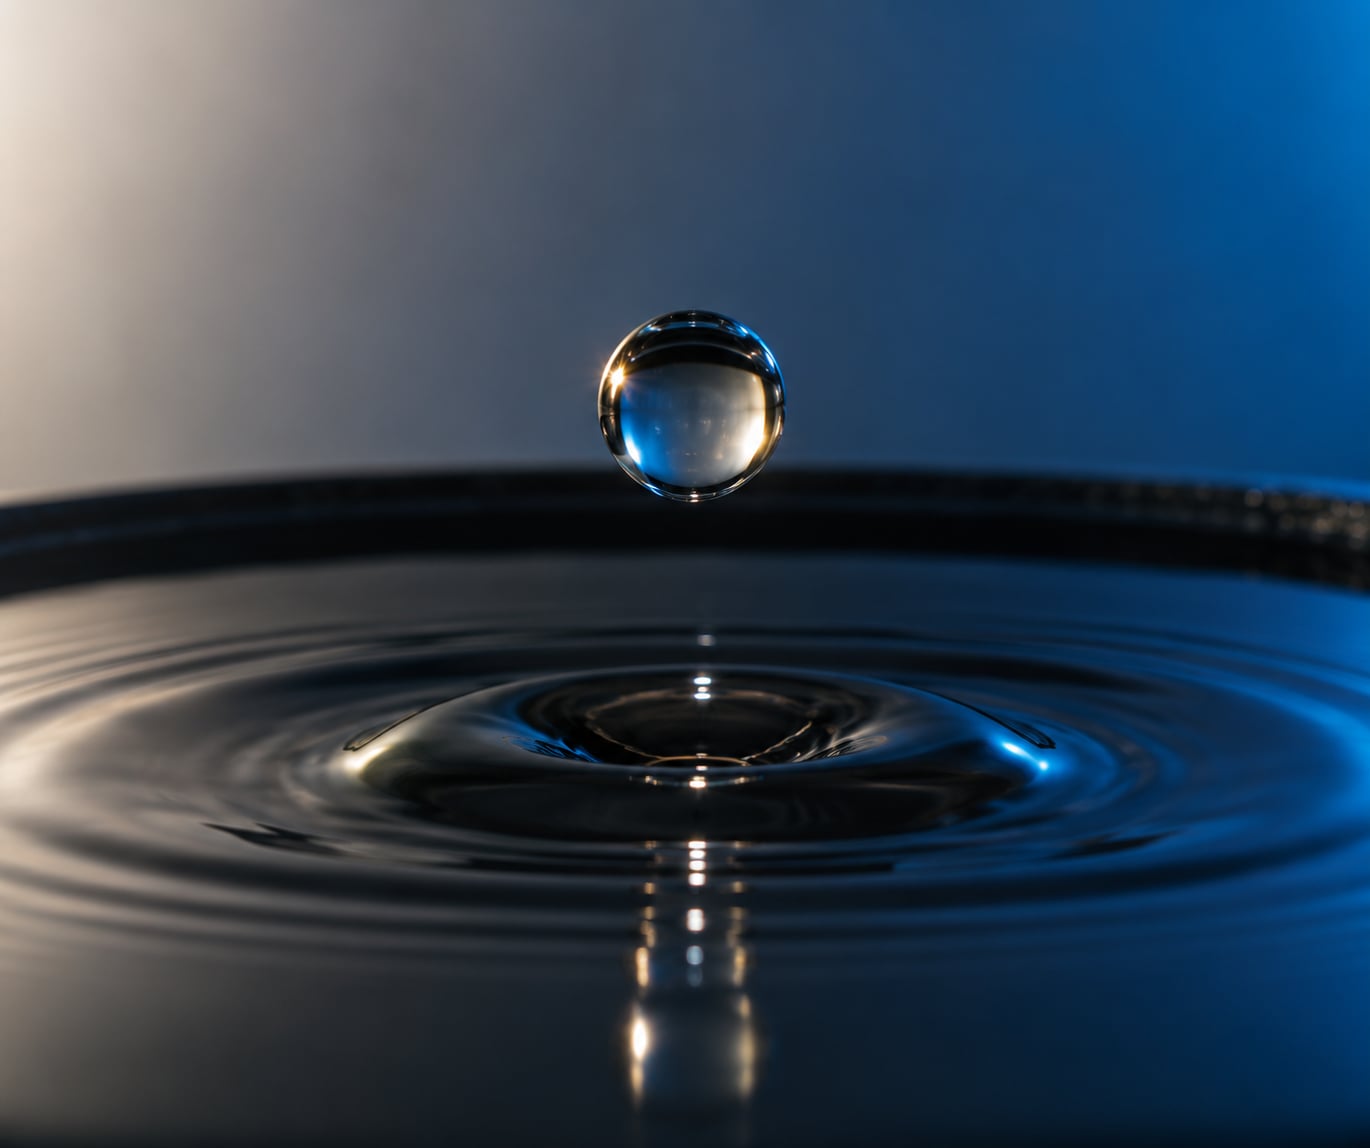
To photograph water droplets sharply, you need a tripod, an off-camera flash, manual focus and a very fast drip, and the key idea is that the flash duration freezes the water, not the shutter speed. Darken the room, place a shallow tray of water in front of the camera, pre-focus on the exact point where the drop will land, open the shutter for a few seconds and fire one short burst of light the instant it hits. Expect to discard 30 or 40 frames before one works, because timing is a lottery until you build a repeatable routine.
That routine is what this guide gives you. The same minimal setup has beaten a dedicated studio rig for most photographers working in a bathroom, a basement or a dark hallway, because the light is doing the freezing and your hands are doing the timing.
Table of Contents
- What You Need to Photograph Water Droplets
- Step-by-Step: How to Photograph Water Droplets That Look Deliberate
- 1. Plan the Water Droplet Composition Before You Turn the Lights Off
- 2. Set Up the Camera and Focus
- 3. Control the Lighting
- 4. Add and Shape the Water Droplets
- 5. Capture the Moment
- 6. Refine the Composition and Background
- 7. Push the Creative Variations Once the Basics Work
- 8. Review and Edit the Photograph
- Common Mistakes to Avoid
- Frequently Asked Questions
- What camera settings work best for photographing water droplets?
- Do I need a macro lens to photograph water droplets?
- How do you freeze a falling or splashing water droplet?
- How do you focus on a falling water droplet?
- What lighting is best for sharp, creative droplet photographs?
- Can I photograph water droplets with a phone?
- Conclusion
What You Need to Photograph Water Droplets
You can start with far less gear than the forums suggest. The only things that genuinely change the result are a way to hold the camera rock steady, a light you can trigger by hand, and something that can release a drop at the same height every time.
- Camera with manual mode. Any interchangeable-lens body works. Live view with focus peaking is a real help, but it is not essential.
- Macro or close-focusing lens. A 100mm f/2.8 macro is the classic choice. A 180mm macro plus a close-up filter is a cheaper route, and any kit lens that focuses to roughly 0.3m will do for a first attempt.
- Tripod. Not optional. The slightest movement throws the focal plane off a 5mm drop, and a slow shutter rules out hand-holding.
- Off-camera flash or speedlight. A manual-power flash is the single most useful piece of gear. Continuous light will not freeze a splash, and your camera will make you pay for it in noise.
- Syringe, eyedropper or pipette. For precise placement. A turkey baster works for big clumsy drops if you are starting out.
- Shallow tray or shallow dish. A black plastic tray, a low baking dish or a rimmed plate all work. Fill it about 5mm deep.
- Backdrop. Black or coloured card, or a sheet of coloured plastic. White card is useful on the reflector side instead.
- Remote release or two-second timer. Or just a ten-second self-timer, which gives you time to squeeze the dropper.
- White card or foam board. To bounce a soft fill onto the shadow side of the splash.
Two items are optional for beginners. The first is a diffuser, which is a piece of acid-etched glass or a thin white sheet between the flash and the water. The second is a drip kit with a timer, which is how you get repeatable timing later, once the basics work.
Here is the starting point. Change one row at a time, not the whole sheet.
| Setting | Start here | Why |
|---|---|---|
| Mode | Manual, everything fixed | No metering surprises when the flash fires |
| Aperture | f/11 to f/16 | Depth of field deep enough to hold a crown sharp |
| ISO | 100 to 400 | Raise it so a low-power flash still exposes correctly |
| Shutter speed | 1/200s to 1/250s, or your flash sync speed | The flash itself lasts a fraction of that and does the freezing |
| Flash power | 1/128, stepping down to 1/32 only if you need more reach | Lower power means a shorter flash and a cleaner freeze |
| Focus | Manual, with autofocus switched off | Autofocus hunts on a drop that is not there yet |
| Drive mode | Continuous, 8 to 10 frames a second | Timing is guesswork, so shoot in volume |
Step-by-Step: How to Photograph Water Droplets That Look Deliberate
1. Plan the Water Droplet Composition Before You Turn the Lights Off
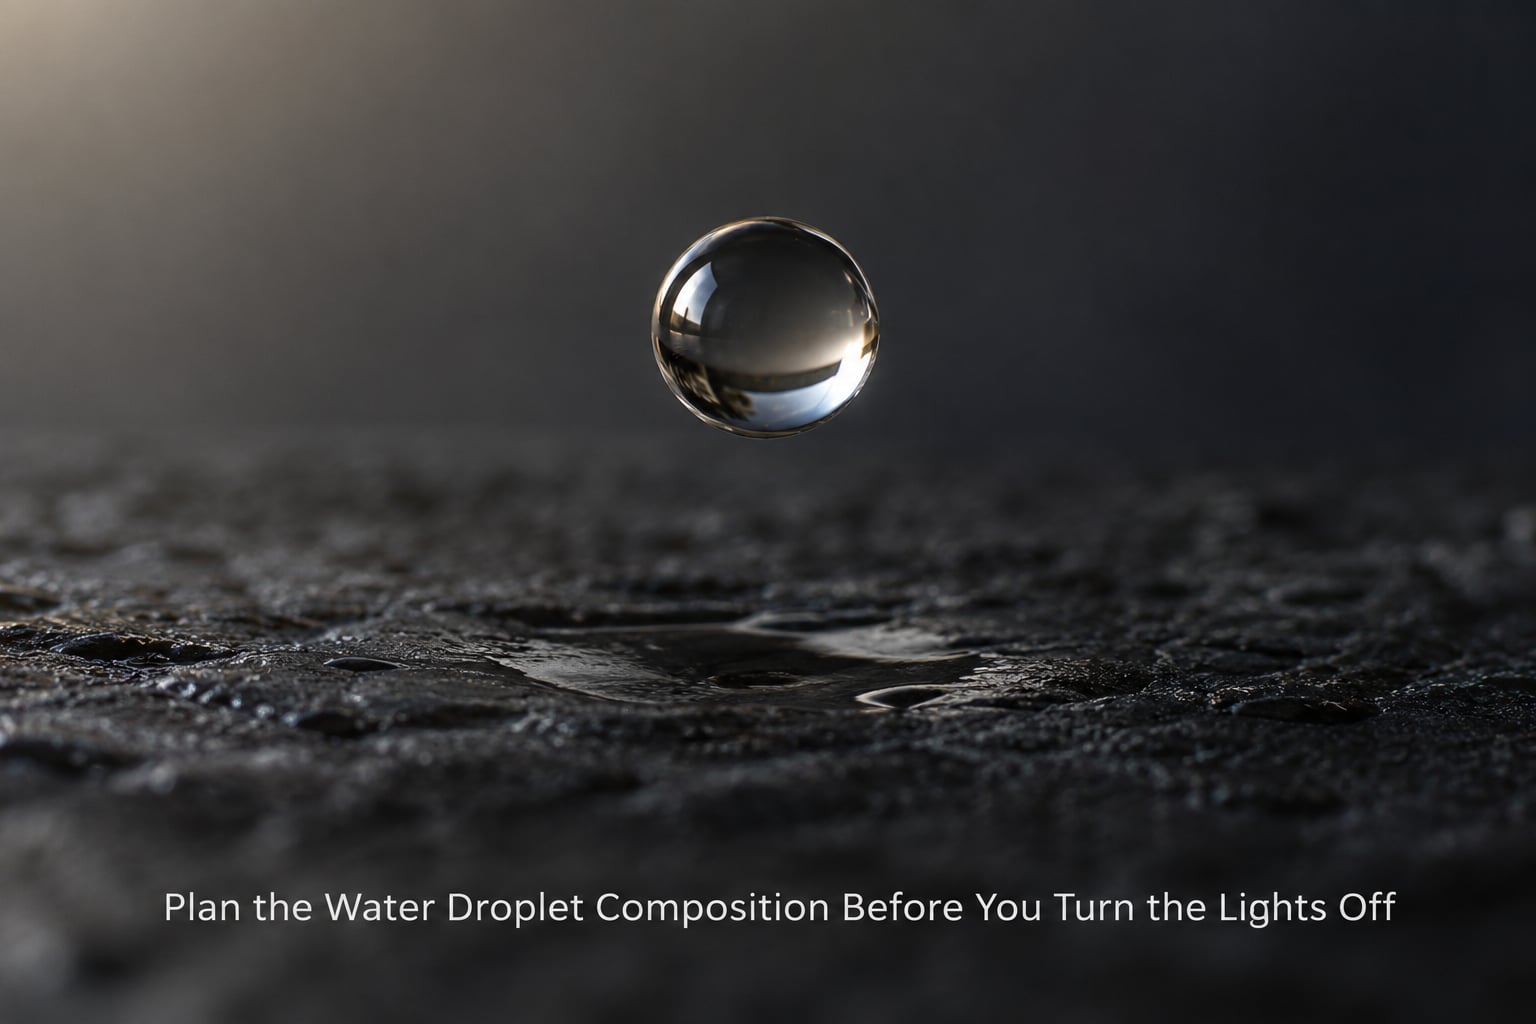
Decide what the image is about before you arrange anything. A clean studio splash and a dew-covered leaf are two completely different jobs, and mixing the approaches gives you a muddy frame with no clear subject.
For a studio shot, put a dark backdrop 20 to 30cm behind the tray and leave a pool of clear space where the splash will rise. Dark backgrounds make the outline of every droplet readable and let the refraction inside each drop do the interesting work.
You will know the composition is right when you can describe the shot in one sentence, for example a single crown centred on black, or a stem of drops rising through a blue gel. If you cannot describe it, the frame is still doing too much.
2. Set Up the Camera and Focus
Mount the camera on the tripod at roughly eye level with the tray and turn autofocus off. Now comes the trick that saves the whole shoot: pre-focus on the exact spot where the drop will land.
Put a nail, a bolt, a meat thermometer or a screwdriver shaft upright at the impact point, focus on it in manual mode, and check sharpness at full aperture by holding the button down and inspecting the viewfinder or a magnified live view. Then slide the object out of frame without touching the tripod and do not refocus.
You will know the focus is right when you fire a test flash with no water in the tray, look at the frame, and see a clean, fully resolved patch of background at the center. If that patch is soft, fix the focus before you waste any water.
Getting the focus to lock on a moving drop is the single biggest frustration photographers report, and manual pre-focusing is the answer to it. Autofocus has nothing to grab hold of before the drop exists.
3. Control the Lighting
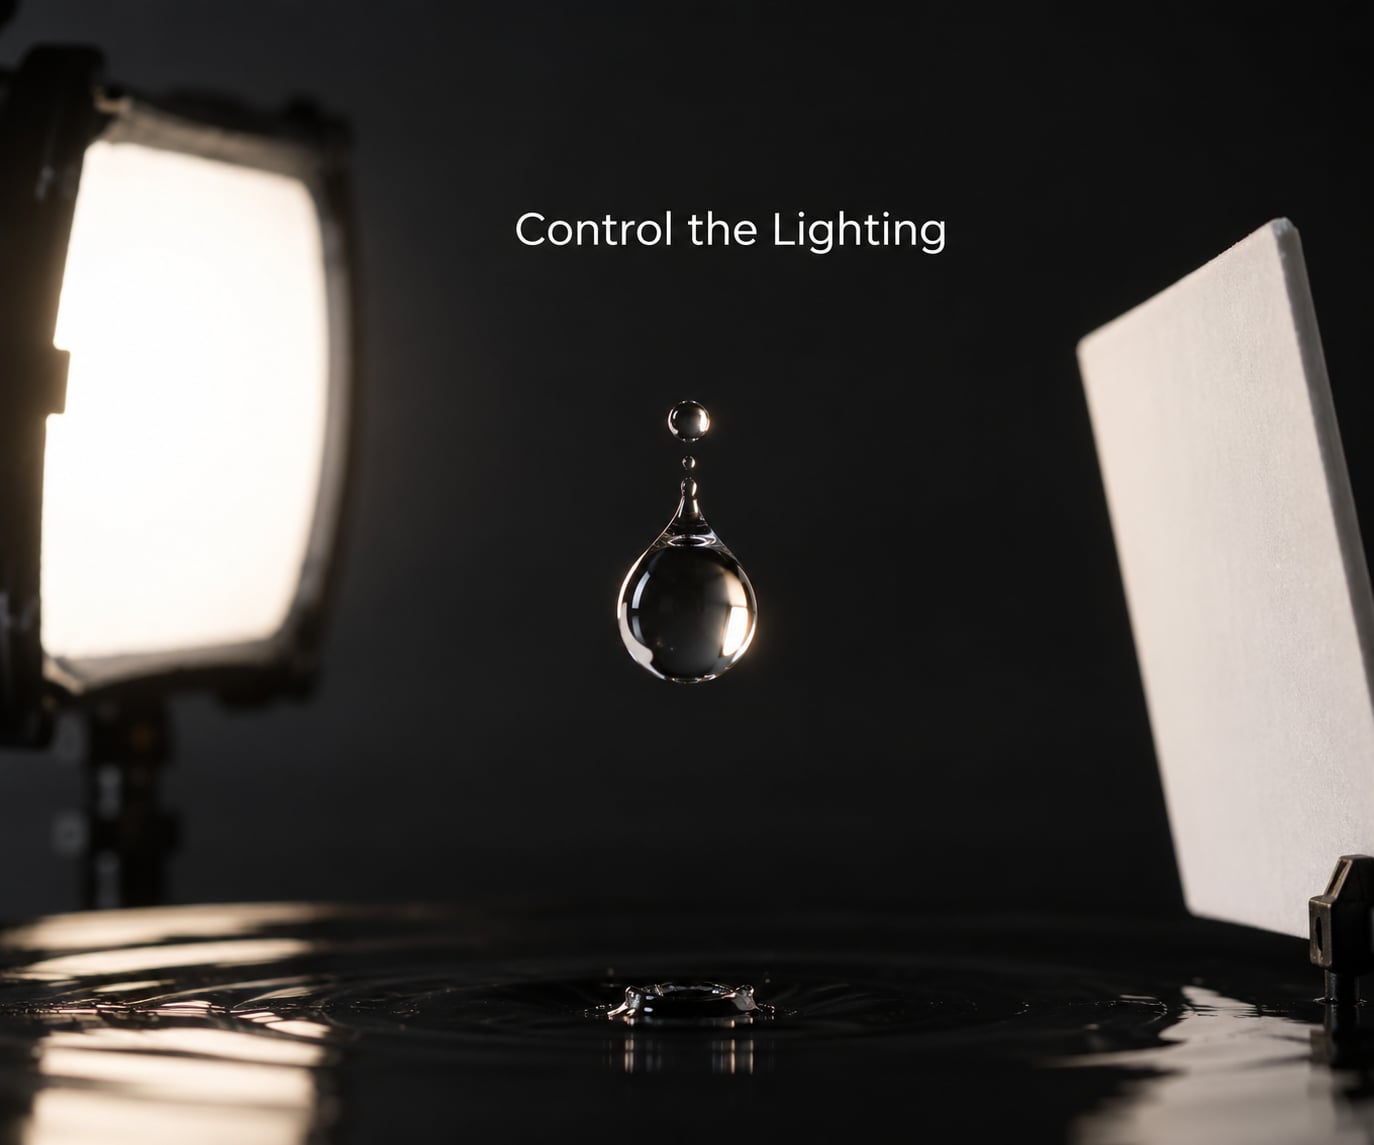
One flash behind the tray is the whole trick. Light coming from behind and slightly above passes through the rising water, lights it from the inside and turns the splash into a glowing, translucent shape instead of a grey lump.
Place the flash roughly 30 to 45cm behind the water, aimed forward and slightly down at the impact point. Put a white card or foam board opposite the flash on the camera side to put a soft edge on the shadow side. Without that reflector the splash looks flat and heavy.
If you own two flashes, put one at the four o’clock position and one at seven o’clock, both behind and low, and set each to about half power. That gives you an even, wraparound glow with no hot spot.
Turn off every other light in the room. This is the part people skip, and it is why their images come out noisy. With the room dark, a low flash power of 1/128 still exposes a dark background cleanly at ISO 200. Turning the room lights on forces you to open the aperture or the ISO, and both cost you sharpness.
For a look at how a single light source behaves on a subject, our guide to how to photograph shadows covers the same geometry in more depth.
You will know the lighting is right when a test frame shows a clean black background with a soft, even glow across the water and no harsh clipped patch in the middle of the splash.
4. Add and Shape the Water Droplets
Fill the tray with about 5mm of water and let it settle until the surface is completely still. Any drift in the surface ruins the reflection you are trying to show.
Load the syringe or eyedropper and hold it a fixed height above the impact point, roughly 10 to 20cm up. Mark the height on a piece of card taped to the tray so every drop falls the same distance, because drop height is what sets the shape: low drops make flat mushroom splashes, higher drops throw taller pillars and thinner crowns.
Milk is the beginner’s best friend. Its higher viscosity produces a clean umbrella crown on almost every attempt, and water gives you sharper, faster, more fragile shapes that demand better timing.
If you want a thicker, slower, more sculptural drop, mix a little glycerin into the water, or add a small pinch of guar gum and stir it well. A few drops of food dye colour the water without changing how it behaves, and coloured gels over the flash give you a more controlled tint than dye does.
You will know your dropper is set up right when you release one drop above the water and it lands straight on the marked point rather than beside it.
5. Capture the Moment
Switch to continuous shooting so the camera fires a burst every time you press the button. Aim for 8 to 10 frames a second, because you are not timing the drop, you are timing a release of the shutter and hoping the drop lands somewhere in the run.
The routine that works: set a ten-second timer or arm the remote, get your hand steady on the dropper, then fire the burst on the count of the drop leaving the syringe. Everyone who shoots splashes does it this way, and everyone reports the same thing about the first session, which is that most of the frames are wasted.
If your flash fires on the camera’s hot shoe, use the shutter speed the camera allows, usually 1/200s or 1/250s. If you are using off-camera flash with a radio trigger, you can open the shutter much longer, sometimes half a second or more, and fire the flash by hand halfway through the exposure. That long shutter buys you a huge timing window in a dark room, which is the single best trick for beginners.
You will know the routine works when a burst of ten frames contains at least one frame where the crown is open, the droplet is still airborne above it, and the edges are crisp with no smear.
6. Refine the Composition and Background
Look at your first keepers and simplify. Every stray drop, every fingerprint on the tray lip and every ripple in the background pulls the eye away from the crown, so clean the tray between shots rather than planning to fix it later.
Move the backdrop further away if it is picking up the flash’s hot spot, and rotate the camera a few degrees so the reflection inside the drops shows a different part of the room. That inverted mini-scene inside each droplet is often the most interesting thing in the frame, and it changes completely with a small camera move.
Use negative space deliberately. A crown with room above it reads as a clean, formal image, while a crown jammed against the top of the frame reads as an accident.
Once the studio setup is working, the natural version is worth trying too. After rain, look for droplets holding shape on a leaf, a window or a car body, and work with a longer lens and available light. Our guide to photographing rain covers that side of the craft, and the trick of photographing mirrored scenes in curved surfaces is covered in how to photograph reflections.
7. Push the Creative Variations Once the Basics Work
When a plain water crown on black feels predictable, change one variable at a time. Add a coloured gel to the flash for a tinted crown, dye the water itself for a stronger colour that survives inside the droplet, or substitute milk for a slower, cleaner umbrella shape.
Raise the dropper and see how the crown changes from a squat mushroom into a tall pillar. Release two drops in quick succession to throw a secondary ring of smaller drops through the main one. Add a second flash low and behind to light the base of the stem separately from the crown.
Each variation is cheap to test and takes one change per session, which keeps you from losing track of what actually improved the frame.
8. Review and Edit the Photograph
Judge each frame in this order: is the crown sharp, are the highlights intact, is the background clean, and only then, does the colour work. Fixing a noisy or clipped image cannot rescue a blurred splash, so evaluate sharpness before you spend any time in software.
Keep the editing restrained. Lift the shadows slightly to reveal detail in the base of the stem, pull the highlights back if the crown edge clipped, add a small amount of sharpening after you resize for output, and apply noise reduction only if you actually shot at a high ISO.
Clone out stray drops, bubbles on the tray rim and any dust on the backdrop, then check the crop. Most of the work is in removing what distracts rather than adding what is missing.
Common Mistakes to Avoid
Almost every problem photographers hit with water droplets has the same small number of causes, and they are quick to fix once you know the symptom.
| What you see | Why it happens | The fix |
|---|---|---|
| Splash is blurred or smeared | Flash power is too high, so the flash burns for long enough to record movement | Drop to 1/128 or 1/256 power and raise the ISO to compensate |
| Drop is soft, splash is sharp | Focus drifted after you moved the pre-focus object, or the drop lands in front of the focal plane | Re-pre-focus with the nail in place and shoot test frames before adding water |
| Noisy, grainy image | Room lights were left on, so the aperture and ISO were pushed too far | Kill the ambient light and shoot at ISO 200 with f/11 |
| Crown leans to one side | The drop did not land dead centre on the impact point | Mark the point and fix the dropper height with a reference card |
| Stray drops and bubbles in frame | The tray was disturbed or the water was not allowed to settle | Still the water, skim the surface, and clean the tray between every burst |
| Splash looks grey and flat | The flash is in front of the water instead of behind it, or there is no reflector | Move the light behind the tray and add white card opposite it |
| Dew blows away before focus locks | Outdoor wind, and the shoot takes too long | Work fast, use a longer lens, and hold a card up as a wind break |
Two more habits are worth building. Check your histogram after every burst, because a clipped crown reads as a mistake later and costs you the frame. And shoot more than you think you need, since photographers consistently report that the first 20 to 50 attempts produce nothing usable, and that patience rather than equipment is the real skill here.
Frequently Asked Questions
What camera settings work best for photographing water droplets?
Start in manual at f/11 to f/16, ISO 100 to 400, and your flash sync speed of 1/200s or 1/250s, with flash power at 1/128. The narrow aperture keeps the whole splash sharp, and the low ISO keeps the image clean. Raise the ISO before you raise the flash power, because a stronger flash lasts longer and smears the moving water.
Do I need a macro lens to photograph water droplets?
A macro lens makes life easier, but it is not required. Any lens that focuses to about 0.3 metres will capture a tray of water, and a 180mm lens with a close-up filter set is a solid budget route. The results are less about the lens and more about manual focus, a tripod and a low-power backlight.
How do you freeze a falling or splashing water droplet?
Use flash duration, not shutter speed. A manual flash at 1/128 power emits light for a fraction of a millisecond, so the camera records the splash as it was at that instant. Continuous light and fast shutter speeds will not do it, and the extra light they require turns into noise. Darken the room so the flash is your only source.
How do you focus on a falling water droplet?
You do not focus on the droplet, because autofocus has nothing to lock onto yet. Place a nail, bolt or screwdriver upright at the impact point, focus on it manually, confirm it is sharp at full aperture, then slide it away without touching the tripod. Shoot a test frame with no water to confirm the focal plane sits exactly where the drop will land.
What lighting is best for sharp, creative droplet photographs?
A single off-camera flash placed 30 to 45cm behind the tray, aimed forward and slightly down, gives the most striking results because it lights the water from the inside. Add a white card opposite the flash to soften the shadow side. Two flashes at the four and seven o’clock positions behind the tray give a more even glow, and a diffuser softens the edges further.
Can I photograph water droplets with a phone?
Yes. Clip on a small macro lens, add a ring light or a bright LED held behind the water, and use burst mode with the phone on a tripod or stack of books. The phone will fight you on focus, so lock exposure and focus on a bright background before you add water. Expect softer results than a dedicated macro setup, but the workflow is the same.
Conclusion
The whole craft comes down to three things: freeze the water with a short, low-power flash, pre-focus manually on a nail at the impact point, and keep the background dark and simple. Start tomorrow with one droplet, milk instead of water, f/11 at ISO 200 and a ten-second timer, and expect a pile of misses before your first keeper. Once that single crown comes out sharp, everything else on this list, gels, glycerin, two flashes and corona shapes, gets much easier.