
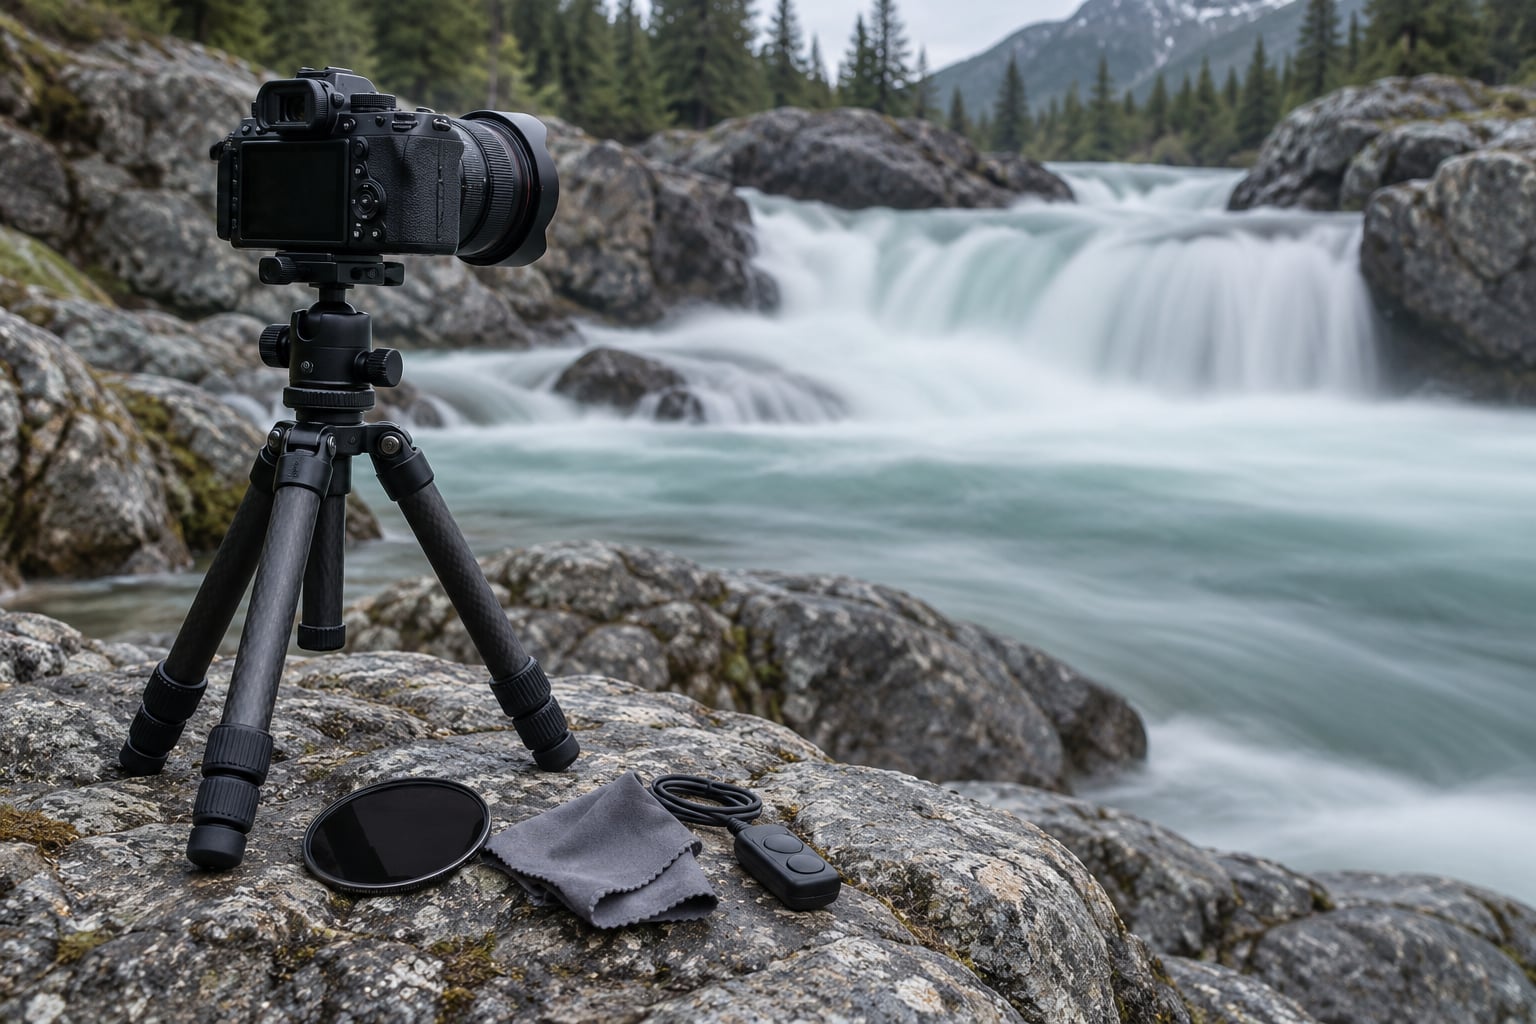
To take a long exposure during the day you need one thing above all else: a strong neutral density (ND) filter, usually 6 to 10 stops, that soaks up enough sunlight to let you hold the shutter open for seconds without blowing out the frame. Add a tripod to keep the camera still and the whole thing takes about ten minutes at a river, an ocean wall or a busy road. If you have never done it before, budget an hour for your first session, most of it spent fiddling with dials in bright sun.
The reason it works is simple. In full daylight your sensor gets far too much light for a multi-second exposure, so the filter eats several stops of light and the shutter stays slow. What arrives on the sensor is water turned to silk, clouds smeared into brushstrokes, or traffic reduced to ribbons of light. Our beginner’s guide to long exposure photography covers the basics at night, where none of this light-blocking is necessary.
Table of Contents
- What You Need
- Step-by-Step: How to Take a Long Exposure During the Day
- Step 1: Plan the Scene and Final Look
- Step 2: Set the Camera Without the Filter
- Step 3: Choose the Daytime Long-Exposure Shutter Speed
- Step 4: Add the Neutral Density Filter
- Step 5: Focus Carefully and Prevent Camera Shake
- Step 6: Take the Exposure and Check the Result
- Step 7: Fine-Tune for More Blur or More Detail
- Common Mistakes
- Do You Always Need a Filter?
- Doing Long Exposures on a Phone or iPhone
- Daytime Long Exposure Settings by Subject
- Frequently Asked Questions
- What shutter speed counts as a long exposure during the day?
- How strong an ND filter do I need for daylight?
- Do I need a tripod and should I turn off image stabilization?
- How do I focus when a 10-stop filter makes the viewfinder black?
- Can I do a 30-second long exposure on an iPhone?
- Why do my long exposure photos have a colour tint?
- Conclusion
What You Need
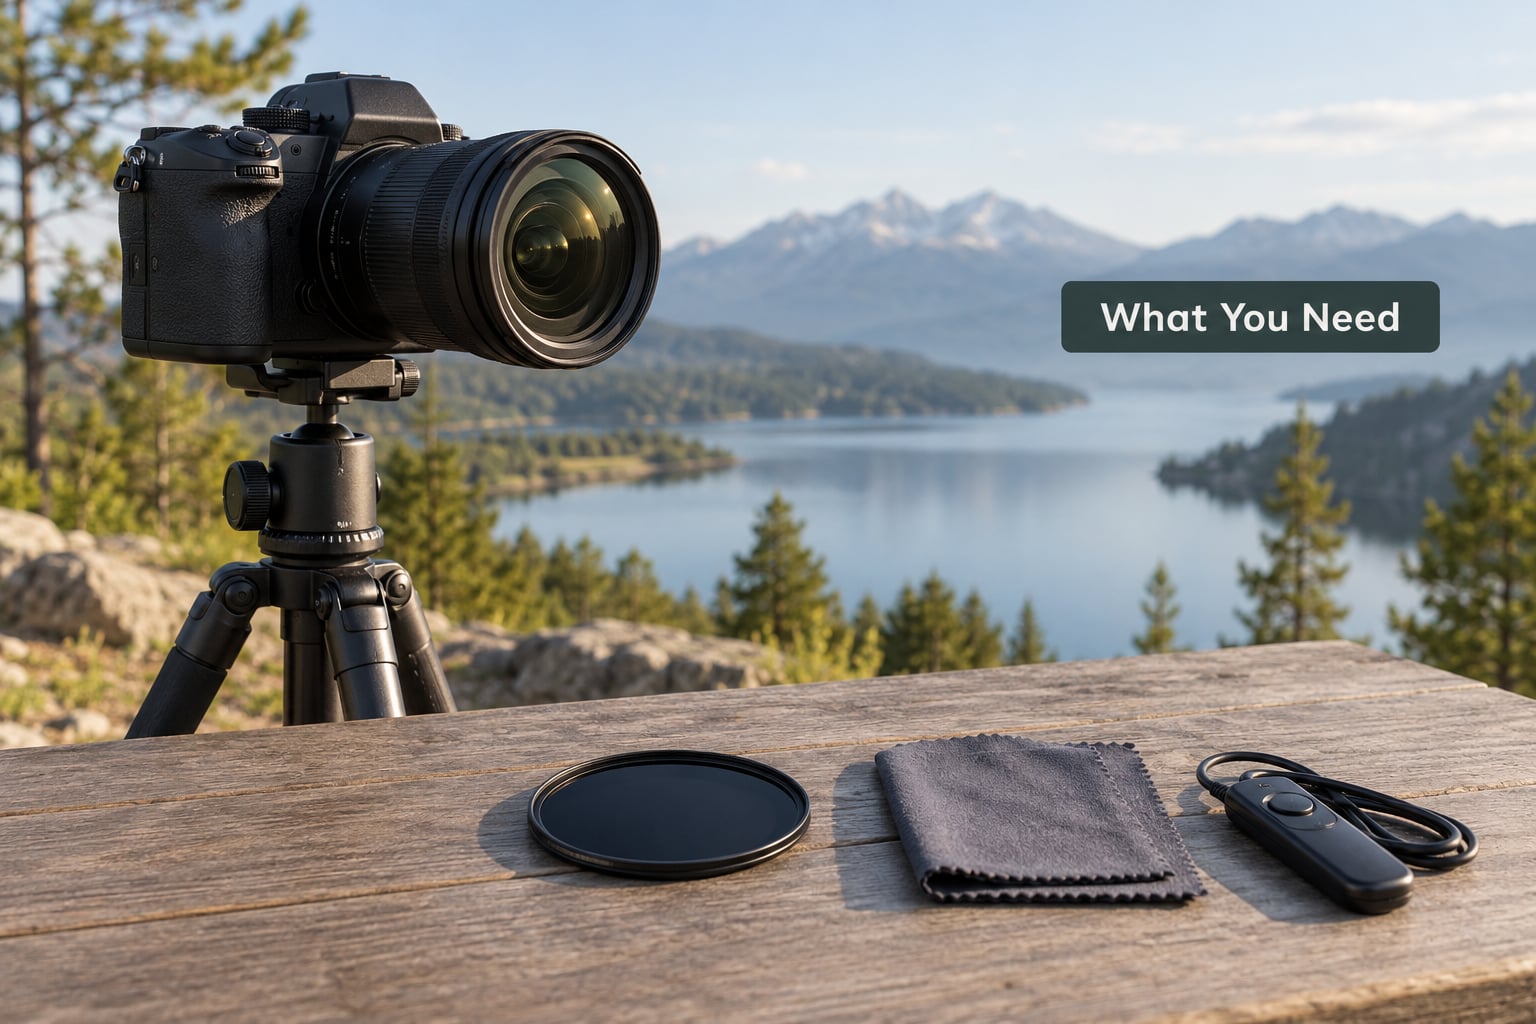
Four things carry the whole technique. Everything else is optional.
- ND filter (the non-negotiable): a 6-stop or 10-stop screw-in glass filter. Without it, a 10-second exposure at midday is pure white.
- Sturdy tripod: anything rated for your camera plus a lens, with a hook or weight on the centre column for wind. Keep the column retracted.
- Remote release or self-timer: a two-second timer works on any camera and costs nothing. Your finger pressing the shutter is enough movement to soften the frame.
- Camera with manual exposure: bulb mode or a shutter speed dial. Manual mode with Auto ISO switched off is the honest way to shoot this.
A lens cloth earns its place more often than people expect, because fingerprints on an ND glass show up as a bright smear that survives raw processing. A graduated ND and a circular polarizer are worth adding once the basics feel routine. If you plan to shoot after dark as well, our guide to taking sharp photos at night covers the settings that change once the ND comes off.
ND stop conversion: what each filter does to your shutter speed
Every stop halves the light, so your shutter time doubles. A 10-stop filter is also sold as ND1000 because it cuts light to roughly one-thousandth. The table below starts from a metered 1/125 second at ISO 100, a typical sunny-day reading at f/8.
| Filter | Light reduction | From 1/125s you get | Good for |
|---|---|---|---|
| 3-stop | 8x less light | 1/15s | Softening a fast river a little |
| 6-stop | 64x less light | 1/2s | Light water movement at moderate light |
| 10-stop (ND1000) | 1000x less light | 8s | The default choice for daylight water and clouds |
| 15-stop | 32,000x less light | about 4 minutes | Near-empty water, epic sky washes, light painting |
Beginners on photography forums consistently land on the same advice: a 6-stop is the practical floor for daylight work, and a 10-stop is the modern default. If you can only buy one, buy the 10-stop.
Step-by-Step: How to Take a Long Exposure During the Day
Step 1: Plan the Scene and Final Look
Decide what moves and what stays sharp before you touch a dial. Water, clouds, pedestrians and vehicles all blur differently, and a 4-second exposure turns a fast river into a milky mess while leaving a slow tidal channel perfectly smooth.
Frame the shot first, with the tripod legs spread wide and low if you want foreground texture. The composition will not change once the filter is on, so spend the time here.
Step 2: Set the Camera Without the Filter
Meter the scene in full daylight and write the number down. Switch to manual exposure mode, set the aperture to f/8 or f/11, drop ISO to its base value of 100, and shoot RAW.
With a 1/125s reading, a 10-stop filter gets you 8 seconds. That is the arithmetic that replaces guesswork. Do not skip the metering step: filter ratings assume a bright scene, and overcast light shifts everything.
Step 3: Choose the Daytime Long-Exposure Shutter Speed
Most waterfalls and rivers look right somewhere between 2 and 15 seconds. Start with the time your stop math gives you, take the shot, then adjust in one direction at a time.
Less time means more texture and more visible detail in the water. More time means smoother water and a softer, more abstract frame. Never go past f/11 on full frame, f/8 on APS-C or f/5.6 on Micro Four Thirds, because diffraction softens every pixel long before the water stops improving.
Step 4: Add the Neutral Density Filter
Screw the filter on, check that it is seated flat and not cross-threaded, and cover the viewfinder with your hand or a cloth. A bright sunlit viewfinder next to a 10-stop glass will trick the meter into guessing wildly, which is exactly how frames come back black.
Where a 10-stop blacks out the viewfinder completely, switch to Live View and magnify to 10x. You can still focus that way, slowly.
Step 5: Focus Carefully and Prevent Camera Shake
Focus manually on something at the same distance as your subject, or autofocus first and then switch to manual focus. Long glass left on manual focus lets focus drift as temperature and distance change across a slow exposure.
Turn image stabilization off on most cameras once the camera is locked to a tripod, because the system fights the mount and adds its own soft blur. Check the camera menu to confirm, since the switch is buried in different places on each body. Retract the centre column and hang your camera bag on the hook if the wind picks up.
Step 6: Take the Exposure and Check the Result
Fire it with the two-second self-timer or a remote release, and step away from the tripod. Watch the histogram rather than the brightness of the rear screen, which lies badly in midday sun.
Blinking highlight warnings mean you have too little light reduction, so add a stop by slowing the shutter. If the frame is black, you went a stop too far or the sun was hidden by cloud. Both are one-adjustment fixes.
Step 7: Fine-Tune for More Blur or More Detail
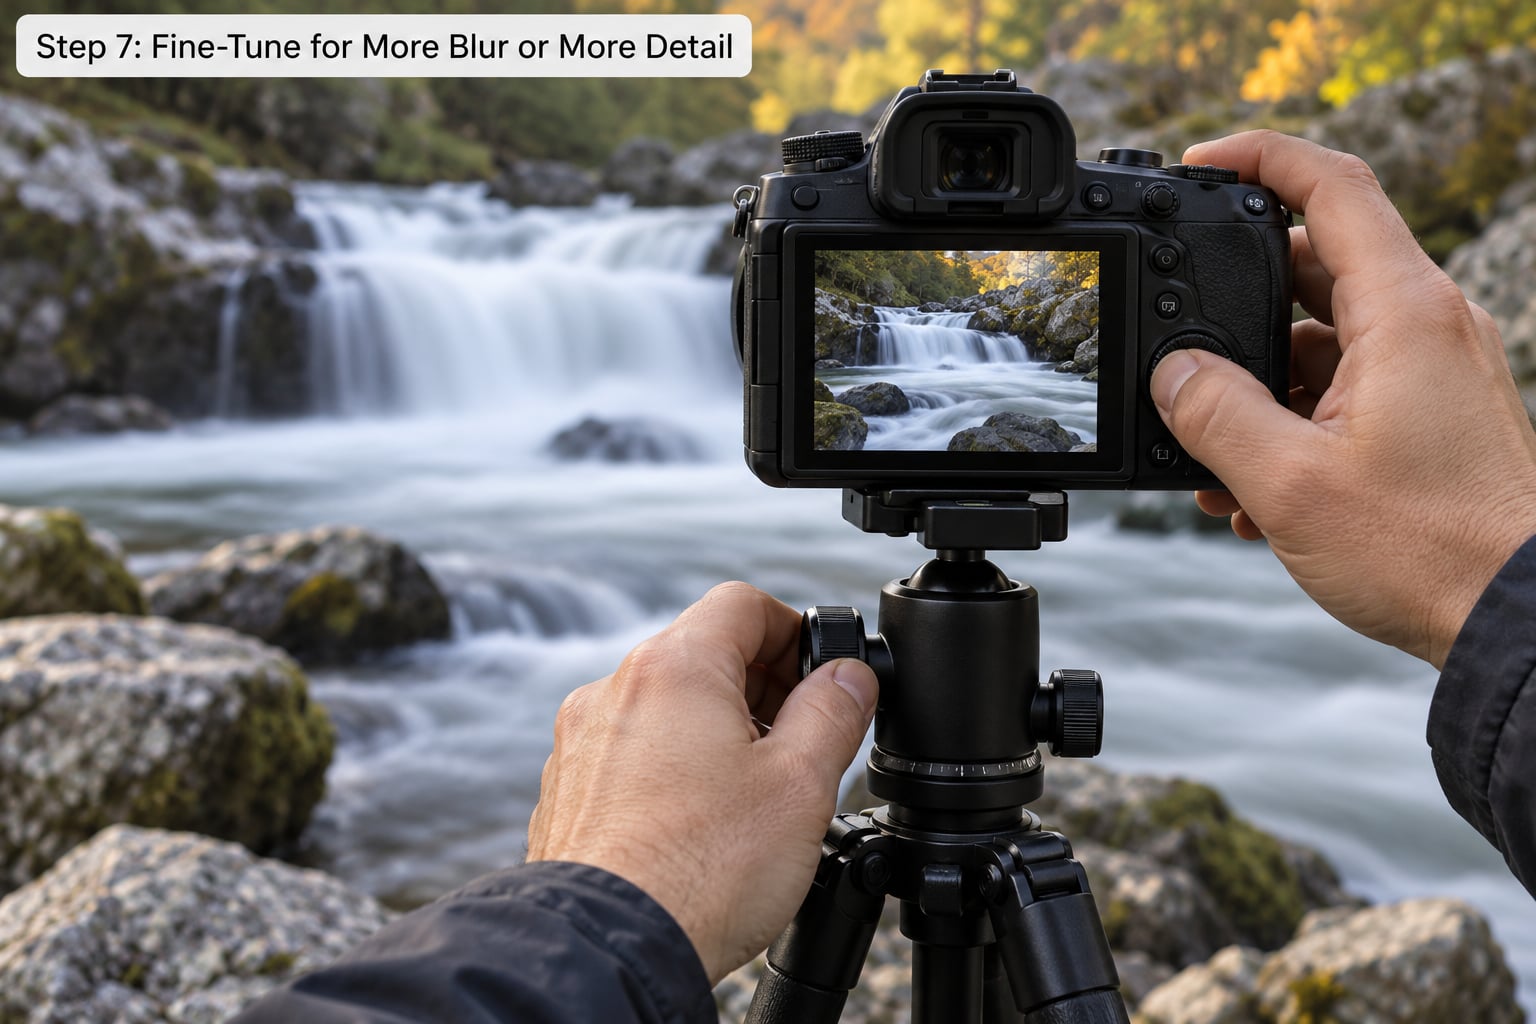
Change only the shutter speed on every take after that. Aiming for a longer, silkier exposure means adding a stop of time, and adding time in bright conditions means adding filter strength to compensate.
Stacking a 3-stop and a 10-stop gives you 13 stops, which turns that same 1/125s reading into about 64 seconds. It is the fastest route to a genuinely empty-looking river without waiting for evening.
Common Mistakes
Overexposure. You filtered too little for the light. Read the histogram, add a stop of time, and stack a second filter if the maths says you need one.
Underexposure. The opposite problem, usually from metering through a dense filter. Cover the eyepiece when you meter, and remember that a cloud passing over the sun invalidates the reading you took an hour ago.
Softness from camera shake. Touching the tripod, an unlocked centre column or an over-tight leg collar all cause it. A 1/30s handheld shot already drifts noticeably; a 30-second frame is unfixable.
Focus drift. Long exposures heat the lens barrel and refractive indexes shift. Re-check focus between long takes, or stop down slightly to buy depth of field.
Vignetting. Wide lenses darken the corners further once a thick filter is added, and cheap screw-in glass often drags the edges more than the centre. Stopping down one-third compensates most of it.
Colour cast. Some ND glass leans warm or cool. Shoot a grey card or neutral wall in the first frame, then set white balance with an eyedropper in Lightroom or Photoshop, picking a reference that is truly neutral.
Streaks and light leaks. Bright sun leaking around the filter rim or through a port shows as a hard white line. Shade the front of the lens with your hand, cover the viewfinder, and tape over any open port.
Filter misuse. Threading a filter on crooked, stacking a polarizer with an ND, or leaving a dirty fingerprint smear all cost sharpness. Clean glass, thread straight, and stack sparingly.
One more workaround worth knowing: if you have no filter at all, take several shorter exposures and blend them with a stack of your darkest frame, or use the camera’s multiple-exposure mode. Forum shooters report it gets surprisingly close to a real long exposure, and it costs nothing.
Do You Always Need a Filter?
No. At the magic hour, the hour after sunrise and before sunset, the light is low enough to shoot one to several seconds with no glass in the lens at all. Early morning is also the only time the water is often glassy, because the wind has not come up yet. Many landscape photographers simply wait rather than carry glass into the field.
Doing Long Exposures on a Phone or iPhone
A phone can get you a 30-second exposure, but not the way a camera does. The standard Live Photo holds a roughly three-second burst and stacks it into one image, which smooths water nicely without any extra hardware. For true 30-second frames you need an app that drives the shutter from a manual or bulb-style mode, and a tripod or rigid surface, because a half-second of hand shake ruins the file.
Phones cannot be metered through a 10-stop, so do the conversion on paper first and dial the shutter time in manually. Expect more noise and less highlight recovery than a raw file from a dedicated camera.
Daytime Long Exposure Settings by Subject
| Subject | Filter | Aperture | ISO | Shutter time |
|---|---|---|---|---|
| Rushing waterfall | 6-stop | f/8 | 100 | 1 to 4s |
| Slow river or tidal water | 10-stop | f/8 | 100 | 8 to 20s |
| Ocean swell | 6-stop | f/11 | 100 | 2 to 6s |
| Moving clouds over a coast | 10-stop | f/11 | 100 | 15 to 60s |
| Vehicle light trails | 10-stop | f/8 | 100 | 10 to 30s |
| Light painting in shade | 3-stop | f/5.6 | 400 | 10 to 30s |
If you want to push one effect further, blending two exposures of a moving subject into a ghosted double is a good next exercise, and our list of double exposure photography ideas shows how the technique works.
Frequently Asked Questions
What shutter speed counts as a long exposure during the day?
For daytime work, anything from about one second upward is long enough to smooth moving water. Most photographers land between 2 and 15 seconds for rivers and waterfalls, and push to 30 seconds or more for oceans and moving clouds. Judge the time by the effect you want rather than by a number, since a fast stream needs less time than a slow one.
How strong an ND filter do I need for daylight?
A 6-stop is the practical minimum for bright daylight, cutting light by 64x so a metered 1/125s becomes half a second. A 10-stop, sold as ND1000, cuts light by roughly 1000x and turns the same 1/125s reading into 8 seconds, which is why it is the default choice. A 15-stop pushes past four minutes but makes metering through the viewfinder very hard.
Do I need a tripod and should I turn off image stabilization?
A tripod is not optional. Handholding fails at roughly 1/30s, and a 10-second frame collects vibration the whole time it is open. Turn image stabilization off on most modern cameras once the body is locked to a tripod, since the system corrects for handheld movement and can add its own blur against a fixed mount. Retract the centre column and hang a bag on the hook in wind.
How do I focus when a 10-stop filter makes the viewfinder black?
Focus before you mount the filter, either manually or with autofocus followed by manual lock, and cover the viewfinder eyepiece to stop stray light fooling the meter. If you need to focus afterwards, switch to Live View and magnify to 10x, since a 10-stop blocks the optical finder completely. Re-check focus between long exposures, because heat shifts focus slowly.
Can I do a 30-second long exposure on an iPhone?
A Live Photo gives you a roughly three-second stacked burst, which smooths water without any extra hardware. For a true 30-second frame you need an app that exposes manually, plus a tripod or rigid surface, because half a second of hand shake ruins the file. Work out the shutter time from a daylight reading before you mount anything, since the phone screen is not a reliable meter.
Why do my long exposure photos have a colour tint?
Some ND glass, particularly cheaper screw-in filters, leans warm or cool. Shoot a frame of a neutral grey card or a white wall at the start of the session, then set white balance in Lightroom or Photoshop with the targeted adjustment eyedropper, choosing an area that is truly neutral. A well-made filter should be correctable this way; a bad one rarely fully is.
Conclusion
The sequence is short enough to memorise: meter the scene in full daylight without the filter, add the correct ND strength, stabilise the camera, focus, then adjust shutter speed until the motion looks right. Start with a 10-stop, ISO 100, f/8 and a river or a beach with moving clouds, and change one thing between each frame.
Once the basics feel automatic, the same settings carry over to light trails and ghosted city scenes, and the 2026-era camera bodies in your bag already handle everything this technique needs.