
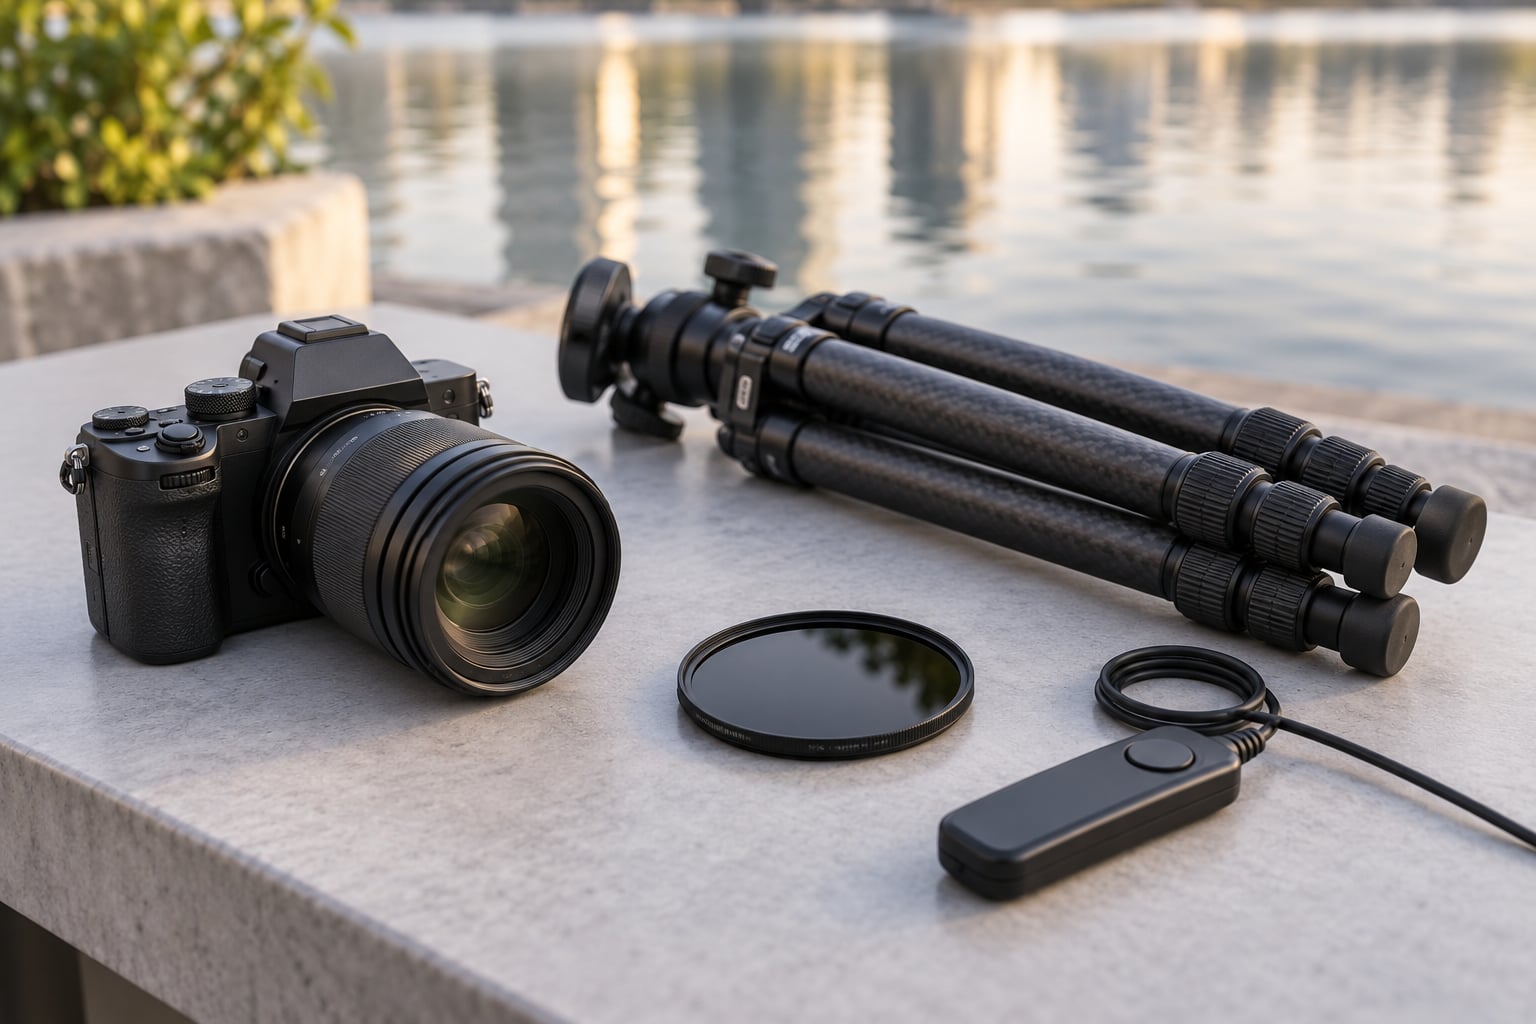
Motion blur happens when the shutter stays open long enough to record where things moved during the exposure. To create motion blur in photos, you either slow the shutter while the camera holds still, move the camera with your subject, or add the effect afterwards in editing software.
Most beginners can get a usable result in about ten minutes once the camera is on a tripod. The trick is knowing which of five methods fits the shot in front of you, because panning a car and blurring a river want completely different settings.
Table of Contents
- What You Need
- Step-by-Step
- Frequently Asked Questions
- What shutter speed is best for motion blur?
- Can I create motion blur without a tripod?
- How do I make a moving subject sharp while blurring the background?
- Is motion blur better created in-camera or in editing?
- How do I avoid blurry photos when using a slow shutter speed?
- What kind of subjects work best for motion blur photography?
- Where to Start With Your Next Shot
What You Need
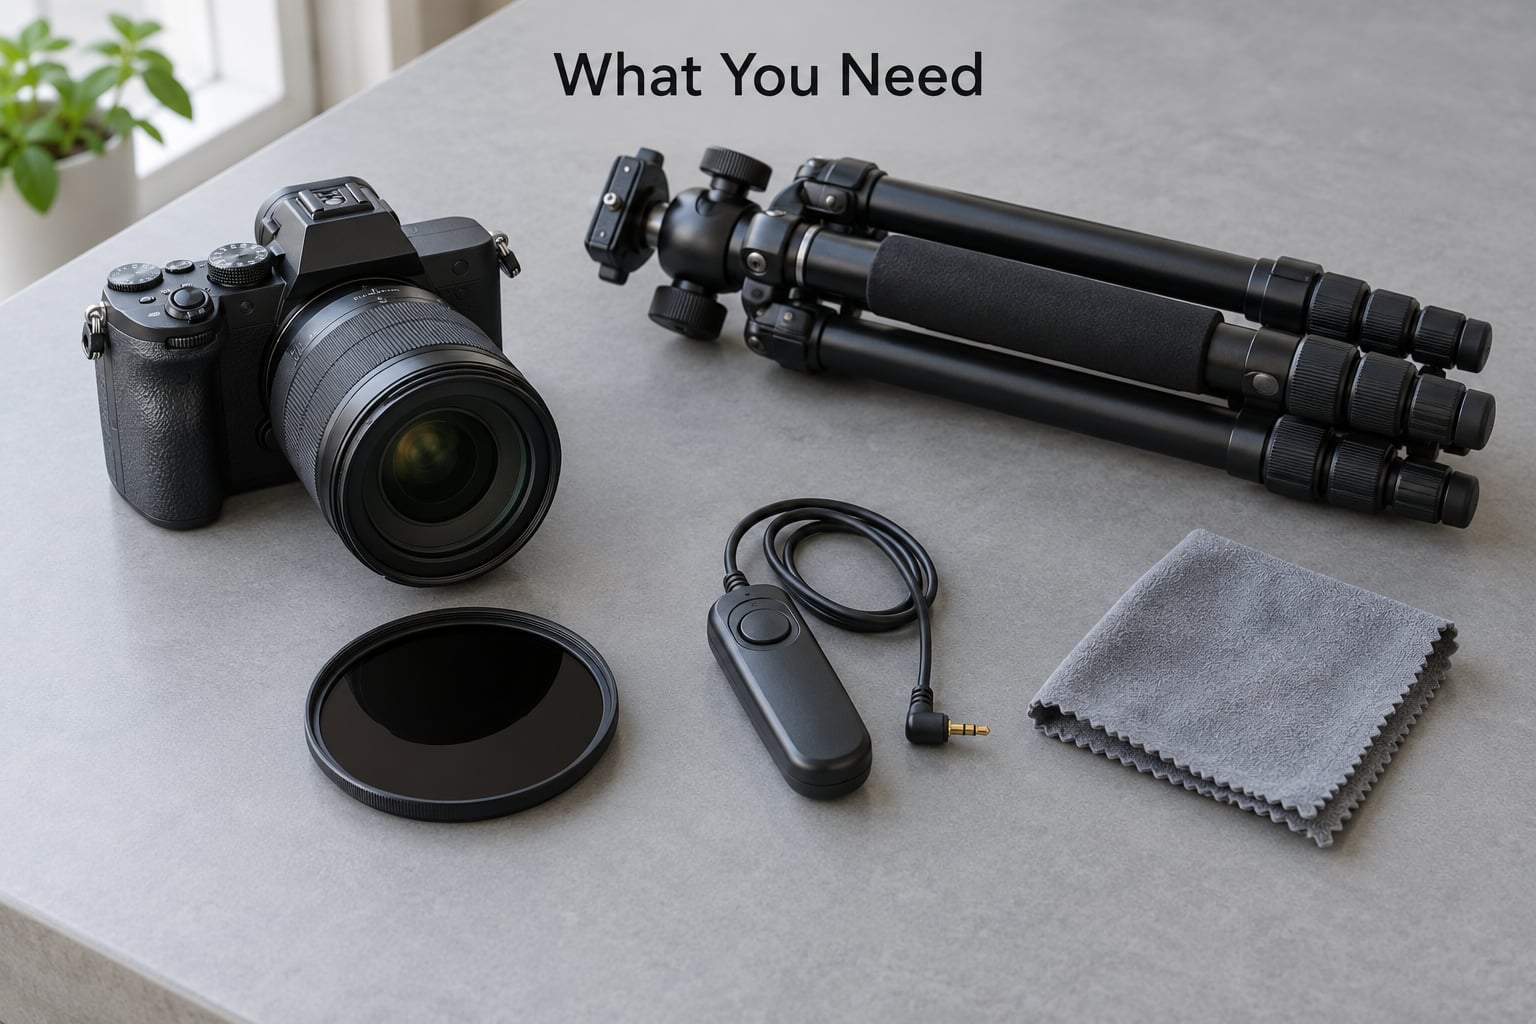
Very little, honestly. A camera with adjustable shutter speed does most of the work, and every technique below runs on the same two supports: something to keep the camera steady and a subject that stays put or moves predictably.
- Camera with manual or shutter-priority mode. Shutter priority (Tv on Canon, S on Nikon and Sony) lets you pick the shutter speed and let the camera handle the aperture. Full manual is better when the light keeps changing.
- Something stable. A tripod is the simplest option, but a solid table edge, a wall or a heavy bag works just as well for short exposures. For anything past a couple of seconds you really want a tripod with a ball head.
- A remote or two-second timer. Shaking the camera to press the shutter ruins the frame faster than any bad setting will.
- A subject that moves. Running water, passing cars, walking people, drifting clouds, a friend waving a stick in front of the lens.
- Optional: a neutral density filter. In bright daylight a filter lets you hold a slow shutter without blowing out the sky. There is a full walkthrough on how to use a neutral density filter if you have never fitted one.
- Optional: editing software. Lightroom or Photoshop covers the post-production route. If you want to keep the same look across a whole shoot, save it as a preset afterward with how to create Lightroom presets in Classic.
That is the whole kit. No special lens is required, and a heavy zoom is no better than a prime for this. Where a longer exposure comes into play, our long exposure beginner’s guide covers the stability details in more depth.
Step-by-Step
Use a Slow Shutter Speed
Start here, because it is the simplest way to create motion blur in photos: keep the camera still, drop the shutter speed, and let whatever moves smear across the frame.
Set the camera to shutter priority, switch on continuous shooting, and start at 1/10 to 1/2 second for a gentle blur. Water looks silky around 1/4 second, a waving flag needs closer to a full second, and moving clouds over a town square look best somewhere between 1 and several seconds once a neutral density filter comes into play.
Put the camera on the tripod, frame the shot, focus once on where your subject will be, then trigger the shutter with the remote. Check the result at full size: if you cannot tell what the moving thing was, slow the shutter down a third of a stop and try again. If the still parts of the frame look soft too, the camera moved during the exposure.
One habit worth building early: shoot ten frames at once. Water and people both change from frame to frame, and picking the moment where the shape still reads is half the craft.
Move the Camera During the Exposure
Panning is the version where you follow the subject with the camera, so the subject stays comparatively sharp while the background streaks behind it. The slower the shutter, the longer the streak.
Frame the moving subject, switch to continuous high-speed shooting, and use autofocus in tracking or servo mode with the focus point on your subject. Follow it with the camera before you press the shutter, and start the exposure as you begin a smooth swing.
Most people land somewhere between 1/30 and 1/8 second for a car or a cyclist at a moderate pace, and 1/15 second or slower for a walking pedestrian. Your body matters more than people expect: feet shoulder-width apart, elbows tucked, and rotate from the hips rather than the wrists, which is exactly where beginners report their panning shots go wrong.
The check is simple. Zoom in on the subject at 100 percent. If the subject is sharp and the background is streaked, add a third of a stop of shutter speed for a stronger effect. If the subject is also soft, your tracking was too slow, so speed up the swing before you blame the settings.
Blur a Moving Subject Against a Still Background
Flip the logic: lock focus on something that is not moving, keep the camera still, and let a person, a branch or a passing car streak through the frame in front of it.
Focus manually on the background subject and set the shutter to roughly 1/4 to 1 second. A tripod helps here because nothing about the camera should move, and the exposure is often long enough that a stray finger ruins the frame.
Watch the metering. When the moving object crosses a bright area, the camera in aperture priority will react and change the exposure mid-shot, so manual mode or exposure lock is the safer choice. Have your mover enter and leave on opposite sides of the frame, ask them to wave a jacket rather than run past, and take a burst.
The result is the cleanest kind of motion blur: a recognizable, sharp anchor with a soft ghost moving through it. It reads as intentional every time because the eye has something solid to hold.
Use Intentional Camera Movement
Here the camera moves on purpose during a longer exposure to produce something abstract rather than realistic. It is less about freezing a subject and more about drawing with light.
Choose one direction and commit to it. Start at about 1/4 second and move the camera in a straight sweep from one edge of the frame to the other, roughly parallel to the sensor plane so the frame does not go black at the edges.
Repeat the frame a dozen times and compare. Some will be mud, some will have accidental double lines from a wobble at the start, and a few will have the clean parallel streaks you want. Pull the shutter speed down to half a second for a smoother sweep and up to a second or more for a softer, more painterly band.
Outdoor light trails work the same way: lock focus at infinity during the blue hour, set a few seconds, and hold the camera still while cars write their lines behind it. That version is closer to our long exposure guide, but the same tripod and remote release apply.
Add Motion Blur in Photo Editing
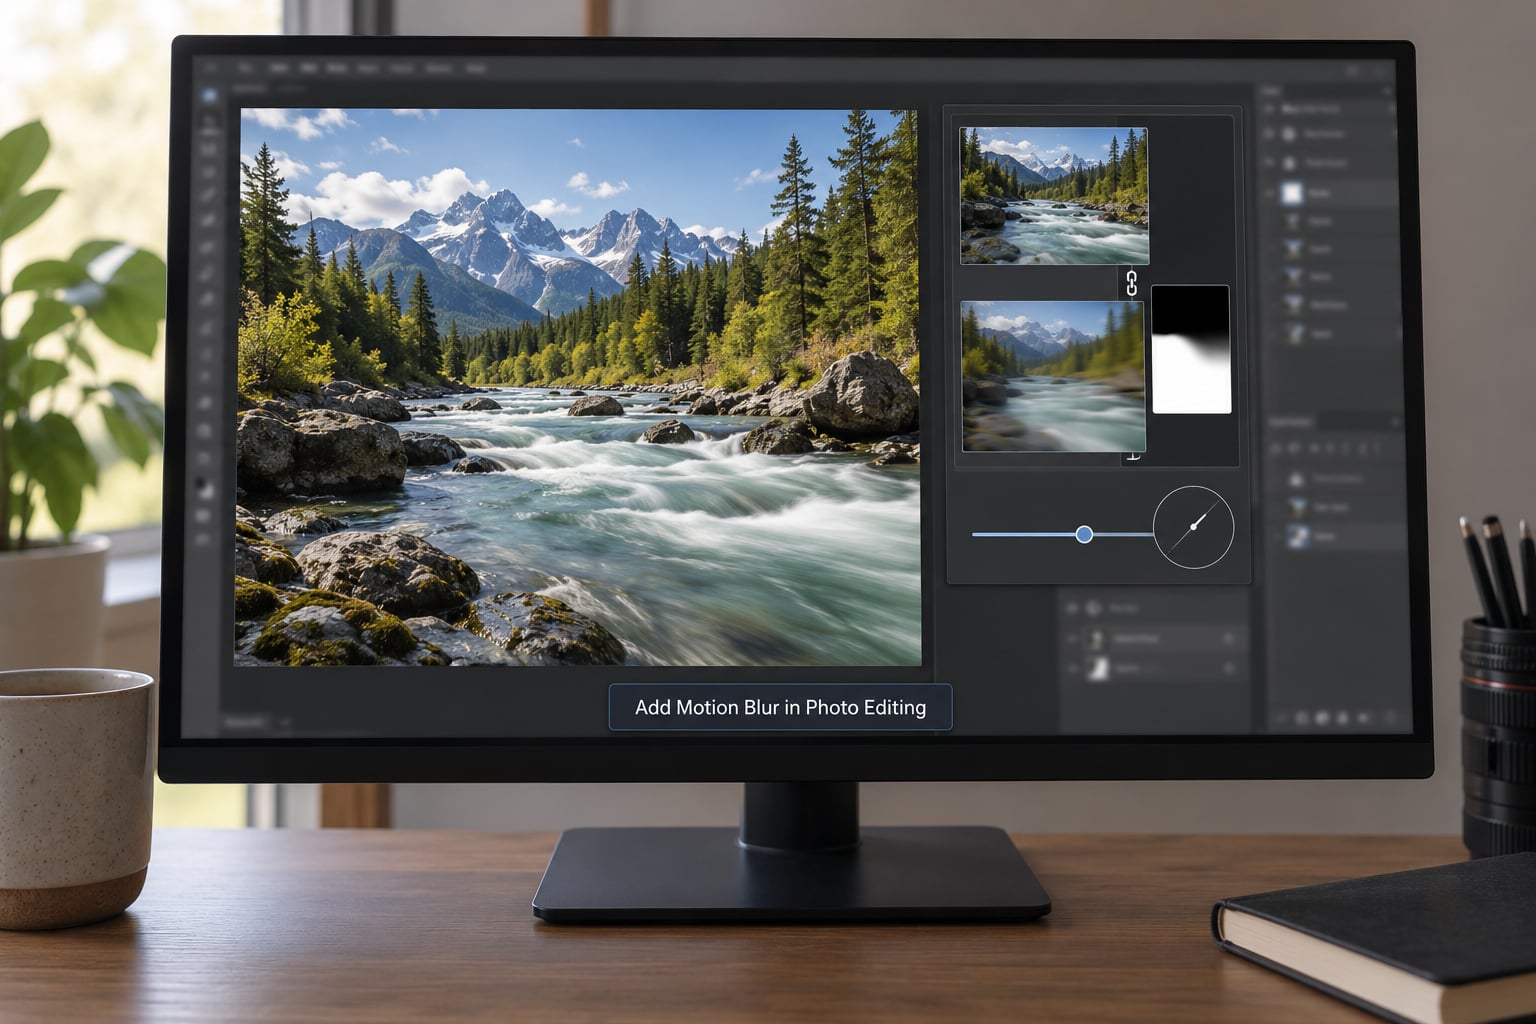
Editing gives you a fallback for shots you could not stage, and a way to dial the effect back before it goes too far.
In Lightroom Classic, select the photo, duplicate the layer, and mask the subject with the Select Subject tool under Masking. On the duplicate, lower the Texture slider and use a large brush with flow turned down to paint the blur into the background only, leaving the mask with a long feathered edge where the two layers meet.
In Photoshop, duplicate the background layer, open Filter > Blur > Motion Blur, and set the Angle to match the direction your subject actually moved. Distance controls how far the pixels travel, so 20 to 40 pixels gives a believable streak on a normal-sized frame while 100 turns the background into lines. Lower the layer opacity to 50 or 60 percent, mask the subject with a layer mask so it stays sharp, and refine the boundary with a soft brush.
Image stacking is the restrained version of the same idea. Take four or five frames as the subject moves through the frame, select them all, and open them as layers. Mask each one to a different band of the movement, then nudge the layers a few pixels apart. The background stays razor sharp while the subject becomes a sequence of echoes.
Whichever route you take, check the histogram afterwards. Bright areas that were near clipping before the edit will not survive it, and pulling highlights back afterward is better than rendering the file twice.
Common Mistakes
Almost every bad motion blur frame comes down to one of six things, and each has a fix you can test on the next shot.
- The subject is blurred instead of the background. Your tracking was too slow, or you panned in the wrong direction. Practice the swing without pressing the shutter, and check that the focus point stays on the subject through the movement.
- The whole frame is soft. That is camera shake, not motion. Add the tripod, use the two-second timer, and turn stabilization off when the camera is on a locked-down tripod, since in-body stabilization fights any movement you actually want.
- The blur is too strong to read. Add light. Nothing else changes the look as quickly as cutting the shutter speed by a stop or two.
- The blur runs the wrong way. Set the shutter speed first, then match the angle in the filter to the direction the subject is travelling. Take the reading from a reference image of a moving car or runner if you are unsure.
- The subject walked out of frame. Pre-compose the exit path and tell your mover where to go. Pan, track and zoom all depend on knowing where the subject will be.
- Highlights blew out during a long exposure. Watch the histogram, and drop the ISO or fit a neutral density filter before you shoot rather than rescuing it in software.
Take test frames before the moment matters, and change one variable at a time. It is the only way to learn which control is doing the work.
Frequently Asked Questions
What shutter speed is best for motion blur?
For gentle blur of a walking person or moving water, start at 1/10 to 1/2 second. Panning a car or cyclist usually lands between 1/30 and 1/8 second, and anything slower pushes the streaks too far to read. Clouds and light trails need one second or more, usually with a neutral density filter in bright light. Take test frames at your scene’s light level and adjust by a third of a stop at a time.
Can I create motion blur without a tripod?
Yes. For exposures up to about half a second, brace the camera against a wall, a railing or a heavy bag and use the two-second timer so your hand never touches the shutter. Phone users get similar results with the long exposure mode inside the stock camera app, which stacks several frames automatically. Past a second or two, though, hand-held support rarely holds up and a tripod becomes the honest answer.
How do I make a moving subject sharp while blurring the background?
Pan with the subject. Use continuous shooting with tracking autofocus, focus the subject before the exposure starts, then swing the camera smoothly with it and fire a burst. Between 1/30 and 1/8 second is the usual range. Rotate from the hips with elbows tucked, and zoom in at 100 percent afterwards to confirm the subject is sharp while the background streaks.
Is motion blur better created in-camera or in editing?
In-camera when you can, because the blur comes from real movement and stays consistent across a series. Panning, silky water and light trails have to be captured that way. Editing is the better choice for a still life, a portrait, or any shot where you need the subject razor sharp and the blur tuned precisely. Many finished images combine both: panned in the field, then refined with a masked layer.
How do I avoid blurry photos when using a slow shutter speed?
Separate intentional blur from accidental shake. Intentional blur needs a tripod or solid support, the two-second timer or a remote release, and stabilization switched off when the camera is locked down. For panning, the subject needs to be tracked smoothly rather than the camera held still. Check every frame at 100 percent on the rear screen; a soft subject or a soft background tells you which of the two went wrong.
What kind of subjects work best for motion blur photography?
Anything that moves in a predictable direction at a predictable speed: flowing water, cars and cyclists on a straight stretch, people walking across frame, passing trains, or a friend waving a light-coloured jacket near a sharp background. Fast, erratic movement is much harder because your shutter speed either blurs too much or freezes too much. Start with one clean direction and a simple background.
Where to Start With Your Next Shot
Pick the simplest version first: tripod on, remote release in hand, shutter at 1/4 second, and let whatever moves in the frame move. Once that looks right, try panning the same scene at 1/30 second and compare the two side by side.
Most people find the slow-shutter method clicks immediately, while panning takes a session of practice before the pans stop looking like the camera slipped. That is normal, and the technique that suddenly starts working for one photographer usually takes another ten tries to become reliable.