
Aperture priority mode is the setting where you pick the f-stop and the camera picks the shutter speed to match the light. You decide how sharp or how soft the background should be; the camera handles the rest. Learning how to use aperture priority mode takes about ten minutes of practice, and it changes the way you see almost every scene you point a camera at.
The idea is simple. Aperture, shutter speed and ISO are the three controls that decide how bright a photo is, and only one of them needs to be right at any moment. Aperture priority lets you own the one that matters most for composition, then hand the other two to the camera’s light meter.
Most working photographers shoot this way for the majority of a day, and switch to manual only when the light stops changing or a strobe enters the picture. If you have never touched it, the walkthrough below gets you from a camera on a table to a finished frame in six steps.
Table of Contents
What You Need
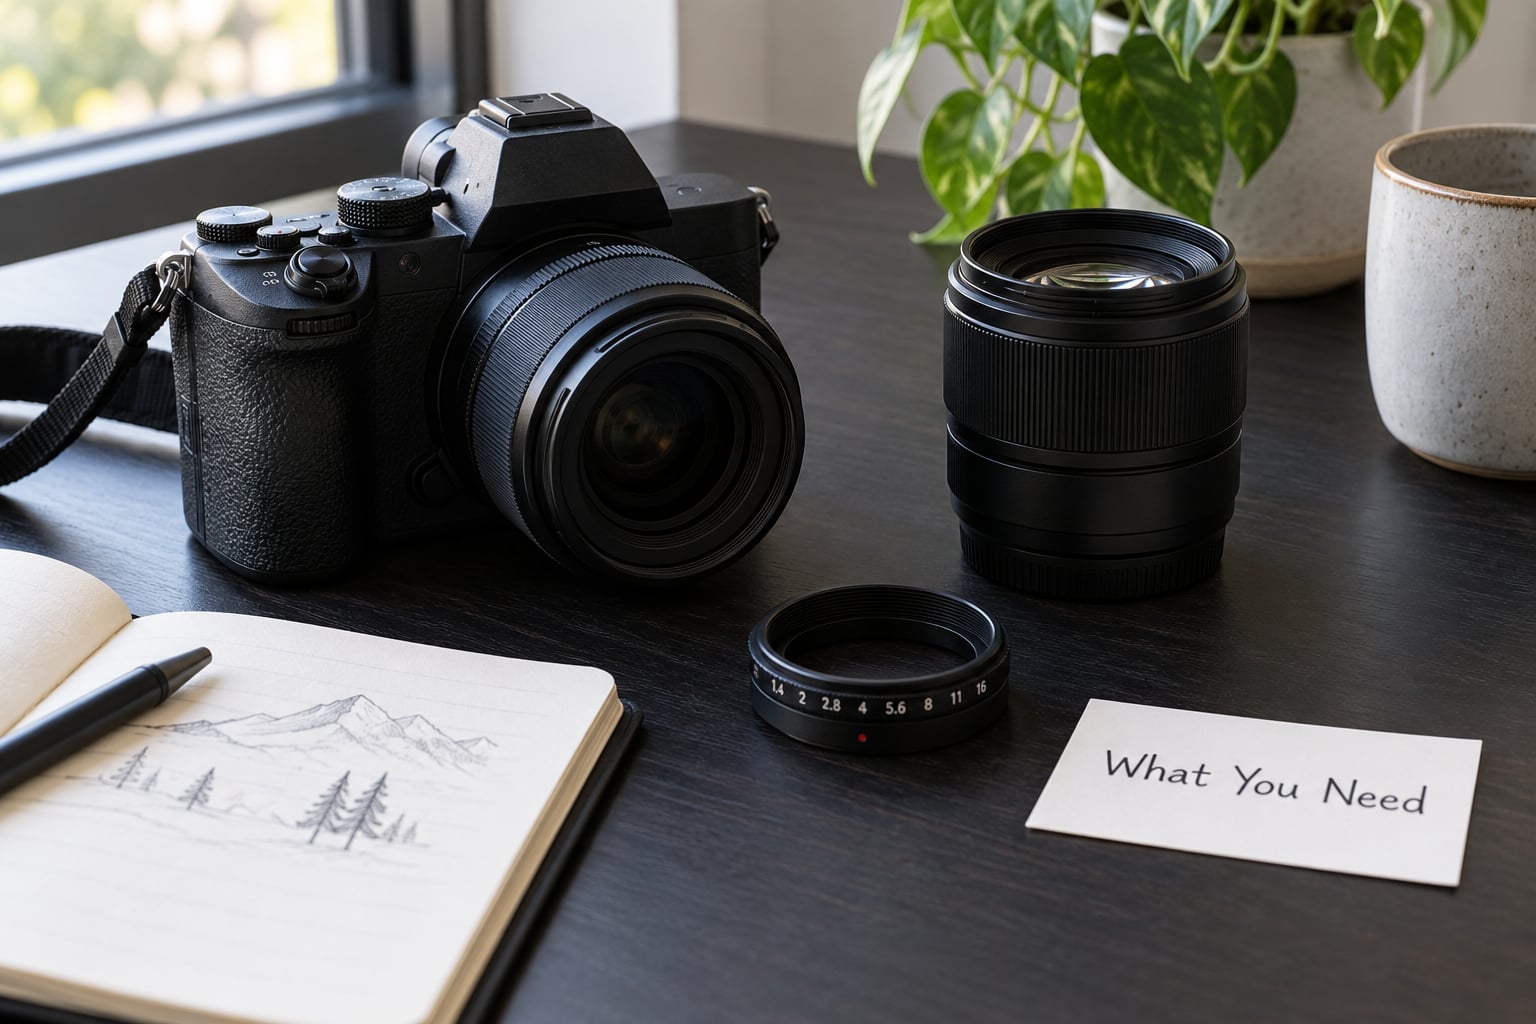
You need less gear than most guides suggest. Any camera body with a priority mode will do, and any lens will show you what aperture does. The part that matters more is knowing what the numbers mean.
- A camera body with A or Av mode. Canon labels it Av, Nikon, Sony, Olympus and Panasonic label it A. Fujifilm bodies with a physical aperture ring use the ring for the f-stop and a separate dial marked S for the shutter speed.
- A lens that suits the subject. A fast prime makes the depth of field effect obvious in a way a kit zoom does not. It is not a requirement, just the fastest way to see the difference.
- A working grasp of f-stops. If the numbers still feel arbitrary, start with aperture explained for beginners and come back.
- Auto ISO with a minimum shutter speed. This is the setting most people miss, and it is the reason a lot of first attempts come out soft.
- Exposure compensation. Almost every camera has a dial or wheel for it, usually near the shutter button.
That is the whole kit. No tripod, no filters, no external meter.
Step-by-Step: How to Use Aperture Priority Mode
1. Put Your Camera in Aperture Priority Mode
Turn the mode dial to A, or to Av on a Canon, or to S on a Fujifilm with an aperture ring. On most cameras A sits just below Auto and beside the manual modes. Look at the top plate or the viewfinder readout and you will see the f-number in large digits, with the shutter speed changing next to it as you turn around.
From this point on, you control the aperture and the camera controls the shutter speed. ISO is yours too, unless you hand it over with Auto ISO. That is the whole arrangement, and it is the part that trips people up: in A mode the f-number does not drift, but the shutter speed does.
2. Choose the Right Aperture for Your Subject
Aperture controls how much of the scene is in focus. Wide apertures such as f/1.8 or f/2.8 throw the background far out of focus and isolate a single face. Narrow apertures such as f/8 or f/11 keep foreground and background sharp at once, which is what a landscape needs.
A practical starting point I use: f/1.8 to f/2.8 for a portrait where the background is busy, f/4 to f/5.6 for a person in a room you also want to read, f/8 for a landscape, and f/11 to f/16 when you are on a tripod and want everything sharp front to back. If you shoot a lot of portraits, the differences between f-stops are covered in more detail in our beginner’s guide to f-stops.
Two things change along with the blur. Sharpness across the frame drops as you stop down, and that loss from too much stopping down is called diffraction. On a full frame lens, most of the softening starts to show past about f/16. Kit zooms are usually sharpest between f/5.6 and f/8, fast primes between f/2.8 and f/4.
3. Check the Exposure Before You Shoot
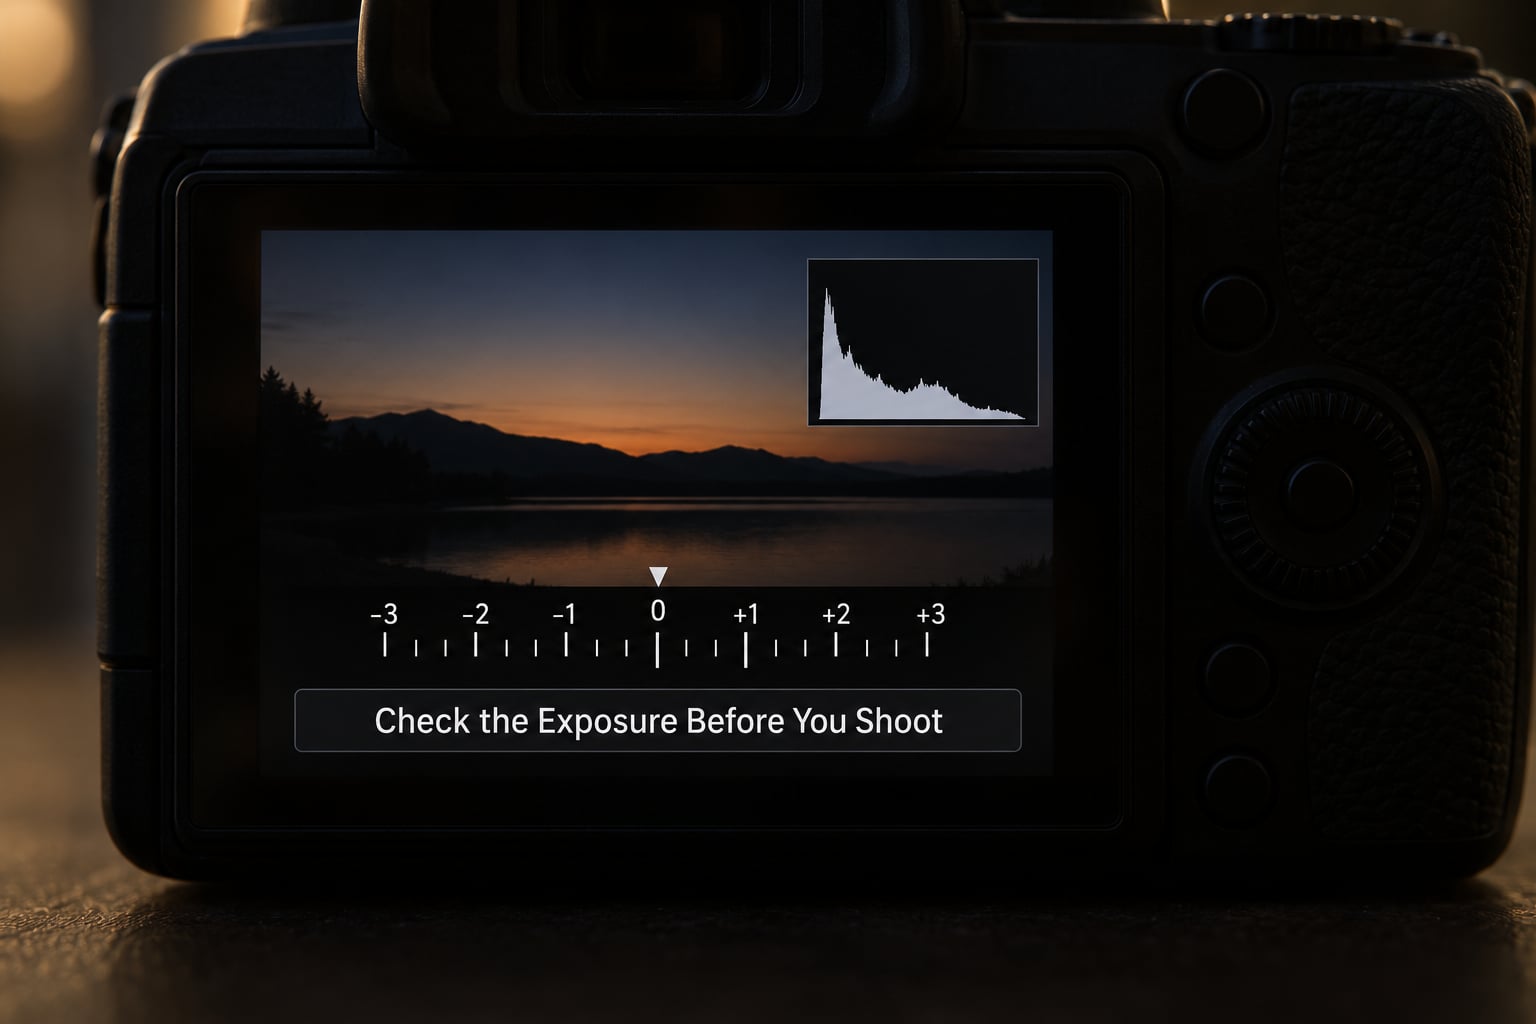
Now read what the camera decided. The viewfinder shows an exposure scale with a marker at the centre, and a number for the shutter speed and ISO. Centre means the meter thinks the scene is correctly exposed. Marker to the right means the camera is letting in too much light. Marker to the left means too little.
The number next to the shutter speed matters as much as the marker. On a 50mm lens, anything under about 1/50s is where hand shake starts to show. If you see 1/15s, you have three sensible options: raise ISO, open the aperture, or steady yourself against something.
Check the histogram before you commit. Anything piled against the right-hand edge is a highlight with no detail left in it, and that data is gone in the file. Blinking highlights on the display are the camera telling you the same thing more loudly. If the sky is clipping, dial in negative exposure compensation even though the rest of the frame then looks dark. Better a dark frame than a white one with no data in it.
4. Adjust ISO and Shutter Speed Without Losing the Look
In aperture priority, the camera balances the other two legs of the exposure triangle for you, which means it will happily trade ISO for shutter speed in whichever direction it wants. Set a minimum shutter speed and an ISO ceiling and it stops making that choice alone.
Most cameras let you set a minimum shutter speed directly in the Auto ISO menu. On a 24mm lens you would set something near 1/50s, on a 200mm lens nearer 1/250s. The rule of thumb photographers quote is roughly one over the focal length, and most modern bodies offer an auto option that picks it for you.
Then set a ceiling. Shoot RAW rather than JPEG, and push that ceiling to whatever your files tolerate rather than the camera’s default. In practice many shooters sit between ISO 3200 and ISO 12800, but the honest answer is that it depends on your body and on how you process. If you are working in bright sun and the camera is choosing ISO 100, leave it there. If it is choosing ISO 6400 in a dim church, decide whether the noise is acceptable for the shot you need.
Exposure compensation is your third lever, and it moves the exposure the camera is aiming for. Dial to minus one stop and every frame is a stop darker, ISO and shutter included. Most dials click in third-stop increments, so small adjustments are easy. Use it when the meter is being fooled: a white wedding dress against a dark aisle, a pale sky over dark water, a black dog in shade.
5. Use Focus Mode and Focus Points Deliberately
Aperture priority says nothing about focus, and that is where a lot of soft frames come from. Wide apertures have a razor-thin slice of sharp focus, so where you put that slice matters more than usual.
- Single point AF for portraits, still life and anything static. Pick the smallest point your camera offers and place it on the nearest eye.
- Continuous AF for walking children, street work and anything that moves toward you.
- Eye detection on most recent bodies, which holds focus on a face in a crowd. It is good enough that I use it constantly for casual portraits.
- Manual focus with focus peaking or magnification for landscape work on a tripod, where you already know where the sharp plane is.
The common error is leaving the point where the camera found it. On a wide aperture that usually means the background is sharp and the face is not.
6. Take a Test Shot and Refine the Settings
One frame tells you almost everything. Play it back at full size and check four things: is the subject sharp, are the highlights holding, is the background as blurred as you intended, and is the framing right.
Then change one thing at a time. Background too busy, so stop down half a stop to f/2.8. Shutter speed under 1/60s, so raise ISO a stop and let the camera buy back the time. Highlights blown, so take a third stop of compensation. Frame awkward, so move before you change anything else. Refining one variable at a time is how you learn which change fixed what.
Common Mistakes
Choosing an aperture that is too wide. The habit comes from reading that wider is more creative, and sometimes it is. It is also how you end up with one eye sharp and the rest of the face soft. Start at f/4 and open up only when the frame needs it.
Letting the shutter speed fall too low. This is the biggest one in the forum complaints about this mode. Without a minimum shutter speed set, the camera will buy shutter speed back by cranking ISO first on some bodies, or by dropping below a handheld-safe speed on others. Set the minimum and stop worrying about it.
Leaving Auto ISO free to climb. An unchecked ceiling means your bright, clean 100 ISO frame and your dim, noisy 25600 frame come from the same scene two minutes apart. Set the ceiling to what you will actually tolerate.
Trusting the meter in high-contrast scenes. The centre-weighted default averages a bright sky and dark ground and splits the difference, so both look wrong. Switch to spot or highlight-weighted metering and meter off the area that must not clip.
Focusing on the background. The frame is often technically correct and visually wrong. Move the focus point to the subject and re-take.
Panicking about flat-looking files. Some settings produce files that look lifeless straight out of camera. That is rarely an exposure problem. Before you blame the mode, look at your picture style and how you process the file, which changes more than exposure does. I covered the settings side of that in camera picture styles and monochrome mode explained.
Frequently Asked Questions
When should I use aperture priority instead of manual?
Use aperture priority when the light is changing and depth of field matters to the picture: events, weddings, street work, travel, anything handheld and unpredictable. Switch to manual when the light is fixed and you need identical settings across a series, such as a studio setup, a tripod landscape, or a bracketed exposure sequence. If you are adjusting the shutter speed by hand constantly, you are doing manual work inside a semi-automatic mode and may as well switch.
Does aperture priority mode work in low light?
Yes, and it is one of the mode’s strongest uses. The camera opens the aperture as far as the lens allows, then raises ISO, then slows the shutter speed. Wide apertures also admit more light, which is why a fast lens matters at night. Set a minimum shutter speed and an ISO ceiling so the camera cannot choose a combination that produces either a soft frame or unusable noise.
Is aperture priority a beginner mode or a professional one?
Both. Many working photographers shoot aperture priority for most of a working day because changing light forces constant ISO and shutter speed changes otherwise. Professionals usually add two things: a raw file format and deliberate settings for Auto ISO, including a minimum shutter speed and a ceiling. What separates the two is not the mode but whether the numbers were chosen on purpose.
How do Auto ISO and exposure compensation work together?
They stack. The camera picks an exposure value for the scene, then exposure compensation shifts that target, and Auto ISO finds whatever ISO and shutter speed combination reaches it. Minus one stop asks for an image a stop darker, whatever combination that takes. This is different from manual mode, where compensation is usually ignored once you set the exposure yourself.
Do I need a tripod in aperture priority mode?
Not from the mode itself, but you will end up wanting one for narrow apertures. At f/8 in dim light the camera slows the shutter speed to get enough light through the opening, and handheld frames get soft from shake. A tripod buys back the time a narrow aperture costs, letting you stop down for depth of field without raising ISO. In bright conditions handheld is plenty.
Conclusion
Pick a scene you already know: a friend by a window, a street corner at the same time of day. Set A or Av, choose f/4, leave Auto ISO at its default, and take one frame. Look at the histogram, read the shutter speed, and see whether the background blurred the way you wanted.
From there, set a minimum shutter speed and an ISO ceiling, and add exposure compensation in third-stop clicks when the meter gets it wrong. That is the whole working setup. Once it is in your fingers, aperture priority stops being a mode you read about and becomes the one you shoot in.