
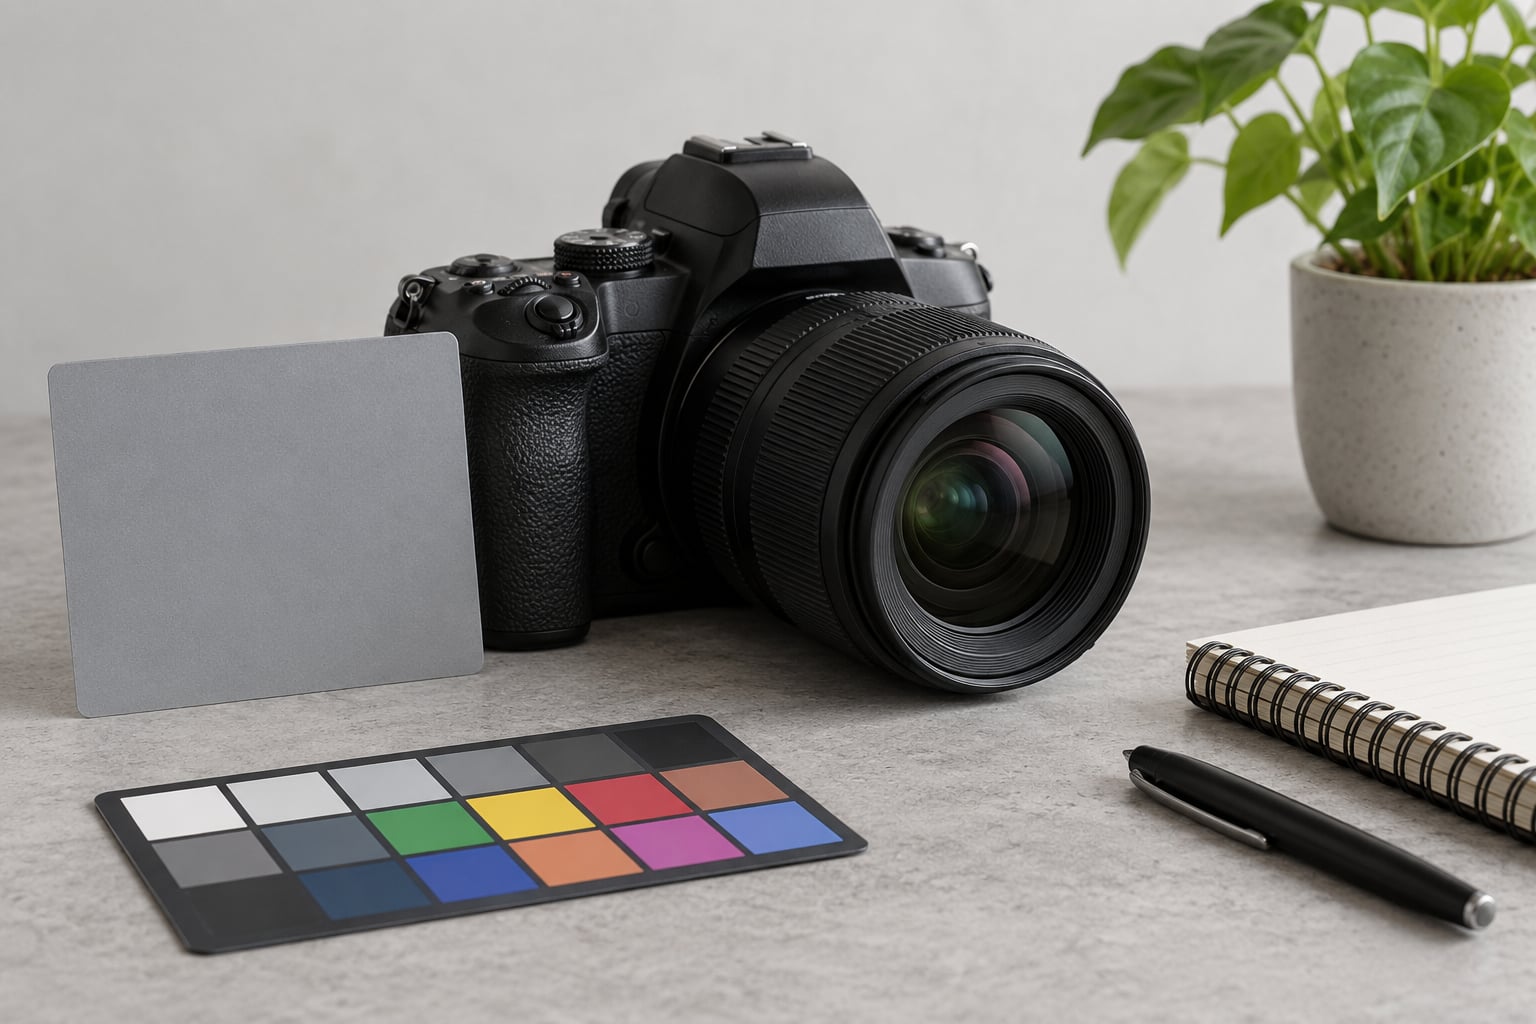
A gray card is a flat surface that reflects exactly 18% of the light hitting it, and knowing how to use a gray card means giving your camera that neutral surface for a few seconds: fill the frame with it, take one meter reading, save the exposure and white balance, then swap it out for your subject.
One reference frame solves two problems at once — an exposure the camera can trust and a white balance matched to the light actually falling on your scene. Cameras are built to guess, and they guess badly under mixed light, open shade, overcast skies and modern LED fixtures, all of which push colors away from neutral in ways your eye quietly corrects.
The routine itself takes under a minute once you have done it twice. What takes longer is deciding where the card should sit relative to your subject, and that is where most wrong readings come from. Every camera sold in 2026 meters light the same way, so the technique transfers whether you shoot a mirrorless body, a phone, or a cinema camera.
Table of Contents
What You Need
The short answer is a matte gray card, a camera you can put into manual mode, and light you can see. That is genuinely the whole equipment list.
Which card value to buy: an 18% card is the standard for general reflected-light metering, because camera meters are calibrated to treat it as middle gray. A 12% card is darker, so it suits high-key subjects, snow, white studio backgrounds and bright beach scenes where an 18% reading leaves the frame a stop or two hot. Start with 18% and only reach for 12% when you understand why you are doing it.
Surface quality matters more than the label. A matte card with a neutral, unbleached surface reads accurately. Glossy cards throw specular glare back at the lens, which fools the meter and produces a false reading. Cheap cards often print a warm cream tone rather than a neutral one, and that tint becomes a permanent color cast in every frame you white balance from it. If you own an older card, hold it against a white sheet of paper in daylight and compare.
Camera side: you need manual shooting mode, spot or center-weighted metering, and access to a custom white balance option if you want the reading baked into the file. That is every mirrorless and DSLR made in the last decade, plus most phones with a Pro or Manual mode.
Lighting: the card is only useful in light you understand. Continuous daylight, a single strobe, or a fixed video light are all predictable. A room lit by a window plus a warm ceiling lamp is not, and no card can average two colors into one correct answer.
You do not need a color checker to start. You also do not need an incident light meter, though many photographers use one alongside the card. And white office paper with a phone app is a common stand-in for a card, but it is a rough approximation at best — the paper reflects far more than 18% and the app is guessing at a compensation value, so treat that method as a rough check rather than a reference.
Step-by-Step: How to Use a Gray Card
What follows is the full sequence, from a cold camera to a saved setting. It runs in two halves: first the meter reading, then the white balance, then the subject.
1. Prepare the Camera and Lighting
Set white balance to a fixed mode before you meter, because auto white balance will keep adjusting while you work and your reading will not stick. Daylight, Shade or a custom slot all work; Auto does not. Shoot RAW if your camera offers it, since a RAW file lets you adjust white balance after the fact without any quality penalty.
Switch to manual exposure so the camera stops second-guessing the settings you dial in. Stabilize the camera on a tripod or a solid surface, because a sharp reference frame makes histogram and pixel checks meaningful later.
Look at the scene and decide which light you are measuring. If your subject sits in a window and the rest of the room is darker, measure in the window light. Measuring the card in a different light than the subject produces a technically correct reading for a scene you are not shooting.
2. Fill the Frame with the Card
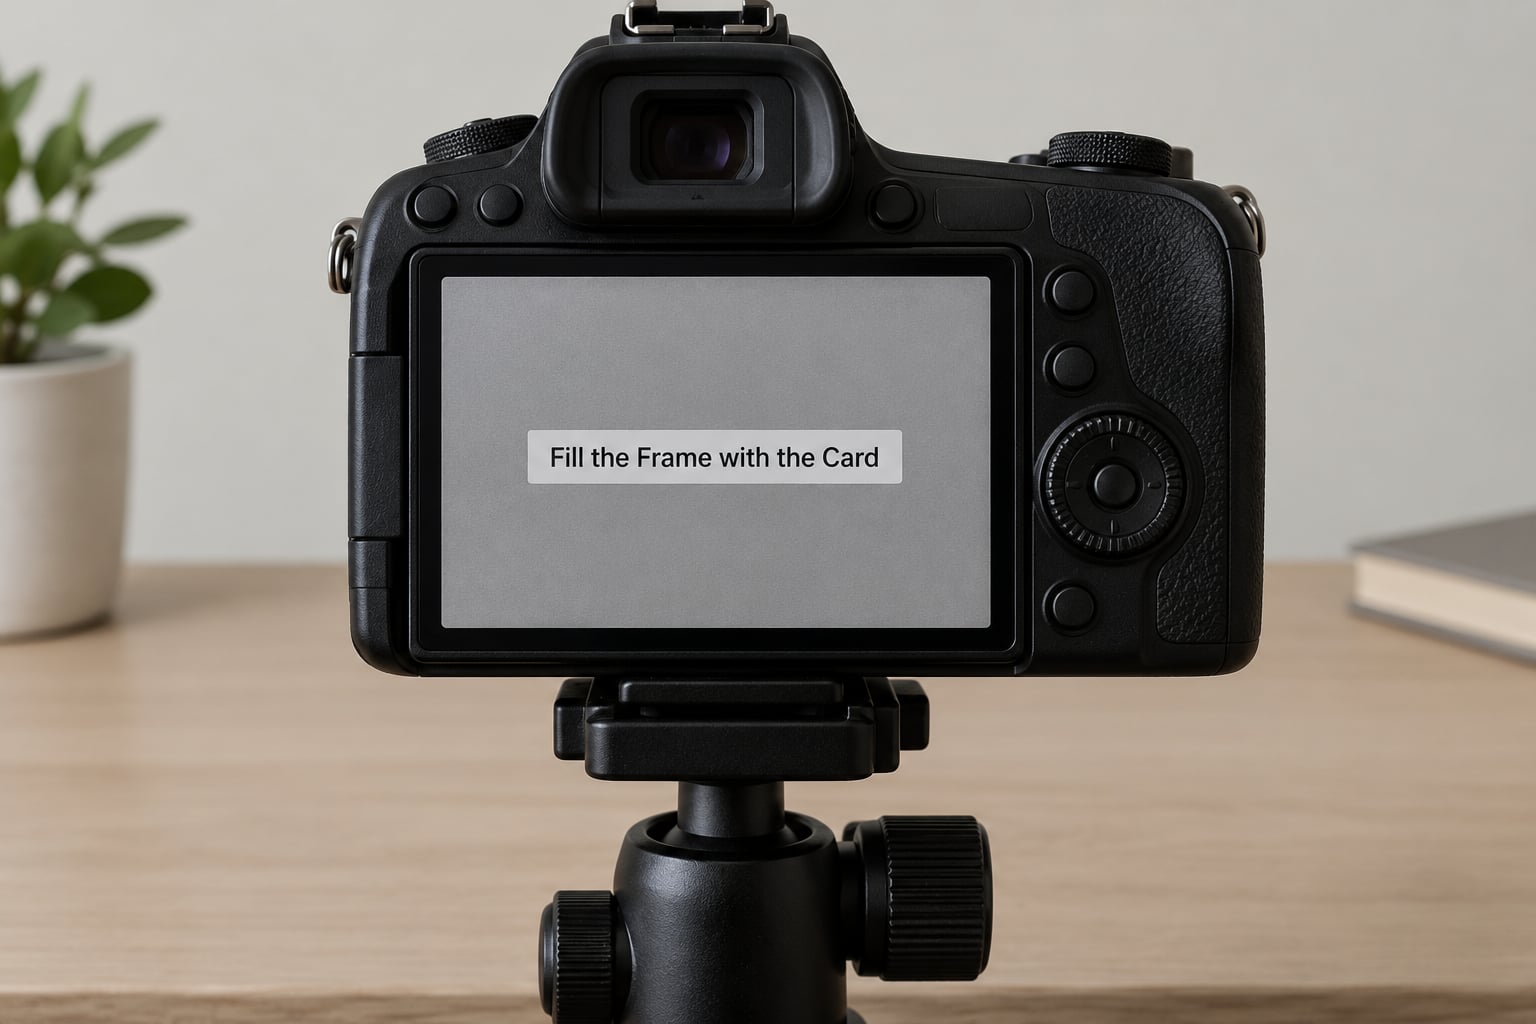
Hold the card flat and square to the lens, close enough to fill the frame, and make sure it faces the camera and the key light at the same angle. The card records the same light your subject receives only when it sits in the same part of the scene, not in a shadow beside the camera or in a sunbeam it would never get.
Keep the card perpendicular to the lens. Tilting it even a few degrees changes how much light reaches the sensor from the card’s surface, and tilted readings drift enough to cost you a fraction of a stop.
Watch for four problems before you press anything: your own shadow falling across the card, a bright highlight from a window or softbox bouncing into the lens, backlight rimming the card edge, and fingerprints or dust dulling the surface. Step back a few inches, rotate the card slightly, and recheck. On a card with a matte finish, glare shows up as a milky sheen and is easy to spot.
3. How to Use a Gray Card for the Meter Reading
Meter the card and let the exposure land where the camera wants middle gray to sit, which is why the result reads as a mid-tone. Select an average or matrix metering pattern so the whole card is sampled evenly, press the meter button, and adjust shutter speed, aperture or ISO until the meter needle or scale reads zero, or the digital equivalent shows no exposure offset.
The logic is simple: the camera is calibrated on the assumption that an 18% gray surface should render as a middle tone. Because the card returns a known value rather than an unknown mixture of colors, the reading is predictable.
If your camera is set to spot metering, center-weighted metering or partial metering, keep it that way and just make sure the active area sits entirely on the card. Center-weighted reads a wide central zone, so the card still needs to dominate the frame. If your camera insists on a multi-zone pattern, fill enough of the frame with card that no bright background competes for the reading.
4. Set Exposure and White Balance
With the meter at zero, lock those settings in. That is your accurate exposure baseline. In manual mode they simply stay where you left them; with a half-press on a semi-automatic mode, AE Lock does the same job.
For white balance, use the same reference frame. Most cameras with a custom white balance option ask you to fill the frame with a neutral surface, press the custom WB button or select the custom slot, and confirm. Canon bodies label this with a grey circle icon and store several slots under the WB selection menu; Nikon uses the SET button on the monitor icon in the WB menu; Sony exposes custom slots directly in the White Balance menu, where you point at the card and confirm. The labels differ, the sequence does not.
To be clear about the difference: setting a custom white balance from a gray card teaches the camera what a neutral subject looks like in this light, then keeps correcting for it as the light changes. A conventional visual white reference technique asks you to adjust in-camera until a white object looks white on the rear screen. Both end up neutral; the gray card method is faster and far less subjective, which is why it is the default for consistent work.
Write the Kelvin value or slot number down if you plan to return to the same setup. The readouts are easy to lose and impossible to reconstruct later from memory.
5. Capture the Test Frame
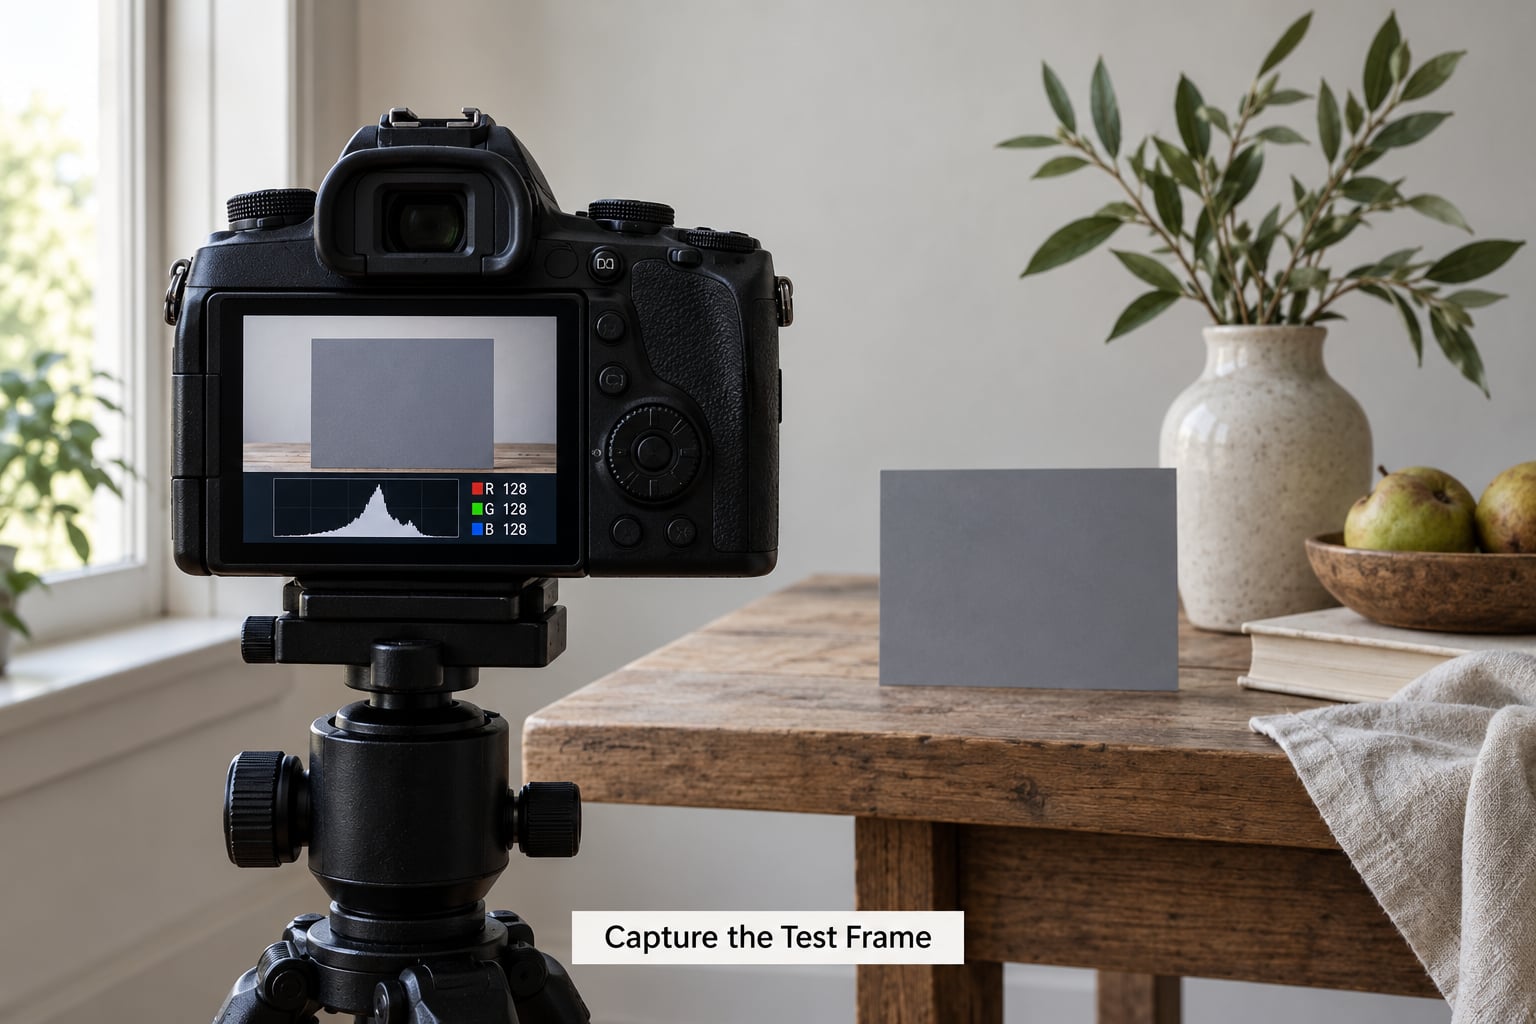
Take one clean frame of the card and check it. A correct reading puts the histogram in the middle with a tight, roughly bell-shaped spread and no channel stacked on top of the others. A histogram pushed hard against the right edge means overexposure; bunched at the left, underexposure. If one RGB channel sits noticeably apart from the other two, the white balance reference was compromised, usually by glare or a card lit differently than the scene.
RAW gives you room to judge this properly, because you can check the actual values rather than guessing from a compressed JPEG. Look for near-equal red, green and blue levels in the sampled card area and a value around the middle of the range.
Do not expect the card to look grey on your camera screen. Displays vary wildly, and most render a neutral card as anything from light blue to warm yellow. Judge the frame by its numbers, not by your confidence in the back-of-camera screen.
6. Photograph the Subject
Swap the card for your subject and keep everything else the same: framing, distance, lens, and lighting. That similarity is the whole reason the reading transfers. Change your angle dramatically and the light on your subject shifts relative to the light on the card.
Adjust exposure for the subject, not for the card. A white shirt against a dark background needs more exposure than the meter reading, and a black t-shirt needs less. The gray card established a neutral baseline; your creative choices start from there. Use exposure compensation in small steps of a third or half a stop and check the histogram on the frame itself.
7. Verify and Repeat the Process
Compare the subject frame against the reference in the same RAW workflow. In Lightroom or Capture One, open the Develop module, use the white balance eyedropper on the card frame, and the software will set temperature and tint so the card renders neutral. Copy those values onto the subject frames and every image from that lighting setup matches. This post-production route is the fallback when a camera lacks a custom white balance option, and it is the fastest batch correction for a large set.
Document the settings — aperture, shutter speed, ISO, white balance slot or Kelvin value — in your camera notes or a phone note. That single line removes the guesswork when you return to the location a week later.
Take a new reading whenever the material conditions change. A cloud passes, the sun comes out, a window light gets switched off, or you move the subject into shade, and the old reference is stale. Experienced shooters frame the card before and after any lighting change or major scene transition, which is why a card sits in the camera bag rather than in a drawer. That habit is the single biggest reason their color matches across an entire shoot.
Common Mistakes
Almost every bad gray card reading traces back to one of a handful of mistakes, and all of them are easy to fix once you know what to look for.
- Auto white balance left on during the measurement. The camera keeps shifting as you work and the reading never holds. Switch to a fixed or custom mode before you meter.
- Metering a different light than the subject receives. A card in shade while your subject sits in sun gives a technically correct answer for the wrong scene. Place the card where the subject is lit.
- Glare on the card. Glossy or tilted cards bounce light back into the lens and the meter reads high. Rotate the card, check for a sheen, and go matte where you can.
- A dirty or tinted card. Fingerprints, dust and cream-toned budget cards all skew the result. Wipe it, keep it in a sleeve, and test an old card against white paper in daylight.
- Confusing middle gray with the correct brightness for your subject. The card should render mid-tone. Your subject should render however it needs to. Use the reading as a baseline and adjust from there.
- Judging exposure from highlights only. A frame with no clipped highlights can still be flat and dull. Read the histogram shape and the channel spread, not just the right edge.
- Treating one reading as universal. A reference frame is only valid for that light. Re-shoot it after any meaningful change, which matters most in video and in a long outdoor session.
Tips for More Consistent Results
Consistency comes from repeating the same routine, not from owning a better card. These are the habits that separate a match across a shoot from a match across one frame.
- Lock exposure and white balance as soon as the reference frame is done, so nothing drifts mid-shoot.
- Use a tripod for the reference frame; a soft frame makes the histogram and pixel checks meaningless.
- Keep the card clean, matte and in its sleeve between uses.
- Use AE Lock and, if your camera has one, white balance lock.
- Write the light conditions and settings into your notes before you put the camera down.
- Avoid digital zoom when filling the frame with the card; it crops and can shift the effective metering response.
- Calibrate or at least eyeball your monitor before judging neutrality on screen. An uncalibrated display makes a perfect card look wrong and vice versa.
- For video, record five seconds of card at the head and tail of a sequence so colorists and editors have a reference.
- Re-shoot the reference frame before and after every lighting change, not just once at the start.
Frequently Asked Questions
Should I use a 12% or 18% gray card?
Use an 18% card for almost everything, because camera meters are calibrated to treat 18% reflectance as middle gray. A 12% card is darker and suits high-key scenes: snow, white studio backgrounds, bright beach and wedding setups where an 18% reading leaves the frame a stop or two bright. Beginners should learn the 18% workflow first and move to 12% only when a scene genuinely needs it.
Do I use a gray card to set white balance or exposure?
Both, from the same reference frame. Meter the card to get an accurate exposure baseline, then use that same frame for a custom white balance setting in-camera. If your camera has no custom white balance option, sample the card in post with the white balance eyedropper and copy the values to the rest of the set.
Can I use a gray card when shooting in JPEG instead of RAW?
Yes, and in a JPEG workflow the in-camera custom white balance matters much more. A JPEG bakes white balance into the file, so the reading has to be right at capture time. RAW gives you room to correct later without quality loss. Either way, disable auto white balance before metering, otherwise the camera keeps changing its mind while you measure.
How do I use a gray card in outdoor photography?
Fill the frame with the card in the same light as your subject, meter to zero, and save the settings. In direct sun, place the card out of your own shadow. In open shade, keep the card under the same canopy of shade as the subject. Outdoor light changes fast, so re-shoot the reference frame after a cloud passes or you turn a corner into sun.
Is a gray card better than a histogram or color checker?
They solve different problems, so you end up using both. The histogram shows exposure and channel clipping; it says nothing about color accuracy. A gray card gives a neutral reference for exposure and white balance. A color checker adds multiple known patches for building camera profiles and matching a scene to a specific reference, which is why art repro and product shooters often pair one with a gray card.
Conclusion
Start with the simplest version: fill the frame with a clean, matte card under the light your subject is actually in, take one meter reading with auto white balance switched off, save the exposure and white balance, then replace the card with your subject.
After that, the habits matter more than the gear. Re-shoot the reference frame whenever the light changes, write your settings down, and check the histogram rather than trusting the back-of-camera screen. A card in the bag costs almost nothing next to a reshoot of a session whose color never matched.