
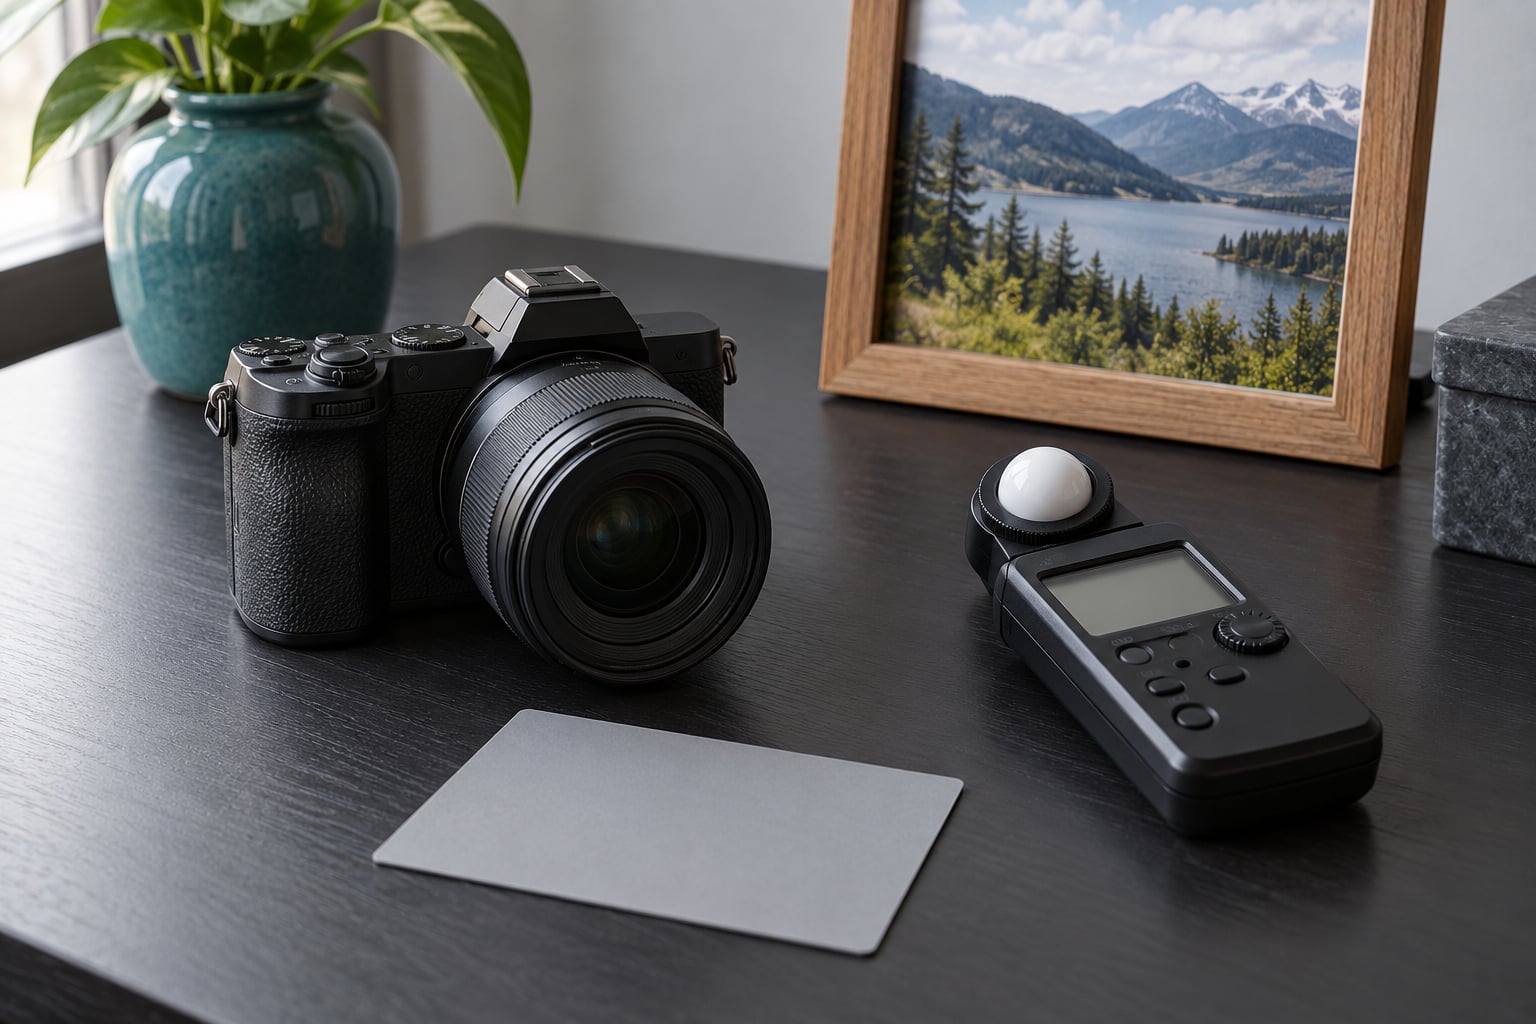
Metering modes tell your camera how to measure the light in a scene so it can set shutter speed, aperture and ISO for you. The mode you pick decides which parts of the frame get a vote, and that choice is the difference between a correct exposure and a grey snowfield.
The names are the first hurdle. Canon calls the multi-zone mode Evaluative, Nikon calls it Matrix, Sony and Fujifilm call it Multi. They are the same idea, which is why searching for advice on the wrong name sends people in circles. Get the four core modes straight and most exposure problems become easy to diagnose.
Here is what each one measures, where it fails, and how to change it on your body.
Table of Contents
- Camera Metering Modes Explained
- How a Camera Decides How Bright a Photo Should Be
- Evaluative and Matrix Metering: How Multi-Zone Modes Work
- Partial and Center-Weighted Metering
- Spot Metering and Manual Exposure Control
- Which Metering Mode Should You Use?
- How to Test Metering Modes Without Guessing
- Common Metering Problems and Fixes
- Frequently Asked Questions
- Conclusion: Start With Matrix Metering, Then Refine
Camera Metering Modes Explained
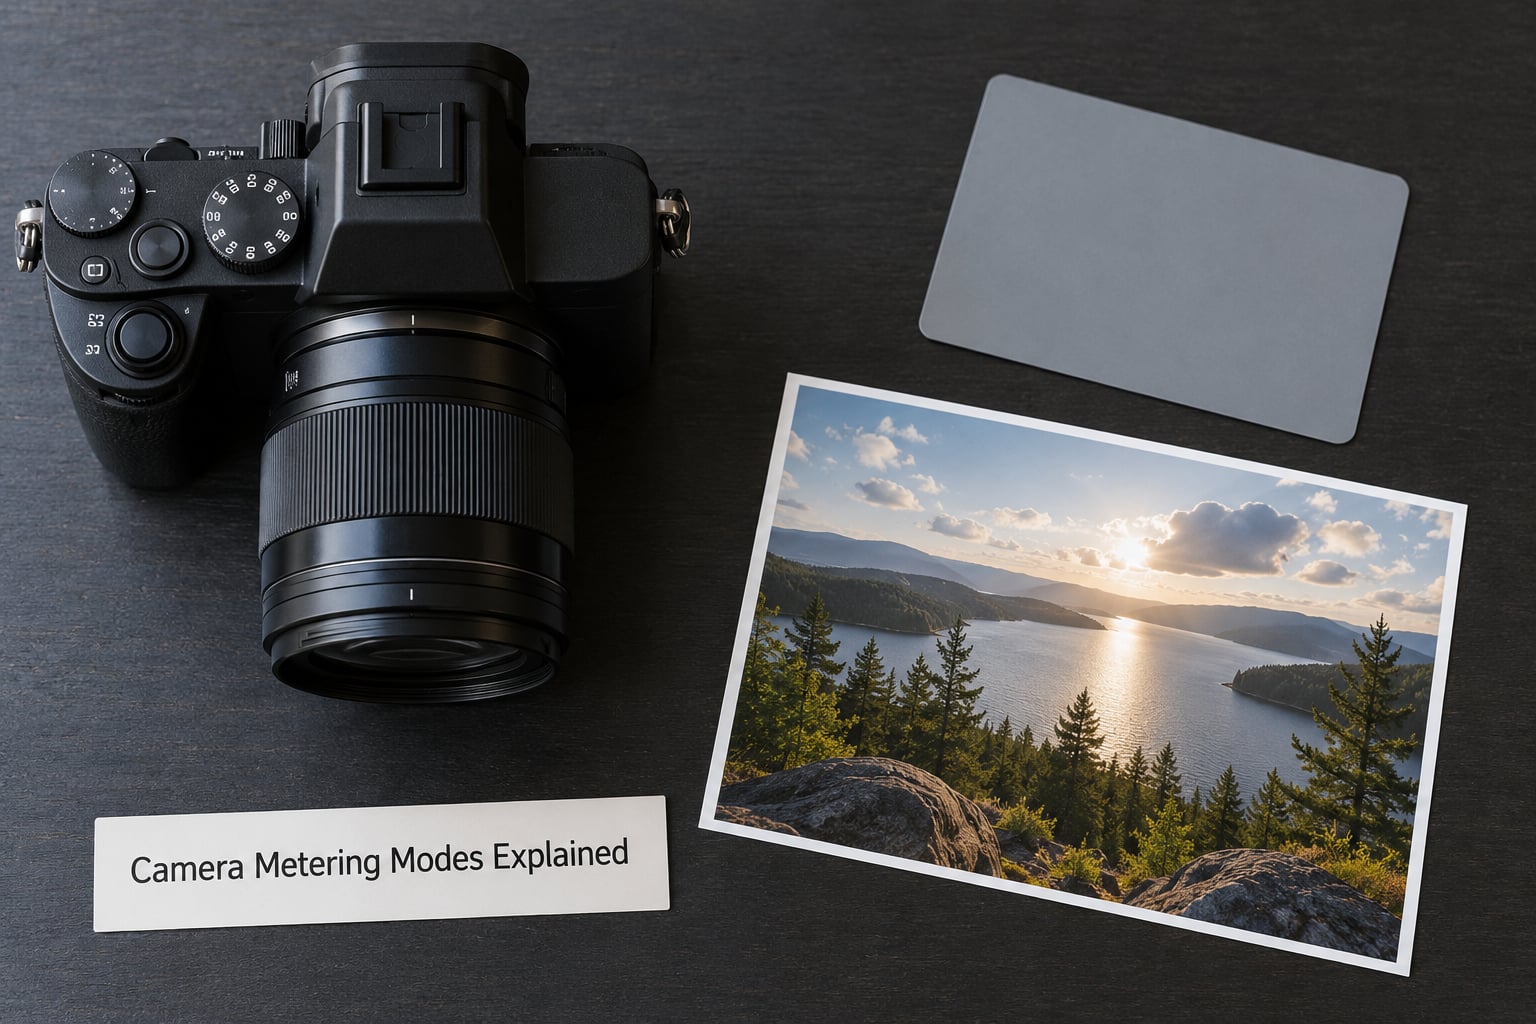
Metering is a weighing system. The camera measures light across some part of the frame, then decides which parts count more heavily when it chooses an exposure value. Four modes cover almost every camera sold today, plus a few variants that only appear on certain brands.
| Metering mode | How it measures the frame | Best for | Main risk |
|---|---|---|---|
| Evaluative / Matrix / Multi | Splits the frame into zones and weights them by pattern, focus point and scene recognition | Most everyday shooting, wide scenes, group portraits, street | Averaging can pull a bright subject toward grey when the mode reads the surroundings instead of the subject |
| Center-weighted | Measures the whole frame but gives roughly 60-80% of the weight to the middle | Portraits and products where the subject sits centrally | Bright window behind the subject still drags the exposure down |
| Partial | Reads a small central area, roughly 8% of the frame | Backlit portraits, stage shots, anything needing a tighter read than center-weighted | The circle is still large enough to catch a shadow or a hot background |
| Spot | Reads a tiny circle, roughly 1-5% of the frame | High-contrast scenes, theatrical lighting, isolating one face in a crowd | Aim error swings exposure hard, and a specular highlight reads as blown |
| Highlight-weighted | Protects bright areas above middle grey and exposes for them | Sunsets, stage lighting, bright skies, events with clipping risk | Frames come out darker than expected when a small hot area dominates |
Metering modes explained by shooting situation
Backlit portrait. Multi-zone first, then positive compensation around +0.7 to +1.3 EV. Spot on the face if the light is hard and you want the shadow side to stay dark.
Snow or a beach. Multi-zone, then dial in roughly +1 to +2 EV, or use the bright-screen trick of checking that snow is the brightest thing in the frame.
Concert or club. Highlight-weighted or spot. Faces lit by a single hard source give you something specific to measure, and you want the stage lights to stay below clipping.
Studio product on white. Center-weighted plus a consistent light, with +0.3 to +0.7 EV as a starting correction because white backgrounds trick the meter into protecting them.
Night sky and moon. Spot metering on the moon or brightest part of the sky. Everything multi-zone measures will be too bright, because the sky is genuinely darker than middle grey.
How a Camera Decides How Bright a Photo Should Be
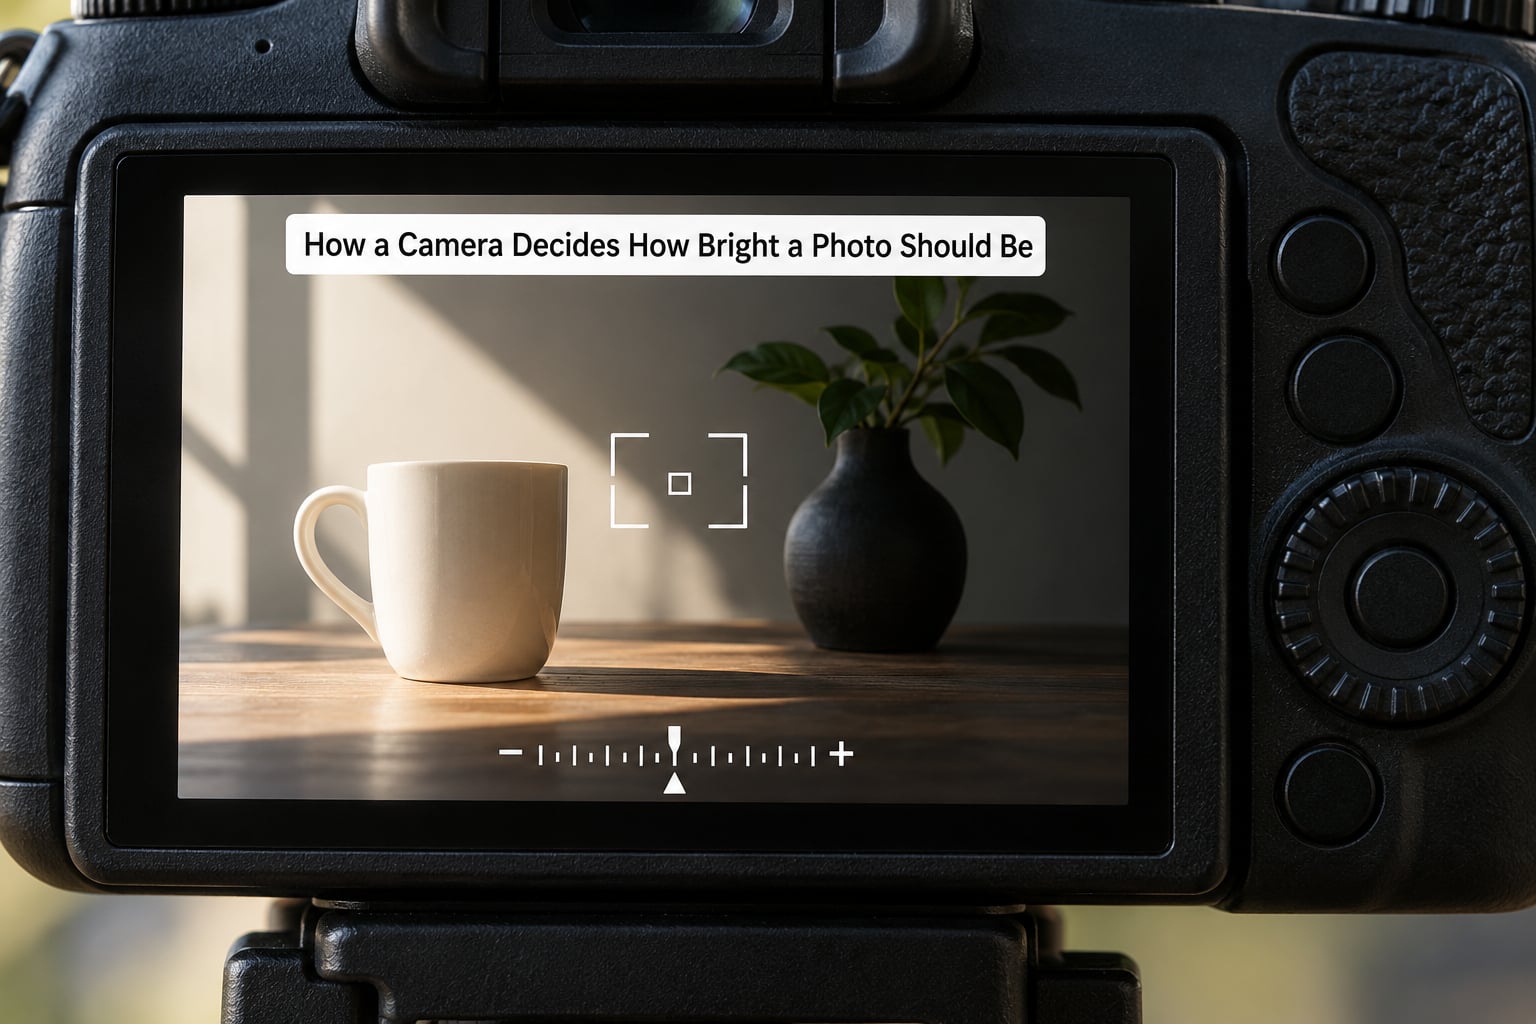
Your camera does not measure brightness in the way your eyes do. It measures reflected light and assumes that whatever it is pointed at should sit at 18% reflectance, the classic middle grey value. That assumption is where most metering surprises come from.
Snow reflects close to 90% of the light that hits it, so the camera sees a very bright frame and underexposes to pull it back toward grey. A black tuxedo reflects almost nothing, so the camera sees a very dark frame and overexposes to lift it toward grey. Both outcomes are the meter working exactly as designed.
The reading is converted into an exposure value, a single number that represents the combination of aperture, shutter speed and light level that produces middle grey. In program, aperture priority and shutter priority, the camera then spends that exposure value on whichever settings you have not fixed. If you have fixed the aperture, it becomes shutter speed; if the shutter speed is fixed, it becomes the aperture.
ISO is the odd one out. Auto ISO aside, the meter does not choose it for you, which is why a dark scene often leaves you with a slow shutter speed rather than a higher ISO. If that trade is not one you want to make, learn where how ISO works before you reach for a slower shutter speed in low light.
Exposure compensation shifts the target the meter is aiming at. It does not change how the frame is measured, only where the result is placed. Dialing in +1 EV asks the camera for twice the light of its middle grey reading, and every metering mode responds to that dial differently depending on what it is weighting.
The reading itself is visible. Most viewfinders and rear screens show an exposure scale with a marker around a zero point, and on many bodies you can watch the marker move as the light changes. That marker is the meter’s opinion of the current scene, and watching it swing is often more informative than any single frame.
Evaluative and Matrix Metering: How Multi-Zone Modes Work
Evaluative, Matrix and Multi are one mode under three names. The camera divides the frame into zones, usually a grid of cells, and assigns each one a weight. The pattern is not fixed: on many bodies it changes with the active focus point, so the area around your autofocus point gets more say than the corners.
Modern bodies add scene recognition to the same mechanism. They look for faces, for large bright regions, for the shape of a horizon, and then weight the zones differently depending on what they think you are photographing. This is why a recent camera often handles a difficult backlit portrait without any help from you, while an older body on the same mode struggles.
It works well in landscapes, where the frame naturally contains bright sky and darker foreground, and in group portraits, where a face-detection system can weight several people at once. Street scenes also benefit, particularly when the light is even and the subject is not fighting the background.
It also has a real failure mode. When a large bright region sits near a small dark subject, averaging can hand more of the vote to the bright region. A white wedding dress on a shaded green background is the classic case, and a dark portrait against a bright window is the other. The mode is not broken; it is answering a different question than the one you asked.
Highlight-weighted metering and the pitfall nobody warns you about
Highlight-weighted, called highlight priority on some bodies, changes the priority tone from middle grey to the brightest highlights it can find. The camera then exposes so those highlights stay below clipping. For stage lighting, sunsets and events where a blown highlight is unrecoverable, it is the smartest mode on the body.
It is also the mode most likely to produce a frame that looks wrong in the viewfinder. A single bright light, a window, a pale ceiling, and the camera will protect it by darkening everything else. Photographers on Nikon and DPReview forums describe leaving the body on highlight-weighted for a whole shoot and getting an unexpectedly dark series back, which is exactly the behaviour the mode is designed to produce.
Two habits fix it. Watch the histogram rather than the rear screen, because screen brightness misleads you badly in daylight, and check the highlight warning or zebras if your camera has them. Then treat the result as a starting point and dial in positive compensation for the shadows you actually wanted.
How to change the metering mode on Canon, Nikon and Sony
On Canon bodies the metering mode button usually sits near the top plate, marked with a round circle icon. Press it and turn a dial until the mode you want appears on the rear screen or in the viewfinder. On newer models you may need to assign it to a custom button through the shooting menu first, because the dedicated button moved to a different generation than the mode itself.
Nikon is the one that catches people out. On some bodies it is a button near the top-left dial, on others it sits behind the Info button, and on Z series cameras it is in the shooting menu under metering matrix. The forum consensus is that nobody finds it on the first try, so check your own manual rather than assuming you are the only one.
Sony cameras put it on the Fn or Quick Control screen. Press the button, look for the metering icon in the on-screen grid and cycle through it. Some Sony bodies also add entire screen average, which weights the whole frame with no centre bias at all, and subject-weighted metering that follows a detected face.
Whatever your brand, set it once, then check the icon in the status display every few months. Cameras get returned, reconfigured and borrowed, and a metering mode you did not choose is one of the more confusing exposures to chase down.
Partial and Center-Weighted Metering
Center-weighted metering measures the entire frame but applies a centre bias, typically around 60-80% of the total weight, to the middle. Partial metering reads a much tighter central circle, roughly 8% of the frame area. The difference sounds small; in practice it is the difference between a background that influences the reading and one that is mostly ignored.
Center-weighted suits portraits where the subject sits in the middle of the frame and the light is reasonably even, and it works well for architectural detail shots where you want the centre to lead but still want some awareness of the edges. It is a reasonable mode for product work on a single soft light.
Partial is the mode wedding shooters reach for during a ceremony. In program or aperture priority it gives a locked-in reading from the middle of the frame, which is usually a face in shade, while still ignoring the bright windows behind the seating. Canon users get it directly; on Nikon and Sony you get the same effect with spot metering and a slightly larger understanding of what you are measuring.
| Factor | Center-weighted | Partial |
|---|---|---|
| Area read | Whole frame, centre weighted 60-80% | Roughly 8% of frame area, centred |
| Sensitivity to surrounding brightness | High; edges still influence the result | Low; bright corners have little effect |
| Best fit | Centred portraits, products, architectural detail | Backlit portraits, stage and ceremony work |
| Typical failure | Window behind subject underexposes the face | Circle catches a shadow or a hot background patch |
Center-weighted also has a modern wrinkle. On newer bodies it sometimes links to the active focus point rather than the literal centre of the frame, which changes what the mode means depending on where you focused. If your version behaves unexpectedly, check the custom function or menu option that controls the link.
Spot Metering and Manual Exposure Control
Spot metering reads a tiny circle, usually around 1-5% of the frame area, and ignores everything else. That makes it the only mode where you decide precisely what the camera looks at, which is why a lot of experienced shooters set it once and never touch it again. Bird photographers in particular rely on it, because a bird often occupies a small corner of the frame with sky behind it.
The workflow is simple. Put the spot circle on something with a known tone, usually a face in shade or a midtone surface. Read the exposure indicator in the viewfinder. Lock the reading with the AE lock button so it holds while you recompose. Then make any correction you want with aperture or exposure compensation rather than moving the meter off your subject.
Spot metering has one warning worth repeating: it does not make that spot correctly exposed. It only reduces the area the camera uses for its reading, then applies the same middle grey assumption to whatever it found. Aim at a black lapel and the camera will faithfully render it as middle grey. Aim at a specular highlight on skin or a chrome surface and it will render that as blown.
On some bodies the spot circle follows the active focus point; on others it stays locked in the centre, and on a few it is menu-configurable either way. This is a genuine source of confusion and one reason a spot-metered frame looks wrong to someone who assumed the circle moved with focus.
Does metering matter when you shoot Manual?
Yes, as a reference, and no, as a control. In manual mode the meter is not choosing your settings; it is showing you what it thinks the scene brightness is. Many working photographers shoot manual most of the time and honestly could not tell you which metering mode their body is set to.
There is one exception worth knowing: with flash, changing the metering mode can change how the camera calculates flash exposure, because the ambient reading feeds into the flash output. If your flash looks consistently over or under on manual, that is one place the mode quietly matters.
Which Metering Mode Should You Use?
Start with multi-zone for almost everything, then move away from it only when you can name the failure you are trying to fix. That is the whole decision rule. A mode is a tool for a specific problem, not a badge of seriousness.
| Situation | Start with | Compensation starting point |
|---|---|---|
| Portraits, general | Evaluative / Matrix / Multi | 0 EV, then adjust |
| Portraits, backlit | Multi, or spot on the face | +0.7 to +1.3 EV |
| Weddings and ceremonies | Partial on Canon, spot elsewhere, multi for group shots | 0 to +0.3 EV, holding steady |
| Landscapes | Multi | -0.3 to -0.7 EV to hold the sky |
| Street photography | Multi | 0 EV |
| Stage and concerts | Highlight-weighted or spot | 0 EV, watch for dark frames |
| Product and still life | Center-weighted or multi | +0.3 to +0.7 EV on white backgrounds |
| Wildlife | Spot or multi with subject detection | 0 EV, compensate for pale plumage |
| Snow and white sand | Multi | +1 to +2 EV |
| Moon and night sky | Spot on the moon or brightest sky area | As the meter reads, then check the graph |
| High-contrast black and white | Spot or highlight-weighted | Shape the tone yourself |
These are starting points, not rules. Light direction and your intent matter more than the scene label. A subject two stops under a canopy and a subject lit by a bare reflector at midday can sit in the same row of that table and need completely different corrections.
How to Test Metering Modes Without Guessing
The only reliable way to know what a mode does is to compare frames from the same scene. Pick one subject, lock the aperture, shutter speed and ISO, then shoot the same frame in each mode without moving anything.
Compare three things, in this order. Look at the histogram, because it tells you where the data actually landed. Then look at the subject itself, specifically whether the tone matches what you saw with your eyes. Finally check the viewfinder exposure indicator, since its position across modes tells you how far apart the readings really are.
Use exposure compensation and Auto ISO to hold the rest constant while you test. Compensation in one-third stop steps keeps the differences small enough to read. If your camera offers highlight or shadow alerts, turn them on; a blinking warning is faster feedback than any amount of squinting at a rear screen in daylight.
If you only change one thing on your camera, set the metering mode back to your brand’s multi-zone default, confirm it, and leave it there. Learn compensation first. Mode-hopping before you understand what a mode is weighting tends to produce random corrections on top of an already wrong reading.
Common Metering Problems and Fixes
White subjects render grey. The meter is protecting a large bright area from clipping. Move closer, change your angle, use spot metering on the face or the dress itself, and add roughly +1 to +2 EV.
Black subjects render too light. The meter is lifting a dark subject to middle grey. Spot meter the shadow side if you want it dark, or shoot RAW and pull the shadows down in editing. No metering mode will render a black suit as black automatically.
Silhouettes lose all detail. The scene is high contrast and the mode is averaging. This is sometimes what you wanted, so decide first: a deliberate silhouette means metering the bright background, and detail in the subject means metering the face and accepting a dark background.
The reading changes constantly in backlight. A small subject against a large bright background leaves the reading at the mercy of tiny changes in position and wind. Move the subject to fill more of the frame, use spot metering, or accept that run-and-gun shooting in that light needs manual and a fixed exposure.
Mixed lighting gives inconsistent results. Different sources at different angles confuse any weighted average. Spot meter the face, or better, add a fill source so the contrast range narrows enough for the meter to work with.
The rear screen looks fine but the file is clipped. This is the screen brightness lying to you in daylight. Trust the histogram, or the highlight warning, over the display every time.
Frequently Asked Questions
What do the metering symbols on my camera mean?
The icons differ by brand but map onto the same few ideas. A circle filled with lines usually means multi-zone or matrix metering. A circle containing only a small dot is spot metering. A rectangle divided into segments is center-weighted, and a similar rectangle with a smaller inner circle is partial. Check your manual, because some brands add subject-detection and highlight-weighted options to the same row.
Should I use exposure compensation when changing metering modes?
Usually not straight away. Change the mode, shoot a frame, look at the histogram, and only then decide whether compensation is needed. Different modes deliver different readings from the same light, so applying a correction you used with another mode can push you further off. Set the mode first, read the result, then dial compensation in one-third stops.
Why does Matrix or Evaluative metering make a bright subject look gray?
Because the mode weights the whole frame and the camera aims for middle grey. A large bright area, such as a white dress or a sunlit wall, absorbs much of the weight, so the camera underexposes to protect it and your subject sinks toward grey. Meter the subject directly with spot or partial, or add positive compensation until the subject sits where you want it.
Can I use spot metering for portraits?
Yes, and many experienced portrait photographers never use anything else. Put the spot circle on the face, usually the shadow side if you want drama or the cheek if you want the render even. Lock the reading with the AE lock button, recompose, and adjust exposure as needed. Check first whether your spot circle follows the active focus point or stays centred.
Does metering mode affect RAW files?
The mode affects the exposure the camera records, not the file format. Every frame you take is a decision about shutter speed, aperture or ISO, and that decision was made using your metering mode. RAW gives you more room to recover shadows and overall brightness in editing, but it cannot bring back highlights that were already clipped at the moment of capture.
Conclusion: Start With Matrix Metering, Then Refine
Leave your camera on the multi-zone default, learn to read the histogram rather than the rear screen, and use exposure compensation to correct what the meter gets wrong. That combination handles the overwhelming majority of situations, and it is a far better foundation than switching modes to solve a problem you have not diagnosed.
Reach for spot metering when the scene is high contrast and you can aim at a known tone. Use partial or center-weighted when you need the middle of the frame to lead without going all the way to a tiny circle. Try highlight-weighted for stage lighting and sunsets, and understand its dark-frame habit before you commit a whole shoot to it. If you want the mechanics behind each setting, our guides to shutter speed and aperture cover what the meter is spending that exposure value on.