
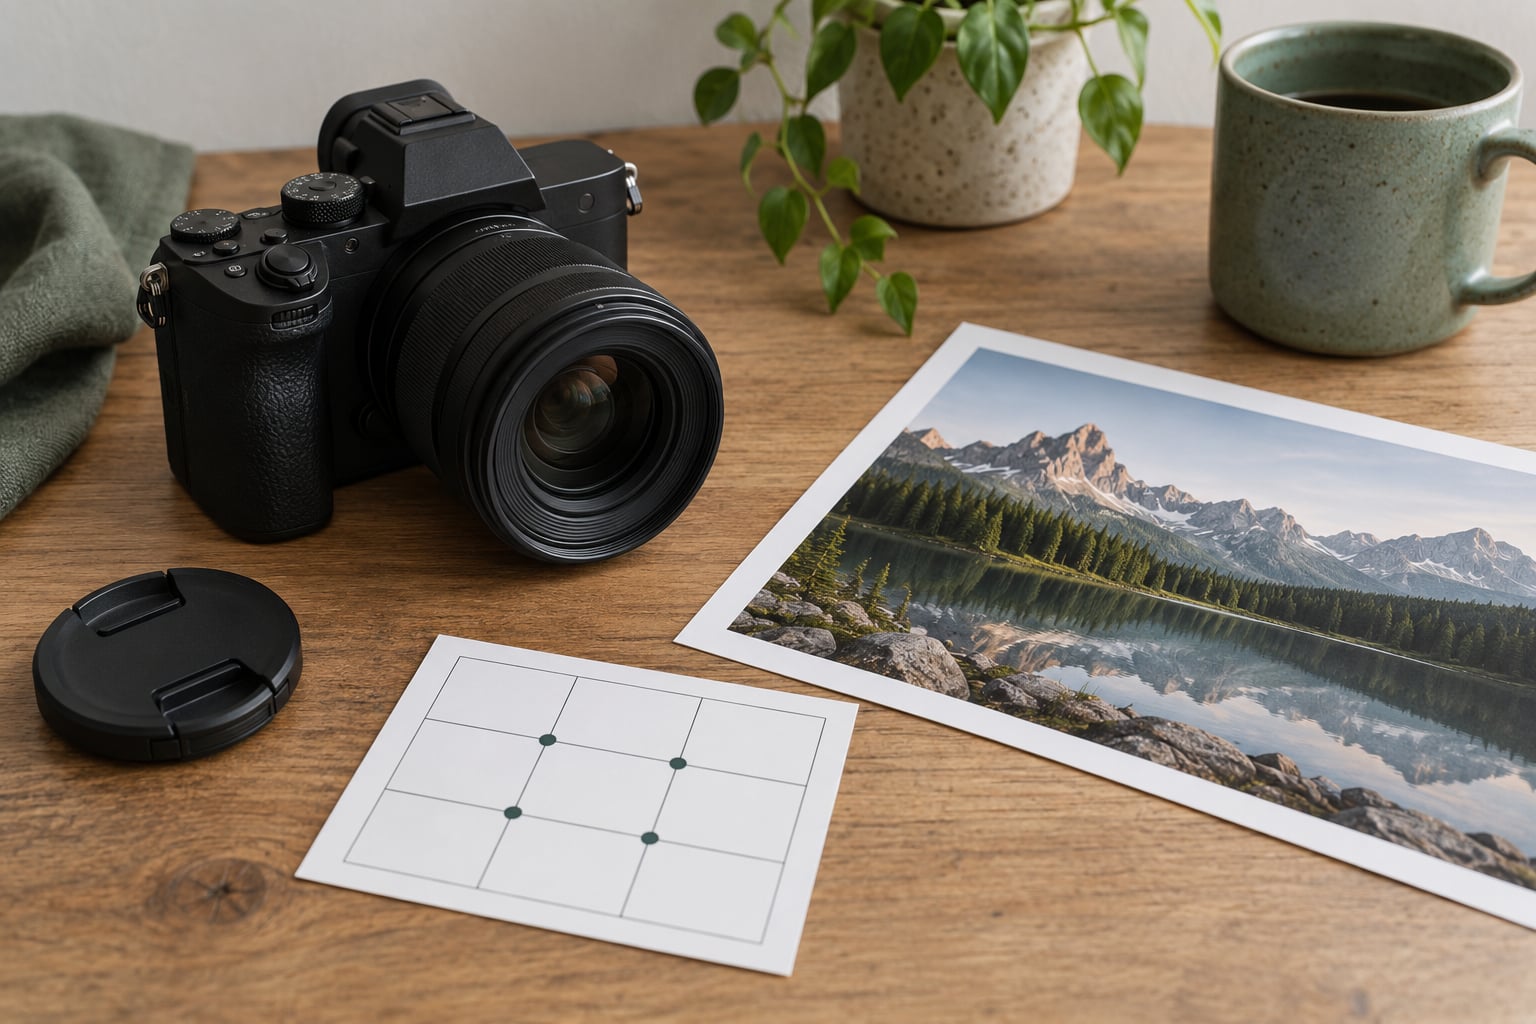
If you are wondering how to choose a focus point, the answer is shorter than most people expect: decide what the photograph is about, put the focus point directly on that one detail, then compose the rest of the frame around it. Most focus problems are not equipment problems. The camera focused exactly where it was told, on a spot nobody chose deliberately.
Here is the distinction that makes the rest of this guide easier. A focus point is the spot in your viewfinder where the lens is set to focus. A focal point is the thing in the picture that pulls the viewer’s eye. They usually land on the same subject, but they are not the same idea, and when they disagree the photograph usually feels off without you being able to say why.
Seven steps, about ten minutes to work through once. Most of the work happens before you lift the camera.
Table of Contents
- What You Need
- Step-by-Step: Choosing a Focus Point
- Step 1: Decide What Matters Most in the Scene
- Step 2: Look for Edges, Contrast, and Texture
- Step 3: Place the Focus Point Where the Story Begins
- Step 4: Use the Rule of Thirds or Another Composition Guide
- Step 5: Choose the Right Autofocus Area or Mode
- Step 6: Check Focus Before Releasing the Shutter
- Step 7: Refine the Point for Style and Depth
- Common Mistakes
- Frequently Asked Questions
- Conclusion
What You Need
The short list is small. Almost any camera made in the last fifteen years can do everything below.
- A camera with selectable autofocus areas. Every DSLR and mirrorless body has this. You are choosing a focus area mode, not hunting through 61 or 100 points individually.
- Manual focus. Every lens has it, even if the ring is marked in small print. This matters more for close work and for scenes with nothing for the autofocus to grab. Our walkthrough of how to focus manually in 7 simple steps covers the ring technique if you have never used it.
- Magnification. The button that zooms into the live view or electronic viewfinder. It is usually labelled with a magnifying glass and a plus sign. Without it you are guessing.
- Grid lines. A rule of thirds grid in the viewfinder or on the rear screen. Turn it on once and it stays on.
- Focus peaking, if your body has it. Coloured pixels mark anything in focus, which turns focusing into something you can read at a glance rather than feel.
That last one is optional and it is the single biggest upgrade for learning focus. Peaks turn a blurry smear into an obvious signal.
What you do not need: a fast lens for this particular skill, a new body, or a tripod. A kit zoom at f/5.6 teaches the same decision-making as a f/1.4 prime, just with more depth of field to hide mistakes.
There is one piece of knowledge that no accessory replaces, and it is worth spending an evening on: how depth of field changes with aperture, focal length and distance. Everything in step three and step seven depends on it. If you know that f/8 at 24mm gives you a huge zone of sharpness and f/1.4 at 85mm gives you a paper-thin one, you can choose a focus point knowing what will actually be sharp around it.
Step-by-Step: Choosing a Focus Point
Step 1: Decide What Matters Most in the Scene
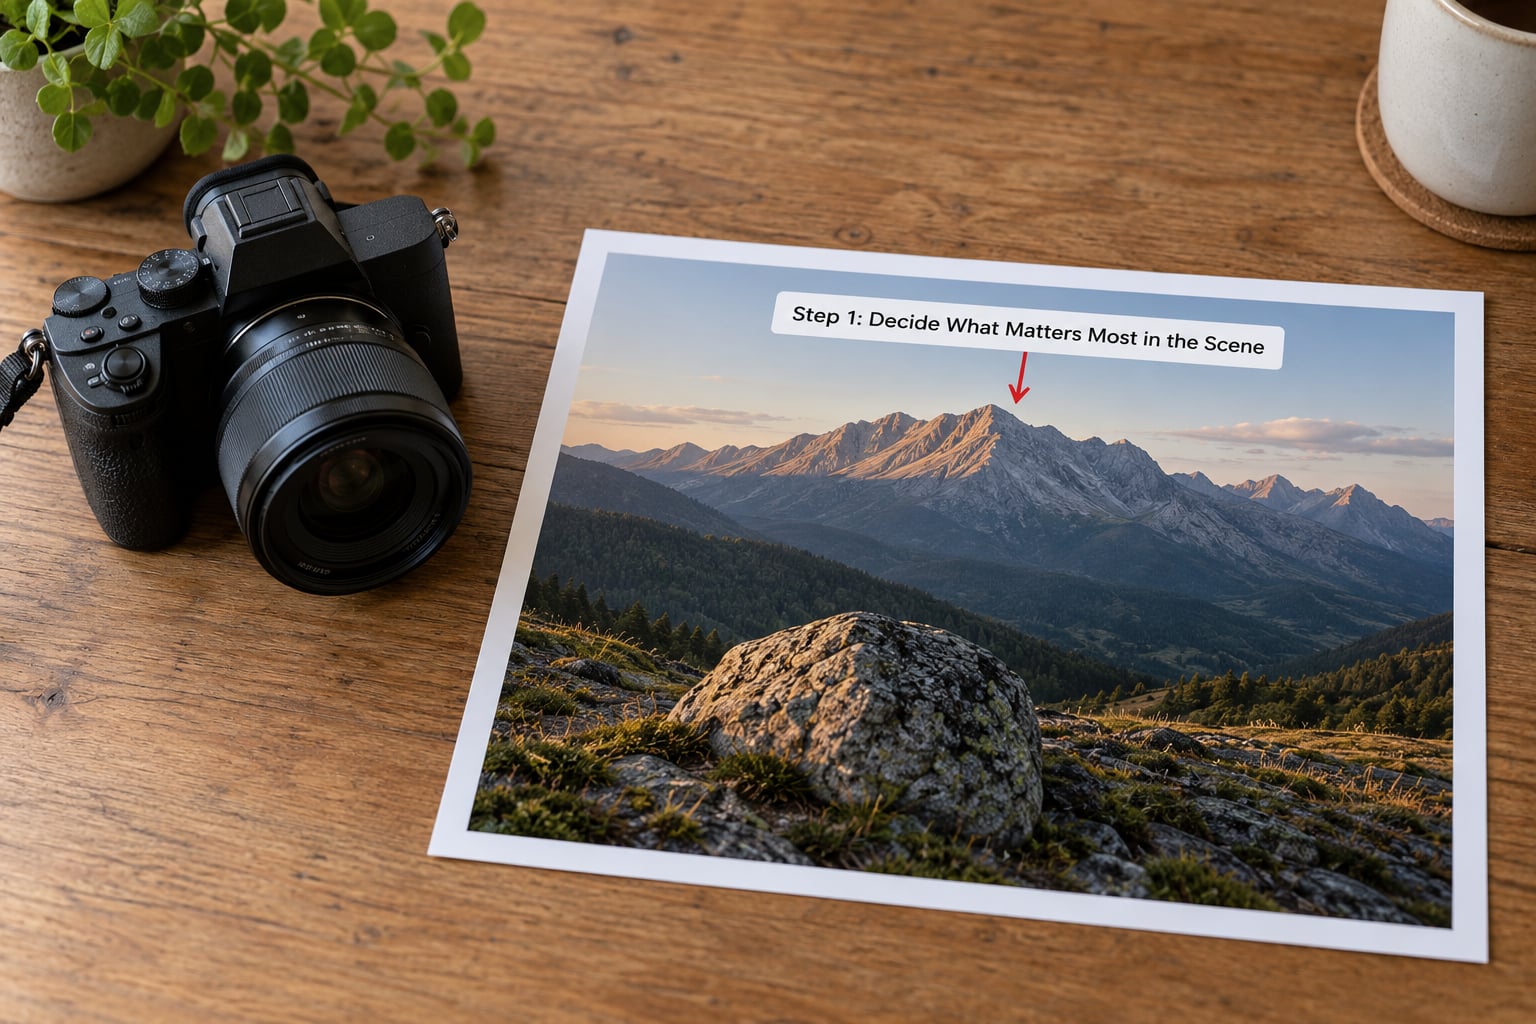
Before you touch any settings, finish this sentence out loud: this photo is of ________. If the sentence needs two nouns, you have two photos competing with each other and one of them is going to be out of focus.
That noun is your anchor. Everything after this is about getting the camera sharp on it and arranging the frame so the eye arrives there first.
A portrait is about the near eye, because that is where expression lives. A wide scenic shot is about the feature that makes the place worth photographing, which might be a single lit tree at the base of a dark hillside.
A street frame is about the gesture, not the face. A group is about the whole group, which changes the aperture question entirely.
Beginners tend to answer with the largest or brightest object. That is usually wrong. The anchor is the element that carries the meaning, which is often much smaller than the thing that first caught your eye.
The same decision looks different in each genre, so here is the short version to keep in your head.
| Subject type | Where the focus point goes | Note |
|---|---|---|
| Single portrait | Near eye, on the pupil or upper eyelid | The eye nearest the camera, unless the far eye is the one doing the work |
| Group or event | One face inside a small zone | Stop down until the back row is inside the zone, or shoot the group as the subject |
| Wide scenic | The feature that makes the place worth shooting | Not the horizon and not the nearest rock, unless one of those is the subject |
| Street | The gesture or the hands | Fast enough to miss, so pre-focus on your approach |
| Action and wildlife | On the subject, then let tracking hold it | Start on the eye or head, keep the point on that part |
| Macro | On the specific texture or feature | Depth of field is thinner than you think at this distance |
| Product and food | On the label or the front edge | Tilt the camera to keep the label plane parallel, or do it in software |
| Pattern and abstract | On the plane that reads sharpest | There is deliberately no single focal point here |
Step 2: Look for Edges, Contrast, and Texture
Autofocus cannot focus on a flat, evenly lit area. It measures contrast between neighbouring pixels, so a blank sky, a white wall or a shadowless patch of water gives it nothing to work with. This is why cameras hunt, or snap focus to the nearest thing, in scenes that look calm and easy to your eye.
Look for the strongest edges near your subject. An eye with visible lashes. The rim of a shoulder against a dark background. A roofline against sky. Those give the system a clean signal and you get a fast, accurate lock.
If your subject is genuinely flat, change your angle until an edge appears, or fall back to manual focus.
One more practical note on low light. When there is not enough light for a clean phase-detection lock, the camera raises the ISO, opens the aperture and slows the shutter, and the picture gets noisy and soft at the same time. Working out where to focus matters more in low light, not less, because the corrections available afterwards are limited.
Step 3: Place the Focus Point Where the Story Begins
Put the focus point on the specific detail that carries the meaning, not on the person as a general concept. Near eye, hands mid-gesture, the fingers wrapped around a cup, the window in the building that is lit while the rest is dark. Zooming the point onto the exact detail is what separates a sharp photograph from a technically sharp one.
When the depth of field is shallow, being on the correct part of the subject matters as much as being on the subject at all. At f/1.8 on a 85mm lens at close range, the ear may sit well behind the plane of focus while the eye is sharp. Both are the face; only one of them reads correctly.
Try a small test before a session. Photograph the same subject at f/1.8 and then at f/4, compare the two at 100%, and you will see the plane of focus for yourself in about thirty seconds. That is a lesson no article can hand you.
Step 4: Use the Rule of Thirds or Another Composition Guide
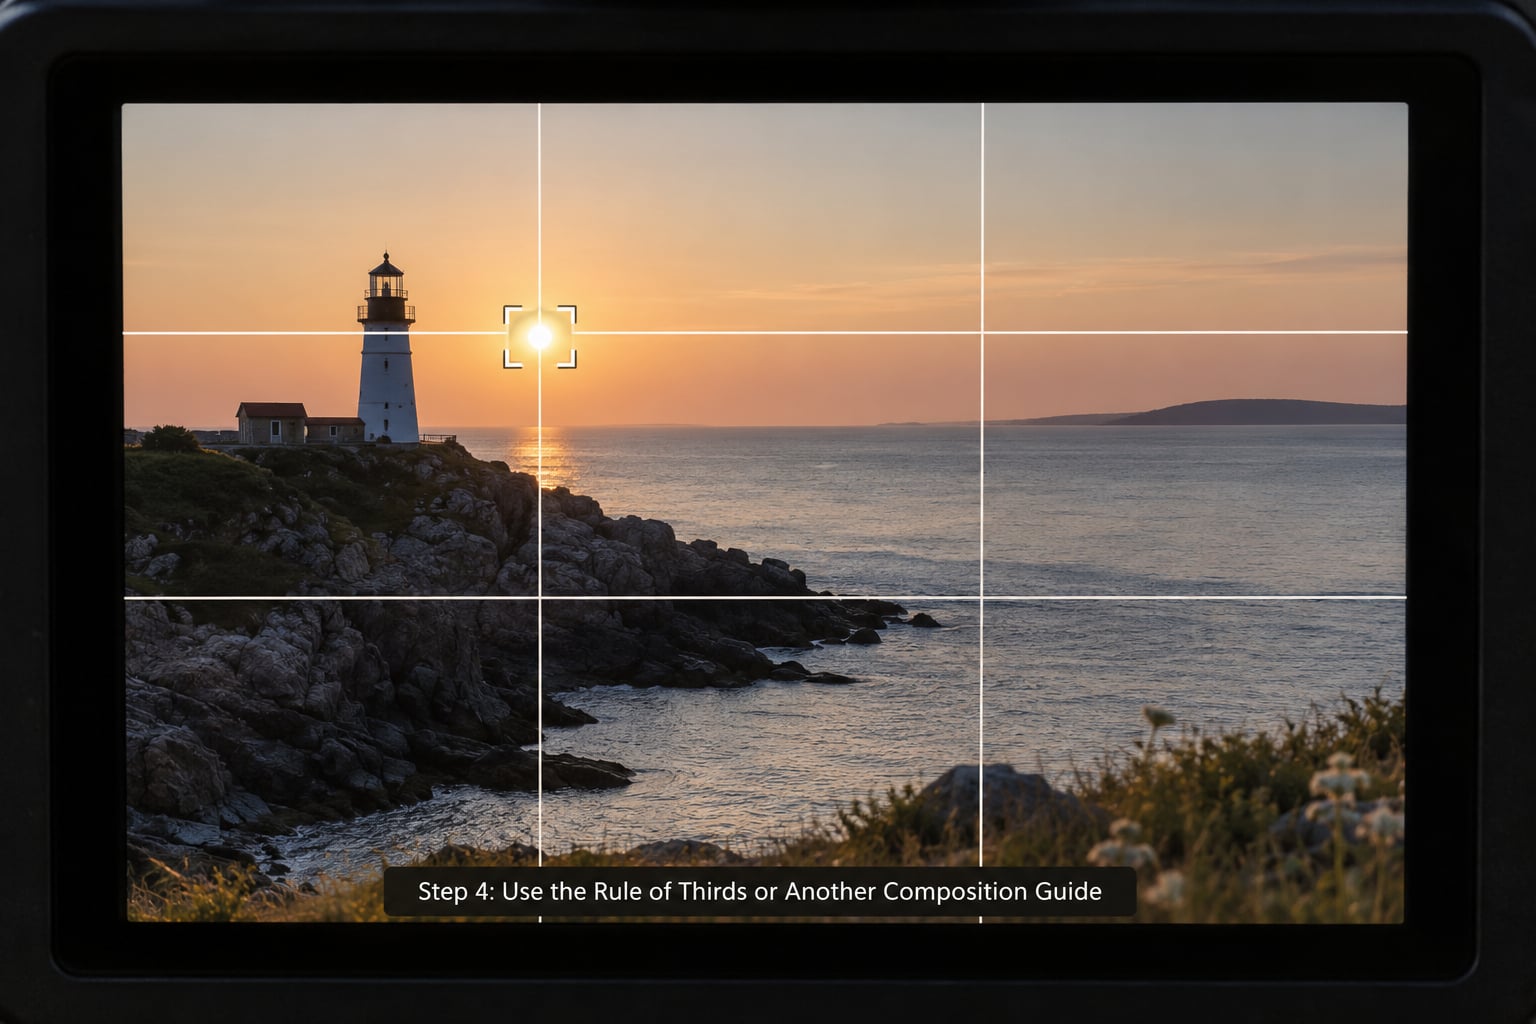
Turn on the grid. Place your anchor on an intersection rather than in the middle of the frame. The off-centre placement leaves breathing room in the direction the subject faces or moves, which is what makes the frame feel intentional instead of accidental.
The query behind most of the confusion is “should I use the centre point or a third”, and the reason it never settles is that two different questions are being merged into one. Centre point and recompose is a camera technique. Rule of thirds is a composition technique. They answer different problems.
To use centre point and recompose, set single-point AF with the point in the centre, half-press the shutter to lock focus, then reframe and shoot. It is reliable in one-shot AF. It fails in continuous AF, because the moment you start moving the camera the system starts tracking whatever is under the centre point again, which after reframing is your background.
That failure catches out almost everybody once, because the technique was never broken. It was being used in the wrong focus mode. Switching to one-shot and trying again usually fixes it for good.
Now the composition side. Thirds is a default, not a law. Some frames are stronger centred: a symmetrical building, a reflection, a single tree with branches spreading evenly, a product shot. If the subject is symmetric and the background is calm, the centre is the focal point because balance itself is the interest.
Two other guides worth using. Leading lines, where a road, a fence or a set of shadows carries the eye toward your anchor and should end at it rather than at the edge of the frame. And negative space, where you give the subject room on the side it is looking into, so the frame has somewhere for the eye to rest.
If you want a rule of thumb for a frame with no clear subject: put roughly a fifth of the frame in one direction, six tenths across the middle, and a fifth in the other. It is the 20-60-20 rule, and it is a useful check when a composition feels lopsided rather than a law to follow by default.
Where the point sits also changes what you can crop later. If you plan to print large or trim the frame, read how to choose a frame for black and white photos before you commit to a tight edge.
Step 5: Choose the Right Autofocus Area or Mode
The focus area mode decides how much freedom the camera has to pick something other than what you chose. This is where most wasted effort comes from, so it is worth being deliberate.
| Focus area mode | How it behaves | Use it for |
|---|---|---|
| Single point | One small frame, exactly where you put it, nothing else | Portraits, still life, architecture, anything deliberate |
| Dynamic or small zone | A tight group of points, the system picks inside it | Group shots, subjects at an odd angle |
| Zone | A block of points covering maybe a quarter of the frame | Crowded scenes, quick framing decisions |
| Wide or tracking | Most or all of the frame, often with subject detection | Birds, riders, kids running, anything that changes position |
Single point for anything that holds still. Wide or tracking for anything that moves in a way you cannot predict. That is most of the decision.
The second decision is the focus mode, and it is a different control.
| Focus mode | What happens after you press | Use it for |
|---|---|---|
| One shot, AF-S or similar | The camera focuses once, locks, and stops hunting | Everything stationary, including focus and recompose |
| Continuous, AF-C or AI Servo | The camera keeps adjusting as the distance changes | Movement, and only movement |
Eye detection is worth turning on for portraits and switching off for anything else. It finds a face and then an eye within it, which is faster and more consistent than placing a small point yourself, but on a wide scenic shot or a still life it has been known to grab a face-shaped patch of bark.
One more control worth finding: back-button focus, which moves autofocus from the shutter button to a button marked AF-ON on the rear of the body. Pressing it stops the camera refocusing when you reframe, and it is how most working street and sports photographers shoot. It takes an afternoon to get used to and then it feels wrong to go back.
Two small body differences worth knowing. Fujifilm cameras often have a physical focus lever beside the mount, which pushes the focus area around without touching any buttons and works while continuous AF is running. Most other brands do this with a joystick or a directional pad, which works just as well but takes a thumb away from the shutter.
The exact menu name changes between brands and generations, but it is always something like focus area, AF area mode or focus mode, and it lives in the shooting menu rather than buried in a settings menu. Find it once, before you need it. Searching a menu while a subject is walking away from you is how the setting stays wrong for a year.
Step 6: Check Focus Before Releasing the Shutter
Do not trust the green dot. Magnify, look, then shoot. On most bodies the magnification button works in live view and in the viewfinder, and it is the difference between a guess and a check.
Zoom in on the detail you chose. Look for two things: is the detail crisp, and is anything in front of it sharper? The second question catches the mistake that ruins the frame, where a branch or a railing in the foreground is nearer than your subject and the autofocus found it first.
If the camera will not confirm focus, three assists help. Focus peaking outlines high-contrast areas in colour, so anything blinking is in focus. Focus magnification on manual bodies shows a split-image or a microprism pattern that turns black when focus is achieved, which works in poor light where phase detection struggles. And a depth of field indicator shows you how thin your zone of sharpness actually is at the current aperture.
Two questions after every shot. Where did the camera focus, and did I want that? Most cameras record the chosen focus point in the image file, and many will show it highlighted during playback or display it in editing software such as Lightroom. Turn that display on in the menu once and it becomes a free audit tool.
Step 7: Refine the Point for Style and Depth
Once the basic choice is right, the point becomes a creative control rather than a technical one.
Focusing slightly in front of your subject on a wide shot lets the foreground soften while the anchor stays crisp, which reads as depth. Focusing on the background instead makes the foreground a soft frame and can turn a cluttered scene into something clean, because the eye goes straight past the mush to the sharp part.
In a wide scenic shot you may deliberately focus at the hyperfocal distance rather than on your anchor. That is the distance where everything from roughly half your focal length to infinity is acceptably sharp, so the foreground detail stops looking accidental. The photo now has crisp near, crisp middle and crisp far, with nothing signposting the point. It is a different kind of picture and it suits pattern and abstract work, where there is deliberately no single focal point at all.
If you are working in software afterwards, extending or shifting depth of field has to stay believable. A cut that takes a face sharp while the edge of the same face goes soft is the first thing an eye notices.
Common Mistakes
Focusing on the background. The subject was soft, the wall behind was crisp. The cause is nearly always the focus area mode: wide or tracking gave the camera permission to choose, and it chose the biggest patch of contrast. Switch to single point, or narrow the tracking area until the camera cannot escape your subject.
Placing the point in empty space. Putting the focus point between the subject and the frame edge, or on a gap in a landscape, leaves the focus plane just ahead of or behind the thing you meant. Place it directly on the detail. If the point needs to be off the subject for the composition, focus on the subject first and recompose instead.
Confusing screen sharpness with subject sharpness. A bright image on a rear screen can look acceptably sharp at arm’s length and fall apart at full size, and low contrast light makes even a sharp subject look soft. Judge on the magnified view, not on the overall brightness of the frame.
Switching focus modes without checking the movement. Continuous AF on a stationary subject drifts, because the system keeps hunting for a tiny distance change and never settles. One-shot AF on a moving subject gives you a sharp background and a soft subject. Match the mode to whether the distance is actually changing, every time.
Ignoring depth of field. Correct point, wrong aperture. At f/1.4 the plane of focus can be thinner than the subject, so a perfectly placed point on the shoulder leaves the face soft. Stop down until the whole thing is inside the zone, or accept a thin slice deliberately and compose so the soft parts are supporting material.
Cutting the subject at the frame edge. Not a focus error exactly, but it is the same decision: a focus point that sits on a half-visible subject gives the viewer nothing to hold. Either bring the subject fully into the frame or make the crop so deliberate that the edge reads as intentional.
A practice drill that works: pick one subject, stay in one spot, and shoot the same frame ten times with the focus point on ten different parts. Then look at the ten together. Which placement made the picture read fastest, and why? Repeat with a moving subject and a tracking mode. Twenty minutes of this teaches more than a month of guessing.
Frequently Asked Questions
What is the best focus point to use?
Single point placed directly on the detail that carries the meaning is the best starting point for most photographs. Portraits want the near eye, group shots want a face within a small zone, and moving subjects want tracking. Single point is the most repeatable because the camera has no freedom to choose something else.
Is it focal point or focus point?
A focus point is the spot in the viewfinder where the lens is set to focus. A focal point is the element in the composition that draws the viewers eye. They usually sit on the same detail, which is why the terms get mixed up, but you can focus on a background and still have a clear focal point, or have a strong subject and focus on nothing in particular.
Where should the focal point be in a photo?
On the element that carries the meaning, usually placed on a rule of thirds intersection rather than dead centre. Portraits use the near eye, wide scenic shots use the feature that makes the place worth photographing, street frames use the gesture, and symmetrical subjects work best in the centre with balanced space on both sides.
Should I focus on the centre and recompose, or focus on a third?
You can do both, because they solve different problems. Centre point and recompose is a camera technique for getting accurate focus on an off-centre subject, and it only works in one-shot AF. The rule of thirds is a composition guide for where the subject sits in the frame. Focus on the centre, lock, then reframe to a third.
How can I tell which focus point my camera actually used?
Most cameras store the chosen focus point in the image file and can display it during playback, and editing software such as Lightroom will show it in the metadata panel. Turn on the focus point display in your camera menu once. In the viewfinder, magnifying before you shoot is the more reliable check.
Does the number of autofocus points matter?
Far less than you would expect. A lens can only be focused at one distance at a time, so extra points do not add sharpness, they add choices. More points mainly help with tracking a subject that will not stay still. For deliberate work, one point you chose beats a wide array the camera selected for you.
Conclusion
Choosing a focus point is one decision made in a specific order: decide what the photograph is about, put the point on that detail, compose around it, then verify before you press the shutter. Everything else, modes, grids and assists, exists to support that order.
Do one thing before you put the camera down again. Take your next ten frames of a single subject, place the point somewhere different each time, and look at all ten at full size. You will find your own answer faster than reading another page about it.