
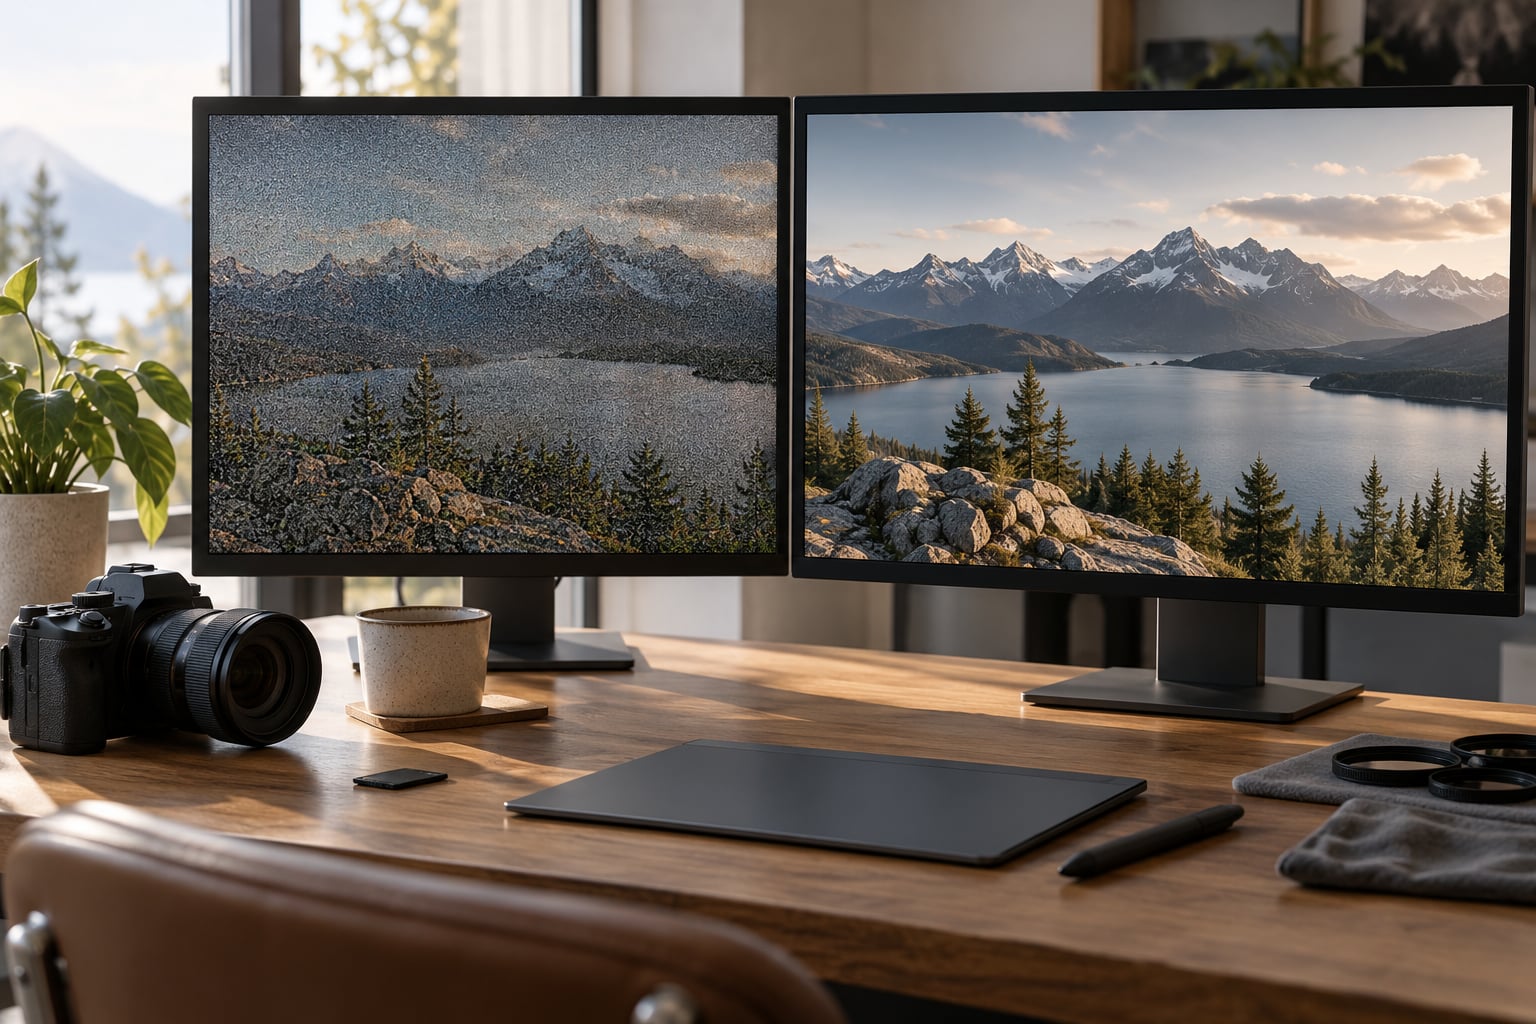
To reduce noise in Lightroom, work on the RAW file in the Develop module: zoom to 100 percent, set the correct camera profile, then use the Detail panel sliders to tame luminance grain and color speckles, mask the areas that need protecting, and sharpen last. On a single frame it takes about ten minutes once you know where the controls are.
Most grainy photos come from one of four places: a high ISO, a short exposure, a shadow you pushed too far, or a sharpening pass that amplified the noise already there. Knowing which one you are dealing with decides whether you reach for AI Denoise, the manual sliders, or the Adjustment Brush.
This guide covers Lightroom Classic and the current desktop and mobile Develop modules. The Detail panel lives in the same place in all three, and the menu names are identical.
Table of Contents
- What You Need Before Reducing Noise in Lightroom
- Step-by-Step: How to Reduce Noise in Lightroom
- Step 1: Inspect the Image at 100 Percent
- Step 2: Apply the Correct Camera Profile
- Step 3: Set the Lightroom Noise Reduction Sliders
- Step 4: Use a Mask to Protect Important Areas
- Step 5: Add Controlled Sharpening
- Step 6: Compare Before and After at Several Zoom Levels
- Step 7: Export the Right File for Its Purpose
- Common Mistakes That Ruin Noise Reduction
- Frequently Asked Questions
- How much noise reduction should I use in Lightroom?
- Does Lightroom noise reduction work on JPEG files?
- Should I denoise before or after sharpening?
- How do I reduce noise on black and white photos?
- Is Lightroom Denoise better than manual noise reduction sliders?
- Why is Lightroom Denoise slow on my computer?
- Conclusion
What You Need Before Reducing Noise in Lightroom
Start with the RAW file whenever you have one. JPEGs carry compression artifacts that look like noise but are baked into the file, so the Detail panel smooths damage that cannot be undone.
Open the Develop module and expand the Detail panel, which sits below Sharpening. That panel holds both noise reduction sliders and the Denoise button that Adobe added in 2023 for RAW files.
Make sure you can zoom to 1:1 view. Noise is invisible at Fit and Fit in Screen, and judging noise at fit level is how people end up over-smoothing. Press Z twice or use the zoom control at the bottom right of the Develop window.
Know your masking options too. The Masking panel gives you Select Subject, Select Sky, Select Color, Select Luminance Range, and a Brush, and any of these can protect the parts of the frame that should keep their texture.
One last preparation habit: duplicate the image with Ctrl or Cmd + J before you start pushing sliders. Noise reduction is easy to overshoot and harder to back out of than you would think, because once texture is gone, no other slider brings it back.
Step-by-Step: How to Reduce Noise in Lightroom
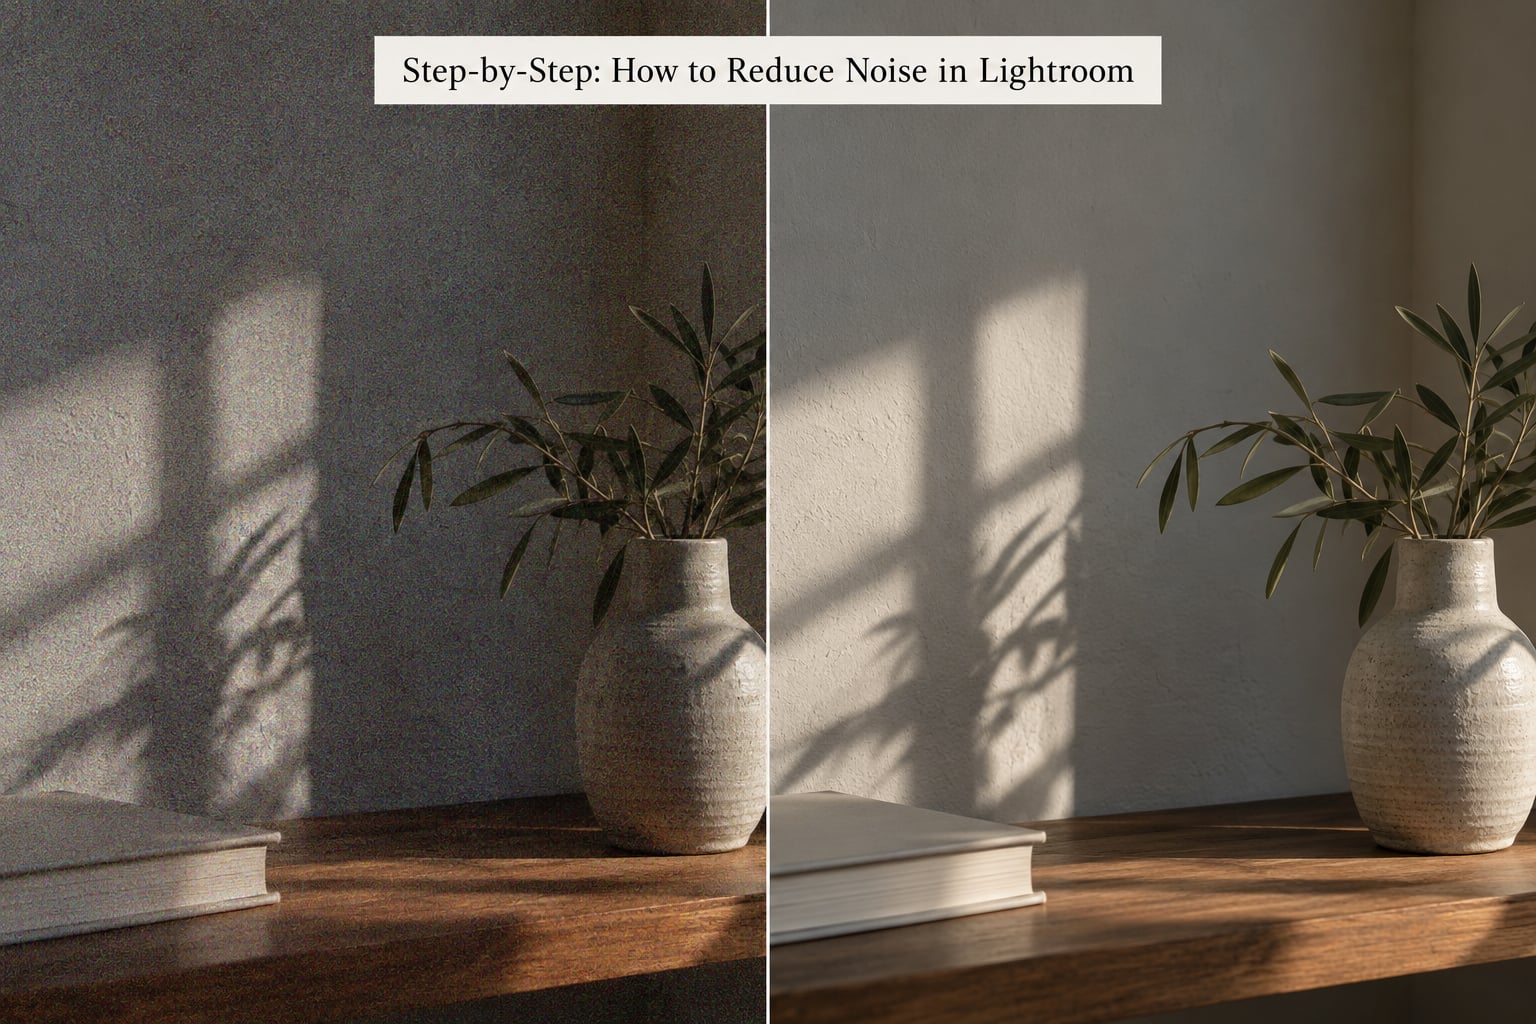
Step 1: Inspect the Image at 100 Percent
Zoom to 100 percent and move to the darkest shadows, a flat area of sky or wall, and any smooth subject such as skin. Hold Alt or Option to see a quick magnified view while you position the cursor.
Identify the type of noise before you touch anything. Luminance noise is random brightness variation that looks like fine grain, and it is what most people mean by a grainy photo. Color noise, also called chroma noise, shows up as isolated red, green, or blue flecks, and it is usually most obvious in shadows.
If you see grain but no colored flecks, you need luminance work only. If the speckles are obvious and the grain is mild, leave Luminance at zero and spend your effort on the Color group.
You worked if you can name the noise type and point to the exact area where it is worst.
Step 2: Apply the Correct Camera Profile
Profile is in the Basic panel, under the Profile dropdown. Choose the matching Adobe Camera Profile for your camera and RAW file.
This matters because a mismatched or embedded profile leaves the image in a color space where shadows carry more noise than they need to. Switch profiles and check the shadows again at 100 percent; in some cases the graininess you were about to smooth away simply gets smaller.
Profiles change color and contrast but not detail, so you can compare them at fit level. Do this before noise reduction, not after, so you are not smoothing away problems that a profile change would have handled. If the profile leaves you wanting more control over tone, our guide to how to color grade photos in Lightroom picks up from there.
Step 3: Set the Lightroom Noise Reduction Sliders
Open Detail and start with the Color group because it is the least destructive. Set Color to 25, which is the Lightroom default and a sensible middle ground for most high-ISO files. Drag Detail left if flecks remain, and push Smoothness up slightly if the background looks blotchy.
Then move to Luminance. Begin around 20 for a moderately noisy frame and go higher only if the grain still shows. Once Luminance climbs past roughly 40, the Detail slider becomes critical: set Detail to 50 and raise it from there to keep edges crisp. Contrast near zero removes more noise, and moving it up toward 25 protects more texture at the cost of leaving some grain behind.
Watch for the smoothing look. Skin, fur, feathers, and foliage lose their micro-contrast first, and a face that looks clean at fit level can look like plastic at full size. A good rule is to pull back until you can see a little grain again, then stop.
Hold Alt or Option before clicking a slider to compare with the original. This Detail panel is where most of the work in how to reduce noise in Lightroom actually happens, and the order you move the sliders matters more than the exact numbers. You worked if the noise is visibly lower and the subject still has texture rather than a waxy surface.
Step 4: Use a Mask to Protect Important Areas
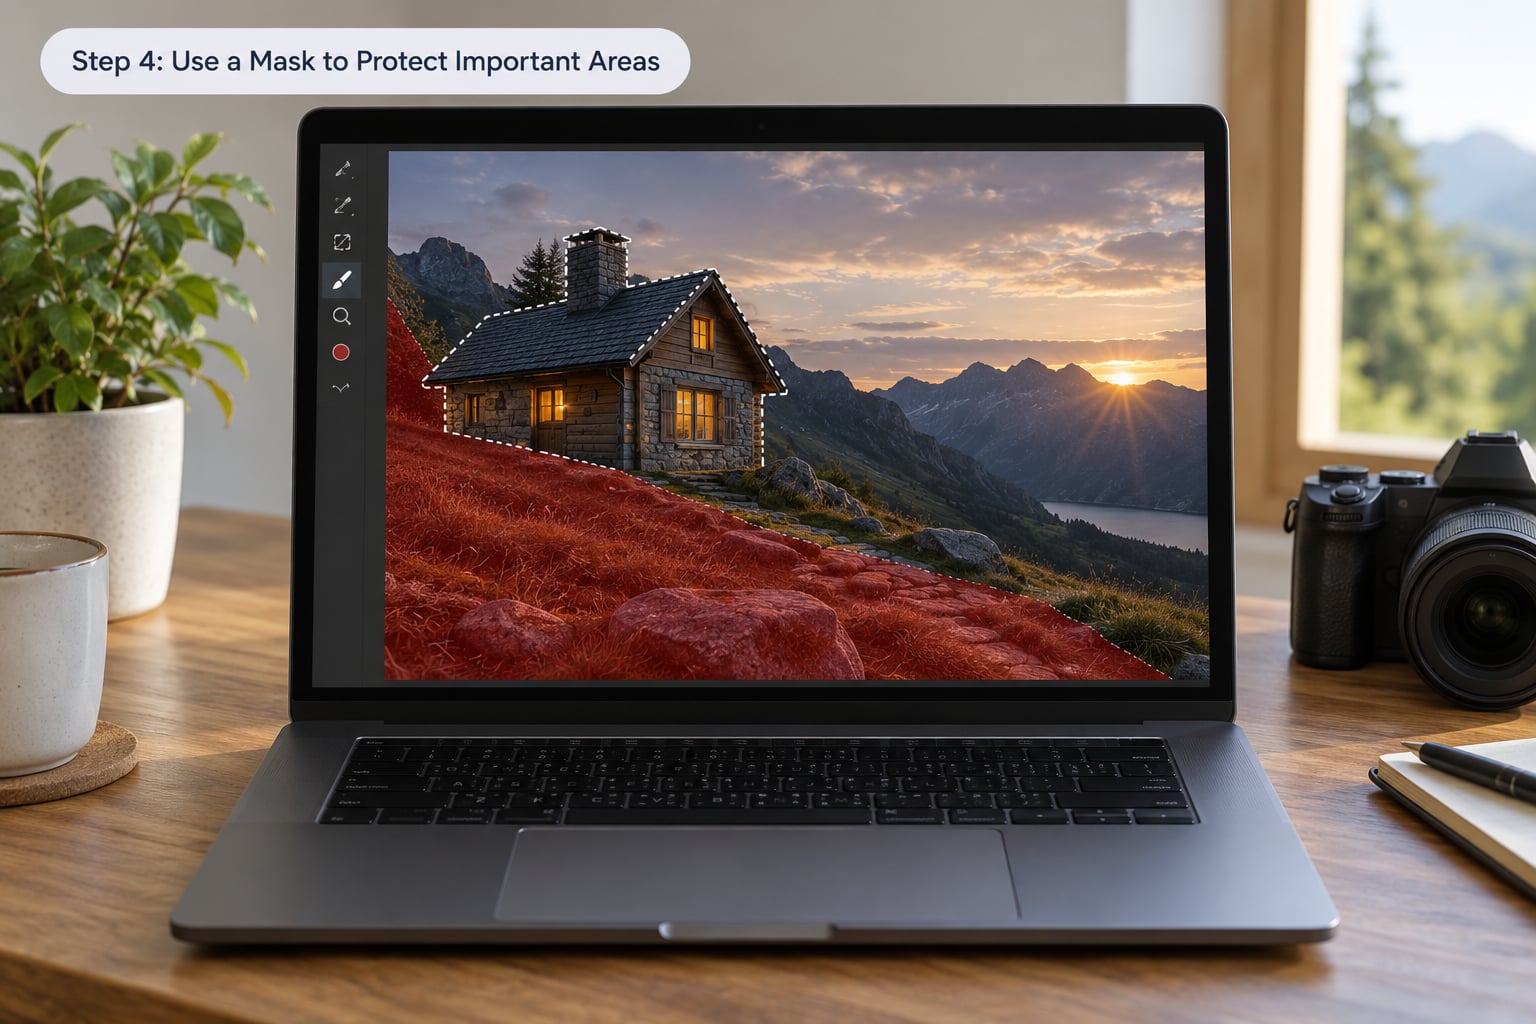
Global sliders treat a subject and an empty wall the same, which is why noise reduction usually hurts edges and faces. Open Masking and build a mask around the areas that deserve protection.
Select Subject works well for the main person or animal. Select Sky handles a clean boundary at the horizon, and Select Luminance Range with a low range targets the deep shadows where grain concentrates. For feathering, reduce the Feather value around 15 to 25 so the mask edge is soft and you avoid a visible halo.
With the mask active, drop the local Detail panel Luminance to 0 and Color to 0, and lower the sharpening Amount instead of removing it entirely. Local sharpening works differently from the global control, so a low amount with a decent Radius still reads as crisp at print size.
One thing worth knowing: Lightroom does not apply global and local adjustments one after the other. It combines them when the file is written, so painting the inverse of a global setting back onto a masked area is not an exact undo. It gets close in the middle of the range and drifts apart at extreme values.
You worked if the subject looks the same as before and the surrounding shadows got cleaner.
Step 5: Add Controlled Sharpening
Sharpening comes after noise reduction, never before. A sharpening pass cannot tell noise from texture, so it amplifies both and turns subtle grain into visible crunch.
In the same Detail panel, set Amount between 40 and 60, Radius near 1.0, and Detail around 25 to 50. Lower the Amount to around 25 when you have a mask, because the local Amount slider behaves differently and needs less.
If your file has been through AI Denoise, go easy. That feature quietly applies some sharpening of its own, which is why images often look over-cooked once you add the global pass on top.
Step 6: Compare Before and After at Several Zoom Levels
Check the result at Fit for overall impression, at Fit in Screen for composition, and at 100 percent for actual noise. Most bad noise reduction is invisible at fit level and obvious at full size, so the last check is the one that counts.
Look for four failure signs: halos along high-contrast edges, blotchy patches in skies, texture that has gone flat, and a shift in color saturation that came from an aggressive Color setting. Any of those means going back a few notches on the slider that caused them.
A quick objective test works too. Duplicate the layer, set the top copy to Difference blend mode, and look at the result: uniform fine speckle means noise was removed, while bright shapes mean you removed real detail along with it.
Step 7: Export the Right File for Its Purpose
For web delivery, a JPEG at Quality 80 to 90 is enough, and the extra data is invisible at screen sizes. For prints above about 12 inches wide, export a 16-bit TIFF so the smoothing does not band in smooth gradients.
Export sharpened and denoised output rather than a raw digital negative with instructions, especially if the printer or platform will not honor your settings. If you want flexibility, export both and keep the TIFF as the master.
For a large shoot, the same workflow applies in bulk. Select the frames in Library Grid mode, press Ctrl + Shift + I on Windows or Cmd + Option + I on a Mac, choose Enhance, and Lightroom writes enhanced DNG copies beside the originals. Budget for time here: users report anywhere from 15 seconds on a machine with 12 GB of video memory to several minutes per file on older hardware.
Common Mistakes That Ruin Noise Reduction
Applying the same numbers to every photo in a folder. ISO varies frame to frame, so noise does too. Build two or three starting presets by ISO range and adjust from there instead of copying settings blindly. If you have never made one, how to create Lightroom presets in Classic walks through the settings side panel in a few minutes.
Pushing Luminance past 40 without raising Detail. This is the single most damaging habit. High Luminance with low Detail produces the plastic look people associate with over-processed files.
Sharpening first. It amplifies the exact grain you are trying to remove and makes the cleanup harder.
Editing JPEGs and expecting RAW results. Compression blocks get smoothed along with the noise, so detail loss is permanent. Work from RAW whenever the original exists.
Going global only. Using a Select Subject or Select Sky mask costs about a minute and protects the parts of the frame that carry the image.
Ignoring slow or crashing renders. Denoise is GPU-heavy, and outdated graphics drivers are a frequent cause. Updating the card driver has been reported to roughly halve processing time and stop recurring crashes.
Adding sliders you do not need. Many people drag Detail to zero by habit and then wonder why edges look soft. Zero Detail and zero Contrast remove the most noise, which is exactly why they flatten the image fastest.
Frequently Asked Questions
How much noise reduction should I use in Lightroom?
For most high-ISO RAW files, start at Luminance 20 to 40 and Color 25, then adjust. Watch Detail more closely than Luminance itself: keep Detail at 50 or higher whenever Luminance passes 40. If skin, fur, or feathers start looking waxy at 100 percent view, you have gone too far.
Does Lightroom noise reduction work on JPEG files?
Yes, the Detail panel sliders work on any file type Lightroom opens, including JPEGs. The results are weaker because JPEG compression has already destroyed some fine detail. The Denoise button is different: it only appears for supported RAW files, since it needs the unprocessed data that a JPEG no longer contains.
Should I denoise before or after sharpening?
Always before. Sharpening cannot distinguish noise from texture, so running it first magnifies the grain and makes noise reduction harder to judge. Finish with a controlled sharpening pass, using a lower Amount when a mask is active, because the local sharpening slider behaves differently from the global one.
How do I reduce noise on black and white photos?
Color noise is gone in a black and white conversion, so leave the Color group at zero and work entirely with Luminance. In monochrome, tonal noise clumping in the shadows is more obvious, so protect smooth gradients with a Select Luminance Range mask. Build the mask on the color original, then convert afterward so the range picker has data to read.
Is Lightroom Denoise better than manual noise reduction sliders?
For RAW files, Denoise usually holds more texture than the manual sliders at high noise levels, especially in wildlife and astro work, though it is slower and writes a separate enhanced DNG. The sliders remain the right tool for JPEGs, for small adjustments, and whenever you need to work inside a mask on a specific region of the frame.
Why is Lightroom Denoise slow on my computer?
Denoise is GPU-bound, and video memory matters more than most other specs. Users report roughly 40 seconds per image with 6 GB of VRAM and around 15 seconds on a 12 GB card, with much longer times on older hardware. Outdated graphics drivers are a common cause of both slow rendering and crashes during the process.
Conclusion
The first thing to do is zoom to 100 percent and identify the noise. If it is grain, work the Luminance sliders and keep Detail at 50 or higher. If it is colored flecks in the shadows, Color 25 handles most of it.
Set the correct camera profile before you smooth anything, protect faces and edges with a mask, and sharpen last with a moderate Amount. Working in that order is how to reduce noise in Lightroom without losing the detail that made the frame worth keeping.