
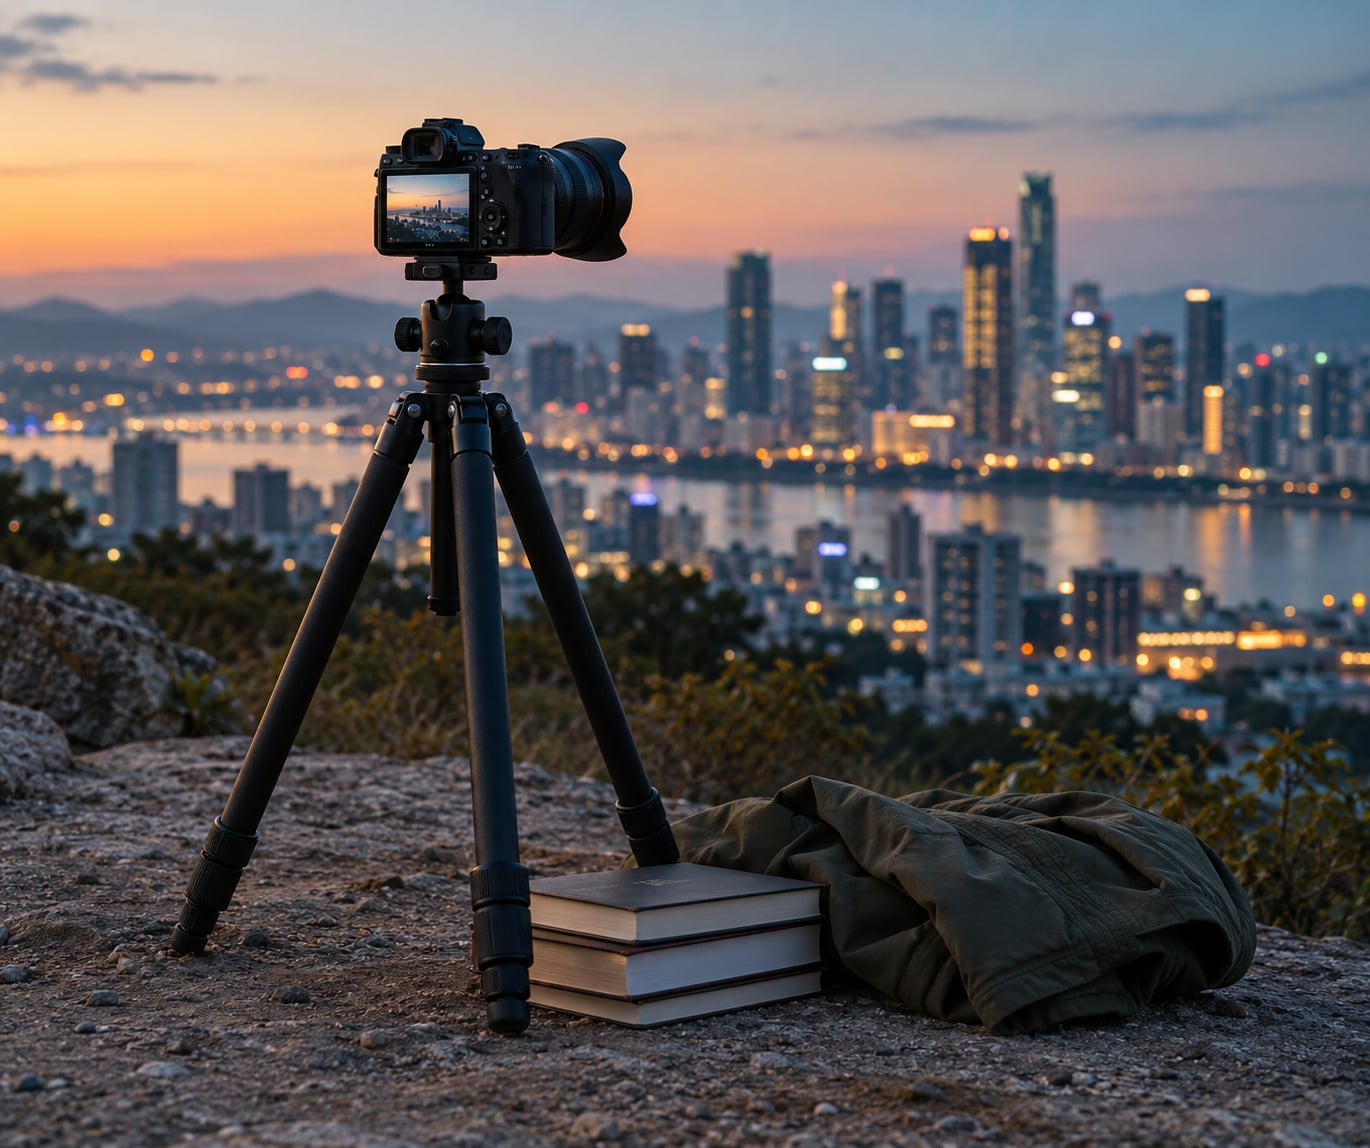
Camera shake happens when the camera moves while the shutter is open. If you are wondering how to fix camera shake, the answer is to remove that movement in one of four places: your body, your support, your settings, or the editing timeline. Most soft photos are a shutter speed problem, so check that first before you spend money on a tripod.
The whole diagnosis takes about five minutes if you shoot handheld, and none of it needs gear you do not already own. Start by confirming the camera is what moved, then raise the shutter speed, stabilize the camera, and judge the result at full size.
Table of Contents
What You Need
You need very little to fix camera shake, and most of it is preparation rather than equipment.
- A two-handed grip with elbows tucked into your ribs. This is the single most repeated piece of advice in photography forums, and it costs nothing.
- Something rigid to stand on or set the camera on — a tripod with a mid-level spreader, a monopod, a solid wall, a table, a stack of books, a beanbag, or a folded jacket.
- A stabilization mode your camera supports, which may be in-body image stabilization on the body, optical stabilization on the lens, or electronic stabilization in the camera app.
- A shutter speed fast enough for your focal length. If the number confuses you, shutter speed explained for beginners covers the settings in plain terms.
- Playback at 100 percent magnification, which is the only honest way to judge sharpness. On a camera screen at fit-to-frame, soft images look fine.
- A remote release or the two-second self-timer for anything on a tripod, because pressing the shutter with your finger adds a small shake of its own.
How to Fix Camera Shake Step by Step
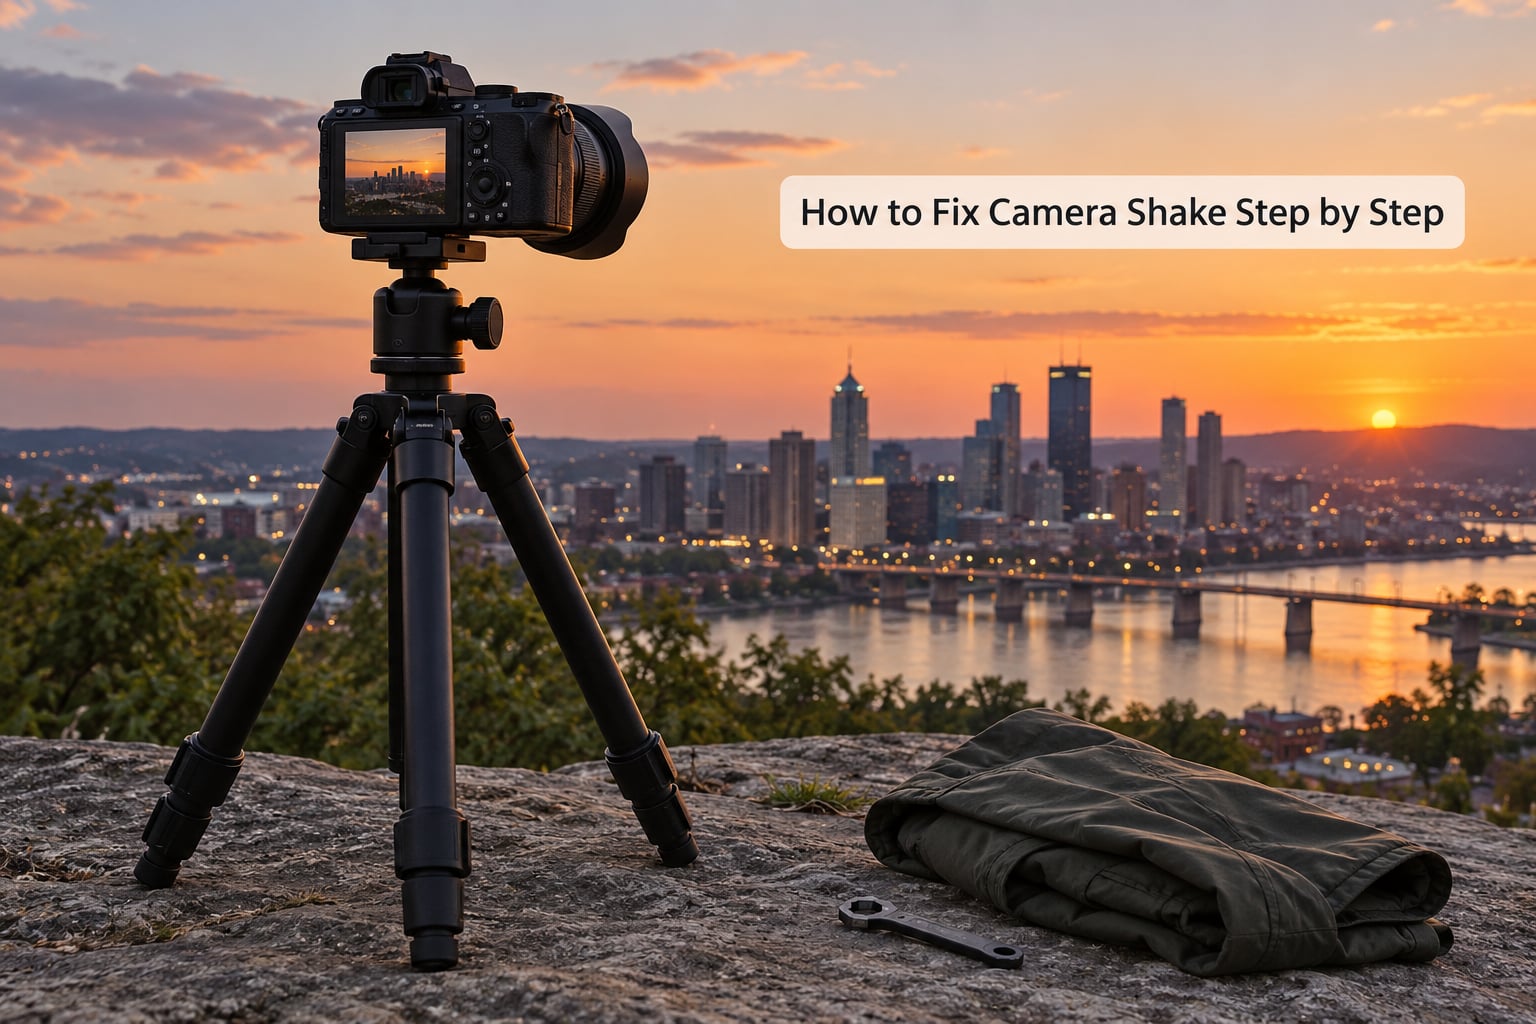
Identify the Source of Camera Shake
Tell camera movement apart from subject movement first, because the two look similar in the file and need opposite fixes.
Point the camera at something that is not moving, such as a wall or a parked car, and take one frame with your normal technique. Then watch the same scene live in the viewfinder: if the edges drift as you breathe, the camera is moving. Take the same test frame while panning, and if the blur changes direction, you are seeing your own movement.
Now zoom the playback to 100 percent. A shaky frame smears fine detail into a directional streak, so text on a sign or the edges of a brick wall trail in one direction. An out-of-focus frame is evenly soft everywhere with no direction to it. That single check tells you whether to raise the shutter speed or change focus, and it stops people from chasing focus problems that are really movement.
Use a Faster Shutter Speed
A shutter speed at least as fast as the reciprocal of your focal length is the baseline for sharp handheld work, and most cameras hold still better than that rule assumes.
| Focal length | Handheld, no stabilization | With IBIS or OIS | Moving subjects |
|---|---|---|---|
| 24mm wide | 1/60 s | 1/20 s | 1/250 s |
| 35mm | 1/80 s | 1/30 s | 1/320 s |
| 50mm normal | 1/125 s | 1/60 s | 1/500 s |
| 85mm short telephoto | 1/250 s | 1/125 s | 1/1000 s |
| 200mm telephoto | 1/500 s | 1/250 s | 1/1600 s |
Telephoto magnifies angular movement, which is why the number climbs so steeply as you zoom in. If you are stuck at a slow shutter, open the aperture before you raise ISO, and turn on Auto ISO so the camera holds the shutter speed you chose instead of dropping it when the light fades.
Changing the setting is the same idea on every system even when the labels differ. Most cameras have a shutter-speed dial, or a shutter-priority mode marked S or Tv that lets you set only that value. Canon’s newer bodies and Sony’s full-frame models put it behind a shutter speed or exposure compensation dial that you press to activate. Fujifilm and Nikon put the same control behind the shutter-speed ring next to the ISO ring, so it sits physically close to the setting you are already using.
For video, the equivalent is the 180-degree shutter rule: about 1/48 s at 24 fps and 1/60 s at 30 fps. A faster shutter gives a crisper, more cinematic look and makes later stabilization easier to apply.
Stabilize the Camera Properly
A tripod only works if it is set up so the camera cannot rock, and most tripod shake comes from the setup rather than the legs.
Attach the camera, loosen the head just enough to tilt the camera level, then lock it. Splay the legs wide and push down on the centre hub to check for wobble. If the camera leans or the bubbles in the head drift back and forth, the legs are uneven or the surface is soft, so move it. On uneven ground, keep the centre column low or angle the centre column to one side and run a column arm out to a leg, which gives the head something to lock against.
Hang a bag or weight from the centre hook on windy days or when you are working with a long lens, because a light tripod on a long lens is a sail. Anyone filming in public is usually behind a solid surface, so a beam under the centre hook can help more than a heavier tripod.
Leave stabilization on for handheld shots and turn it off when the camera is locked to a tripod. A stabilization system that thinks you are moving can introduce a slow drift of its own on a locked-off shot.
Improve Your Grip and Body Position
Tuck your elbows against the sides of your torso, because your body is a far steadier platform than your arms.
Hold the camera with both hands, one on the grip and one under the lens, and pull your elbows in until they touch your ribs. Bend your knees slightly and put your feet the same width apart, then lean into something solid when you can — a wall, a tree, a door frame, or your own front foot. If no support is allowed, resting one knee on the ground removes most of the low-frequency sway. Photographers did get one thing right long ago, and that string loop from your foot to the lens, tensioned before the exposure, is worth trying when you have nothing else.
Breathe normally, then exhale gently and press the shutter at the end of the out-breath rather than holding your breath. Holding your breath for a whole burst guarantees a shake at the end of it. On a longer lens, use the strap as a third contact point: shorten it, put the loop around your forearm or wrist, and let the strap take the weight instead of your hand.
Use a Support for Long Exposures
Any exposure long enough that the shutter stays open for a fraction of a second needs the camera off your hands.
Set up a tripod and use a remote release or the two-second timer, and if the scene is dark enough to need several seconds, put the camera in manual focus with a fixed white balance so nothing shifts mid-exposure. For anything shorter than a hand can control, a monopod, a wall or table edge, or a beanbag under the lens all work, and a bag of rice on top of a folded jacket makes a serviceable support on a desk.
For night scenes where your body cannot stay still, the practical order is to raise ISO until the shutter gets short enough to handhold, then take the shot. Prioritise a fast shutter over a low ISO, since no amount of noise reduction recovers a smeared frame.
If you travel regularly, it also helps to know what to pack in a camera bag — a small travel tripod and a remote cost less than one ruined telephoto frame.
Check the Result Before Reshooting
Confirm the fix at 100 percent magnification before you commit to a whole sequence, since the difference between 1/60 and 1/125 s is invisible at fit-to-frame.
Take one test frame of a still subject and one of something moving, then zoom both in playback. Look at the stationary frame first: if it is sharp, the camera is steady and any softness in the second frame is your subject moving, not the camera. If the still frame trails, drop the focal length or raise the shutter speed by another stop and shoot again. This single test is how to fix camera shake for the rest of the session rather than guessing at settings one frame at a time.
Change one variable at a time. Speed first, then focal length, then support, then ISO only if the aperture is already wide open. Once the stationary test frame is clean, carry that shutter speed into the real shot and you have solved the problem that ruined the last session.
Common Camera Shake Mistakes
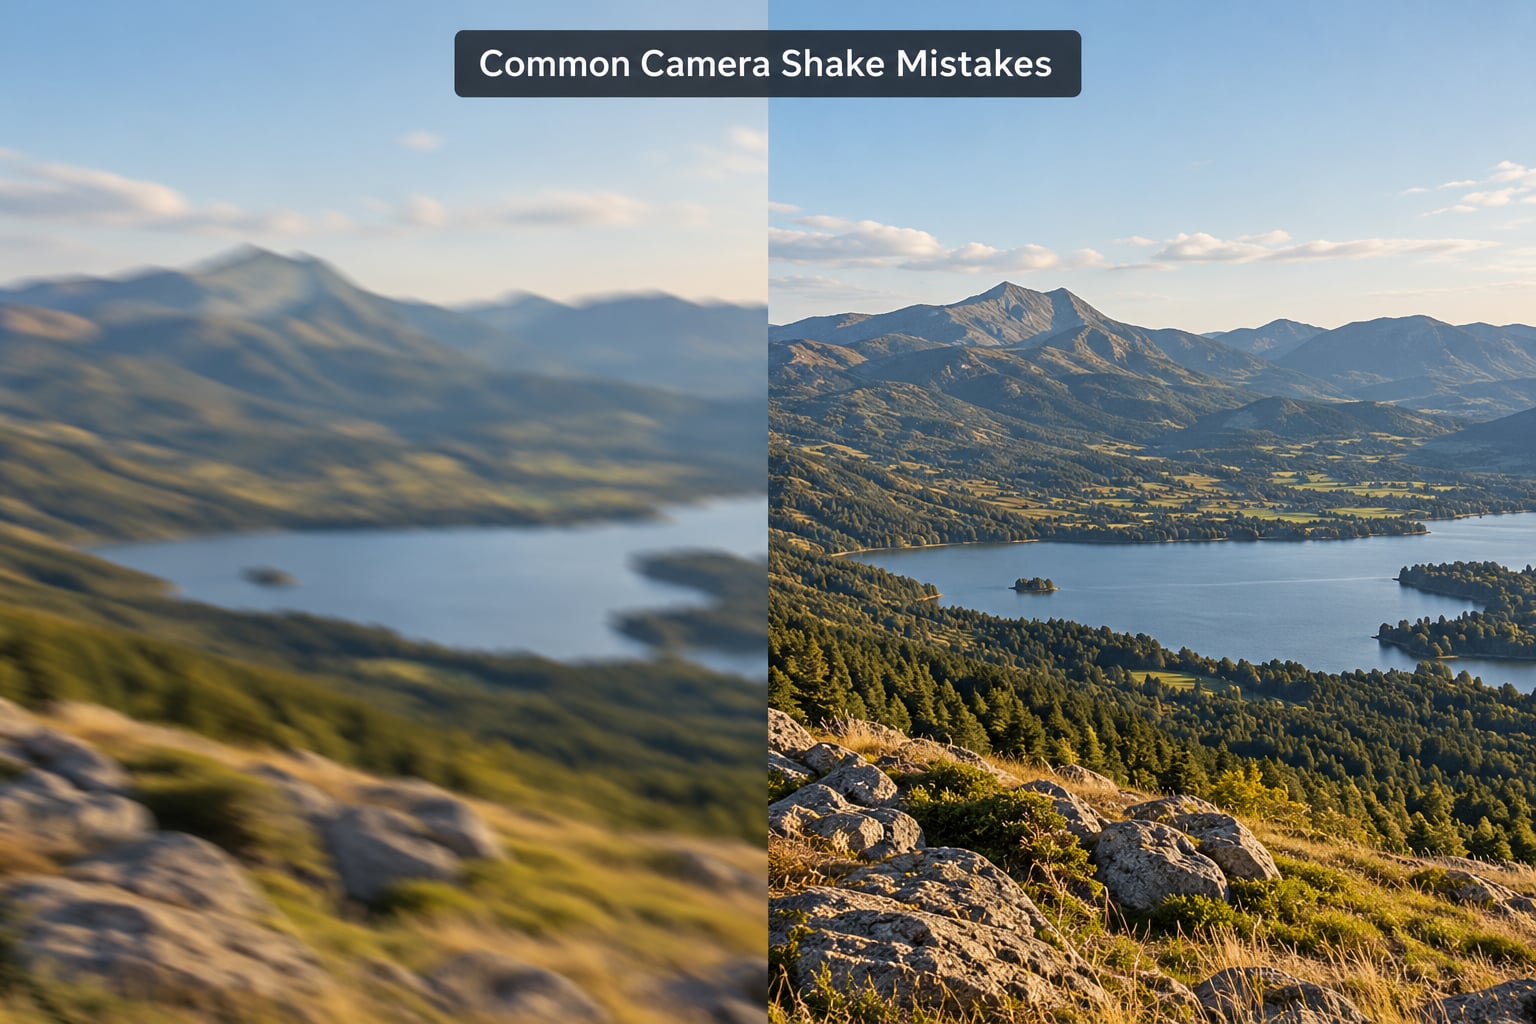
These are the errors that keep coming back, and each one has a specific correction.
- Shooting handheld at a shutter speed borrowed from your tripod. Once the camera leaves the tripod, go at least two stops faster than you used on it.
- Pressing the shutter with one finger while your other arm hangs loose. Support the lens, or switch to the two-second timer.
- Expecting electronic stabilization to replace a support. Digital stabilization crops and warps the frame, so it cannot rescue a frame that recorded heavy movement.
- Ignoring your ISO ceiling and forcing a slow shutter. Once you hit the limit for acceptable noise, add light instead of adding blur, and remember how ISO works on a camera.
- Tracking a moving subject at a wide aperture and a slow shutter. Raise the shutter to match the movement, or stop down and let ISO take the extra light.
- Bracing against a wall and then shifting position between frames. Once you lean in, keep your weight exactly where it is while the shutter fires.
- Judging sharpness on the camera screen instead of at 100 percent. Rear-screen preview enlarges blur, but fit-to-frame hides it.
Frequently Asked Questions
Does image stabilization stop camera shake completely?
No. Stabilization buys you a few stops, not immunity. In-body stabilization on the body and optical stabilization on the lens both correct small movements during the exposure, which lets you shoot three or four stops slower than the reciprocal rule. They cannot correct a footstep, a wind gust, or a fast pan, and they can add their own drift on a locked-off tripod shot, so switch them off when the camera is supported.
What shutter speed stops camera shake?
At least the reciprocal of your focal length is the floor, and in practice you want two stops faster than that. That means 1/60 s at 24mm, 1/125 s at 50mm, 1/250 s at 85mm and 1/500 s at 200mm when shooting handheld with stabilization switched off. Add a stop or two more if you are moving, working near a wall of people, or shooting at dusk.
Does raising ISO fix camera shake?
Raising ISO does not remove shake, but it lets you hold a fast enough shutter speed while the aperture stays open, which prevents the shake in the first place. ISO changes noise, not sharpness. A noisy sharp photo is almost always recoverable, while a clean photo with directional blur from camera movement cannot be rescued by any amount of noise reduction.
How do I tell camera shake apart from a focus problem?
Zoom the frame to 100 percent magnification. Camera shake smears fine detail into a streak that runs in one direction, so signs and brick edges trail sideways. Out-of-focus images are evenly soft across the whole frame with no direction. One more check: take a frame of something stationary. If that one is sharp and only the moving subject is soft, your exposure and focus are fine and the blur belongs to your subject.
How do I stabilize a camera without a tripod?
Use your own body first: two hands, elbows tucked against your ribs, knees bent, feet apart, and lean into a wall, a tree or a door frame when the location allows. From a folded jacket or a stack of books to a table or railing, most indoor surfaces make an acceptable support. A strap looped around your forearm gives a third contact point, and a longer exposure on a stable surface is safer than a shaky handheld frame at any ISO.
Why does my phone camera shake by itself?
A phone that vibrates, rattles or buzzes during recording is usually the optical image stabilization module hunting for a target it cannot find. Work through the software ladder in order: take the case off, since a heavy magnetic case adds its own magnet near the sensors; clean the lens; force-quit the camera app and restart the phone; update the operating system; then disable the camera app lock or enhanced stabilization mode and try again. If the vibration continues, the module has taken damage and needs service.
Conclusion
Take one frame of something stationary and check it at 100 percent, and you know whether the camera moved or your subject did. Raise the shutter speed until that test frame is clean, then add support, then tuck your elbows and brace if it is still trailing.
That is how to fix camera shake once and for all, and the diagnosis is repeatable: test frame, faster shutter, solid support, tight grip, verify at full size. Most soft photos in 2026 are settled by one of those moves in the first ten minutes of a session, and none of them require new gear.