
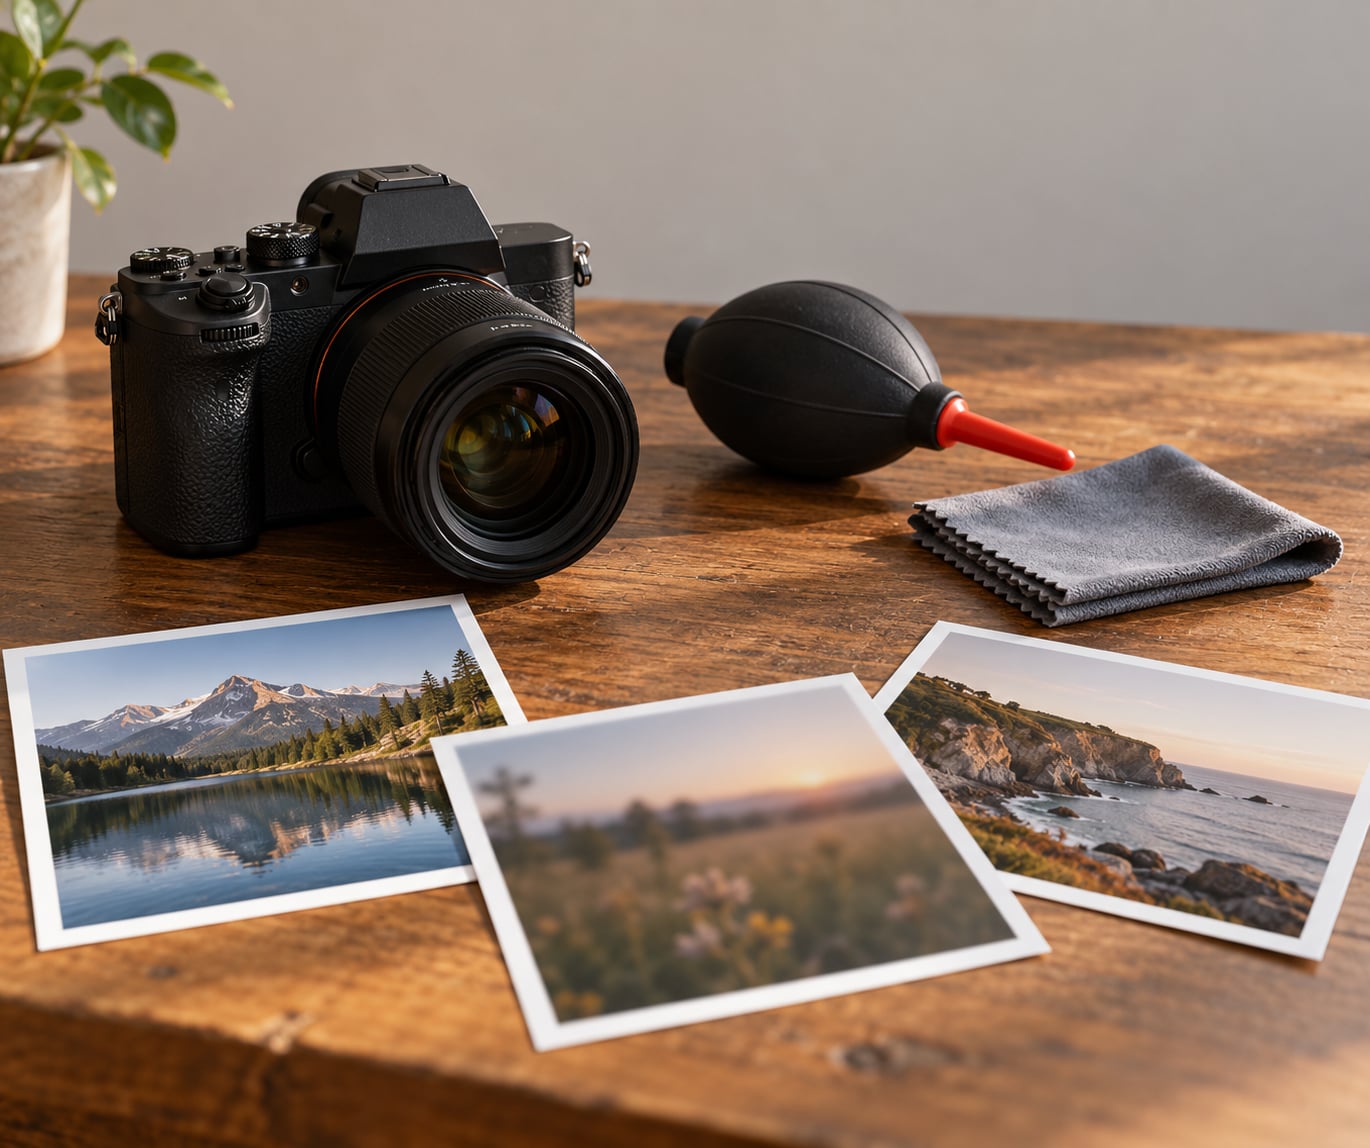
If you are wondering why are my photos blurry, the honest answer is that it is nearly always a setting you can change in under a minute: the shutter speed was too slow to freeze movement, autofocus locked onto the wrong spot, the front of your lens is smudged, or you are looking at a low-resolution cloud thumbnail instead of the original file. Working out which one you have takes about five minutes and saves you from buying gear you do not need.
The order of the checks below matters. Start by looking at the picture at full size, because everything after that depends on knowing whether you are dealing with motion, missed focus, or a lens that simply is not clean.
The five quick fixes
- Shutter speed too slow for hand-holding — stay at 1/125s or faster handheld, or put the camera on a tripod.
- Subject moving — raise shutter speed to 1/500s or faster, switch to continuous autofocus (AF-C, Servo) and shoot a short burst.
- Focus landed on the background — use single-point autofocus or tap-to-focus and put the focus point on your subject.
- Dirty or fogged front element — clean it with a blower and a microfiber cloth, never a sleeve or a tissue.
- Blurry gallery thumbnails — open or download the original file instead of the synced preview.
That is the short version. The rest of this guide is how to tell which of those five you actually have.
Table of Contents
- What You Need
- Why Are My Photos Blurry? A Step-by-Step Diagnosis
- 1. Inspect the photo at 100% and identify which blur you have
- 2. Check whether the subject moved during exposure
- 3. Rule out camera shake from hand-holding
- 4. Verify autofocus locked onto the subject you meant
- 5. A clean front element does not mean the optics are clean
- 6. Review shutter speed, aperture, ISO and stabilisation settings
- 7. Check for processing and upload artefacts
- 8. Improve technique and test the setup
- Common Mistakes
- Frequently Asked Questions
- What to Do First: A 60-Second Pre-Shoot Checklist
What You Need
None of this needs new equipment, and you can do all of it with the camera you already own. What you do need is a way to look closely and a way to isolate one variable at a time.
- The camera and lens you actually shoot with, plus whatever filters or adapters are attached. A lens in a transitional state — half on, unfiltered, or with a cheap adapter — is a classic cause of shots that suddenly look worse.
- The original file, not a screenshot or a shared version. Open it on a computer or phone and zoom to 100% before deciding anything.
- A tripod or a stable surface — a wall, a table, a fence post. Its value here is diagnostic: it removes camera shake from the equation so you can see whether shake was even the problem.
- A neutral-density filter, not to fix blur but to give yourself control of shutter speed in bright light. If you have never used one, how to use a neutral density filter is worth five minutes.
- A blower and a microfiber cloth for the front and rear elements.
- The camera manual, specifically the autofocus mode and stabilisation pages. Every brand names these differently and the labels hide in different menus.
- Image-editing software so you can compare the RAW file against the JPEG and check what sharpening did.
Why Are My Photos Blurry? A Step-by-Step Diagnosis
1. Inspect the photo at 100% and identify which blur you have
Open the original file and press the zoom key until you are at 100% — one image pixel to one screen pixel. Judging sharpness on a camera’s rear screen at arm’s length is the single most common misdiagnosis, because those screens are bright, small, and heavily sharpened in playback mode.
Then describe what you see. Motion blur smears in one direction, like a comet tail. Missed focus is soft everywhere with no direction to it, or sharp background and soft subject. A hazy, low-contrast softness that never quite goes away regardless of settings smells like dirty or fogged glass. People on photography forums triage exactly this way, captioning each frame with the suspected cause — whole photo out of focus, ghosting on the statue, subject soft but fence sharp — and that habit solves half the problem on its own.
If the frame looks fine on the camera and soft once it reaches your computer, stop diagnosing the camera and read the EXIF data of the actual file. Shutter speed, aperture, ISO and focal length are stored there, and they settle most arguments that guessing never does.
| What you see at 100% | Most likely cause | The one change to make |
|---|---|---|
| Whole frame soft, no direction | Focus missed, or a dirty front element | Clean the glass, then use single-point AF on the subject |
| Whole frame smeared one way, edges doubled | Camera shake | 1/125s or faster, or use a tripod |
| Subject smeared, background sharp | Subject movement | 1/500s or faster, AF-C, burst mode |
| Sharp on camera, soft on computer | Thumbnail or recompressed upload | Open or download the original file |
| Sharp centre, soft corners | Lens character, filter or adapter | Stop down one to two stops, remove filters |
| Soft everywhere, EXIF shows a fast shutter | Noise reduction, haze, or a long-lens limit | Shoot RAW in better light and compare at 100% |
2. Check whether the subject moved during exposure
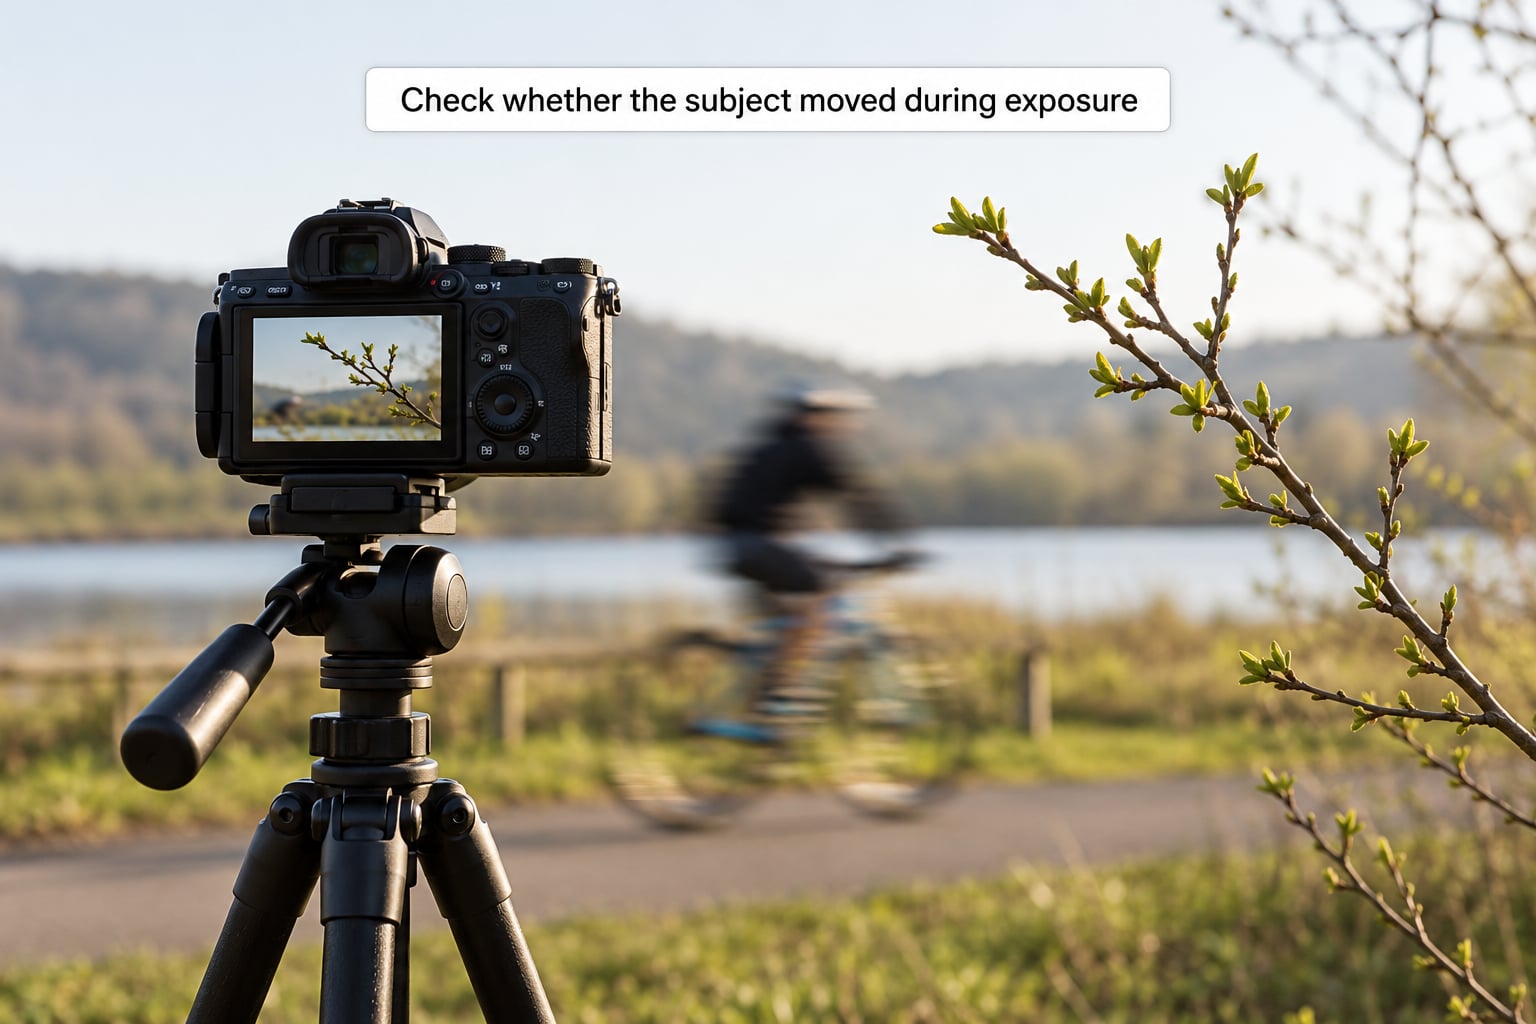
Subject motion has a signature you can trust: the moving thing is smeared while everything stationary stays crisp. People, pets, children, water, leaves in wind and passing vehicles all do it.
Three settings fix it. Raise the shutter speed to at least 1/500s for children and pets, and 1/1600s for anything genuinely fast. Switch autofocus from single shot (AF-S, One Shot) to continuous (AF-C, Servo) so the camera keeps tracking once the subject starts moving. Then shoot a short burst instead of one frame — you are looking for the one where the eyes landed, not the one where you pressed the button.
Here is where a lot of people get stuck. A beginner on r/AskPhotography shot birds on a Sony a6400 with a 18-300mm lens at 1/1600-1/4000s, ISO 1000-5000, f/6.3 and still called the results soft. Those speeds already rule out motion completely. When the shutter speed is fast and the picture is still soft, move on to the next four checks rather than adding more speed.
3. Rule out camera shake from hand-holding

Camera shake smears the entire frame in one direction and often produces doubled edges — a railing appearing as two railings. Subject motion smears only the subject. If a stationary wall at the side of the frame is soft, it is shake.
The fix ladder, in order of how fast it works:
- Tripod first. Mount the camera and use a 2-second self-timer or a remote release. Your hand on the shutter button is still movement.
- Then stabiliser. IS, VR and OIS are the same idea under three names. They buy roughly two to four stops, which turns 1/30s into a usable handheld speed. They do nothing for subject motion.
- Then shutter speed. 1/125s is the practical floor handheld for a static subject, 1/250s once a person is walking toward you.
- Then more light. A wider aperture or a faster lens lets you hold the fast shutter in the dark. If you want that light indoors without buying a second body, how to make a DIY softbox covers the cheap version.
- Then ISO. Modern sensors handle it better than you expect, and grain is far easier to live with than a smeared face.
A quick test settles it in ten seconds. Shoot the same static scene handheld, then again on a tripod, and compare both at 100%. If the tripod version is sharp, shake was your problem.
4. Verify autofocus locked onto the subject you meant
Autofocus is fast, confident and frequently wrong. It locks onto the nearest high-contrast thing, which is often a branch, a fence, a bright sky gap or a busy background pattern rather than your subject.
Switch to single-point autofocus and move the point deliberately. On Sony it is under Focus Area, on Canon in the AF method menu, on Nikon in the AF-area mode options, on Fujifilm in the AF bracket of the shooting menu. The labels vary but the function is identical. Half-press the shutter and watch which point lights up before you take the shot — if the dot is not on the face, the camera is not focusing on the face.
Two more tools worth turning on: back-button autofocus, which separates focusing from the shutter button so you can re-focus without refocusing the frame, and focus peaking, which highlights in-focus areas in bright colours and makes missed focus obvious at arm’s length. If you are still stuck, switch to manual focus on a stationary subject and confirm the mechanism works before blaming the autofocus.
On a phone, tap the screen directly on your subject to set both focus and exposure, then slide the sun icon down to lock exposure so a bright sky does not shift focus and exposure halfway through the shot. Turn off any portrait or bokeh mode that blurs the background before diagnosing the subject.
5. A clean front element does not mean the optics are clean
If you have already cleaned the front glass and the haze remains, the problem is somewhere you cannot see. Condensation after bringing a cold camera indoors fogs the rear element and the viewfinder, and it can take hours to clear. Scratches and coating damage on a cheap filter or adapter can haze the whole frame in a way that mimics softness. Internal dust or mould inside an old lens produces spots and low contrast, not blur, so rule it out early.
Check the mount too. After a knock, a lens can sit slightly misaligned and still tighten enough to feel secure, giving a soft corner and an oddly soft centre on every frame. If the lens twists slightly further than it should in its mount, that is the fault.
Clean in this order: blower first to shift loose grit, then a microfiber cloth with a single drop of proper lens fluid if there are greasy smudges. Never rub a dry cloth in circles — that drags grit across the coating. Never touch the rear element. And on a phone, wipe the small camera module itself, right next to the flash, where lint from your pocket collects.
6. Review shutter speed, aperture, ISO and stabilisation settings
These three settings trade against each other, so a fix for one often worsens another. Narrower aperture means more depth of field, which is the standard cure for a subject that is soft at the edges — but past about f/16 diffraction softens everything, which beginners rarely expect.
Stabilisation has limits worth knowing. It is designed for small, smooth hand movement at moderate focal lengths. Pan it across a scene, walk with it, or mount a stabilised lens on a body without a stabiliser and it will not simply make things sharper — on some combinations it adds blur.
| Subject | Minimum handheld shutter speed | Notes |
|---|---|---|
| Static landscape, buildings | 1/125s | Stabilisation buys two to four stops |
| People standing or walking slowly | 1/250s | 1/500s if gesturing or laughing |
| Children and pets indoors | 1/500s to 1/1000s | Pair with AF-C and burst |
| Birds in flight | 1/1600s | Long lenses need more |
| Sport and fast action | 1/1600s and up | Raise ISO before dropping speed |
| Indoor sport or stage | 1/250s | Stabilisation plus a wide aperture |
| Night scenes | 1/60s on a tripod | Longer, with a self-timer |
High ISO causes blur too, in a subtler way. Noise reduction smooths away fine detail, and heavy smoothing reads to the eye as softness even though no motion or focus error occurred. If your fast-shutter-speed frames are soft, check the ISO before you change anything else.
7. Check for processing and upload artefacts
Not every soft image was soft when it left the sensor. Three things happen after capture that make a sharp file look blurry.
Sharpening that overshoots creates bright halos along edges and a crunchy, smeared texture that reads as blur at small sizes. Pull the sharpening amount down and mask it so it applies to the subject only.
Noise reduction applied hard flattens texture. Lift it in shadows and midtones, and watch the detail slider rather than the overall amount.
Re-encoding on upload destroys fine detail permanently. Messaging apps recompress images aggressively, so a file that was crisp on the phone can look soft in the thread. Editing the original, not a copy someone sent you, keeps every pixel. When your library is getting unwieldy, how to organize photos in Lightroom covers keeping originals separate from exports.
If you shoot JPEG, the camera applied its own sharpening and noise reduction already, and stacking more on top makes it worse. RAW gives you the unprocessed capture. If a manual lens has the wrong lens profile applied, it will be softer than reality at any aperture — remove the profile before you judge anything.
8. Improve technique and test the setup
Once you have a fix, prove it on a controlled scene before you take it into a real situation. Put a high-contrast, stationary subject — a text label or a brick wall — in front of the lens in daylight. Shoot it handheld, then on a tripod, then with manual focus. Zoom each to 100% and compare. This takes two minutes and gives you a baseline you can return to whenever something feels off.
If a whole roll or a whole afternoon suddenly came out soft where previous ones were fine, suspect a setting that changed rather than a technique that changed. Check for a bumped lens, a focus mode switch, a stabilisation toggle, or autofocus that has become unreliable on an older camera. Film shooters have reported the same pattern on compacts, where more out-of-focus frames appear out of nowhere on one roll and not the next.
Common Mistakes
These are the errors I see repeated in troubleshooting threads, and each has a simple correction.
- Focusing on the background. The camera locks onto the highest-contrast area, which is often not your subject. Move the single AF point yourself, or tap the screen on the subject.
- Expecting stabilisation to freeze a moving person. It compensates for your hands, not for your subject. Move the shutter speed instead.
- Panning at a slow shutter with stabiliser on. The system fights your intended movement and leaves the frame soft. Turn it off when panning.
- Shooting through a smudged lens or a cheap filter. The haze looks like a focus problem and no setting fixes it. Clean the glass.
- Treating low resolution as blur. A 200px thumbnail is supposed to look soft. Open the original before judging.
- Editing a preview instead of the original. Screenshots and chat-app downloads are already degraded. Always start from the full-resolution file.
- Assuming a tripod guarantees a sharp photo. It removes shake entirely and leaves missed focus completely untouched.
- Pushing sharpening to fix softness. It cannot create detail that was never recorded, and it produces halos. Better to fix the capture next time.
Frequently Asked Questions
Why are my photos blurry even when I use image stabilization?
Stabilization compensates for small hand movements, not for subject movement or for a lens that is genuinely out of focus. It also has limits: on a 200mm lens, hand shake is large enough that even good stabilization can leave visible softness. Check the EXIF data of a soft frame and look at the shutter speed. If it is under 1/125s handheld, that is your answer. Stabilize, add light, or raise ISO until you reach a speed the image can hold.
Why are my photos blurry only at the edges?
Soft corners with a sharp center usually point to the lens rather than to focus or shake. Wide apertures are the classic culprit at f/1.8 and wider, especially with retro lenses whose corners are designed to be soft. Tilt-shift lenses render lines straight but lose sharpness at the frame edge. A cheap adapter or a loose filter ring can fog corners unevenly. Stop down one or two stops, remove the filter, and compare at 100% zoom.
Can a dirty camera lens make photos look blurry?
Yes, and it is one of the most common causes people rule out too late. A fingerprint on the front element scatters light into a hazy, low-contrast image that reads as softness, usually worst at wide apertures. Look at the front element under a light at an angle, clean it with a blower and a microfiber cloth, then shoot a high-contrast scene again. Phones suffer most here, because the camera module sits right beside your pocket.
Why do my photos look sharp on the camera but blurry when uploaded?
Almost always the upload, not the capture. Messaging apps and some browsers recompress images to roughly half their size, and cloud galleries show low-resolution thumbnails until you open the original. On an iPhone, open the photo, tap Share, then Save to Photos to generate the full-resolution copy, or enable Download originals in the Photos settings. If the file on the phone is sharp at 100% zoom, nothing was wrong with your camera.
How can I fix blurry photos in editing without losing detail?
Slightly soft shots are the most recoverable kind. Work on the original RAW file rather than a JPEG, and apply moderate sharpening with masking so you are not amplifying noise in the background. Motion blur responds better to deblur tools than defocus does, because the smear follows a direction. Heavy defocus has no recoverable detail behind it, and pushing sharpening harder only creates halos and crunchy edges.
What to Do First: A 60-Second Pre-Shoot Checklist
Before you raise the camera to your eye, run this list. It covers the most common causes of soft photos, in the order they are most likely.
- Wipe the front element with a microfiber cloth.
- Zoom in on the last soft frame to 100% and name the blur: smeared, uniform, or subject-only.
- Confirm the focus point is where you want it, using single-point AF or tap-to-focus.
- Check the shutter speed against the table above.
- Choose AF-S for a still subject, AF-C for anything that moves.
- Use a tripod or a two-second timer below 1/125s.
- Shoot a burst when the subject is unpredictable.
- Check the ISO — if it is very high, expect reduced fine detail.
Do one of two things first. If your soft shots were taken at a fast shutter speed already, clean the lens and test single-point autofocus — that combination accounts for most of the puzzling cases. If they were taken slowly, start with the tripod.