
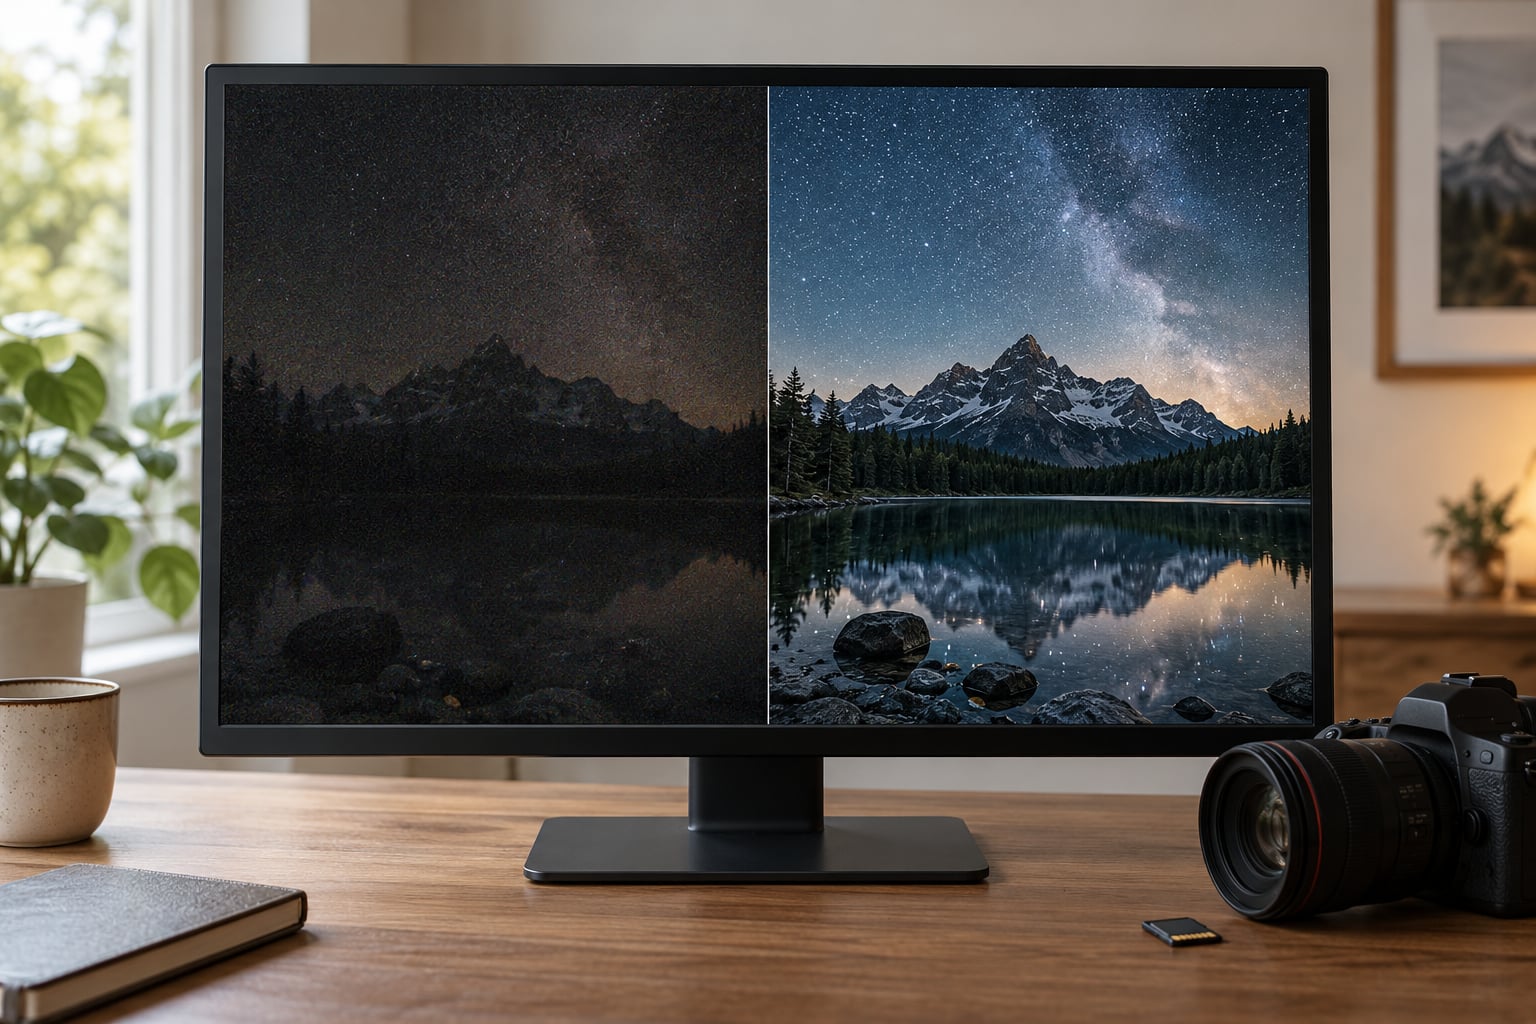
AI Denoise is a machine-learning noise reduction tool inside Adobe Lightroom, and learning how to use AI Denoise in Lightroom comes down to a handful of clicks: open the Detail panel in the Develop module, click the Remove Noise button, switch the preview to Before/After, and pick an Amount between roughly 40 and 70. From there you adjust Detail until natural texture survives. The whole thing is non-destructive and takes under a minute per photo on a modern graphics card.
There is one catch worth knowing before you start. Lightroom’s AI Denoise only works on RAW files, not JPEGs or TIFFs. If the Remove Noise button is greyed out on a photo, that is almost always why.
Below I walk through the full workflow, including where the menu moved between Lightroom Classic and the cloud version, how much denoise to use at different ISO levels, and the batch steps for a whole shoot.
Table of Contents
What You Need
You need a copy of Adobe Lightroom. AI Denoise lives in Lightroom Classic, in the cloud-based Lightroom for desktop, and in Lightroom for mobile on iOS and Android. It also works inside Adobe Camera Raw if you are a Photoshop user.
The button was introduced in Lightroom Classic 12.3, so anything older than that won’t show it at all. If your Detail panel has a Remove Noise button, you’re on a version that supports it.
A reasonably modern graphics card matters more than the camera. Adobe sends the RAW data through a GPU-based neural network, and forum users report waiting several minutes per image on integrated graphics versus around 30 seconds on a discrete card with 12 GB of memory. Expect the fans to spin up and the rest of the system to slow while it runs. That’s normal behaviour, not a fault.
Make sure Use Graphics Processor is switched on under Preferences, since disabling it multiplies processing time.
One housekeeping note. Denoise doesn’t destroy your original, because Lightroom never overwrites a RAW file. Applying it creates an enhanced version of that RAW internally, which is why you see a small dot beside the filename in the filmstrip. If you’re organising a large shoot before you start editing, how to organise photos in Lightroom is worth reading first. Keep your RAW files backed up regardless.
Step-by-Step: How to Use AI Denoise in Lightroom
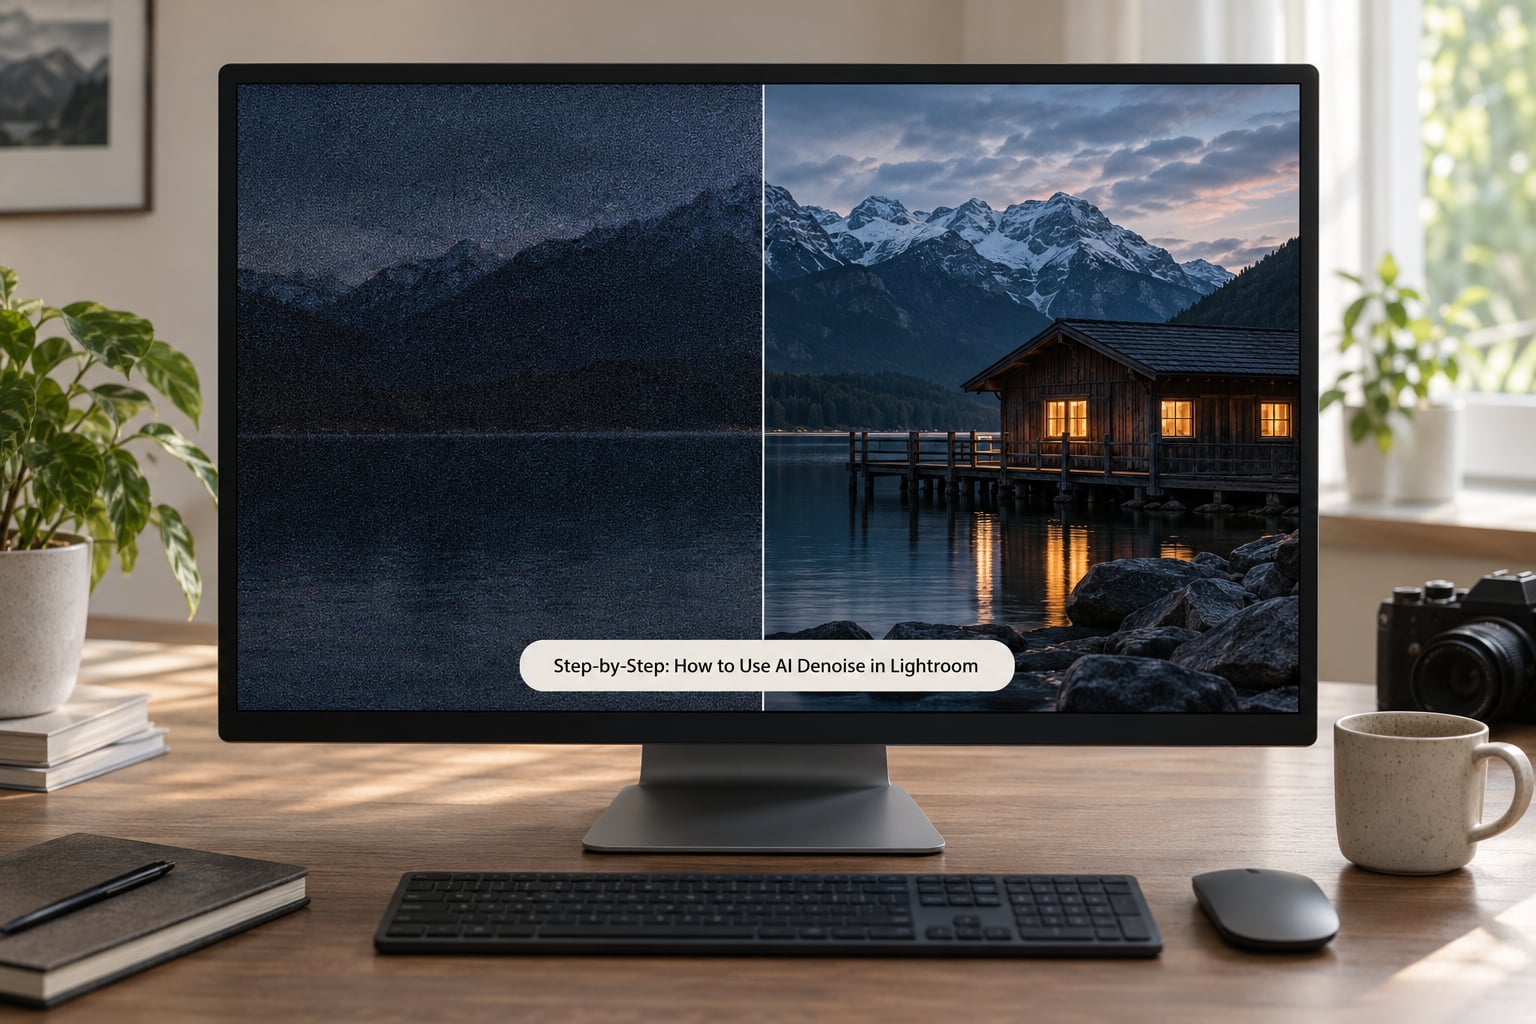
Step 1: Open the Photo in Lightroom’s Develop Module
Select the photo in the Grid view and press the E key to move into the Develop module. If you’re importing for the first time, let the raw files finish copying to your catalogue before you touch anything.
Put the cursor in the main image area and press Z once to open the Loupe view, then Z again to go to 100 percent, so that one screen pixel equals one image pixel. Judging noise at fit-screen size is one of the most common mistakes beginners make, because the noise simply isn’t visible at that scale.
Everything you do in the Develop module is non-destructive and stored in the catalogue. That means you can push the Denoise amount to 100, dislike it, and set it back without any loss.
Step 2: Adjust Exposure and Basic Settings First
Correct the exposure, white balance and tone curve before you denoise. AI Denoise is trained mostly on correctly exposed frames, and it makes its noise estimate from the data it can actually see. A frame that’s two stops underexposed gives it a lot less to work with.
Lift the shadows and set a sensible black point first. If you push denoise on a raw file with crushed, inky shadows, the result tends to look grey and slightly plastic.
Set the Sharpening amount and Radius to zero at this stage. Lightroom ships with sharpening at 40, and that sharpening runs inside the image data the denoise model reads, which skews the result in favour of smoothing. The sharpening community noticed this immediately, and it’s the reason a lot of professionals run a zero-out preset before denoising.
If you plan to convert to black and white later, decide that now or never. Denoising a colour image and then desaturating gives a completely different noise pattern than the reverse, and my experience says desaturate first. There’s a full guide to that at how to edit black and white photos in Lightroom.
Step 3: Enable AI Denoise
In Lightroom Classic, scroll the right-hand panel down to Detail. You’ll see a checkbox labelled Remove Noise next to Manual. Tick it and a small dialog appears with three controls: Preview, Amount, Detail, plus a Show Enhanced option.
Left-click the Remove Noise button to toggle the before and after views. Alt-click (Windows) or Option-click (Mac) lets you see the before image while you drag the sliders, which makes it easy to watch the two versions side by side as you change values.
In the cloud version of Lightroom for desktop, the route is the same in outline: choose the photo, open the Edit panel, expand Detail, and tick Remove Noise. On iOS and Android the control sits under the Edit icon, then the Detail and Noise controls. Mobile uses a lighter model tuned for phone-sized previews, so results are close but not identical to desktop.
If you’re wondering where the button went after an update, check that you’re on a RAW file and that Lightroom Classic is version 12.3 or later. Those two reasons cover almost every report of a missing button.
Step 4: Fine-Tune Denoise Amount and Detail
Start at 50 percent and work from there. Most high-ISO frames land somewhere between 40 and 70, and pushing past 80 is where skin texture and fabric weave start turning into plastic.
The Detail slider controls how much fine texture Lightroom tries to reconstruct. Higher values bring back grain-like micro texture but can also invent detail that wasn’t in the frame. Lower values give a cleaner, flatter look that prints well and holds up at small sizes.
A sensible starting point is to raise Detail a little above the default for landscapes and architecture, where leaf and stone texture matters, and leave it lower for portraits and food, where skin and fabric texture matter most.
| ISO range | Typical subject | Amount | Detail |
|---|---|---|---|
| Under 800 | Daylight, well lit | 0 to 20 | Default |
| 800 to 1600 | Weddings, indoor events | 25 to 40 | Default |
| 1600 to 3200 | Concert, indoor sport | 40 to 55 | Default or slightly lower |
| 3200 to 6400 | Astro, wildlife at dusk | 50 to 65 | Slightly above default |
| 6400 and above | Auditorium, night interiors | 65 to 80 | Low, then check for artefacts |
This is a starting range, not a rule. If the camera is newer, or you’re shooting a mirrorless body with a cleaner sensor, you may need far less than the table suggests. Use the ISO as a reference and judge by eye.
One thing to watch: denoising can quietly shift your tonality. Shadows often come back slightly cleaner and a touch flatter, so revisit the Shadows slider and Clarity after the model runs rather than fighting it afterwards. If you already have Select Subject or AI masks on the photo, they re-evaluate after denoising, which occasionally shifts an edge. This is another reason to denoise early, before you build masks and run healing passes.
Step 5: Compare Before and After at 100%
Tick Show Enhanced in the denoise dialog and then press Z to move between 100 percent and a zoomed-out view. In older versions of Lightroom the enhanced preview rendered at a much higher magnification than 1:1, which made results look softer than they really were. Zoom to 100 percent in the Loupe view to judge properly.
Look at specific areas rather than the whole frame. Zoom into hair, eyelashes and fabric for portraits. Check the gap between leaves and the texture of rock or brick for landscapes. Look at the darkest shadows for banding and along high-contrast edges for halos.
If natural texture has been flattened, drop the Amount by 10 and raise Detail slightly, then look again. A clean but lifeless image is worse than a slightly grainy one, because noise is easier to tolerate in print than missing texture.
Step 6: Apply Settings to Similar Photos or Export
To roll the settings out across a batch, select all the photos in the Grid view, then use the Sync menu in the panel footer to apply the current settings. Make sure the Remove Noise checkbox is included in the settings you copy, or the batch will sync exposure and colour but skip the denoise.
Keyboard shortcuts worth knowing: Ctrl+B on Windows and Cmd+B on Mac toggles the Before and After view. Alt or Option plus click on the Remove Noise button shows the before version while you adjust, and Shift plus click applies the same denoise to multiple selected photos at once.
Leave sharpening at zero through the denoise step, then set your Texture and Sharpening values afterwards, after the photo is fully adjusted.
When you export, use a 16-bit TIFF or a high-quality JPEG for delivery. Don’t export while the denoise preview is still rendering, since that can write the before version. If you’re working on a composite or a layered file, export and re-import before you flatten so nothing gets baked in.
Common Mistakes
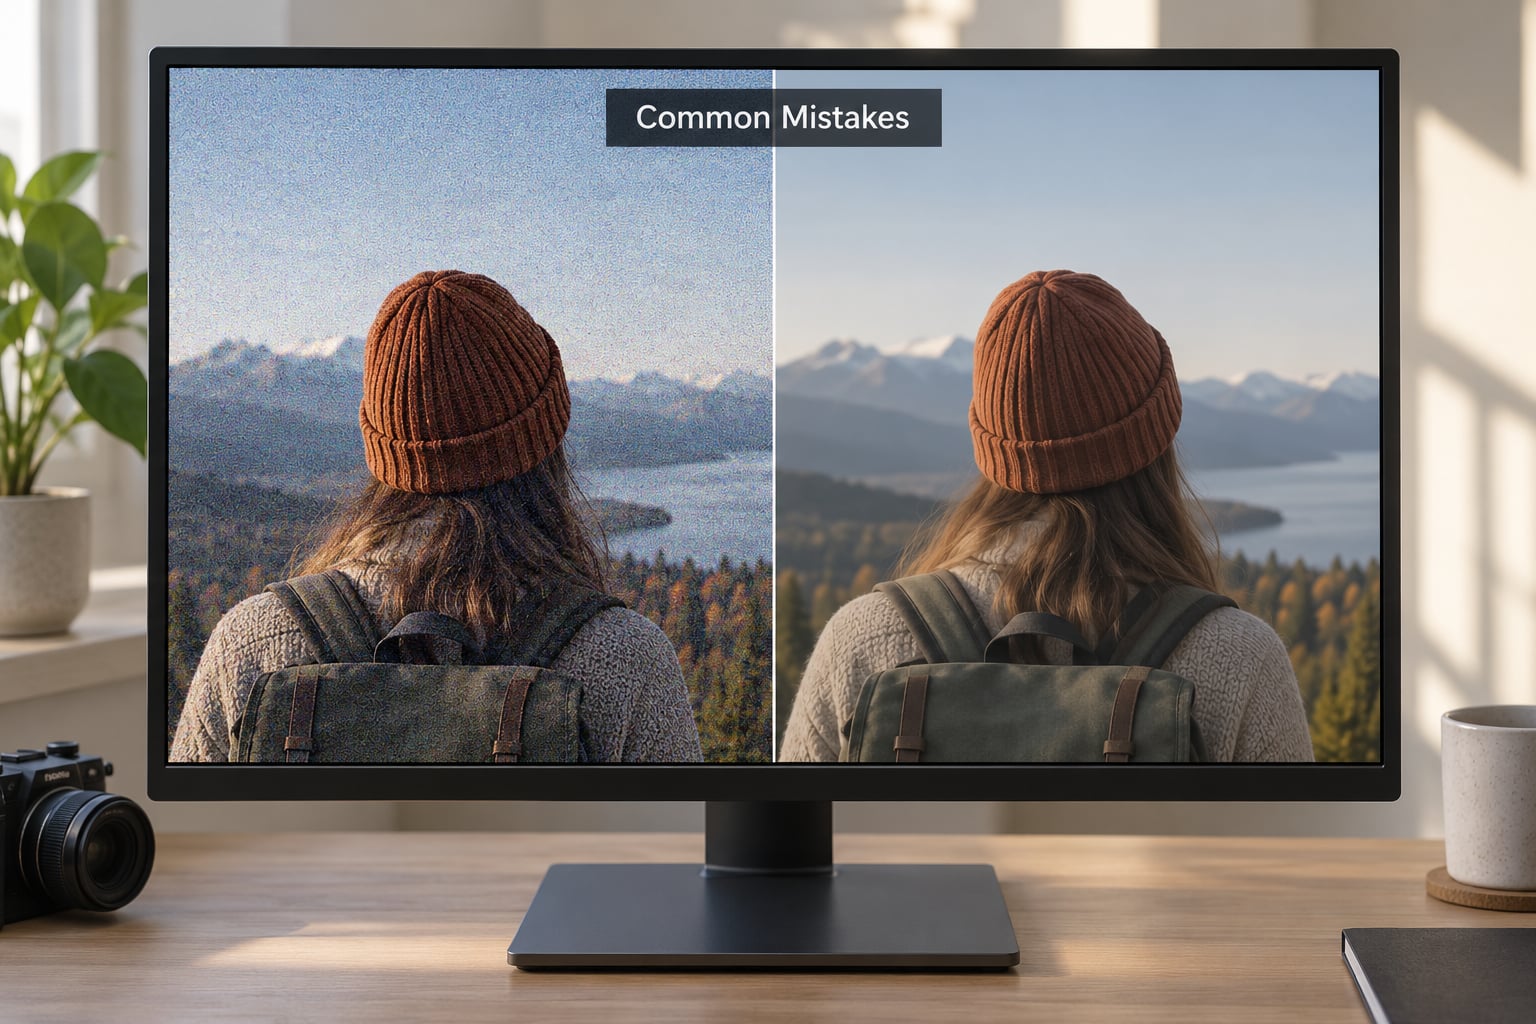
Denoising too late in the workflow. If you denoise after masking, healing and sharpening, the AI has to guess at detail that other tools have already altered, and you get soft edges and phantom patches. Run denoise right after the basic tonal correction, before masks and retouching. Forum consensus on r/Lightroom and the Adobe developer community lands on this repeatedly.
Using too much strength. Anything past 80 flattens skin and fabric. Drop the Amount and raise Detail instead. A noisy image with visible texture is usually a better result than a clean one that looks airbrushed.
Judging at fit-screen zoom. At Fit or Zoom Out, noise is invisible and every version looks clean. Always judge at 100 percent in the Loupe view, ideally in a dark room on a decent monitor.
Applying the same setting to every frame. One ISO doesn’t mean one amount. Scale the value to the light you’re working with, and check each hero image at 100 percent. Sync is for speed, not for skipping the check.
Forgetting to zero the sharpening. Lightroom’s default sharpening of 40 biases the result. Setting Sharpening Amount and Radius to zero, or applying a zero-out preset built with how to create Lightroom presets in Classic, gives the model a clean starting point. Restore your sharpening afterwards.
Expecting the button on a JPEG. AI Denoise is RAW only. If the Remove Noise checkbox is missing or greyed out, check the file type first.
Panicking at the processing time. AI Denoise uses the GPU 3D processing flow by design, so a pinned processor and a laggy interface are expected on weaker hardware. Keep graphics acceleration enabled, close heavy apps, and expect roughly 30 seconds per image on a capable card.
Frequently Asked Questions
Why can’t I use Denoise in Lightroom?
The Remove Noise checkbox is greyed out on any JPEG or TIFF, because AI Denoise only works on RAW files. It also needs Lightroom Classic 12.3 or later, or a current version of cloud Lightroom or Lightroom mobile. Check both of those first, since those two reasons account for nearly every case.
Where did AI Denoise go in Lightroom?
If the button has vanished after an update, the image is probably a JPEG or TIFF rather than a RAW, or you’re on a Lightroom version older than 12.3. In cloud Lightroom the control lives in the Edit panel under Detail rather than the right-hand panel, so it can look like it moved rather than disappeared.
How much Denoise should I use in Lightroom?
Start at 50 percent and treat 40 to 70 as the working range for high-ISO frames. Below ISO 800 you rarely need more than 20. Raise the Detail slider as you lower the Amount if texture looks flat, and always check hair, foliage and fabric at 100 percent zoom before accepting the result.
Is AI Denoise considered AI?
Yes. It runs a trained neural network on the camera’s RAW data through the GPU rather than using a traditional fixed filter, which is why it can rebuild texture instead of only smoothing it. Lightroom sends the data for processing and returns an enhanced version of the RAW that is merged back with your Develop settings.
Does AI Denoise change my original RAW file?
No. Lightroom is non-destructive and never overwrites your original. Applying denoise creates an enhanced version of the RAW, which is why a small dot appears beside the filename in the filmstrip. You can set the Amount back to zero at any point and the original data is still untouched.
How do I AI Denoise multiple photos at once?
Select all the photos in the Grid view and use the Sync menu in the panel footer to copy the current settings across them, making sure Remove Noise is included in what’s copied. Holding Shift while clicking the Remove Noise button applies the same denoise to every selected image. Each photo still needs a quick 100 percent check afterwards.
Conclusion
Fix the exposure, shadows and white balance first, with sharpening at zero. Then tick Remove Noise in the Detail panel, start at 50 percent, and check the result at 100 percent zoom in the areas where texture lives. Whenever the image looks clean but flat, lower the Amount a little and raise Detail. That single habit is the difference between a usable AI Denoise result and a plastic one.