
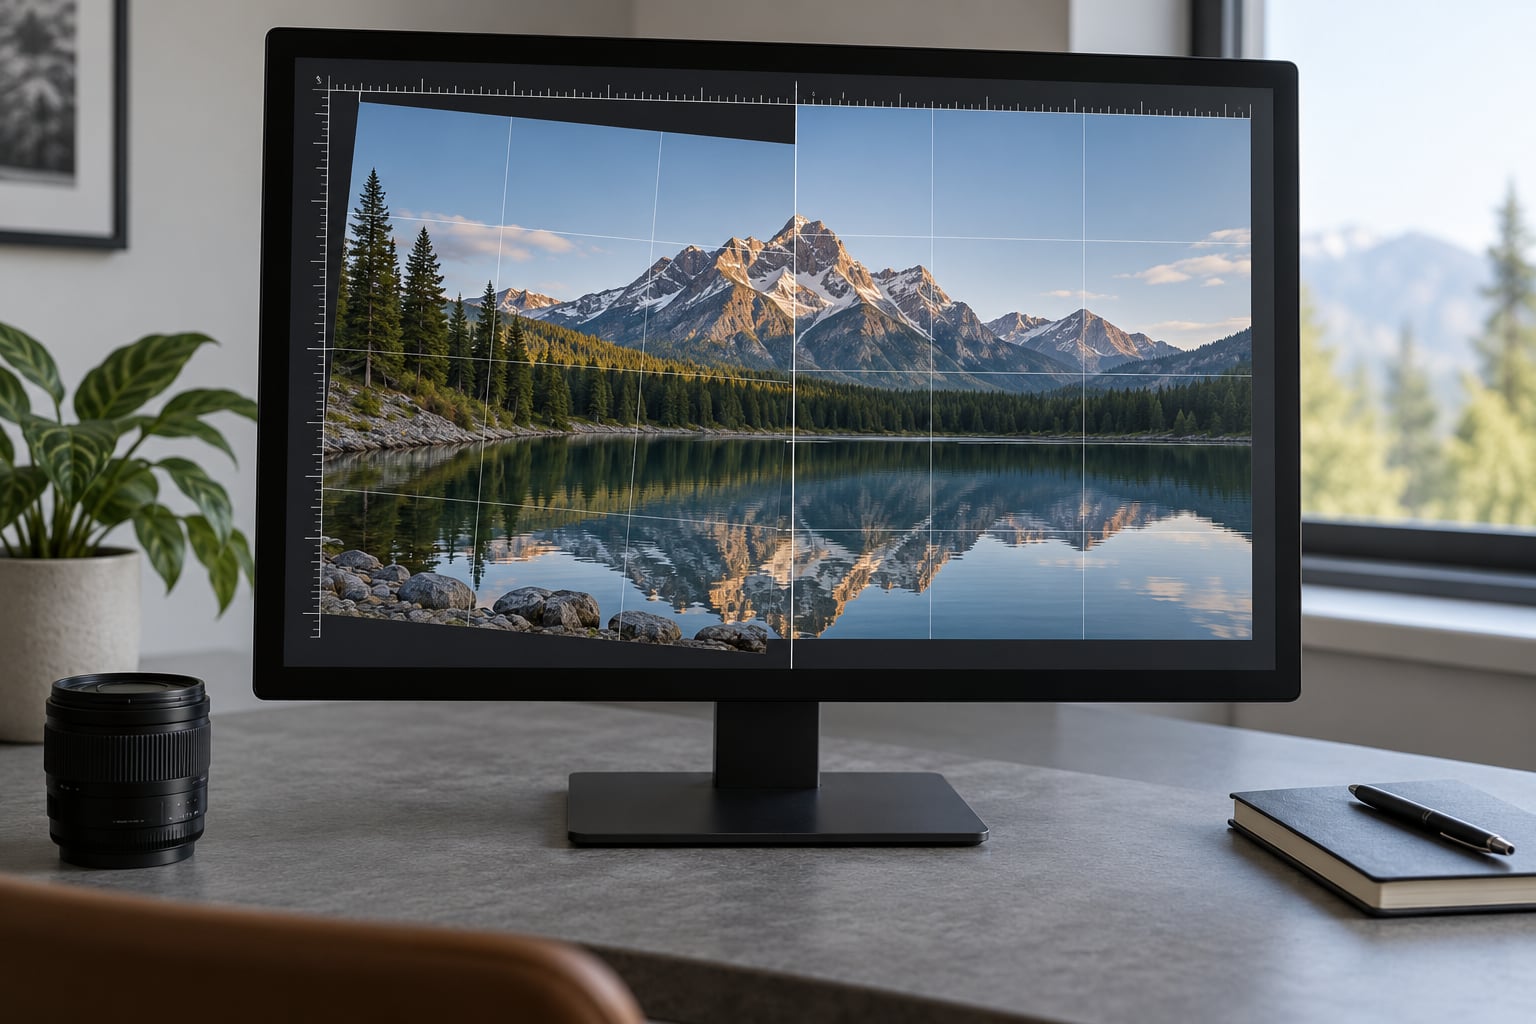
To straighten a crooked horizon, rotate the frame a few degrees until the horizon sits level, then crop off the empty corners it creates. Every serious editor does it in seconds: open the crop and straighten tool, drag a line along the horizon (or let auto straighten find it), check the angle, and crop. On a desktop that takes about two minutes per frame. On a phone it takes about thirty seconds, with less precision.
What actually takes the time is judgement. Knowing which line to trust, how far you can rotate before the composition falls apart, and what to do when a wide lens has bowed the horizon instead of tilting it. That is what the steps below cover.
Table of Contents
- What You Need
- How to Straighten a Crooked Horizon Without Warping the Photo
- Common Mistakes That Ruin a Straightened Photo
- Frequently Asked Questions
- Does a horizon line have to be straight in a photo?
- Why won’t my iPhone Photos app rotate horizontally?
- How do I fix a bowed or curved horizon from a wide-angle lens?
- How much rotation is too much to fix in post?
- Do I need perspective correction after straightening a photo?
- Can I straighten a whole shoot instead of one photo at a time?
What You Need
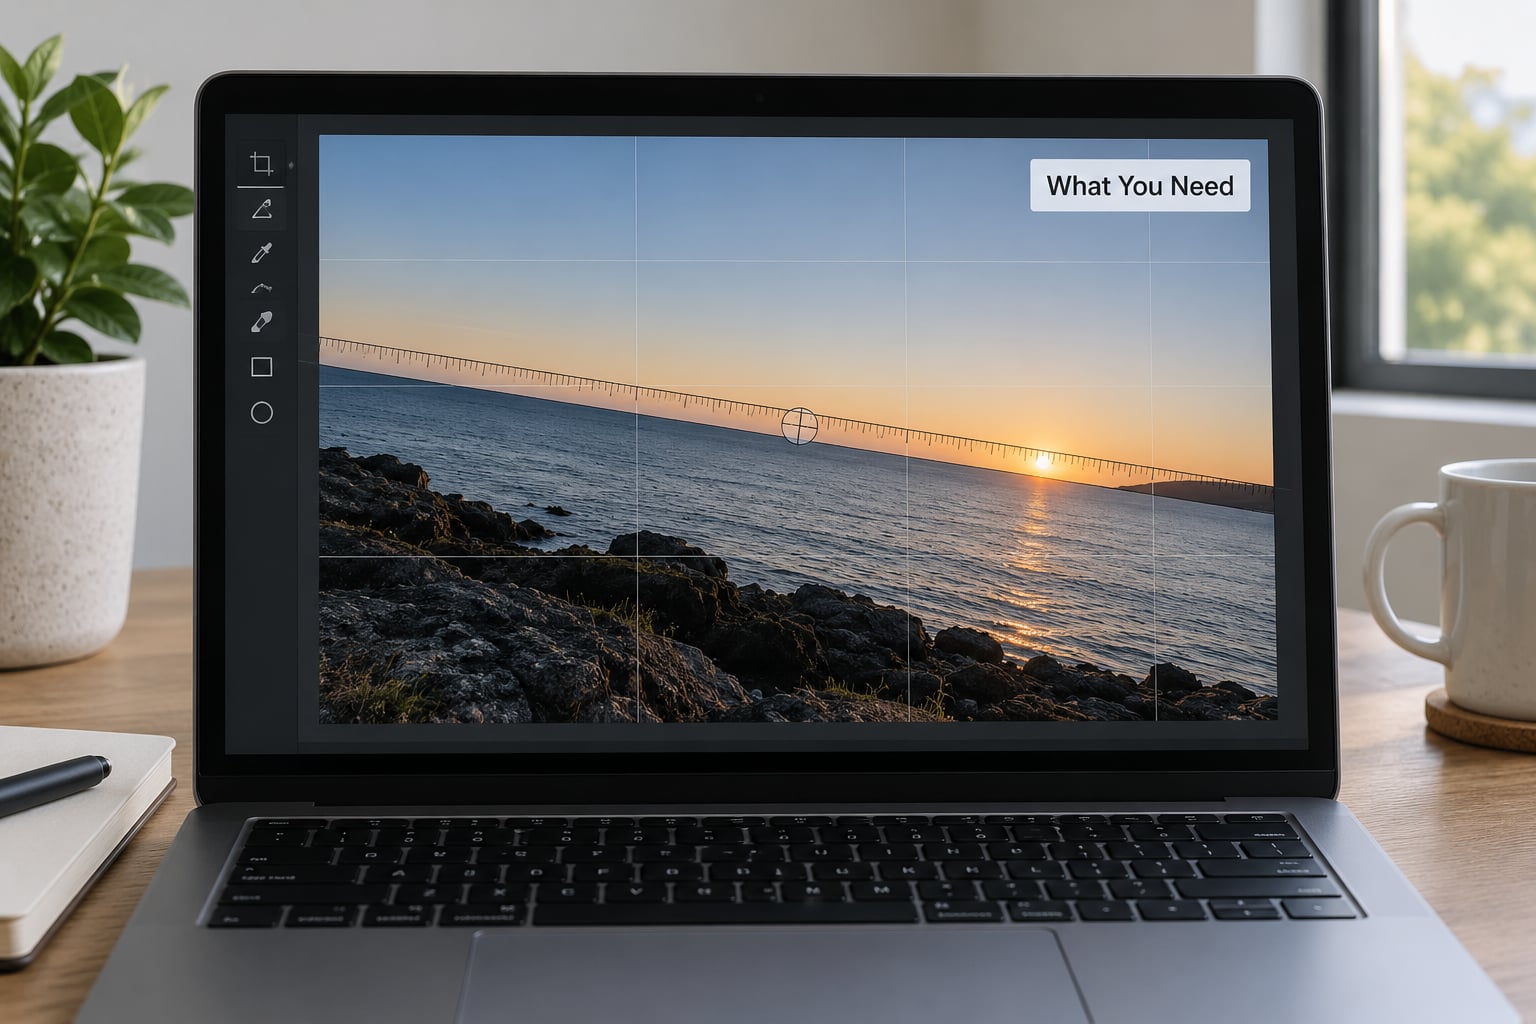
You need four things, and only one of them costs anything.
The original file. A RAW file gives you the most room, because the rotation happens before the image is developed. A JPEG is fine, but rotate it once and the software recompresses it, so keep the untouched original in your archive.
An editor with a rotate control. Lightroom and Adobe Camera Raw have a dedicated Straighten tool. Photoshop has the Crop tool and Free Transform. Capture One has a Level Horizon button. The Photos app on iPhone and Android has a straighten slider inside its crop tool. Any one of them will do the job.
A non-destructive workflow. In Lightroom and Camera Raw the crop and rotation live in the Develop module and never touch the file, so you can undo and redo freely. In Photoshop, work on a duplicate layer or a smart object so the original pixels survive.
A straight reference. To judge level you need something that is genuinely horizontal in the scene: a calm waterline, a distant shoreline, a flat roofline, or the grid overlay built into your editor. Without one, you are guessing.
How to Straighten a Crooked Horizon Without Warping the Photo
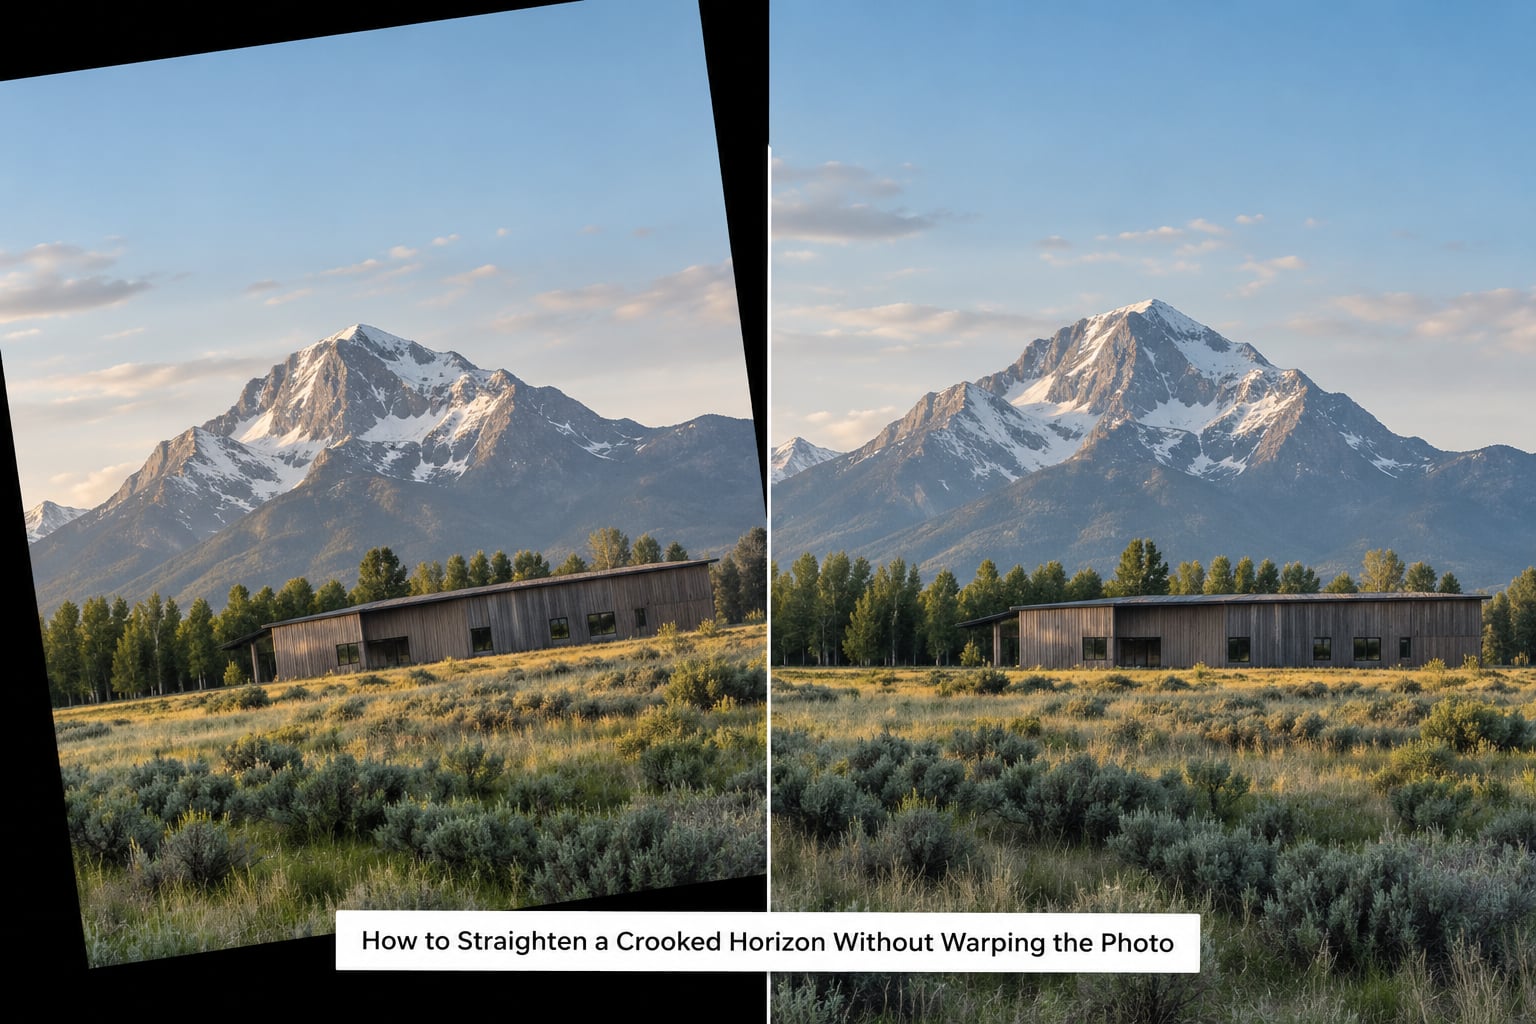
Rotation is the safest correction in photo editing. It does not stretch a single pixel, it does not invent detail, and it cannot make an image softer. The only cost is the corners of the frame that swing out of view. Work in this order and you will rarely need a second attempt.
Choose a Reliable Reference for the Horizon
Draw your line along something that is level in the real world, not something that looks level. A lake at dawn, a calm sea, a flat roof or a bridge deck are all good. So is a row of window sills or a fence rail.
Avoid mountain ridgelines, treelines and shorelines broken by rocks. People call these the most reliable reference and they are the opposite: a natural edge is rarely level over its full length, and matching your frame to a bumpy ridge produces a horizon that looks worse than the one you started with.
Turn on the grid. Press U in Lightroom or Command or Control plus Shift and U in Photoshop to cycle through grid overlays. A rule-of-thirds grid is not a level guide, but a square grid makes a tilted horizon obvious in a way the thirds grid does not.
How to Open the Straighten Tool in Your Editor
In Lightroom Classic and Adobe Camera Raw, press R for the crop overlay. Three icons appear under the frame: Straighten, Level, and the Auto angle control. Straighten draws your reference line, Level gives you a horizontal drag handle, and Auto scans the image for a level edge. Double-clicking the angle dial runs auto straighten.
In Photoshop, press C for the Crop tool and drag outward from the corner of the crop frame; the frame rotates with your drag. For finer control use Edit, Transform, Free Transform (Command or Control plus T) and type the angle into the Options bar. Keep the Pivot set to the centre so the image turns around its middle instead of swinging off to one corner.
In Capture One, open the Crop Tool, then use Level Horizon from its menu to have the software detect the edge, or switch to Straighten Horizon Tool and draw your own line. The Tool menu also holds Guided Upright, useful for buildings shot from below.
On a phone, open the photo, tap Edit, then the crop icon, and drag the straighten slider at the bottom of the screen while watching the level indicator. The rotate icon next to it only turns the image in 90 degree steps, which is why horizontal adjustment never seems to work there.
Set the Rotation and Check the Result
Small corrections win. Most tilted frames are off by one to four degrees, and anything past about seven degrees was probably a deliberate Dutch tilt or a badly framed shot that no rotation will rescue.
Zoom in to 100 percent and check the horizon in at least two places along the frame. A line that looks level at the bottom can still drift at the edge. Then flip back and forth between the corrected view and the original with the before-and-after key, and step back far enough to see the whole frame at once, because a correction that is technically perfect can still leave an awkward wedge of empty corner.
If auto straighten lands on something wrong, ignore it and draw your own line. Auto detection reads edges well in simple scenes and struggles badly where mountains, rock or rooftops stack up, which is exactly where photographers need the help.
Crop, Refine, and Save the Corrected Image
Rotating the frame leaves wedge-shaped gaps at two opposite corners. Set the aspect ratio first (16:9 for screens and video, 3:2 for prints), then move the crop box so the composition survives: keep the main subject inside, and expect to lose a little from each corner.
If you would rather lose nothing, there is a way out. Rotate the image layer in Photoshop, select the empty wedges, and run Generative Fill or Content-Aware Fill. It reads the surrounding pixels and extends them plausibly. It works well on skies and water, and it will happily invent a mountain ridge you never shot, so check it at full size before you accept it.
A tilted frame is not the same problem as a bowed one. Wide angle lenses curve straight lines, so a horizon that is flat in reality appears bowed in the file. Rotating will not touch it. In Lightroom or Camera Raw, open the Optics panel, set Remove Chromatic Aberration on, then set Profile Adobe Camera Raw and tick Remove Distortion before you straighten. The horizon becomes straight all the way across and the crop loses almost nothing.
Saving is where people lose the original. In Lightroom the change is non-destructive, so just leave it in Develop and export. In Photoshop, use Image, Image Size or Export As to write a new file rather than overwriting. If you shoot a whole sequence from one spot, apply the same angle to the rest: copy the Develop crop settings to the other frames, or paste them with Command or Control plus Shift plus V, and adjust each one a fraction if the tripod moved.
Common Mistakes That Ruin a Straightened Photo
Trusting a bumpy natural edge. Mountain ridges and rough shorelines are not level. Aligning to them leaves the true horizon off by a degree or two, which is more distracting than the original tilt.
Over-rotating. If you need more than about seven degrees, the problem is usually the composition, not the horizon. Walk the frame or crop tighter instead of forcing level.
Cropping until the corners are gone. Every degree of rotation steals a slice of the frame. Decide which corner you can spare before you commit to the angle, and leave yourself margin.
Ignoring the lens profile. Straightening a bowed wide angle shot by rotation still leaves the curve. Fix Profile and Remove Distortion in the Optics panel first, then rotate.
Changing perspective by accident. Using vertical perspective correction or Guided Upright on a natural shot with no converging verticals will bend buildings that were fine. Straightening should only rotate.
Overwriting the only copy. Flattening the layer and saving over the original in Photoshop removes the ability to back the rotation out. Keep a smart object or a duplicate.
Trusting auto straighten on a busy scene. Double-click is fast and usually right, but on layered ridgelines it locks onto the wrong edge. Always verify the angle by eye against a known level line.
Frequently Asked Questions
Does a horizon line have to be straight in a photo?
Not always. Landscape and architectural work reads far better with a level horizon, because viewers notice tilt instantly even when they cannot say why. Portraits, street scenes and creative shots can carry a slight tilt on purpose, and a Dutch angle is a legitimate stylistic choice. The rule is simple: level it when the horizon is the subject or when nothing else in the frame gives the eye a competing angle.
Why won’t my iPhone Photos app rotate horizontally?
The rotate button in the Photos app only turns an image in 90 degree steps, so it cannot fix a slight tilt. For a crooked horizon, tap Edit, open the crop tool, and drag the straighten slider along the bottom edge while watching the small level indicator. If the slider is missing, tap the crop icon first, then rotate the phone sideways to widen the editing area and the control appears.
How do I fix a bowed or curved horizon from a wide-angle lens?
A bowed horizon comes from lens distortion, not camera tilt, so rotation alone will not flatten it. In Lightroom or Camera Raw open the Optics panel, enable Profile Adobe Camera Raw, tick Remove Distortion and set the amount between 40 and 80, then check the Highlight slider if corners turn grey. Straighten afterwards with the Straighten tool. On a wide lens this usually costs less image area than a manual rotation would.
How much rotation is too much to fix in post?
Most accidental tilt falls between one and four degrees, and that range corrects cleanly with almost no loss of frame. Past about seven degrees you are usually trying to fix a composition problem, and forcing a level horizon throws away a lot of the image to get there. Beyond roughly ten degrees the corners intrude badly and a second tool, such as Generative Fill, is needed just to hold the shape together.
Do I need perspective correction after straightening a photo?
Only when real straight lines are converging. If vertical building edges lean in or out, use Upright Auto or Guided in Lightroom, or Perspective Warp in Photoshop, and keep the amount low so the correction stays invisible. For natural scenes with mountains, water or open ground, rotation alone is correct. Adding vertical perspective to those shots tilts the horizon again and undoes your work.
Can I straighten a whole shoot instead of one photo at a time?
Yes, in Lightroom. Finish the crop and angle on one frame, then right-click the Develop crop settings and choose Copy Settings, select the rest of the frames, and paste. Every photo gets the same rotation. If the tripod head shifted between frames, set each image to a fixed corner before pasting so they share one pivot point, then nudge the few that are off individually.
Start with the photo where the tilt is smallest and most obvious, open the straighten tool, and draw one line along a level reference. Check the angle at 100 percent, crop away the corners you can spare, and export to a new file. Two minutes per frame, and you never touch the original.