
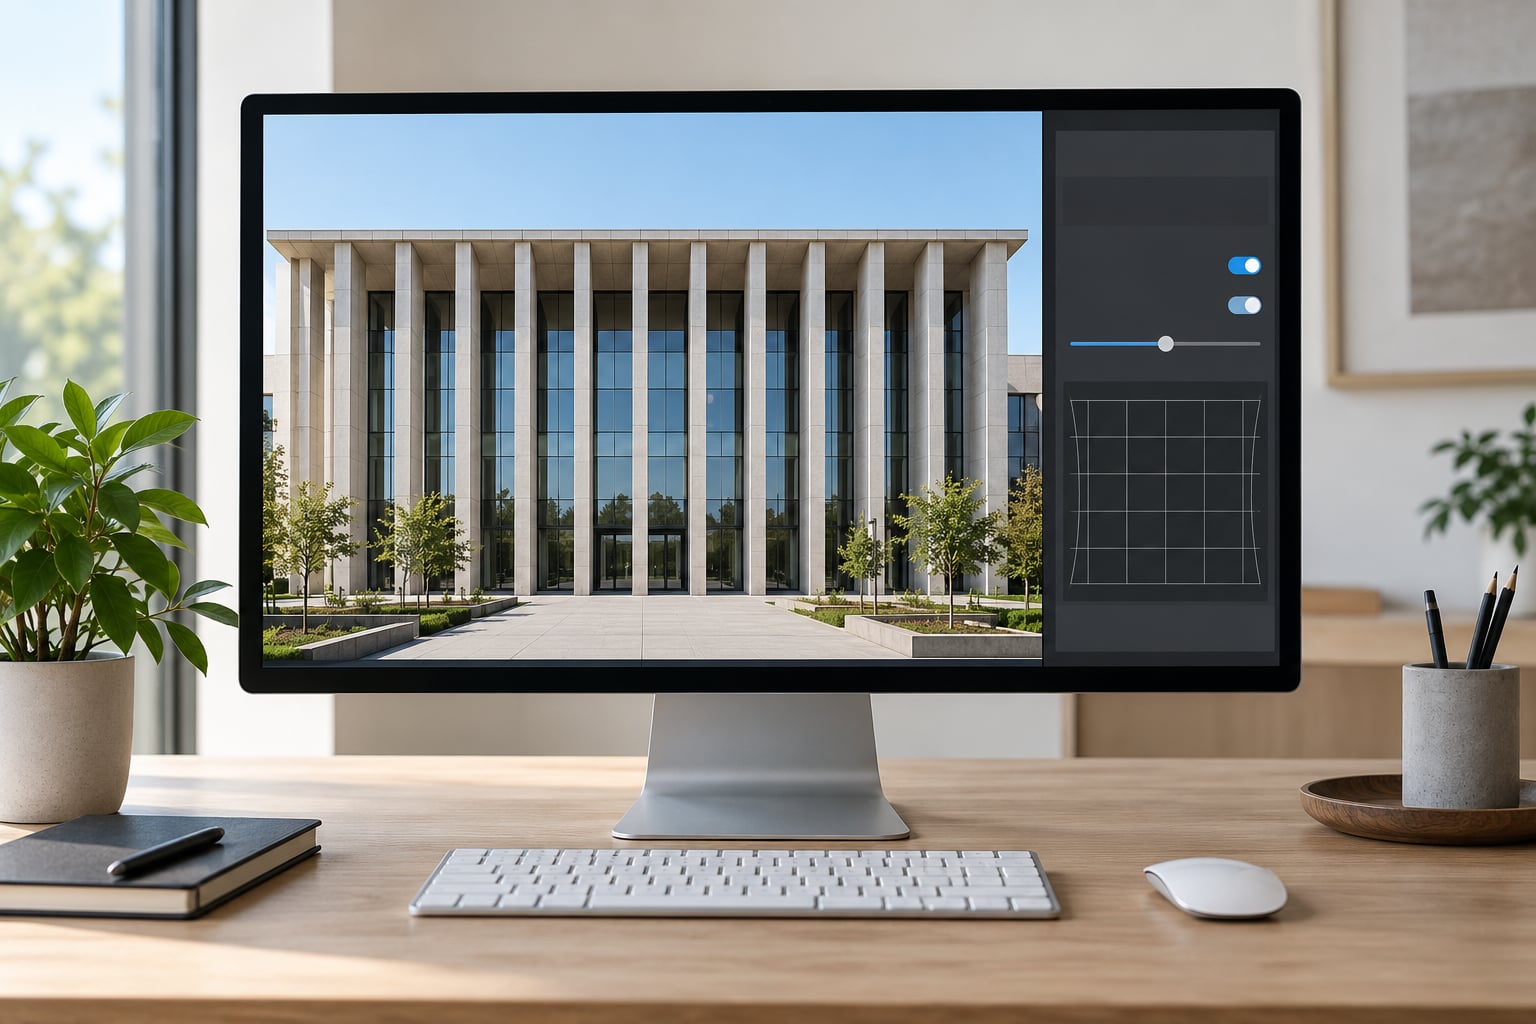
To remove lens distortion in Lightroom, open your photo in the Develop module, go to the Lens Corrections panel, and check Enable Profile Corrections. Lightroom reads the camera and lens from the file’s EXIF metadata, looks up a matching lens profile, and applies the right geometric fix in one click. Everything below covers Lightroom Classic, the cloud app and mobile, plus what to do when Adobe has no profile for your lens.
The whole job takes about a minute on a supported camera and lens, and everything happens on a non-destructive copy of the RAW file, so there is no way to damage the original. What trips most people up is that four different problems all get called distortion, and each one needs its own control.
- Barrel distortion — straight lines bow outward. Short and wide lenses, usually below 35mm, do this most.
- Pincushion distortion — straight lines pinch inward. Telephotos show it, and strong profile correction can bring a little of it back.
- Lens vignetting — the corners go dark because light is spread across the sensor unevenly. It is a brightness problem, not a geometry problem.
- Chromatic aberration — coloured fringes along high-contrast edges, purple or green, caused by the lens failing to focus all colours at the same point.
Converging verticals are none of these. That is a perspective effect from shooting upward, and only Upright handles it.
Table of Contents
What You Need
You need the original RAW file rather than a JPEG exported from the camera. Lens profiles apply to raw sensor data, so a JPEG that already carries baked-in distortion can only be nudged toward straight, never fixed properly.
You also need to know the camera body and the exact lens, including any adapter or converter in the chain. Profiles match on the Make, Model and Profile dropdown, so “a 35mm” is not enough — you need the maker and model as they read on the lens barrel.
Keep the Lightroom version in mind. Lightroom Classic and the cloud-based Lightroom share most names, while the mobile app calls the same group of controls the Optics panel and labels the toggle Enable lens corrections. The steps below mark every place the wording changes.
A few other things help: the ability to zoom to 100 percent on the corners, a straight reference in the scene such as a door frame or a horizon, and roughly ten minutes of patience for the first photo of a new lens. If your library is still a jumble of folders and filenames, sort that out first — our workflow for organizing photos in Lightroom covers how to keep a shoot tidy enough that finding the next frame takes seconds.
How to Remove Lens Distortion in Lightroom Step by Step
Open the photo in the Develop module, go to the Lens Corrections panel, and check Enable Profile Corrections. Then work through the seven steps below in this order — correction first, perspective second, crop last.
1. Work in the Develop Module
Select the image in the Grid view and press D to jump to the Develop module in Lightroom Classic. In the cloud version of Lightroom the editing tools are already on screen when you open a photo, so there is no separate module to switch to.
If the photo already has Lens Corrections or Optics settings applied, reset them first so you judge the raw result. Click the panel heading to reveal the group, then use the panel menu and choose Reset Settings. That resets the corrections only; your exposure, white balance and crop survive.
2. Set the Correct Camera Profile
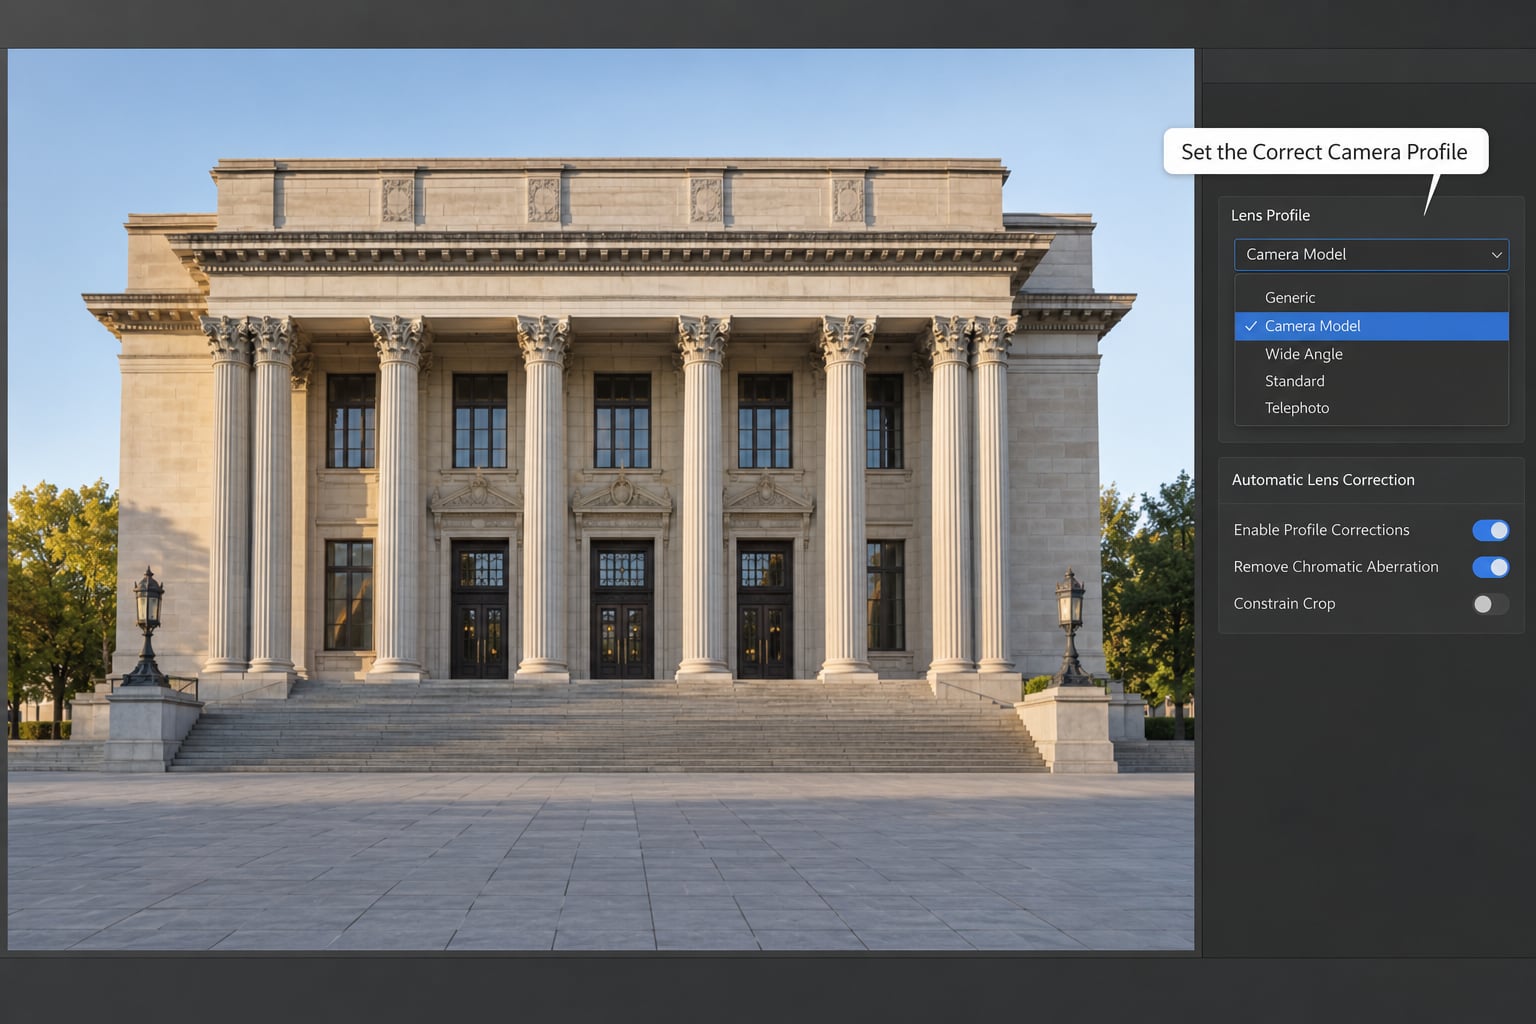
Find the Profile panel and confirm it reads Adobe Camera Profile with the profile matching your camera make and model. Underneath that dropdown there is a second line naming the lens. If it says something other than what you shot with, the correction that follows will be wrong.
That second dropdown is also your fallback for lenses Adobe has never profiled. Open it and you get a list of Make, Model and Profile entries. Pick the closest match — same focal length, same zoom range, same maker if one exists — and use it as a starting point rather than a finished answer.
Choosing a generic profile such as Neutral or Standard leaves bowing in place. Those profiles say nothing about how your lens bends light, so nothing gets corrected. This is the single most common reason someone concludes that lens correction does not work in Lightroom.
3. Apply the Profile’s Automatic Corrections
In Lightroom Classic, click the lens profile name to open the list of corrections Adobe built for that lens. Two toggles usually appear: Remove Chromatic Aberration and Remove Vignetting. Check Enable Profile Corrections, then check Remove Chromatic Aberration — it costs nothing and removes the colour fringing with it.
On mobile, open the photo in Detail view, tap Edit, then choose Optics. The toggle there reads Enable lens corrections, and Remove Chromatic Aberration sits beside it. Same work, different name.
Remove Vignetting is worth a second look before you tick it. It is designed for modest, even falloff. Turn it on and watch the corners: if the midtones lift faster than the corners, the amount is too high and you are about to flatten a wide-angle shot into a grey box. Untick it and correct vignetting by hand with the Lens Vignetting slider instead, where you control how far it stops.
Hold the backslash key to see the uncorrected version, release it to see the fix. That toggle is the fastest way to confirm the profile is actually matching your lens.
4. Adjust Distortion Manually
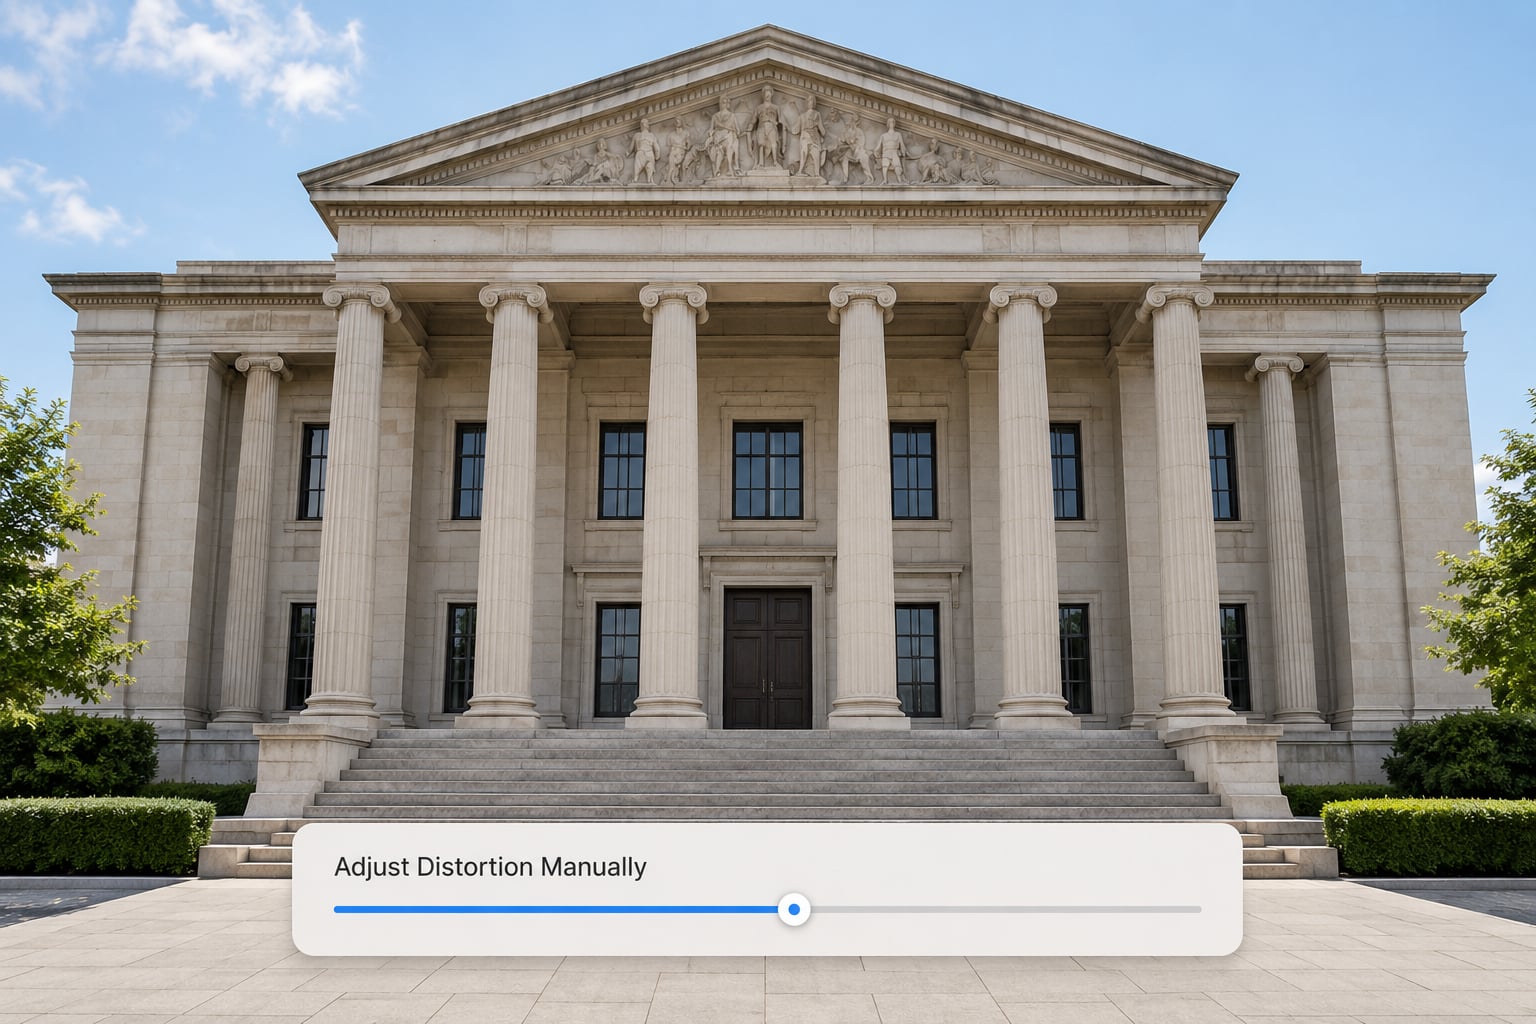
Manual correction is for lenses with no profile, for files whose EXIF data was stripped, and for the residue a profile leaves behind. In Classic, open the Distortion tab in the Lens Corrections panel. In the modern Lightroom interface the same control sits in the Optics panel as Distortion Correction. In mobile, swipe the Optics panel open to reach it.
Barrel distortion is corrected with a positive value; pincushion needs a negative one. Use small steps. Drag a few points, zoom to 100 percent on the corner that looked worst, then drag again. Large jumps make it easy to overshoot into pincushion without noticing, because the center still looks fine while the corners stretch.
Set the Amount menu to Off and then to Default to compare. The side-by-side view shows the bowing clearly in a way that squinting at a single frame does not.
Two honest trade-offs. Manual correction crops into the frame, because bending lines back moves the edges outward where there is no pixel data to fill. And heavily corrected corners get soft, since Lightroom stretches the nearest valid data into the gap. A value that looks perfect at fit-to-screen often looks smeared at 100 percent, so always check the corners zoomed in before you accept it.
5. Check Perspective and Image Edges
Look at the corners and edges, not the middle. The center of a wide-angle frame is almost never distorted, which is exactly why over-corrected photos slip past a quick glance.
Turn on the Post-Correction Crop Boundary overlay in the Options menu below the histogram. Lightroom shades the area that the correction will trim away, and if the crop boundary creeps inward that is the distortion slider taking its cut. Uneven boundaries mean the correction is too strong for that lens.
Open the panel by clicking its name, or use the Guide Overlay to drop a level or thirds grid over a subject you know is straight. A grid is honest in a way that your eye is not — a leaning horizon still looks level to the eye that shot it.
6. Refine with Upright or Crop and Straighten
Upright fixes perspective, not lens distortion, and the order matters. Apply the profile first, then Upright, because Upright analyses the frame and the corrected frame is the honest one.
Four modes sit under Upright Mode: Auto balances everything and rarely over-corrects, Level fixes a tilted horizon without touching anything else, Vertical makes verticals parallel and is the one architecture shooters want, and Full pushes hardest, correcting both verticals and horizontals. Click Reanalyze after a major crop or profile change so Lightroom re-reads the frame.
Guided Upright gives you a manual fallback for rooms with no clear verticals and no level horizon — draw four lines, add a couple of points to each, and let it solve from there. Use it with care, since it will happily bend a picture into a shape nobody photographed.
Finish with a conservative crop in the Crop and Straighten panel. Constrain Crop keeps the aspect ratio, and the overlay shows where the correction cost you frame. Cropping after correction, never before, or you will crop twice.
7. Compare, Undo, and Export Safely
Hit the backslash key again to flip between corrected and uncorrected. If the corrected version makes you hesitate, the amount is probably too high.
Nothing is baked in. Reset the panel to undo, and the RAW file on disk never changes. When the result looks right for one lens, save it as a preset — our guide to creating Lightroom presets in Classic walks through building one that travels properly between images. Then right-click the image and choose Copy Settings to paste onto other frames from the same lens, or Copy Settings and hold Ctrl or Cmd to paste without carrying over exposure and tone.
For a whole shoot, select every frame from that lens, right-click and choose Paste Settings, or build a develop preset with just the correction toggles and apply it from the Develop panel presets folder. Syncing Upright Mode across HDR brackets re-analyses each frame separately; syncing Upright Transforms instead forces the identical transform on all of them, which keeps a bracketed set aligned.
Common Mistakes
Wrong lens in the Profile dropdown. The fix is to click the lens name and read the Make, Model and Profile entries until the model matches the barrel. A near miss corrects the wrong lens and can add bowing rather than remove it.
The checkbox is greyed out. It greys out when no profile matches, which usually means the EXIF metadata was stripped in export, the file is a DNG from a phone, or Adobe has never profiled that lens or that lens on that body. Check the Metadata panel first. If the lens field is blank, the file has no identity to look up.
Every toggle switched on. Fix: check Remove Chromatic Aberration always, treat Remove Vignetting as optional, and leave the rest alone. Automatic correction from a matched profile is accurate, and earlier Lightroom users who distrusted it were working with 2011-era builds rather than a genuine accuracy problem.
Over-pushing the manual slider. Work in increments of a few points, zoom to the corners, and use the Amount: Off comparison. If the corners look soft and streaky, the value is too high even though the building looks straight at screen size.
Confusing the four problems. Curved lines mean distortion, dark corners mean vignetting, coloured fringes mean chromatic aberration, and leaning buildings mean perspective. Fixing vignetting will not straighten a line, and Upright will not remove a purple fringe.
Correcting after cropping. The order is profile corrections, then Upright, then the final crop. Any other order means cropping twice and losing more of the frame than necessary.
Judging only the center. Zoom all four corners to 100 percent before you accept anything. That is where over-correction lives.
A few per-genre notes. Wide-angle work at 16-24mm needs the profile almost always, because barrel distortion at those focal lengths is obvious. Architecture is the one genre where full correction is expected, so use Vertical mode and accept the small crop. Black-and-white work still benefits, since bowed lines stay obvious once colour no longer distracts from them. And some distortion is worth keeping — the exaggerated depth of a 14mm shot is a deliberate look, not a defect, and correcting it leaves you with a flatter, more ordinary frame. Leave it alone when you like the wide-angle rendering.
If Lightroom cannot fix a lens with wavy or moustache distortion, the geometry is more complex than a simple profile stores. Photoshop’s Lens Correction filter can handle those, but the DxO forum consensus is that it works in a fairly generic way; DxO PureRAW is praised for edge softness correction and for correcting in the demosaicing stage rather than after it. For ordinary barrel and pincushion work, the Lightroom profile is faster and more accurate.
Frequently Asked Questions
Why does lens distortion correction not work in Lightroom?
Almost always the lens profile does not match. Lightroom selects corrections from the camera and lens names in the file’s EXIF metadata, so if that data was stripped on export, the profile field is blank and Enable Profile Corrections is unavailable. Click the lens name under Profile and pick a close match by hand. If no similar lens exists, correct with the Distortion Correction slider instead.
What is the best Lightroom setting for barrel distortion?
For a supported lens, check Enable Profile Corrections in the Lens Corrections panel and leave the Distortion Correction slider at zero. The profile uses measured data for your exact lens, which beats any hand-tuned value. Use the manual slider only when there is no profile, when EXIF was stripped, or when a small residual amount remains after the automatic correction.
Should I remove lens distortion before or after cropping a photo?
Before. Lens correction moves pixels outward, which means it needs every bit of the original frame to work with. Crop first and you force the correction to stretch less data, which softens the corners and can exaggerate the bowing. The working order is profile corrections, then Upright for perspective, then your final crop with Constrain Crop switched on.
Does removing distortion create blurry edges?
It can, and the profile correction that does it is usually gentler than manual correction. Every correction bends lines back toward where they should be, so Lightroom has to stretch or crop the corners to fill the gap. Heavy manual values give the softest, most smeared corners. Keep the amount modest, check the corners at 100 percent, and prefer an automatic profile where one exists.
Can I fix lens distortion without knowing the camera and lens?
Not accurately. Every automatic option depends on the camera and lens names stored in the file, and picking a near-match profile from the Make, Model and Profile dropdown gives you a reasonable starting point rather than a precise fix. Without those names you are left with the Distortion Correction slider, guessing by eye. Finding the barrel marking takes less time than tuning a slider to the right value.
Conclusion
Start with the profile. Confirm that the lens name under Profile in the Develop module matches what you actually shot with, check Enable Profile Corrections, add Remove Chromatic Aberration, and treat Remove Vignetting as optional. Only touch the Distortion Correction slider when the profile is missing or leaves a residue, and move it a few points at a time.
Apply that before Upright and before your final crop, check the corners at 100 percent, and save the result as a preset so the rest of the shoot takes one click. Once the geometry is settled, tone is the next thing that changes how a frame reads, and our guide to color grading photos in Lightroom picks up from there. That is the whole workflow for how to remove lens distortion in Lightroom, and it stays reversible the entire way through.