
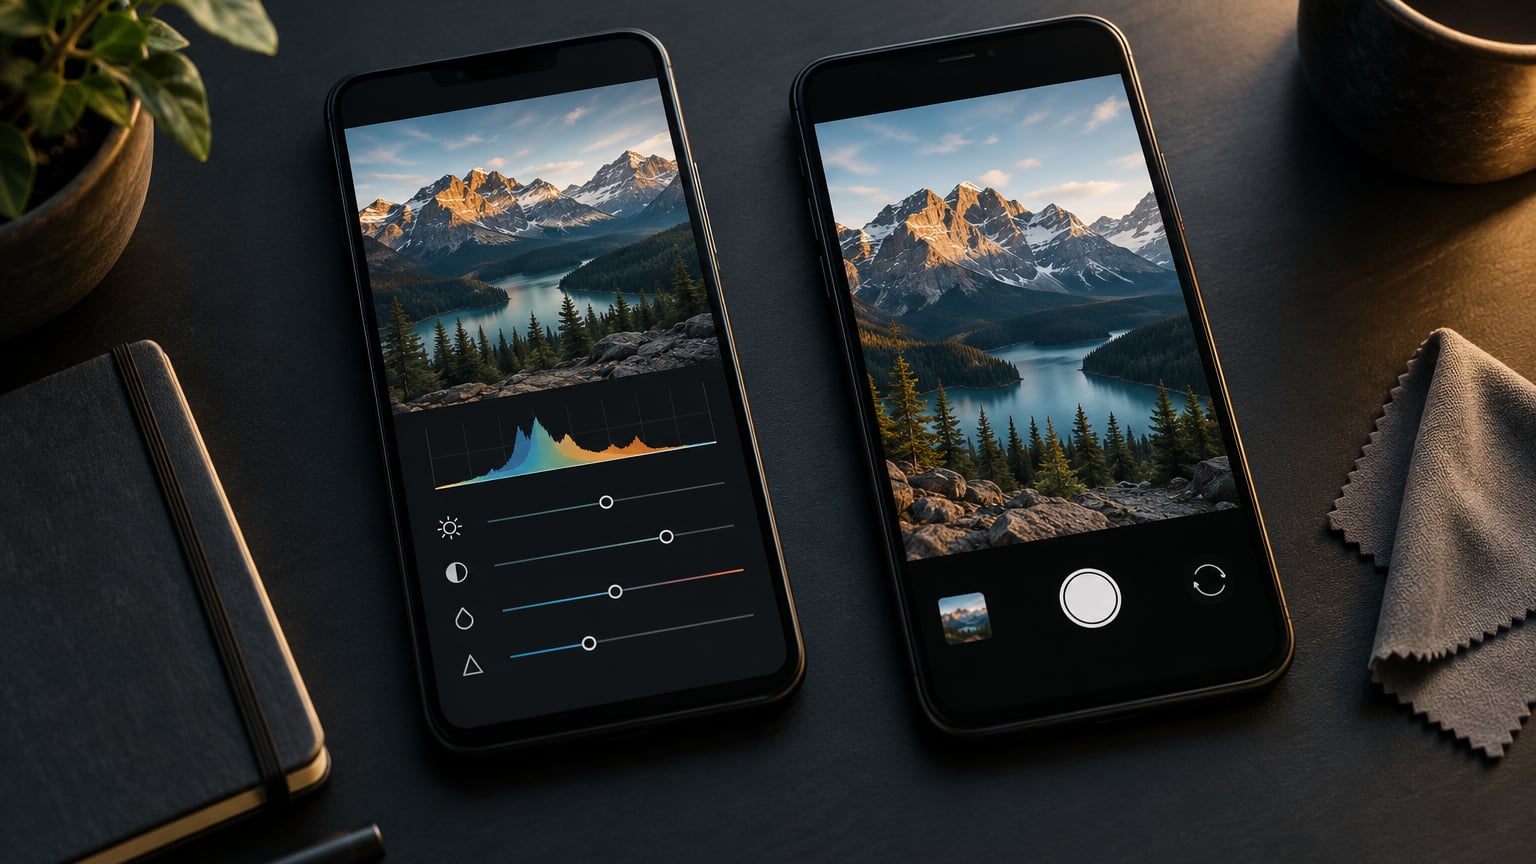
Yes, you can edit RAW photos on an iPhone, and the whole thing happens in the Photos app you already have. Open the shot, tap Edit, and you get exposure, white balance, curves, and a histogram — the same core controls a desktop editor gives you, just with a touchscreen. If you want the full range, Adobe Lightroom and RAW Power add tone curves, color grading, masking, and batch work on top.
A full pass takes about ten minutes on a phone. The fiddly part isn’t the sliders, it’s the order you move them in. Get that order wrong and no amount of slider pushing rescues the photo.
This guide walks through a repeatable workflow for 2026, covering both Apple Photos and Lightroom, plus the ProRAW settings that make the file worth editing in the first place. I’m assuming iOS 18 or later on an iPhone 11 Pro or newer; menu names shift slightly on older versions, and I’ll flag where that happens.
Table of Contents
- What You Need
- Step-by-Step: How to Edit RAW Photos on iPhone
- Common Mistakes
- Frequently Asked Questions
- Can I edit RAW photos on my iPhone?
- What is the best app for editing RAW photos on iPhone?
- Does Apple Photos edit ProRAW files the same way as other RAW files?
- How do I keep the best quality when exporting an edited RAW photo?
- Why does my RAW photo look different after editing on iPhone?
- What should I do if my iPhone cannot open a RAW file?
- Conclusion
What You Need
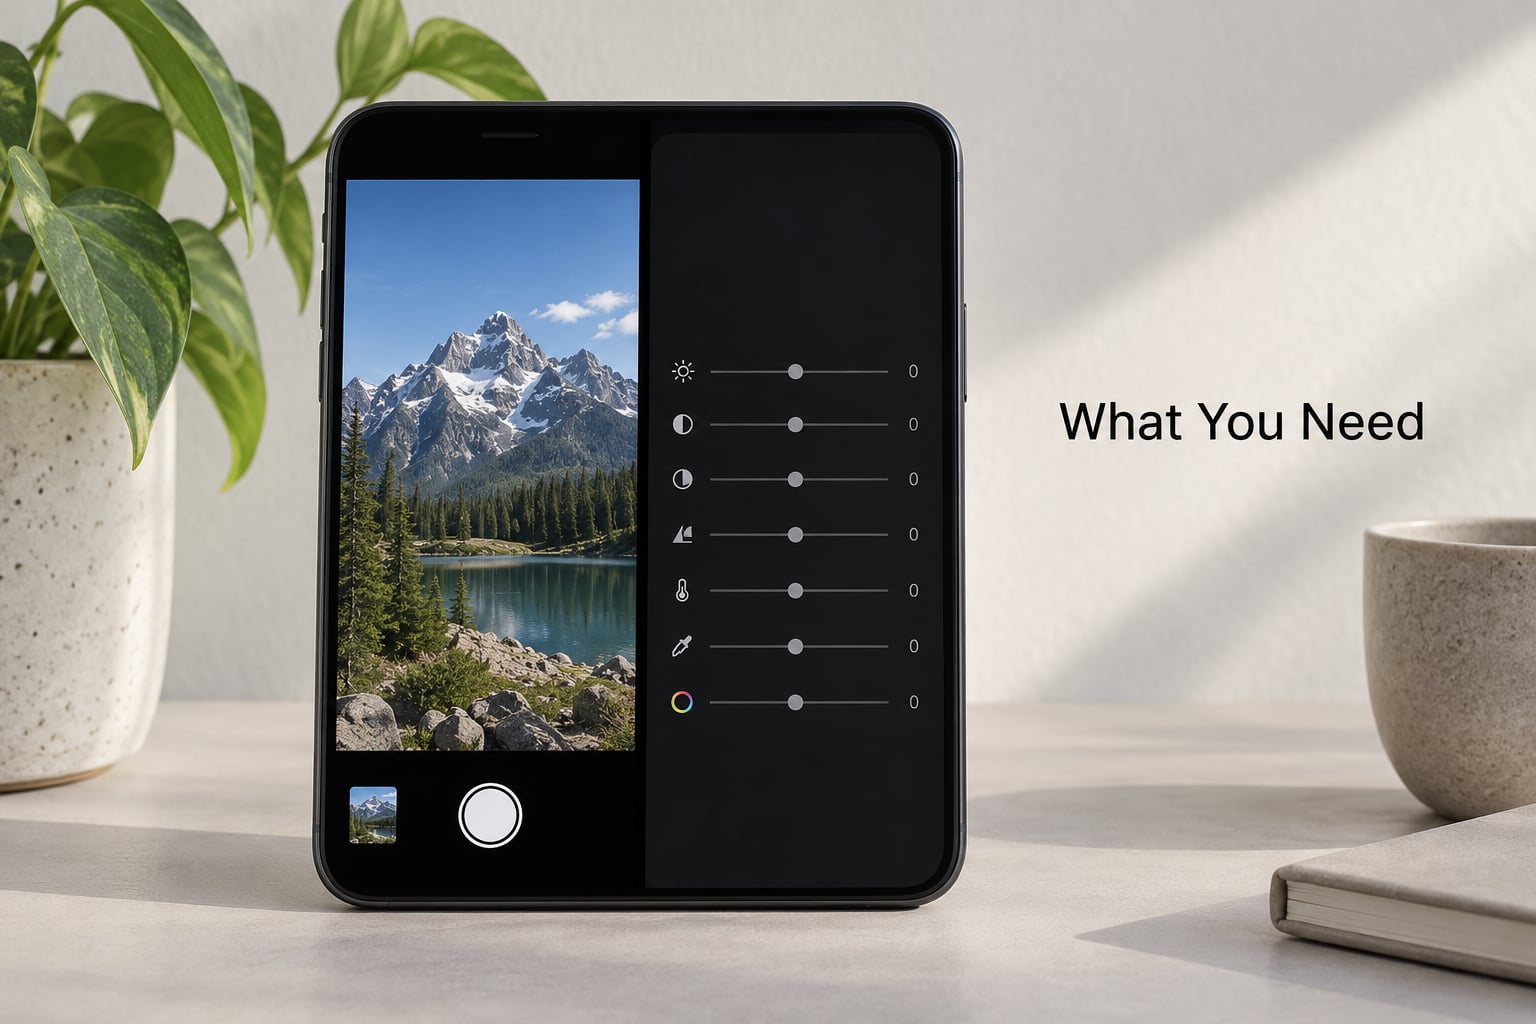
Three things, really: a RAW file to open, an app that understands RAW, and enough free storage to hold a second copy of your edit.
On the file side, you’re looking for either Apple ProRAW from the built-in Camera app or a DNG file from a third-party camera app. ProRAW needs an iPhone 12 Pro or newer; the standard iPhone 12 and 13 models don’t have it. DNG capture is broader — apps like Halide, ProCam and Blackmagic Camera can write DNG on much older hardware, and they often pair it with a JPEG so you already have a shareable frame.
On the app side, the free options are good. Apple Photos handles ProRAW properly and costs nothing. Snapseed will open a DNG but treats it like a flattened image, so the colors come out wrong unless you fix them by hand. Lightroom’s free tier is genuinely useful, though the masking tools and export presets sit behind a subscription. RAW Power is a one-time purchase and reads the local tone map data that most other apps ignore.
Storage deserves its own paragraph. A 12MP ProRAW file runs roughly 25MB, and a 48MP file is well over 75MB. Shoot a weekend at the higher resolution on a 128GB phone and you’ll hit the ceiling. If storage is already tight, drop ProRAW to 12MP in Settings and keep the higher resolution for shots you know you’ll print.
One more thing to check before you start: free space in iCloud and on the device. RAW files sync through iCloud Photos, and a phone with a few gigabytes free will start choking on a burst of 48MP captures.
Once the basics are in place, it’s worth getting comfortable with the simpler editing tools first. If you’re new to photo editing at all, how to edit photos in Canva takes about five minutes and covers the core vocabulary these apps share.
Step-by-Step: How to Edit RAW Photos on iPhone
Open and Inspect the RAW Photo
Find the file in Photos and open it full screen. Apple Photos marks RAW and ProRAW files with a RAW label, so you can confirm you grabbed the right one by looking for the badge under the image in the grid view.
Swipe up on the photo and look before you touch anything. This is the step most people skip, and it’s where you answer three questions: is the subject in focus, is the composition workable, and where does the histogram sit. The histogram is the small mountain graph Apple shows when you open the Edit view; in Lightroom it’s always visible along the bottom.
Read it like this: data piled against the left edge means shadow detail is about to be lost, data against the right edge means highlights are clipping to pure white. A healthy RAW file from an iPhone usually has data that stops short of both edges, with room to breathe on the right.
Apple Photos opens a ProRAW through Photos, then Edit. Lightroom imports it into its catalog automatically if iCloud or the Camera Roll sync is on, but you can also force an import from the Lightroom photo picker. In either app, make one small adjustment first — a tenth of a stop of exposure, or a slight white balance nudge — and then use the compare view to confirm you are editing a live preview and not a flattened thumbnail.
Lightroom’s edit screen is the one to learn if you plan to shoot more RAW. We build the file organization around it further down this page.
Correct Exposure and White Balance
Exposure comes first, always. Before anything else, dial in the overall brightness, because every adjustment after it depends on where the midtones sit.
In Apple Photos, tap the adjustment icon in the bottom toolbar, then move the top slider for exposure and the one beneath it for brilliance. In Lightroom the edit panel is organized as sections you tap in turn: Light, Color, Effects, Detail, Optics and Geometry. The Light section holds Exposure, Contrast, Highlights, Shadows, Whites and Blacks, and the Temp and Tint sliders sit just above them under the profile name.
Start with exposure in the range of minus 10 to plus 30 and move until the image looks right on the phone screen, not on the histogram. If you’re editing on an OLED iPhone in a dim room, you’re almost certainly overdoing it. Take the phone outside or turn brightness up before you judge.
Then handle the ends. Pull highlights down by 20 to 40 to bring back sky and skin detail, and lift shadows by 15 to 30 to open up backlit subjects. On a ProRAW file there’s usually room for both, which is the entire reason to shoot RAW. In a JPEG, that highlight data was already thrown away.
White balance is the second step and people get it wrong most often. Apple Photos exposes a temperature slider and a tint slider, plus a set of named filters. In Lightroom, it’s the Temp and Tint sliders directly under the profile name.
The reliable way to set white balance is to find something that should be neutral in the scene — a white wall, a patch of sky, a piece of paper — and push temperature until it reads as neutral to your eye. Eyedroppers exist in both apps. If no neutral object is in frame, set temperature by eye and add saturation afterward to bring dull colors back; you can fine-tune tint for the green or magenta cast that mixed lighting leaves behind.
You’ll see the result immediately: skin tones stop looking green, snow stops looking blue, and the whole frame gains contrast for free.
Adjust Color, Contrast, and Texture
With exposure and white balance settled, the image should already look close to correct. Everything in this stage is refinement, and the temptation is to go too far.
Start with vibrance rather than saturation. Vibrance in Apple Photos and Lightroom boosts the colors that are least saturated and leaves skin tones alone; saturation pushes everything equally and turns skin orange. Ten to twenty points of vibrance is plenty for a wide outdoor shot or a plate of food.
Contrast comes next. Apple Photos has it as a slider in the Light group. Lightroom splits it into a global contrast slider plus a tone curve, and the curve is the better tool once you know it — pull the lower handle up slightly to deepen blacks, leave the highlights alone if they’re already near the edge.
Clarity and texture add local contrast. Texture in Lightroom, the lower of the two, works on fine detail; clarity works on midtone edges and is the one that makes things pop. Ten points of clarity is a strong edit on a phone screen. Beyond that, halos appear along high-contrast edges, especially around tree lines and against skies.
Sharpening lives in the Detail panel in Lightroom, and it’s a post-resize decision. Applying it before export means sharpening an image that’s about to shrink, which is why the edge halos show up. Set sharpening to zero for now and revisit it at export if you’re producing a large file.
Noise reduction is the counterweight. A dark 48MP ProRAW frame shot at high ISO will show grain in the shadows, and heavy noise reduction smears it into a waxy patch. Luminance noise reduction between 5 and 15 usually does enough.
For a moody monochrome conversion, use a black and white mix rather than a flat desaturation. Lightroom’s B&W panel under Color lets you set each of the six channels — red, orange, yellow, green, aqua, blue — to a value from minus 200 to plus 300. Dropping orange to minus 50 and aqua to minus 70 darkens skies without touching skin. Snapseed’s Black & White tool does the same job with less control. If you plan to do this often on desktop later, our guide to editing black and white photos in Lightroom goes deeper on the mix sliders.
Crop, Straighten, and Refine the Image
Geometry is the last structural edit, and doing it before export keeps the edge quality clean. Every crop throws pixels away, so make the decision while you can still see the whole frame.
In Apple Photos, tap the crop icon at the lower right, then pinch to change the aspect ratio and drag the corners. The grid that appears is the rule of thirds; hold the photo against it and the corners will snap to the frame lines. The rotate icon in the top left straightens by hand, and the expand button gives you access to a perspective and vertical correction tool — that one is genuinely useful for buildings shot from below, which is most building photos on a phone.
Lightroom’s crop panel does the same work with numeric fields, which is better when you need to match a specific delivery size for a client or a print. The Straighten and Transform tools under it do the same hand-assisted correction.
For noise and detail, work selectively if your app allows it. Lightroom’s masking brush lets you target the sky for dehaze and texture without touching the foreground, which is how you get depth into a wide outdoor shot without the whole frame going crunchy.
Before you commit, zoom in to 100% on the corners and along the subject’s edges. Halos and sharpening artifacts show up there first, not in the fit-to-screen preview. Pinch out twice and look.
Compare, Save, and Export the Finished Photo
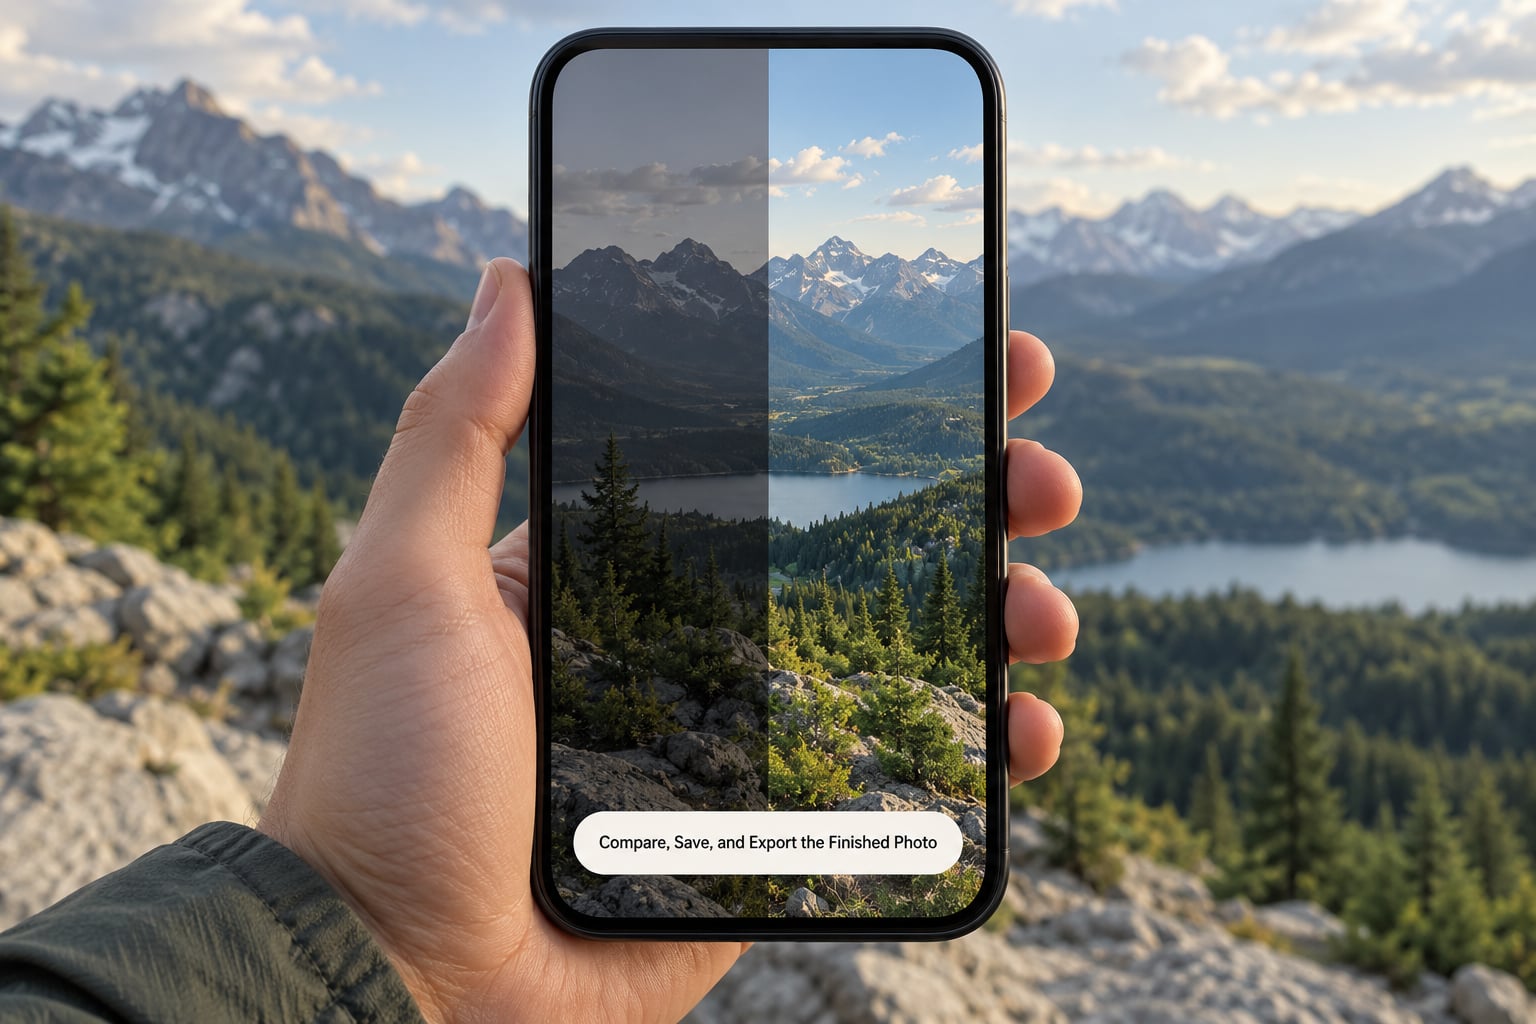
Comparing before you commit is what keeps you honest. In Apple Photos, tap the photo icon at the top left of the Edit screen to flip between the original and your edit; press and hold to see the original. Lightroom has the same thing in the bottom-left corner as a small before-and-after icon.
If the difference is dramatic, you’ve probably pushed something too far. If you can’t tell at all, you haven’t done enough. Most good phone edits land somewhere in between.
Apple Photos saves automatically when you tap Done, and it does so non-destructively. The original ProRAW or DNG stays exactly as it was, and your edits live alongside it. Tap Share, then Save Image, to create a separate JPEG copy for messaging. The same path converts a RAW file to something any device can open: Share, Save Image, done.
Lightroom’s export path is Export, then a preset or the settings panel underneath. You control format (JPEG, TIFF, PNG), quality slider, dimensions, and color space. For social media, a maximum long edge of 2048 pixels at quality 80 keeps the file under a megabyte and looks identical on a phone screen. For print, export at the print’s native pixel dimensions at quality 100.
Two warnings. First, don’t repeatedly re-export an already exported JPEG to make a “better” version — each pass is another generation of compression, and the artifacts compound. Re-export from the RAW every time. Second, saving a large TIFF from a phone is a legitimate archival move, but it will sync through iCloud and eat space fast. Keep TIFFs off the device and move them to a desktop when the shoot is done.
Lightroom also syncs edits, not just files, so a catalog you organize on the phone carries to the desktop. That workflow is covered in our piece on how to organize photos in Lightroom.
Common Mistakes
Editing the flattened preview instead of the RAW. Some third-party apps and social platforms will show you a JPEG-rendered thumbnail with no indication in the UI. If the histogram has almost no data on the right and the colors are already crushed, you’re looking at a flattened file. Open it in Photos or Lightroom and check the badge.
Judging brightness on an OLED screen at night. A phone at 30% brightness in a dark room will convince you an underexposed image is correctly exposed. Fix the room, not the photo, then re-evaluate. This one causes more ruined edits than any slider mistake.
Pushing exposure to recover a dark frame. RAW gives you headroom, not infinite headroom. If the file is more than two stops under, lifting exposure in the editor brings up noise and banding, not detail. That’s a case for a tripod or a longer exposure at capture time.
Using saturation where vibrance belongs. Saturation boosts every channel equally, so skin goes orange and skies go electric. Vibrance protects already-saturated pixels. Set saturation to zero and work with vibrance.
Adding clarity across the whole frame. Global clarity above 20 creates visible halos around high-contrast edges. If you want more depth, use a mask on the sky or a single midtone range on the tone curve instead.
Sharpening before resizing. Sharpening is defined at the final output size. Sharpen a 48MP file and then shrink it to 2048 pixels, and you’ve sharpened noise that the resize would have removed. Set sharpening after you’ve decided your delivery size.
Ignoring the histogram and trusting the preview alone. The preview lies on a small OLED in daylight. The histogram doesn’t. Check it after every major move, especially exposure and highlights.
Exporting smaller than you need. Sending a 4000-pixel image to a platform that displays it at 1080 wide wastes storage and quality for nothing. Match the export to the destination: 2048 for social, 1080 for messaging thumbnails, native size for print.
Frequently Asked Questions
Can I edit RAW photos on my iPhone?
Yes. Apple Photos opens ProRAW and DNG files with exposure, white balance, color, curves, and a histogram, and it saves your changes without altering the original file. Lightroom, RAW Power, Halide, and Darkroom give you more control, including tone curves, color grading, and masking. The main limits are screen size for judging detail and file size for storage, not capability.
What is the best app for editing RAW photos on iPhone?
Lightroom is the most consistently recommended choice because its controls, masks, and sync match a desktop workflow. RAW Power is the strongest dedicated ProRAW tool and reads Apple’s local tone map data. Apple Photos is free and fully capable for exposure and color work. Snapseed is fine for finishing effects but renders RAW files without understanding their tone data.
Does Apple Photos edit ProRAW files the same way as other RAW files?
Not quite. ProRAW is a DNG file that carries a local tone map describing how Apple processed different regions of the frame. Apple Photos reads that map and applies it, which is why the file looks natural on import. Apps that ignore it will show the same ProRAW looking flat, washed out, or overexposed, and the difference is not something you did wrong.
How do I keep the best quality when exporting an edited RAW photo?
Always export from the original RAW file rather than from a JPEG you already exported, because every re-save adds another generation of compression. In Apple Photos, tap Done then Share, then Save Image, to create a JPEG copy while the RAW stays intact. In Lightroom, set format, quality, and dimensions in the export panel each time, using a smaller size for social and full resolution for print.
Why does my RAW photo look different after editing on iPhone?
Usually one of three reasons. A ProRAW opened in an app that ignores local tone mapping will look flat until you raise exposure and contrast yourself. White balance set by a different app or profile shifts colors from what you saw in Photos. And a long edit session on a bright screen in daylight tends to end with everything pushed darker than intended. Compare against the original to see which one it is.
What should I do if my iPhone cannot open a RAW file?
Check the file extension first — a .dng or a RAW-gated .heic needs a RAW-aware app, and some messaging apps will refuse either. Update iOS and the editing app, since older versions had limited DNG support. If the file came from iCloud, wait for it to finish downloading rather than opening it mid-sync. As a last resort, import the file into Photos from Files, which renders a viewable version.
Conclusion
Start with exposure and white balance, then stop touching them. Everything after that is refinement, and refinement works best on a frame that’s already exposed correctly. Check the histogram rather than trusting the screen, especially if you’re editing at night.
Keep the RAW file unchanged. Apple Photos and Lightroom both save non-destructively, so the original stays there as a fallback and as the source for every future export. Knowing how to edit RAW photos on iPhone is mostly about discipline: one pass in the right order, restrained sliders, and a comparison before you call it done.