
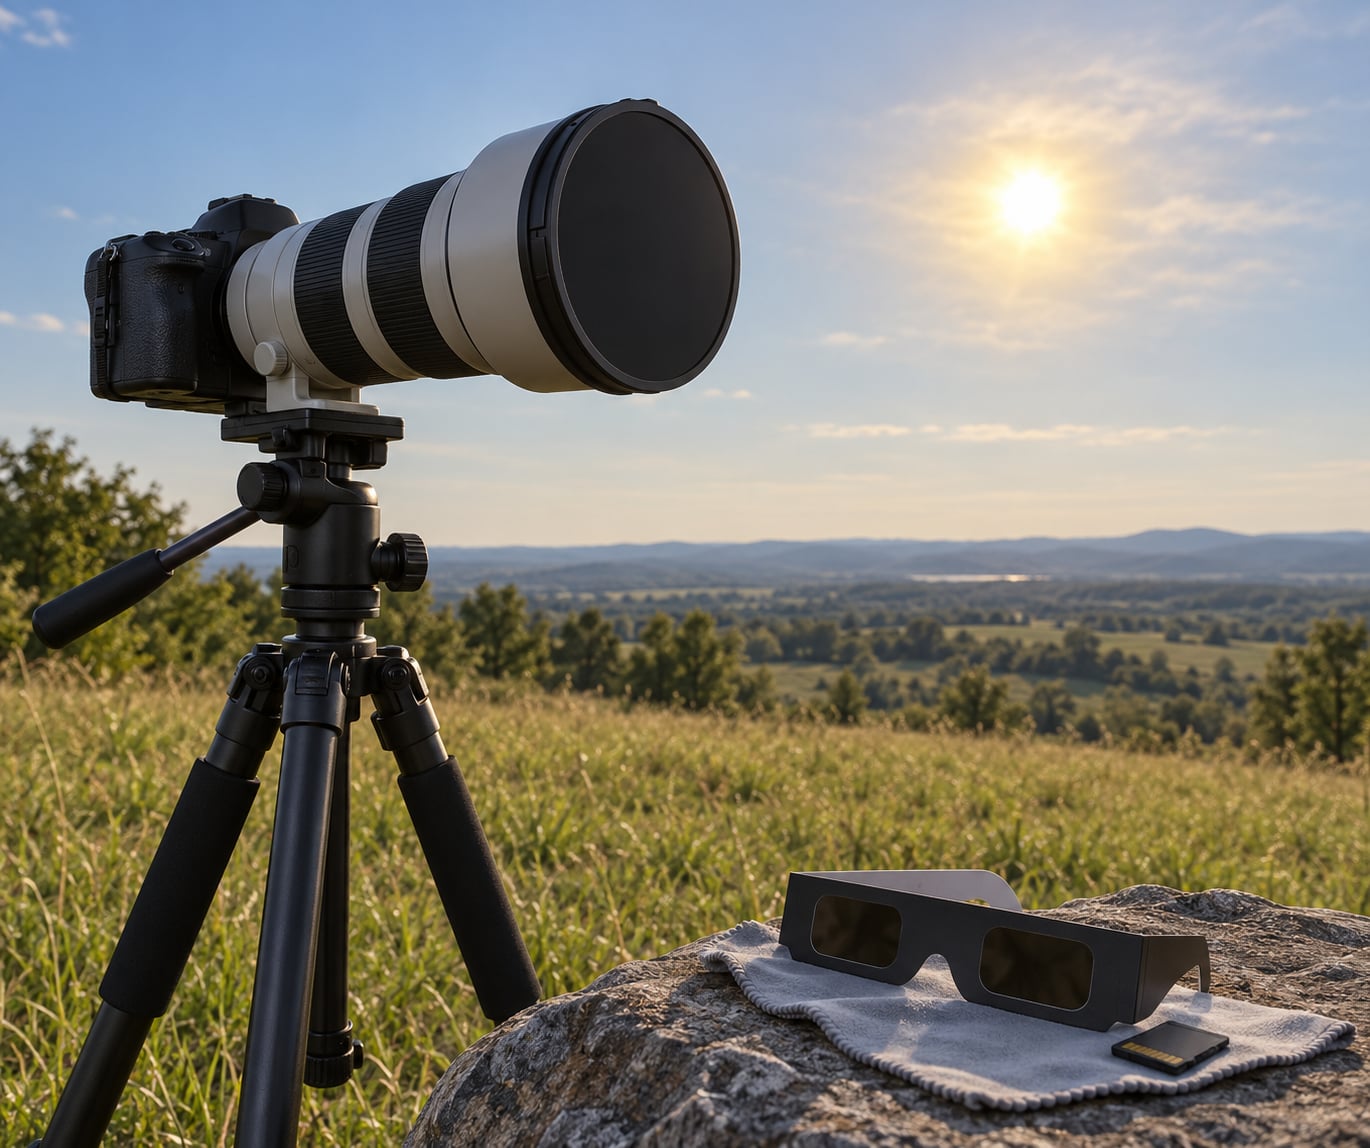
Learning how to photograph a solar eclipse safely comes down to one non-negotiable rule: put a certified ISO 12312-2 solar filter over the front of your lens before the Sun rises, and leave it there until the eclipse is completely over. Everything else, from location and timing to focus and exposure, is easier to sort out than that one filter decision. Get the filter right and the rest is craft.
The whole session takes minutes. The preparation takes weeks.
This guide covers what to pack, how to plan, the eight steps in the order you actually perform them, and the mistakes that ruin frames or damage gear.
Table of Contents
- What You Need
- How to Photograph a Solar Eclipse Safely: Step by Step
- 1. Confirm the eclipse type and your viewing window
- 2. Choose a location with a clear view
- 3. Prepare certified eye and camera protection
- 4. Set up the camera before the eclipse begins
- 5. Frame and focus the eclipse safely
- 6. Choose exposure settings for eclipse phases
- 7. Capture changing phases without missing details
- 8. Finish safely and protect the images
- Common Mistakes
- Frequently Asked Questions
- Conclusion
What You Need
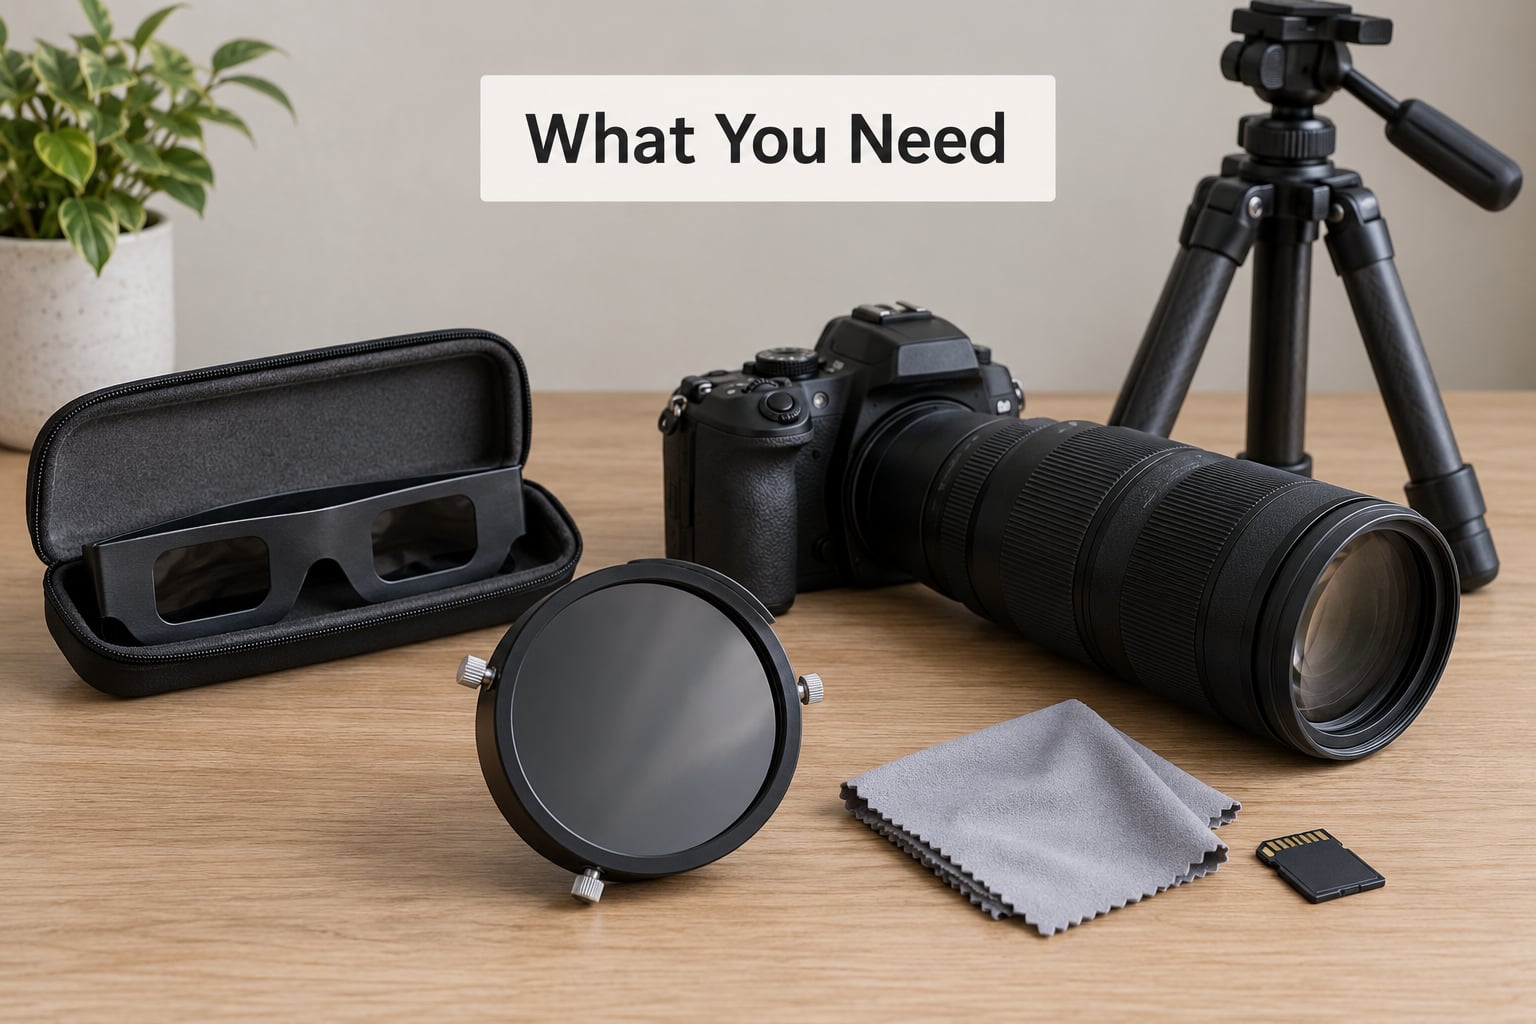
Certified eye protection. Look for glasses marked ISO 12312-2. That standard covers direct solar viewing and tells you the filter blocks the right amount of light. Keep them on for every unfiltered phase, including the long partial phases before and after totality.
A camera solar filter. This is a separate item from eclipse glasses, made of metallised polyester film or coated glass, sized to cover the front element of your lens. Threaded filters screw straight onto a lens; clip-on models clamp over the filter thread ring. A soft filter must be large enough to cover the whole front opening, because an uncovered edge lets concentrated light straight onto your sensor.
A camera and lens. A telephoto lens between 300mm and 600mm fills the frame with the Sun and still works handheld on a tripod. Under 200mm is far more forgiving, and plenty of photographers use 100mm or less because long glass needs constant correction as Earth turns. There is no prize for the longest lens.
A tripod and a remote release. Both are worth carrying. You will be composing around a small, blindingly bright disc, and a two-second delay on the shutter button is enough to shake the frame.
Power and storage. Bracketing eats memory cards fast, and cold morning air cuts battery life hard. Bring a spare battery that stays in an inside pocket, plus at least one spare card formatted in the camera you are using.
Field gear. A lens cloth, gaffer tape for strapping a filter ring if it fits loosely, a small solar projector you can remove from a certified device for focusing, and a warm layer. People lose fingers and camera batteries to cold more often than to anything else on eclipse day.
What not to use: ordinary sunglasses, welder masks, exposed photographic film, homemade foil discs, unfiltered binoculars or telescopes, and neutral density filters. An ND filter is designed for long exposures of a scene, not for staring at the Sun. A ten-stop ND is still millions of times too bright. The rule is not up for debate: nothing short of certified solar filtration goes in front of the lens.
How to Photograph a Solar Eclipse Safely: Step by Step
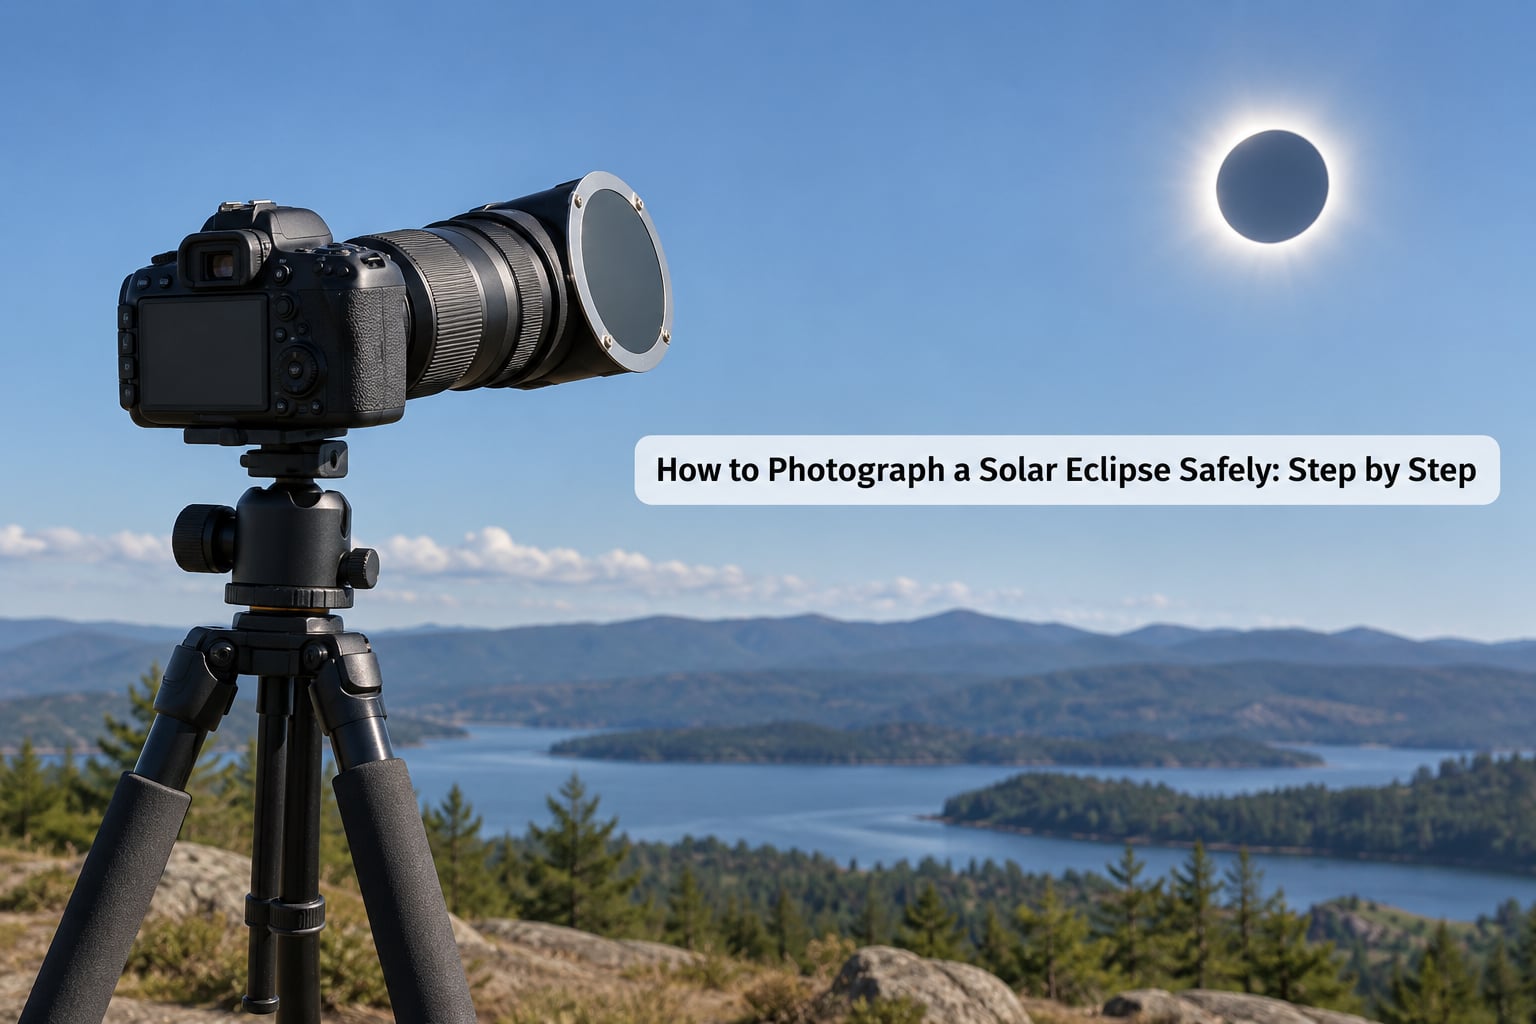
1. Confirm the eclipse type and your viewing window
Start at NASA or your national astronomical body’s eclipse pages, which publish maps, times and circumstances by location. The type decides everything downstream, because it decides whether the Sun ever becomes safe to shoot unfiltered.
In a total eclipse the Moon covers the Sun completely and totality can last from under two minutes to a little over seven. In an annular eclipse the Moon looks slightly too small and leaves a bright ring, called the antumbra, so the filter stays on for the entire event. A partial eclipse never fully covers the Sun, which means every frame is taken through the filter.
Note the four contact times: first contact when the Moon touches the disc, second contact when it covers it, third contact when the Sun reappears, and fourth contact when the disc is clear. Second and third contact define your totality window, and they are the two times worth writing on a piece of tape on the tripod leg.
2. Choose a location with a clear view
Work inside the path rather than at its edge, where a few kilometres can cost you several minutes of totality. Then check the forecast for the hours around maximum eclipse, and have a second site in mind with a different direction of cloud.
Stand with your back to the Sun and check the whole scene you plan to include. A horizon full of towers, power lines or bare trees can eat the corona, which stretches low and to the sides. Give yourself enough time to walk in, choose a spot and assemble the rig before first contact, because arriving on time with a tripod halfway up a hill is how people miss the event.
If you use a long lens, remember the Sun moves noticeably across your frame within minutes at high magnification. Plan on one careful reframe rather than continuous adjustment.
3. Prepare certified eye and camera protection
Do this part at home, not at the viewing site. Photographing a solar eclipse safely means assuming the filter is the only thing standing between the Sun and your eye and your sensor.
Fit the certified filter to the lens while the camera is indoors or in shade, so the bare front element is never pointed at the Sun during handling. If it is a soft film filter rather than glass, check it for pinholes by holding it up to a lamp. Then secure the ring with gaffer tape if it rotates.
Test the whole rig by taking a frame of a distant light source, such as a streetlight, through the filter. If the source is comfortably dim and evenly dimmed across the frame, coverage is good. A visible hot edge or glare means the filter is too small or not seated properly.
Never look through the viewfinder, or through any optical device, without proper solar filtration on the front, not on the eyepiece. Filters belong at the objective end where all the light is collected.
4. Set up the camera before the eclipse begins
Assemble everything with the filter already on. Mount the camera, level the tripod head, attach the remote release or set the interval timer, and switch off anything that eats power, including image stabilisation on some bodies.
Move to manual mode fully: manual focus, manual exposure, raw capture, no auto ISO. A bracketing sequence that lets the camera change ISO between frames gives you inconsistent brightness and muddles the merge later.
Check the storage math before you need it. A three-frame bracket every two seconds across a three-minute partial phase fills a 64GB card quickly. Format the card, or bring two.
Protect the setup. Wedge the tripod legs, keep a bag or jacket over the rig when you walk away from it, and never rest the camera on a car roof with the Sun above the horizon and no filter fitted.
5. Frame and focus the eclipse safely
Autofocus will hunt or lock onto nothing, so switch to manual. With the filter on, enable live view or electronic viewfinder and zoom in on the solar disc, which is a soft white circle through a correct filter. Tap a manual focus ring until the edge looks cleanest, then tighten the focus ring with tape so a bump cannot shift it.
If your live view is blinding or hard to judge, an unfiltered focusing method works better: a certified solar projector, or simply remove the filter indoors and focus on your own shadow on the ground at arm’s length, then replace the filter without turning the lens toward the Sun. Do this before you leave, not during partial phases.
Frame wide first, then tighten. Compose the shot you want before maximum eclipse, because during totality you will have a few seconds of usable light and no attention to spare.
6. Choose exposure settings for eclipse phases
The Sun during a partial phase behaves like a very bright subject at midday. With a solar filter on, the disc is safe to expose for, and your starting point is the Sunny 16 rule adjusted for your filter.
For a partial phase, try ISO 100 to 200, f/8, and shutter speeds from 1/1000 down to 1/500, then check the histogram and dial in. If the disc blows out to a flat white circle, you are overexposed. If it is a mushy grey blob, underexposed.
Totality is a completely different scene. The corona is roughly a million times fainter than the photosphere you have been photographing all afternoon, so exposure jumps by a huge amount.
| Setting | Partial phases (filter on) | Totality (filter off) |
|---|---|---|
| ISO | 100 to 200 | 1600 to 3200 |
| Aperture | f/8 | f/5.6 to f/11 |
| Shutter speed | 1/1000 to 1/500 | 1/125 to 1/15 |
| Focus | Manual, set once | Same as partial |
| Format | RAW | RAW |
| Filter | On, always | Off, totality only |
The corona is brightest on the side where the Moon is still covering the photosphere, so bracketing across several settings matters more than picking a perfect one. Watch the histogram and the highlight warnings rather than the brightness of the rear screen, which lies badly in daylight.
7. Capture changing phases without missing details
Run a bracketed sequence through the whole partial phase: three frames at one stop below your base setting, one at the base, three at one stop above. Fire it at an interval of a couple of seconds and let it run.
Shoot a second sequence with a wider lens for context. Those environmental frames, with sharp shadows and dark skies under a small eclipsed Sun, are often the ones people still like years later. Controlling light and colour in a wide scene is the same craft behind our guides to how to photograph reflections and how to photograph shadows.
Two things are worth timing by hand. The diamond ring, the single bright point at second and third contact, needs the partial-phase settings and a fast shutter. Prominences, the pink-red loops at the edge of the Sun, need mid-totality exposure and sit between the corona and the diamond ring in brightness.
For video, set the same ISO and aperture but choose a frame rate your camera handles cleanly, usually 24 or 30 fps, and shoot 4K only if your card and battery can sustain it. Expect more heat and more power draw than stills shooting.
Never remove the filter during an annular eclipse. There is no total phase, the ring is bright photosphere, and an annular eclipse photographed unfiltered will destroy your sensor.
8. Finish safely and protect the images
Put the filter back on before the Sun is anywhere near the frame, then stay in place until fourth contact. Refitting after the disc clears is the single most common way people ruin an otherwise good eclipse.
While packing, confirm on the camera screen that your first and last frames exist and are sharp. A silent card failure discovered on the drive home is a familiar eclipse story.
Back up to two drives before you move the tripod. Then organise frames by phase, partial, diamond ring, totality, partial, and name them with timestamps. Compositing the phases into one sequence later is much harder from files called IMG_4821.
For processing, start in raw, raise the corona exposures together, recover the diamond ring from its own bracket, and resist pulling detail out of frames that were genuinely overexposed. On the day, the rear screen rarely shows what is really there, so most photographers find more detail in the files than they expected.
Print handling is ordinary darkroom and print-care practice: keep finished prints out of direct sun and store them flat in a room with stable humidity. Our guide to how to store photo prints safely covers the storage side in more detail.
Common Mistakes
Shooting or looking with no filter at all. This is the mistake that ends equipment and eyesight. The fix is simple and non-negotiable: filter on the front of the lens for every moment outside totality.
Treating sunglasses as protection. They cut glare, not solar intensity. ISO 12312-2 marked eclipse glasses are the item that does the job.
Trying to make an ND filter work. No stop count makes a neutral density filter safe. They are built for scenes, not for the Sun.
Putting the filter on the eyepiece of a telescope or binoculars instead of the objective. Light is gathered at the front, so the filter has to sit at the front, or the optics focus the Sun’s full brightness onto your eye.
Removing the filter early, or late to replace it. If you are unsure of the second and third contact times, leave the filter on and lose the corona frames rather than risk the sensor.
Relying on autofocus or automatic exposure. Both hunt on a featureless bright disc, and auto ISO ruins bracketing sequences. Manual everything, checked before first contact.
Overrunning the buffer. A fast card and short bursts beat a huge burst rate. Test the buffer with the exact card you will use on the day.
Forgetting weather and cold. Cloud ruins plans and cold kills batteries faster than anything else. Warm layers, a spare battery in an inside pocket, and a backup site handle both.
Overcomplicating the setup. A 100mm lens and one bracket set is often all it takes. Rent time on a large lens, or skip it entirely and frame the scene instead.
Frequently Asked Questions
Do I need solar eclipse glasses to photograph an eclipse?
Yes. You need certified solar protection for your eyes and a separate certified solar filter for your lens. ISO 12312-2 marked eclipse glasses protect your eyes while the Sun is in any phase except totality. The lens needs its own filter over the front element, because the camera concentrates sunlight onto the sensor just as an eye does. Wearing glasses does not make an unfiltered view through a viewfinder safe.
Can I photograph a solar eclipse with a phone camera?
Yes, with a phone solar filter or with eclipse glasses held directly over the lens, taped in place. Shoot in manual or pro mode, lock exposure and focus, and start near ISO 32 to 64 with a fast shutter around 1/1000. Expect a small disc rather than detail, since phone lenses are wide. A phone is genuinely good for the wide environmental shot and for video of the whole event.
What ISO and shutter speed should I use for a solar eclipse?
Through a solar filter during partial phases, start at ISO 100 to 200, f/8 and 1/1000 to 1/500, then adjust from the histogram. During totality the filter comes off, the Sun darkens dramatically and exposure rises by around 16 stops: try ISO 1600 to 3200, f/5.6 to f/11 and 1/125 to 1/15, then bracket upward and downward. Corona brightness varies, so a bracket beats one guessed setting.
When is it safe to remove my camera’s solar filter?
Only between second contact, when the Moon fully covers the Sun, and third contact, when the photosphere reappears. That window is at most a few minutes and only exists in a total eclipse. Filter off before totality or after third contact and the sensor can be permanently damaged. Put the filter back on before the Sun is back in frame, and never remove it during an annular or partial eclipse.
Can I photograph a solar eclipse through binoculars or a telescope?
Not without front-mounted solar filters on both objectives. A solar filter belongs at the front of each optical tube, never at the eyepiece, because an unfiltered instrument concentrates the Sun into a burning point at the back. Front filters over binoculars or a telescope are fine for viewing and projection, and are how you project an image onto a sheet indoors for safe practice.
Conclusion
Knowing how to photograph a solar eclipse safely starts with two facts: the eclipse type at your location, and the second and third contact times from NASA or your national astronomical body. Everything after that is preparation you can do at home.
Fit a certified ISO 12312-2 filter to the front of the lens and keep it there through every partial phase. Set manual focus, manual exposure and raw capture, test the frame with a distant light, and leave time to get into position. During totality only, remove the filter, bracket wide, and put it back before the Sun returns. Then check your files, back them up twice, and enjoy what you captured.